[ Alto Works ] Christmas Shaken
Christmas brings presents, cheer, Starbucks Pistachio Christmas Tree lattes, and, for my precious little Alto Works, dreaded shaken. As mentioned previously, shaken needs to be done on all actively operating cars in Japan. As with most cars and my little Alto, it needs to be performed every two years to ensure proper operation. My shaken was due on December 25th, Christmas Day. I wonder if one of the previous owners, years ago, bought himself this car as a present?
Part of the shaken process involves going to the local city hall and paying a “recycling fee” for the car. This is a huge chunk of the shaken cost and rises with the car’s age. For me, it came out to around 25,000¥ ($230 USD).
The next thing I had to do was bring the car to as stock as possible. Surprisingly, according to my mechanic, the engine bay with my HKS Filter, heat shields, and oil catch can would be acceptable to leave as-is. My Nardi steering wheel, rear pillar bar are acceptable, as well. However, the East Bear Sports bucket seat and wheel spacers would all have to be brought back to stock and removed because they violate the rather strict shaken rules for one reason or another: The stock seat needs to be used for safety and the wheels must be within the fender width. (With the spacers, the spokes on my Volk wheels were just past the fender by a few millimeters.)
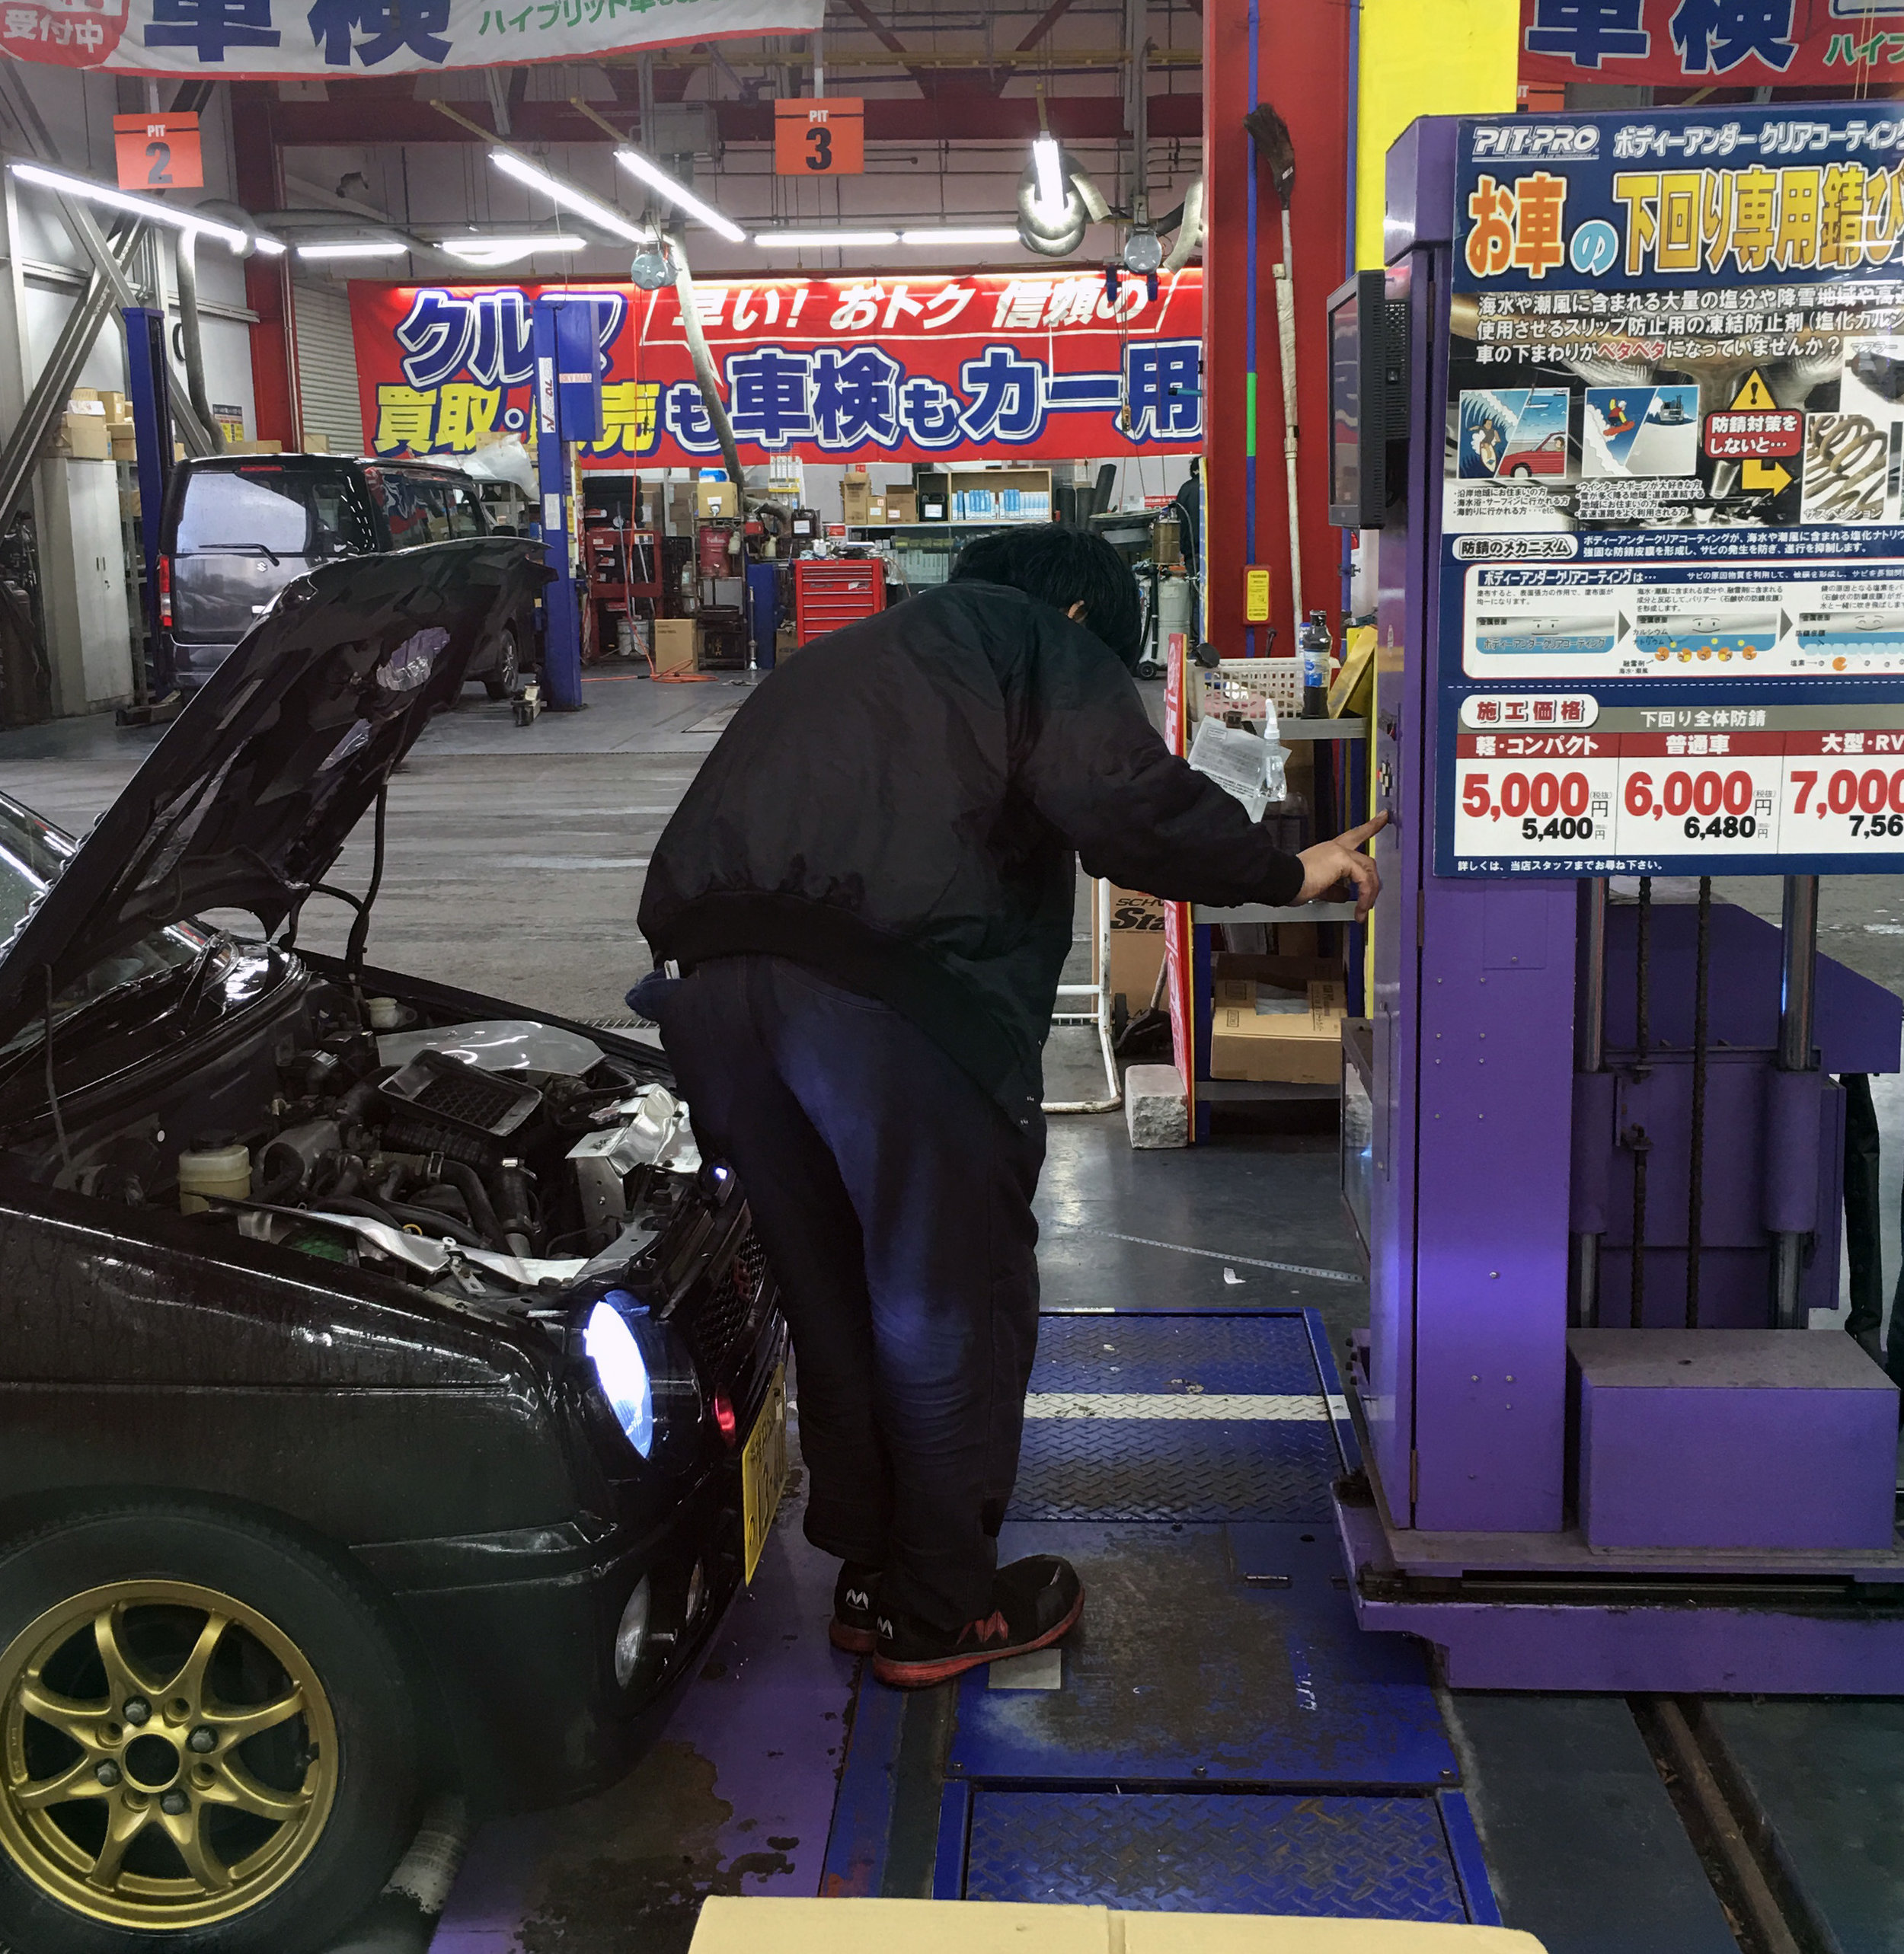
After putting the two parts back to stock, I took some time off on a Friday to head up to Sabae City with my friend Matsuda-san from Rodeo Cars. The first stop was Autobacs. (Autobacs is the Japanese equivalent to Pep Boys or Autozone in the states, but way better.) There, I needed to perform two labor jobs: an alignment and a headlight level adjustment. The alignment would be to ensure the wheels don’t have too much of a negative camber and the headlight check is to ensure the beams are pointed in the right direction; not too high, not too low, not off to the side.
Autobacs
The alignment was 3000¥ and 1000¥ for the headlights. Once paid, the mechanic drove it on the rollers and began to mess with the headlights. A few minutes later, he started work on the alignment… and that’s when we ran into serious problems. He drove it off the rollers on to a lift and tried to adjust my suspension as much as possible. Alas, after 20 minutes, he came up to talk with us and tell us the bad news that the car would not pass shaken because there was too much negative camber. He said the headlights would probably pass, but offered no vote of confidence either way.
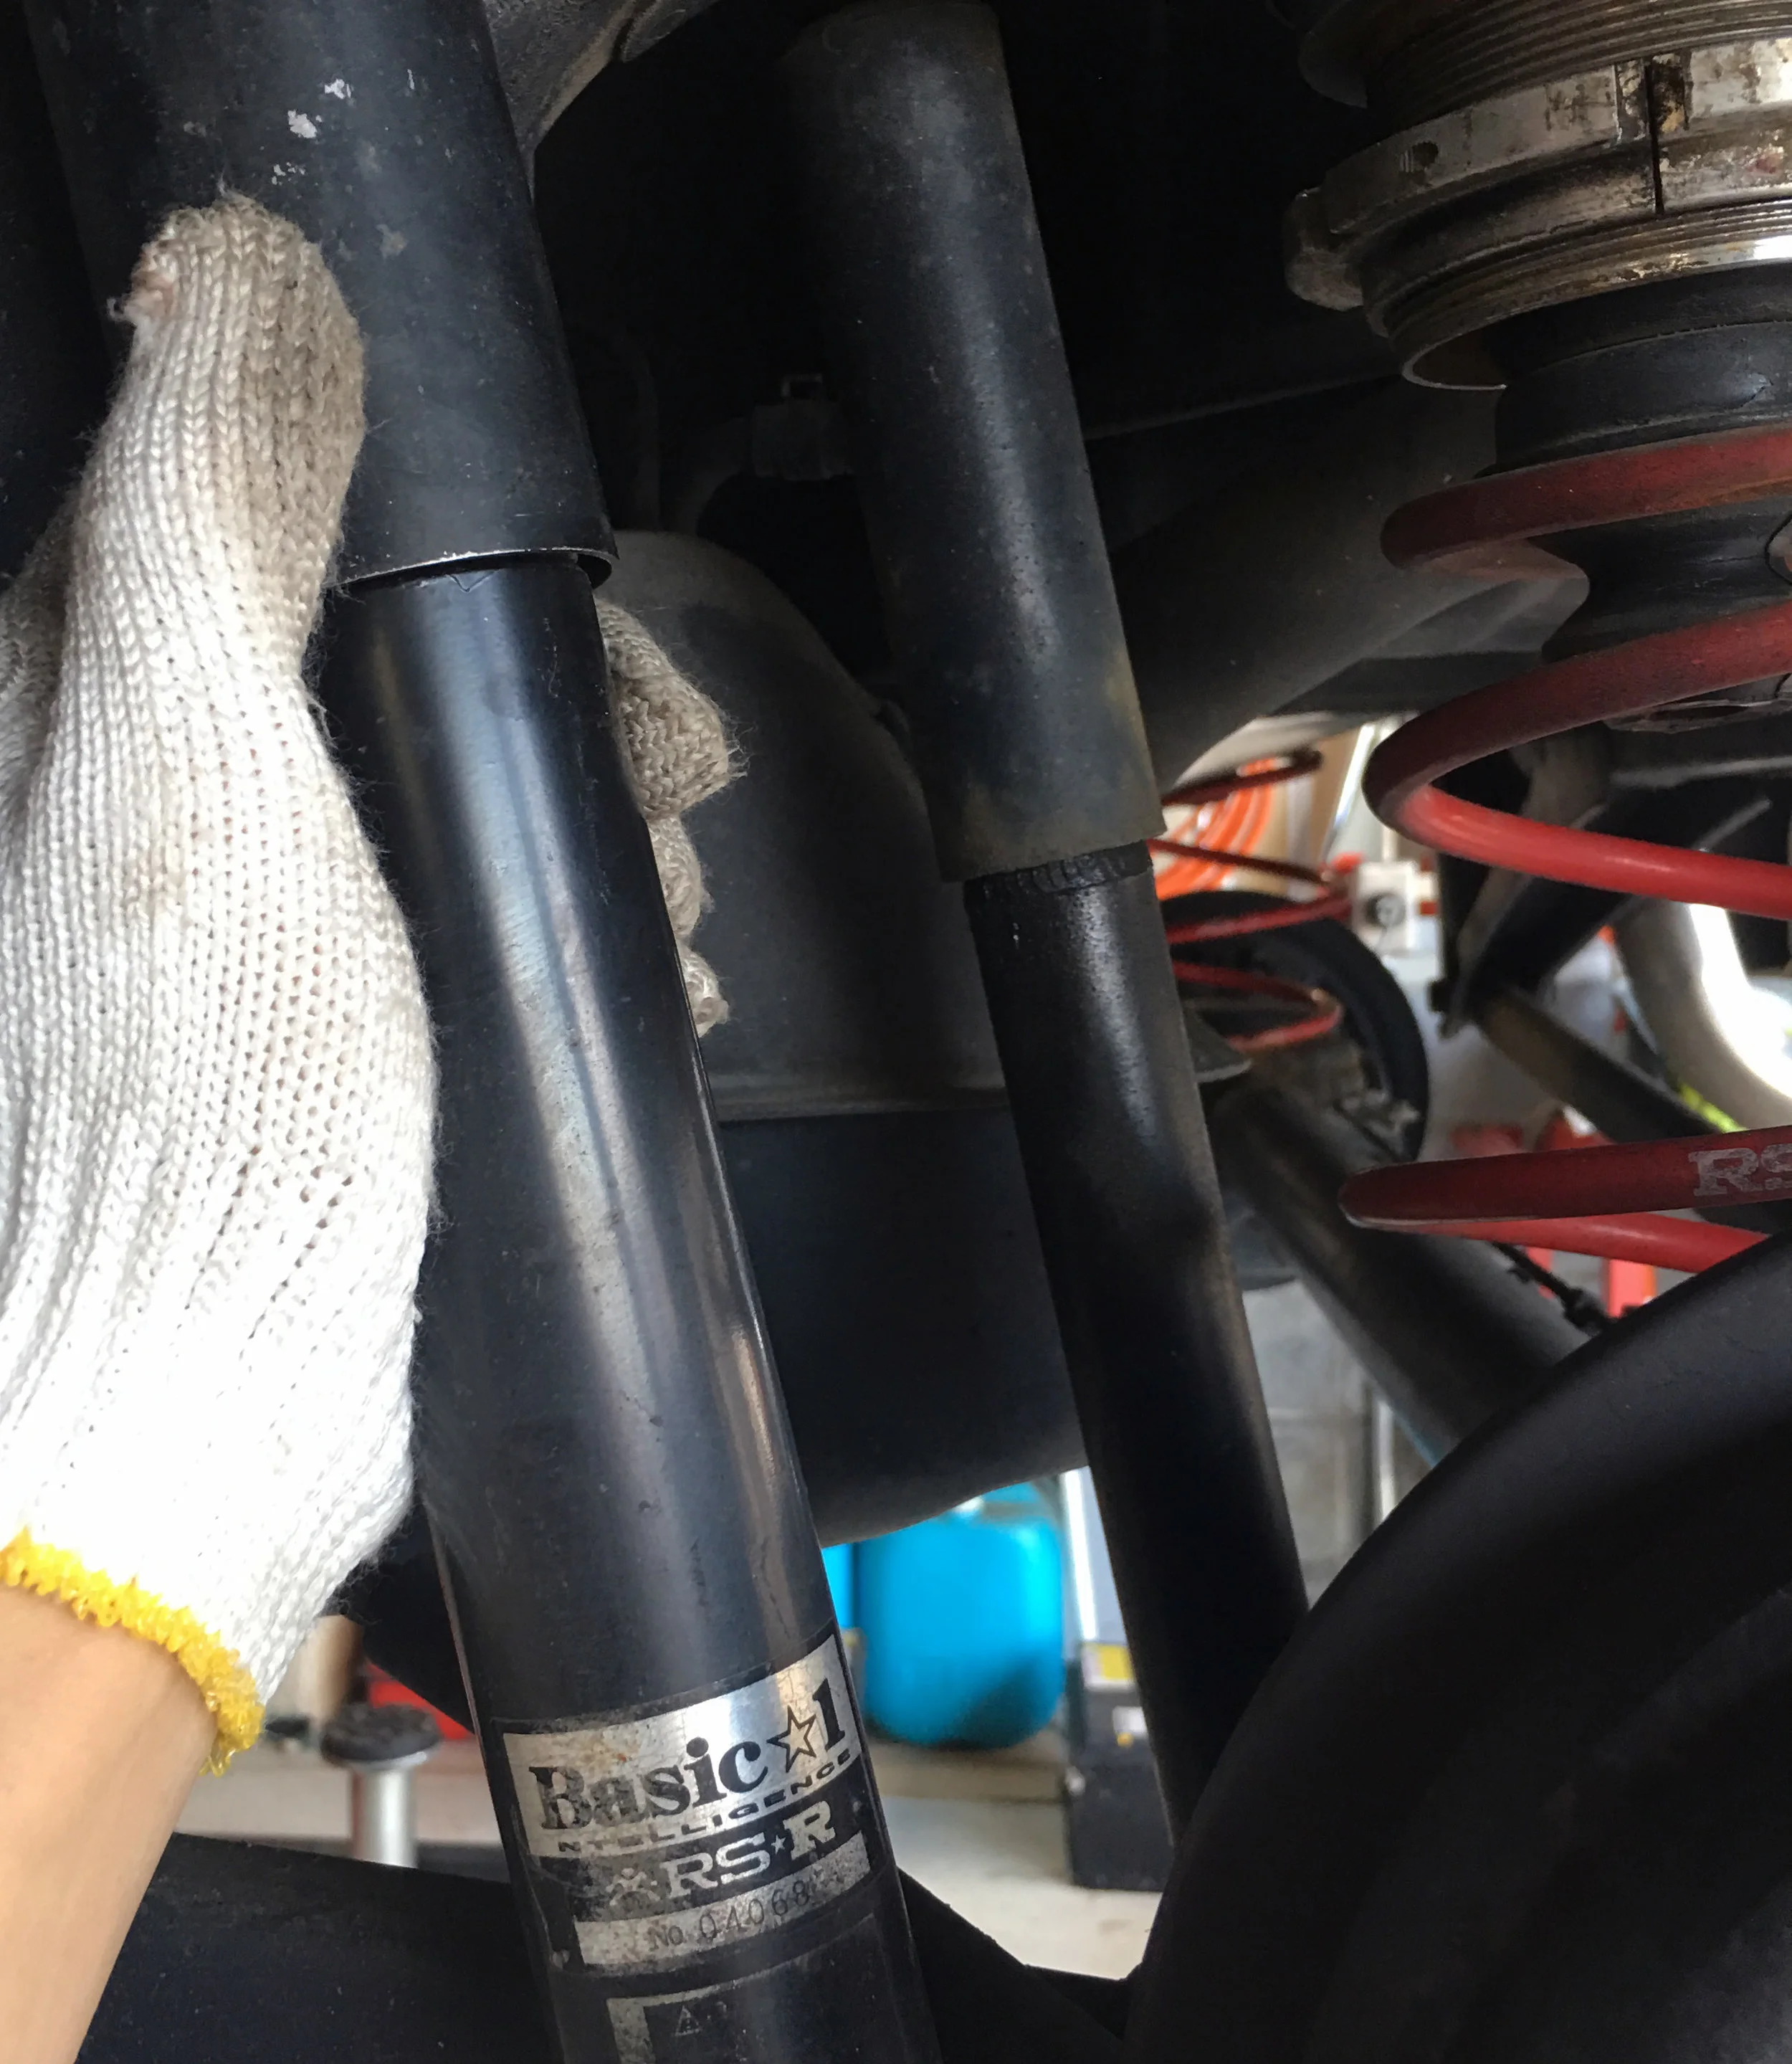
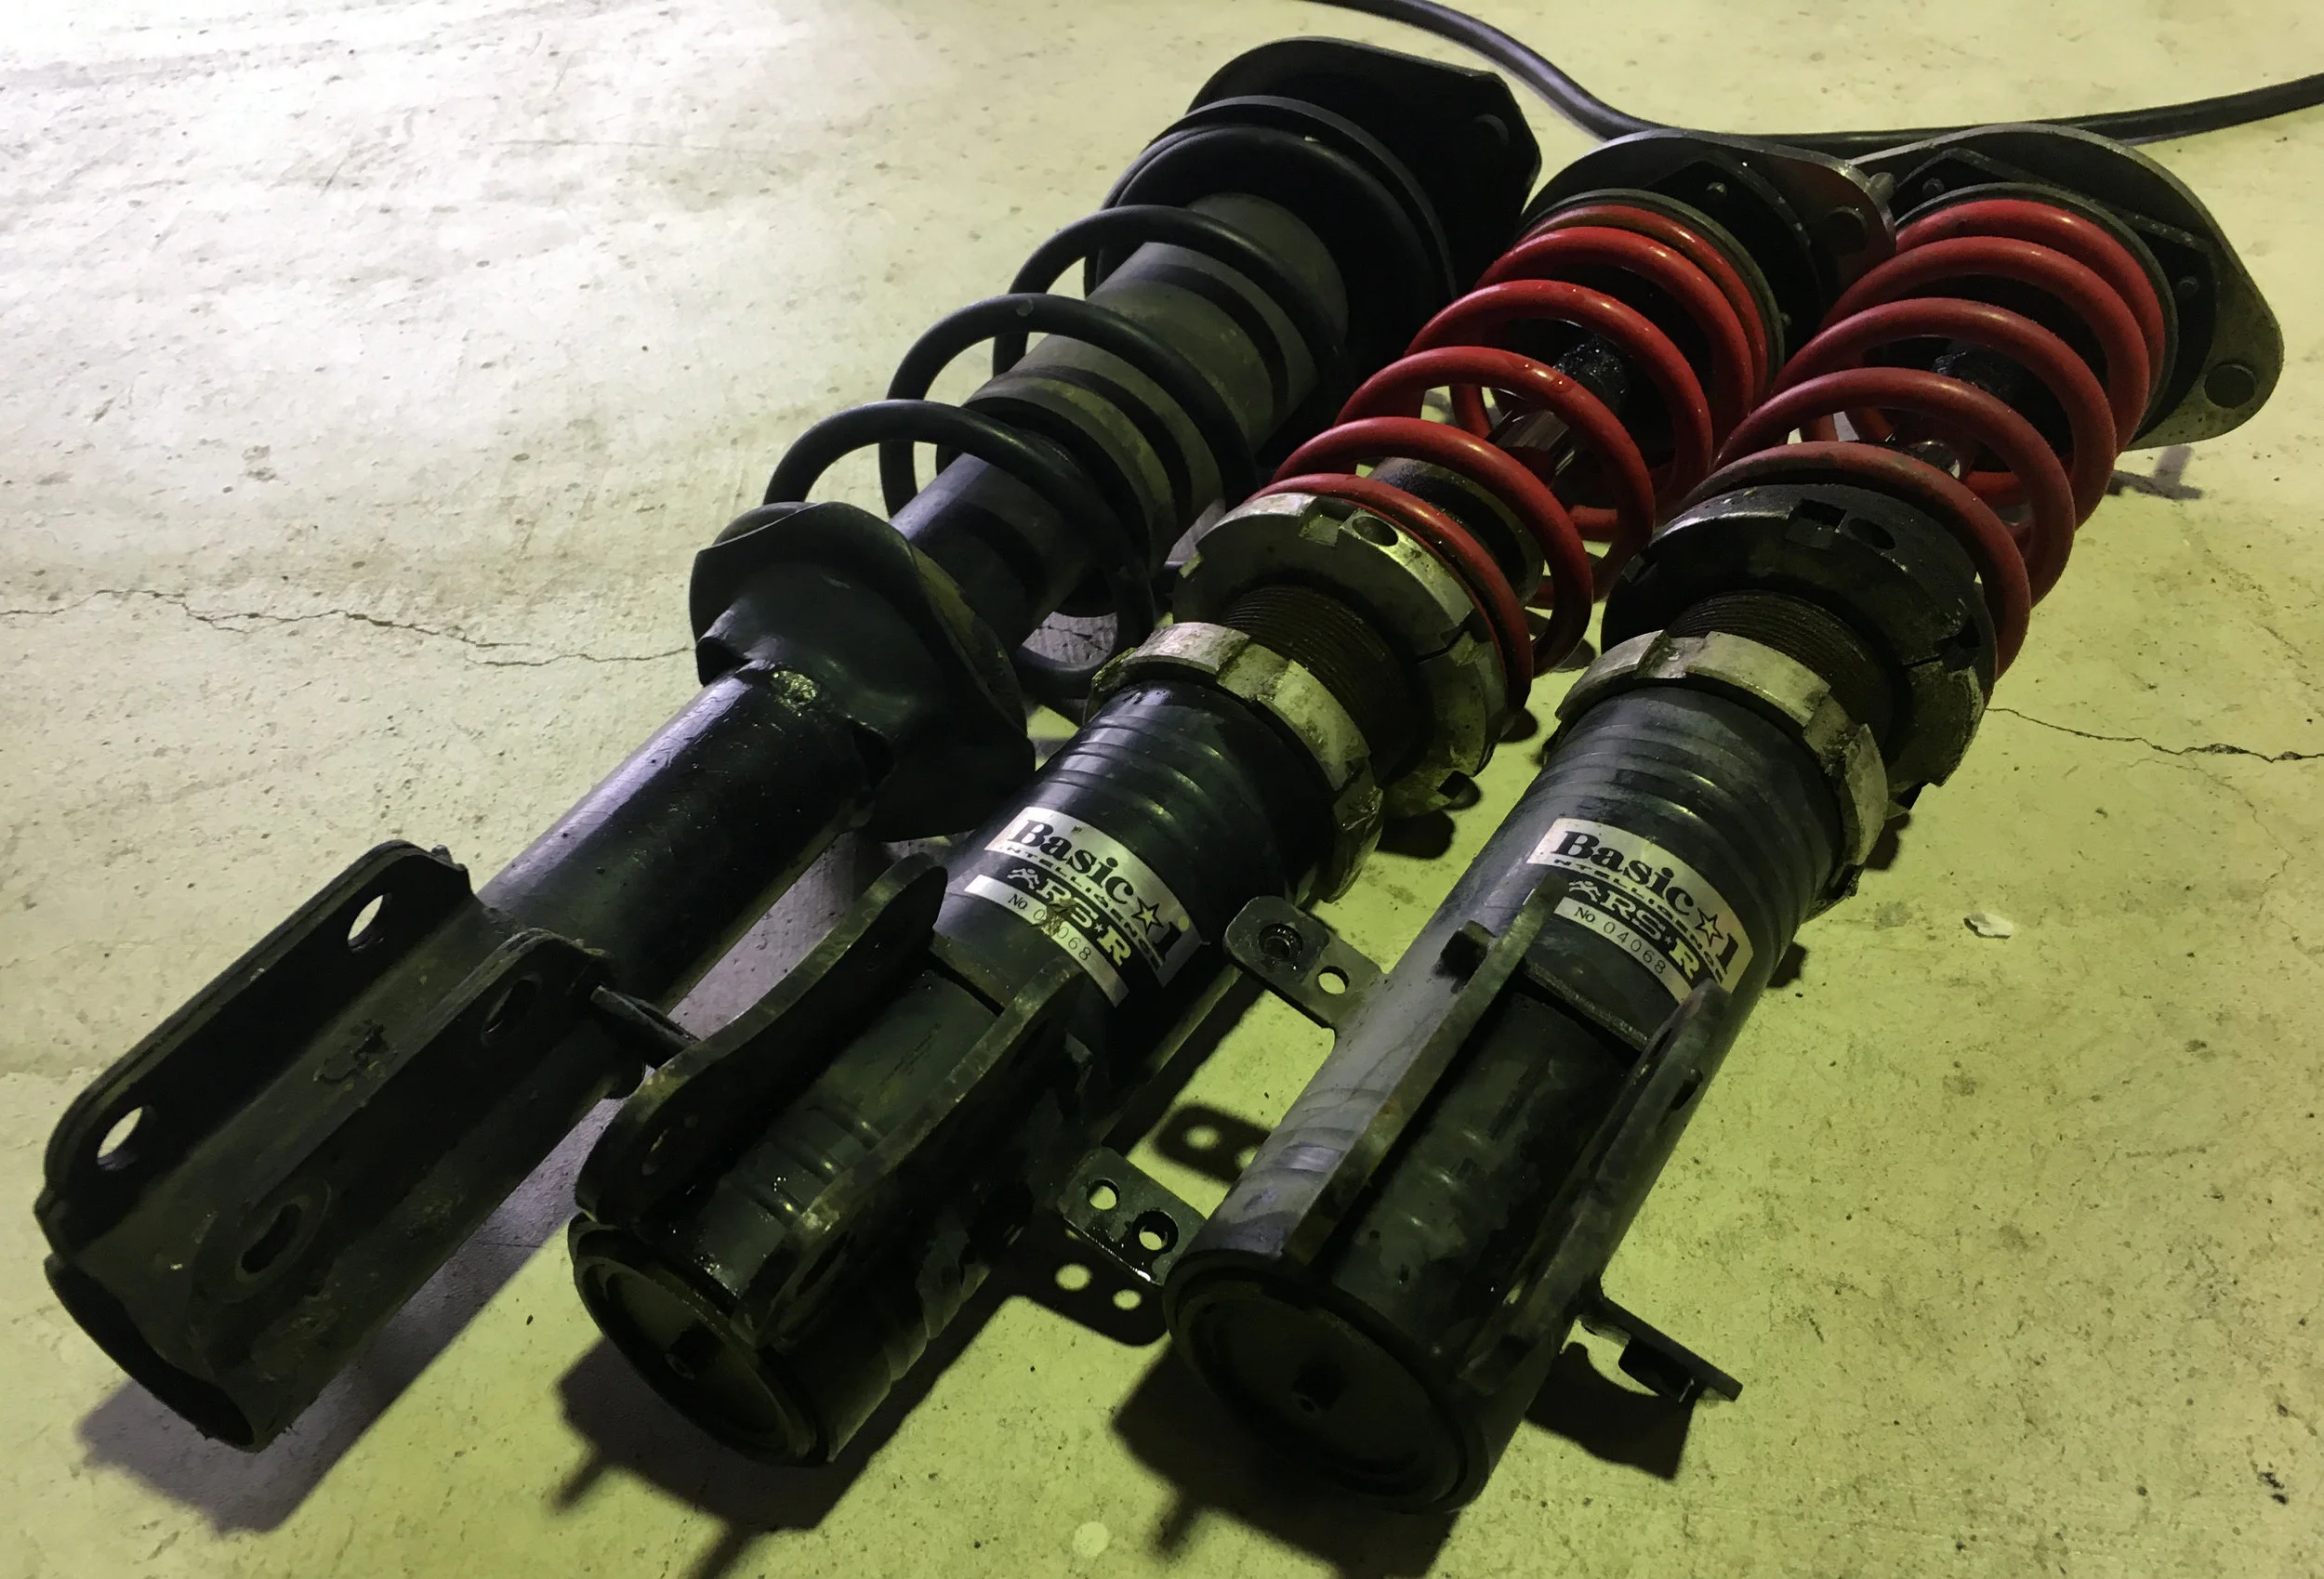
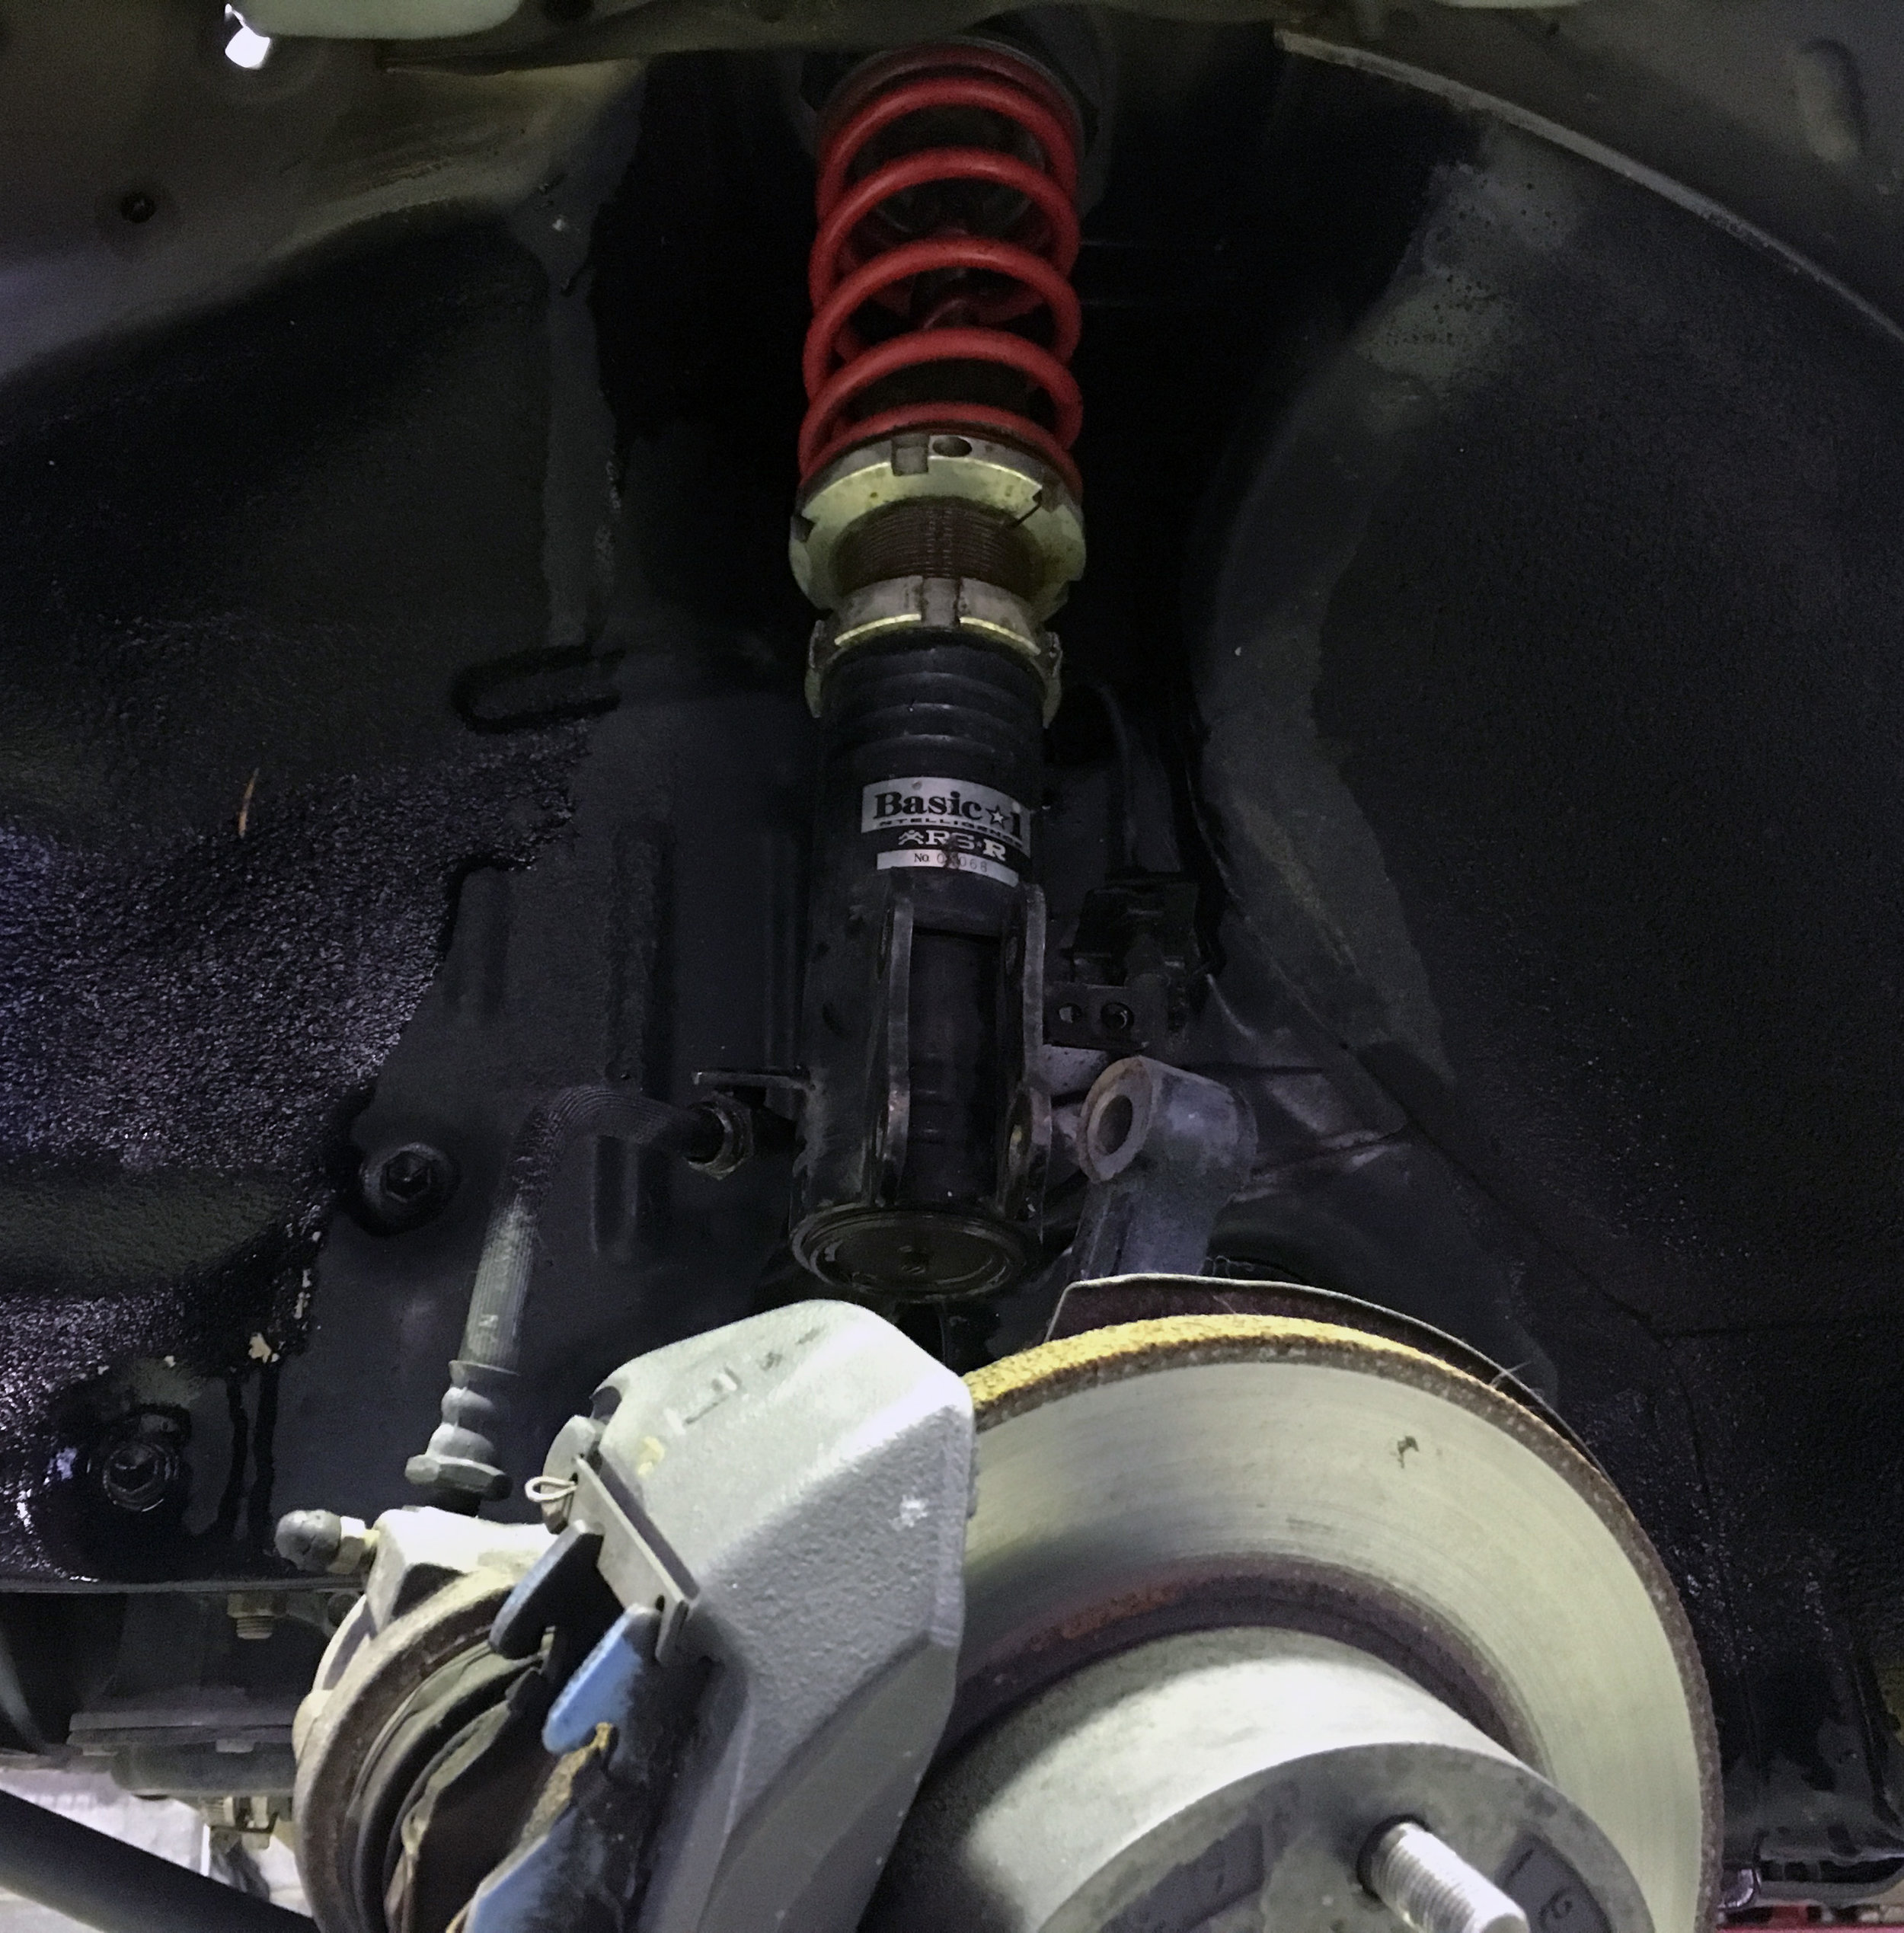
Sadly, this means I had to bring my Sport-Service front suspension back to stock, as well. Turns out my 1.5 hour drive to Fukui City would bear no shaken fruit this day. That following weekend, I replaced my front suspension back to stock and had it re-realigned at a (pricier) place in my town.
Driving up again on the following Friday, I once again had to stop by Autobacs for another adjustment of my headlights since the ride height of the car changed since last time. Once again, the mechanic suggested that it may pass. My friend suggested we give it a shot anyway.

Arriving at the Kei Car Automotive Association Center a few kilometers away, we first had to pay for a tax fee based on the car class, for me totalling around 8800¥. Then the wait in a short procession of cars for the inspection. A nervousness came over me, as there are a few modifications to the car I felt would not pass muster. Rolled fenders, hood vents, oil catch can, cut rear bumper, front intake snorkel… I heard about how strict shaken was and that brought dread. Would this end up another wasted weekday?
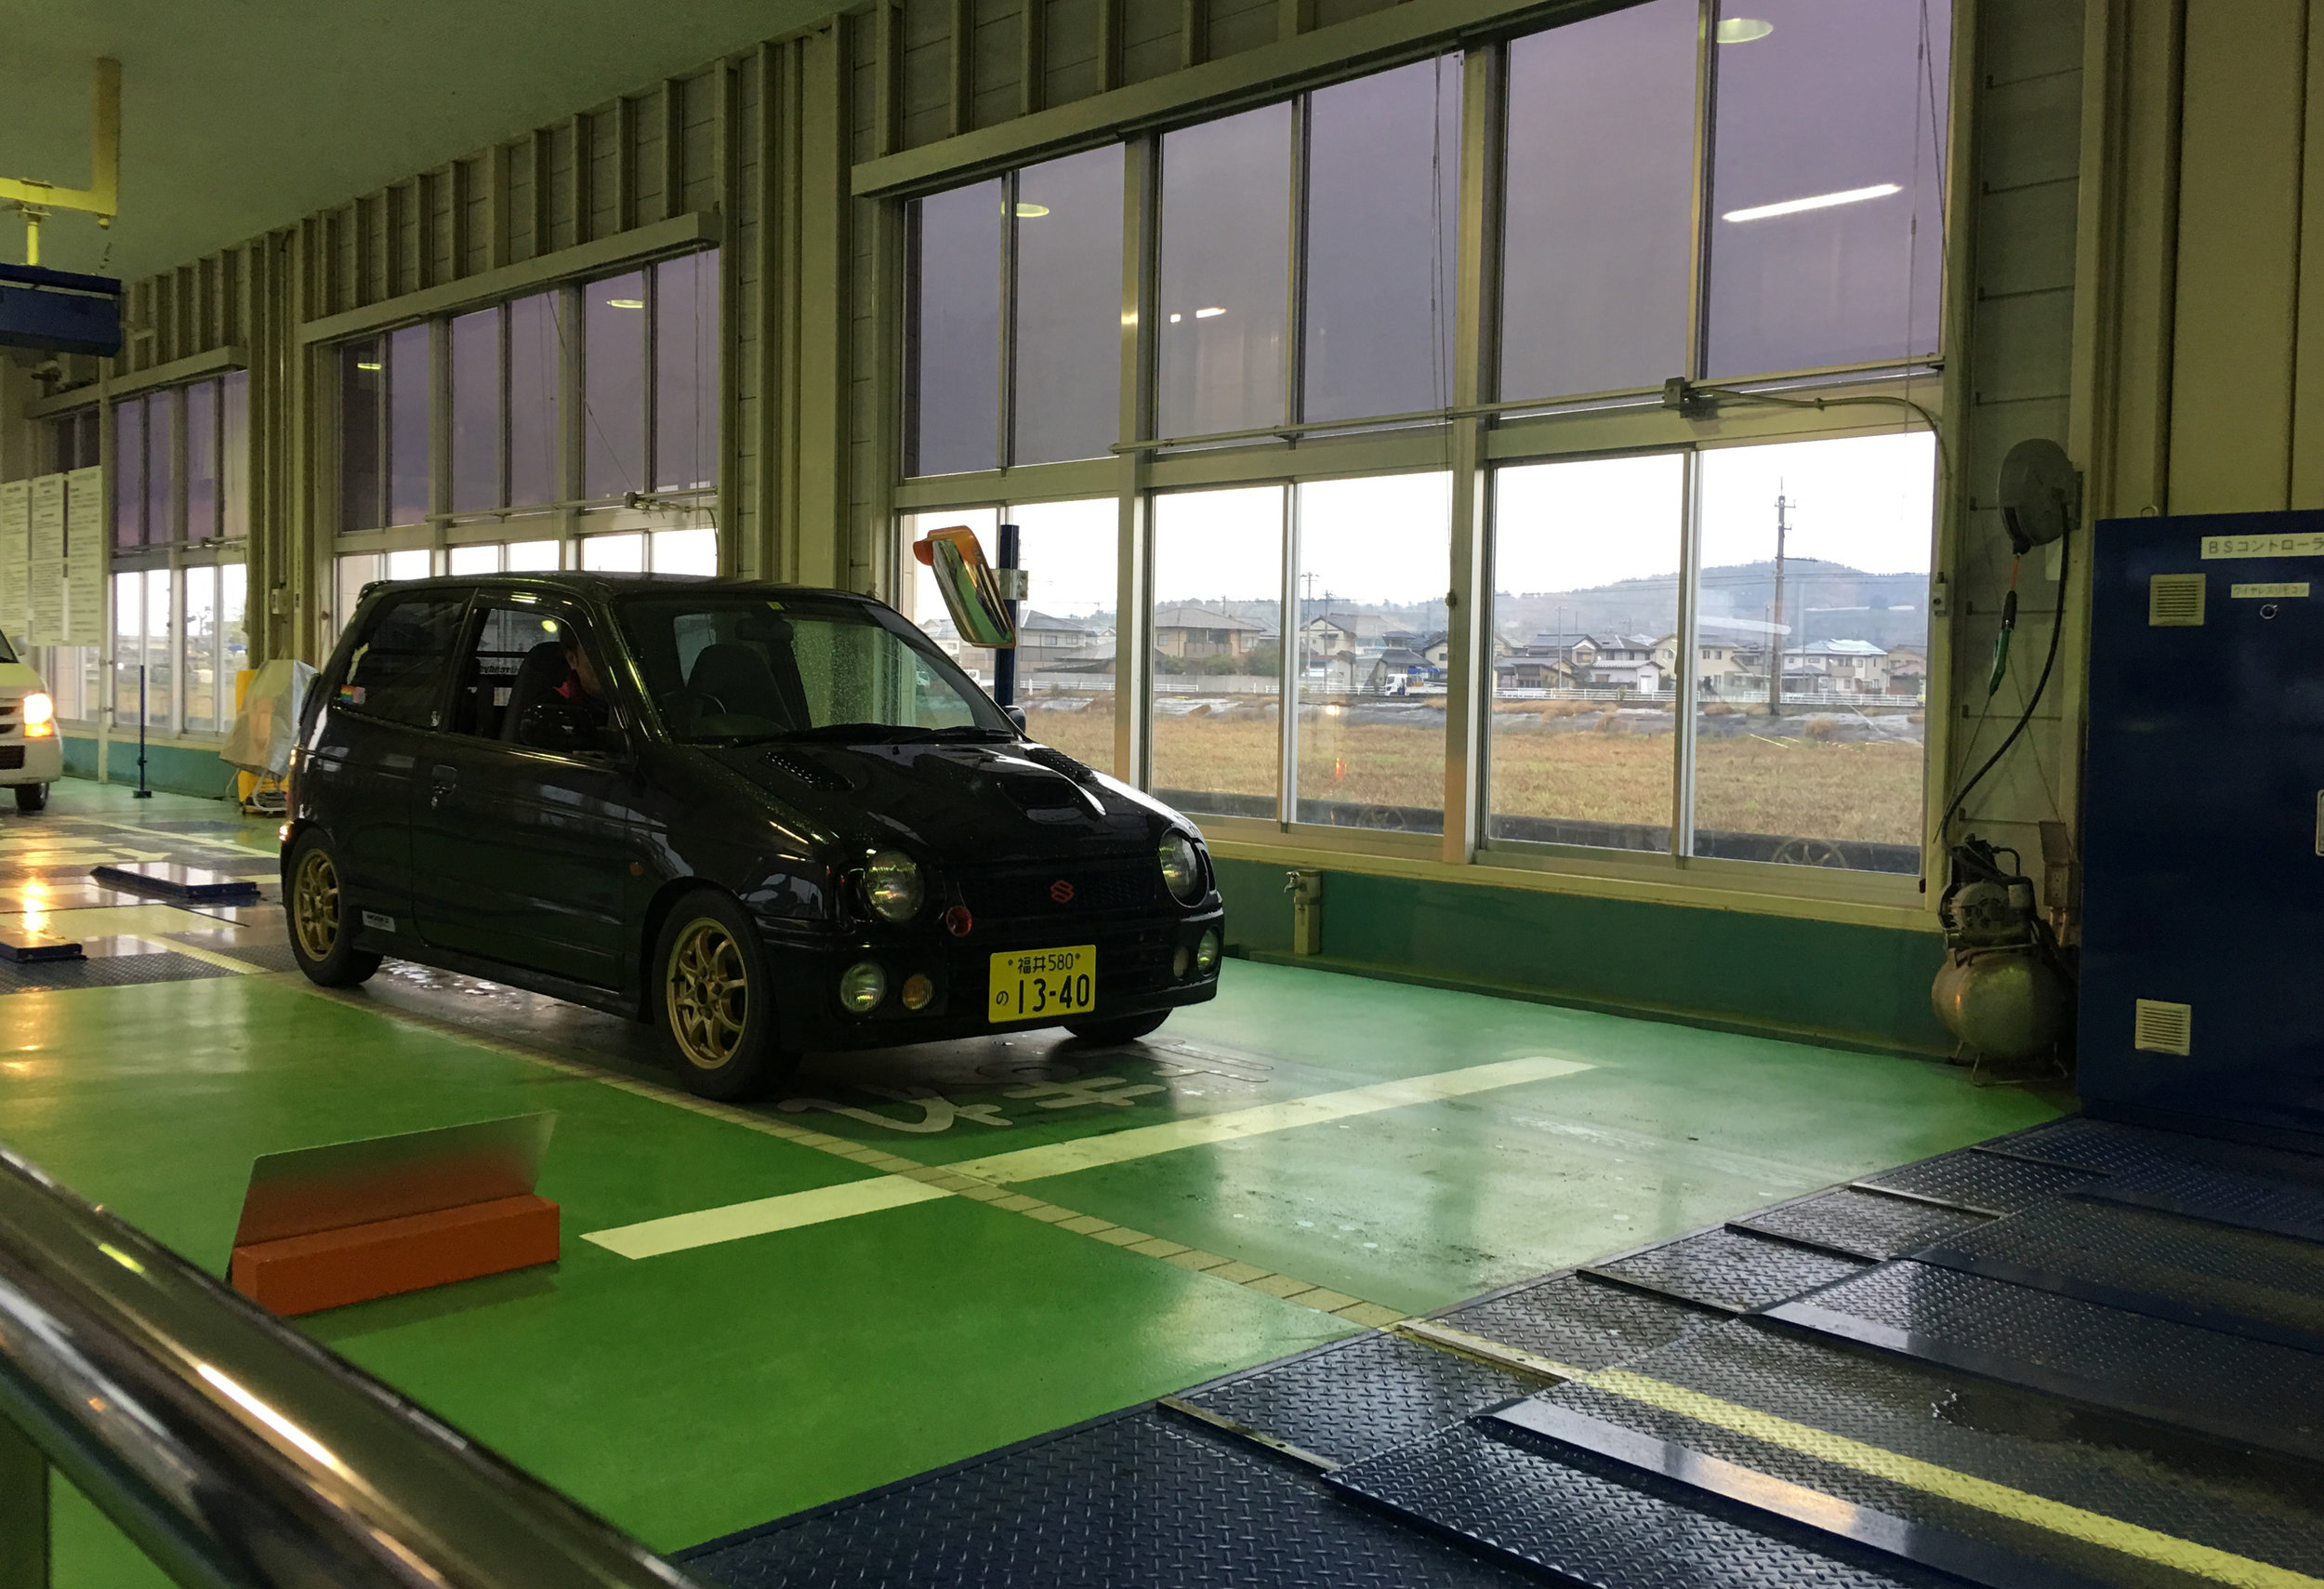
The first stage was visual inspection. Ride height, general body condition, engine bay, wiper function, and paperwork were checked here. As expected, I was questioned about the front intake snorkel. My mechanic insisted it was for looks only and that it did not directly connect with the air intake. (Which is true… it merely leads to the intake.) Surprisingly, the hood vents, the heat shields, HKS filter, and oil catch can did not bother them in the slightest. No other comments were made about my bumper or fenders, thankfully.

In the next stage, the car is driven onto rollers. Here, the car is checked for alignment, acceleration, brakes, and parking brakes. My car passed with flying colors, but then came the headlight machine which checks the brightness, spread, and aim of the headlights. Almost immediately, the screen above spat out an “X.” Universal, really, for fail.
A “mini boss” showed up here at this point, confronting me about my exhaust sound. I’d like to say the overeager young lad here annoyed me greatly. (Having already been disheartened by the failed headlight check.) The decibel sound, to me, is very obviously within the sound tolerance limits; I’d argue that some stock exhausts sound louder than this does. But it was his prerogative to challenge it and so he called on his manager to double check the sound just by listening to it. One sharp rev and the manager didn’t even blink and passed me. Thank you, good sir, for being reasonable.

The final stage of this shaken process involves a lift and visual inspection. My car is in overall great condition, with little rust, so this stage was a breeze. No issues were detected and I breathed a sigh of relief… the front suspension is riding on partially cut springs, afterall.
The time was now 3:30PM and the facility closes at 4:00. This gave us a few minutes to attempt another run through. Luckily, I brought a set of stockish, blue-tinted halogen H4 bulbs that were on my car initially. We rushed to replace the HIDs with these bulbs, reaching behind the small space behind the headlights. No time for cleaning up wires and putting the rubber gaskets back on, we tried again.
The staff once again questioned the front intake snorkel. (They literally saw us not 15 minutes ago!) They weren’t sure the bulbs would pass, but allowed us to check the headlights anyway...
And it was so close. The last boss was proving difficult to defeat, as the right headlight failed by a few degrees. Apparently, according to the aforementioned young lad, it needs to be pointing up just a bit. He said if we were quick, we could do one final run-through. It was past 3:50 at this point...
For the final check, the staff let us pass through visual and roller check. Once I heard the ding and saw the “O” “O” for the headlight check, I nearly cheered out loud. That was, as the Japanese say, “girigiri,” as in “just barely.”

I received the victory medal, a slip of paper and a freshly minted shaken decal. This would proudly go on my car the next day. Other than you readers, probably few others know of the struggle I had to obtain it. First world problems, I know.
To my recollection, this is the breakdown of all the costs associated with my shaken on my 1998 Alto Works. Your prefecture and car will vary.
Car weight tax stamp fee 8800¥
Examination fee 1400¥
Recycle fee 25000¥
Headlight adjustment fee 1080¥
Alignment adjustment fee 3000¥ to 4000¥
Delivering to Fukui ~4000¥ > 8000¥
Fluids change 5000¥ (This will vary greatly, since I am more or less “sponsored” by my mechanic.)

As for the parts I pulled off it, did I end up putting them all back on?