Ready Seat Belt

レディー・シート・ベルト

A look into the cool and bizarre, focusing on the Japanese import car culture and delicious ramen. Updated weekly.

  • Home
  • Blog
  • Food
  • Archive
    • Complete Archive
    • Ramen Archive & Map
    • Suzuki Alto Works HA11S
    • Suzuki Alto Works HA12S (Scrapped)
    • Suzuki Swift Sport ZC31S (Sold)
    • Suzuki Wagon R MC22 (Scrapped)
    • Newbie Guide
    • Photography
  • About
  • Facebook
  • Instagram
  • Twitter
DSC04485.JPG

[ Photography ] Peak Design Everyday Sling 5L Review

May 21, 2019 by William Tjipto in Photography, Reviews

For the past couple of years, I’ve been using two variants of the venerable shoulder bag… a “man bag” or “murse,” as my friends call it. While they may mock it, frankly, it’s a bit of a necessity traveling around Japan. There are quite a few daily necessities that are hard to leave home without. Let’s have a laugh and check out what I carry with me into the city:

Wallet, coin purse (Japan is still a generally cash-based society and they use coins for 500¥ / $5 USD and less), literally a dozen or more point cards that every darn shop has, sunglasses, handkerchief (for those lovely, humid summer days), hand sanitizer or wipes (many toilets lack soap), lip balm, battery bank and associated cables, earbuds, and maybe a small umbrella (for rainy days)...

Having picked up a “daily carry” camera, I wanted to incorporate it into my daily bag, so I won’t miss any great shots. With that, I needed to also add to my bag: Sony A6000, 2 lenses, and 1-2 extra batteries. Altogether, it is quite a lot to shoulder around, not to mention an organizational challenge.

For awhile, I was using backpacks which frankly are the most optimal choice, as they distribute the load over two shoulders and make carrying extra things like jackets or purchased goods much easier. However, there are days when I spend only a handful of hours somewhere and carrying a backpack is unnecessary. I also like the fact that a shoulder bag makes access much quicker and easier.

There were a few things I wanted out of a new bag: water resistance, some padding or protection, pockets or dividers, close-to-the-body strap (ie. not a messenger-style), a water bottle or umbrella pocket, and, of course, the ability to hold all my aforementioned stuff. And it has to look good!

DSC00762.JPG

Review
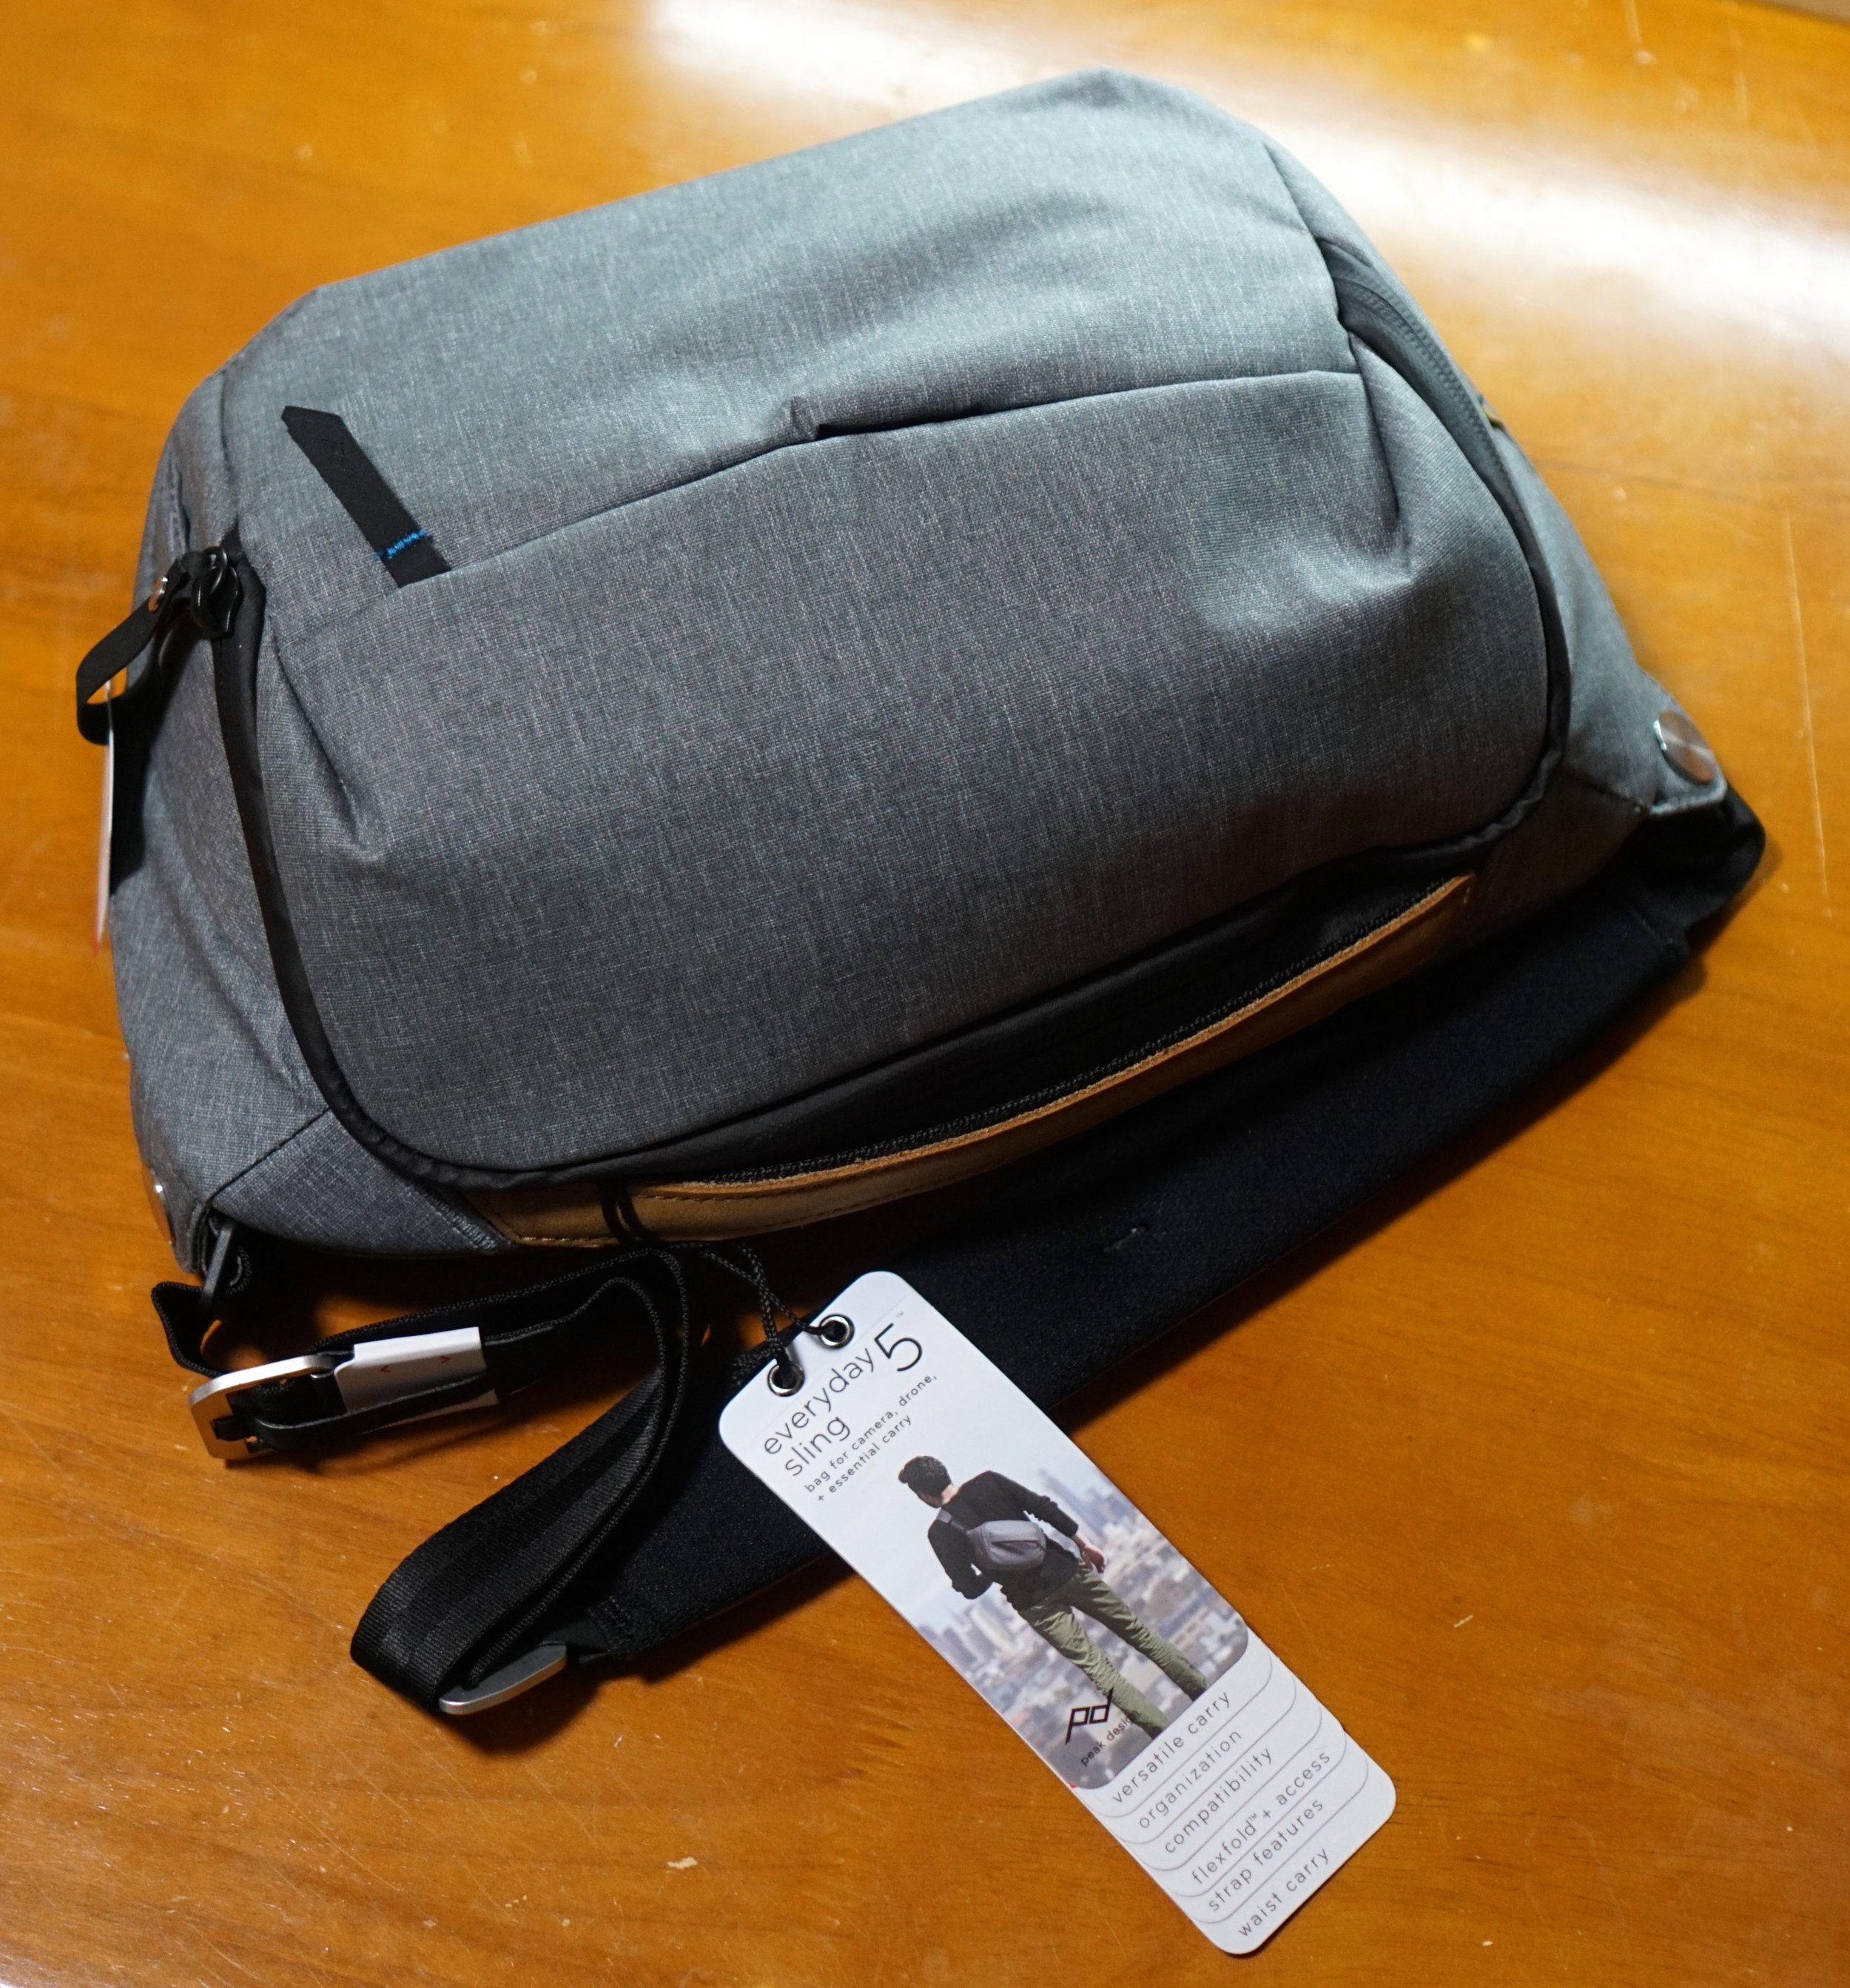
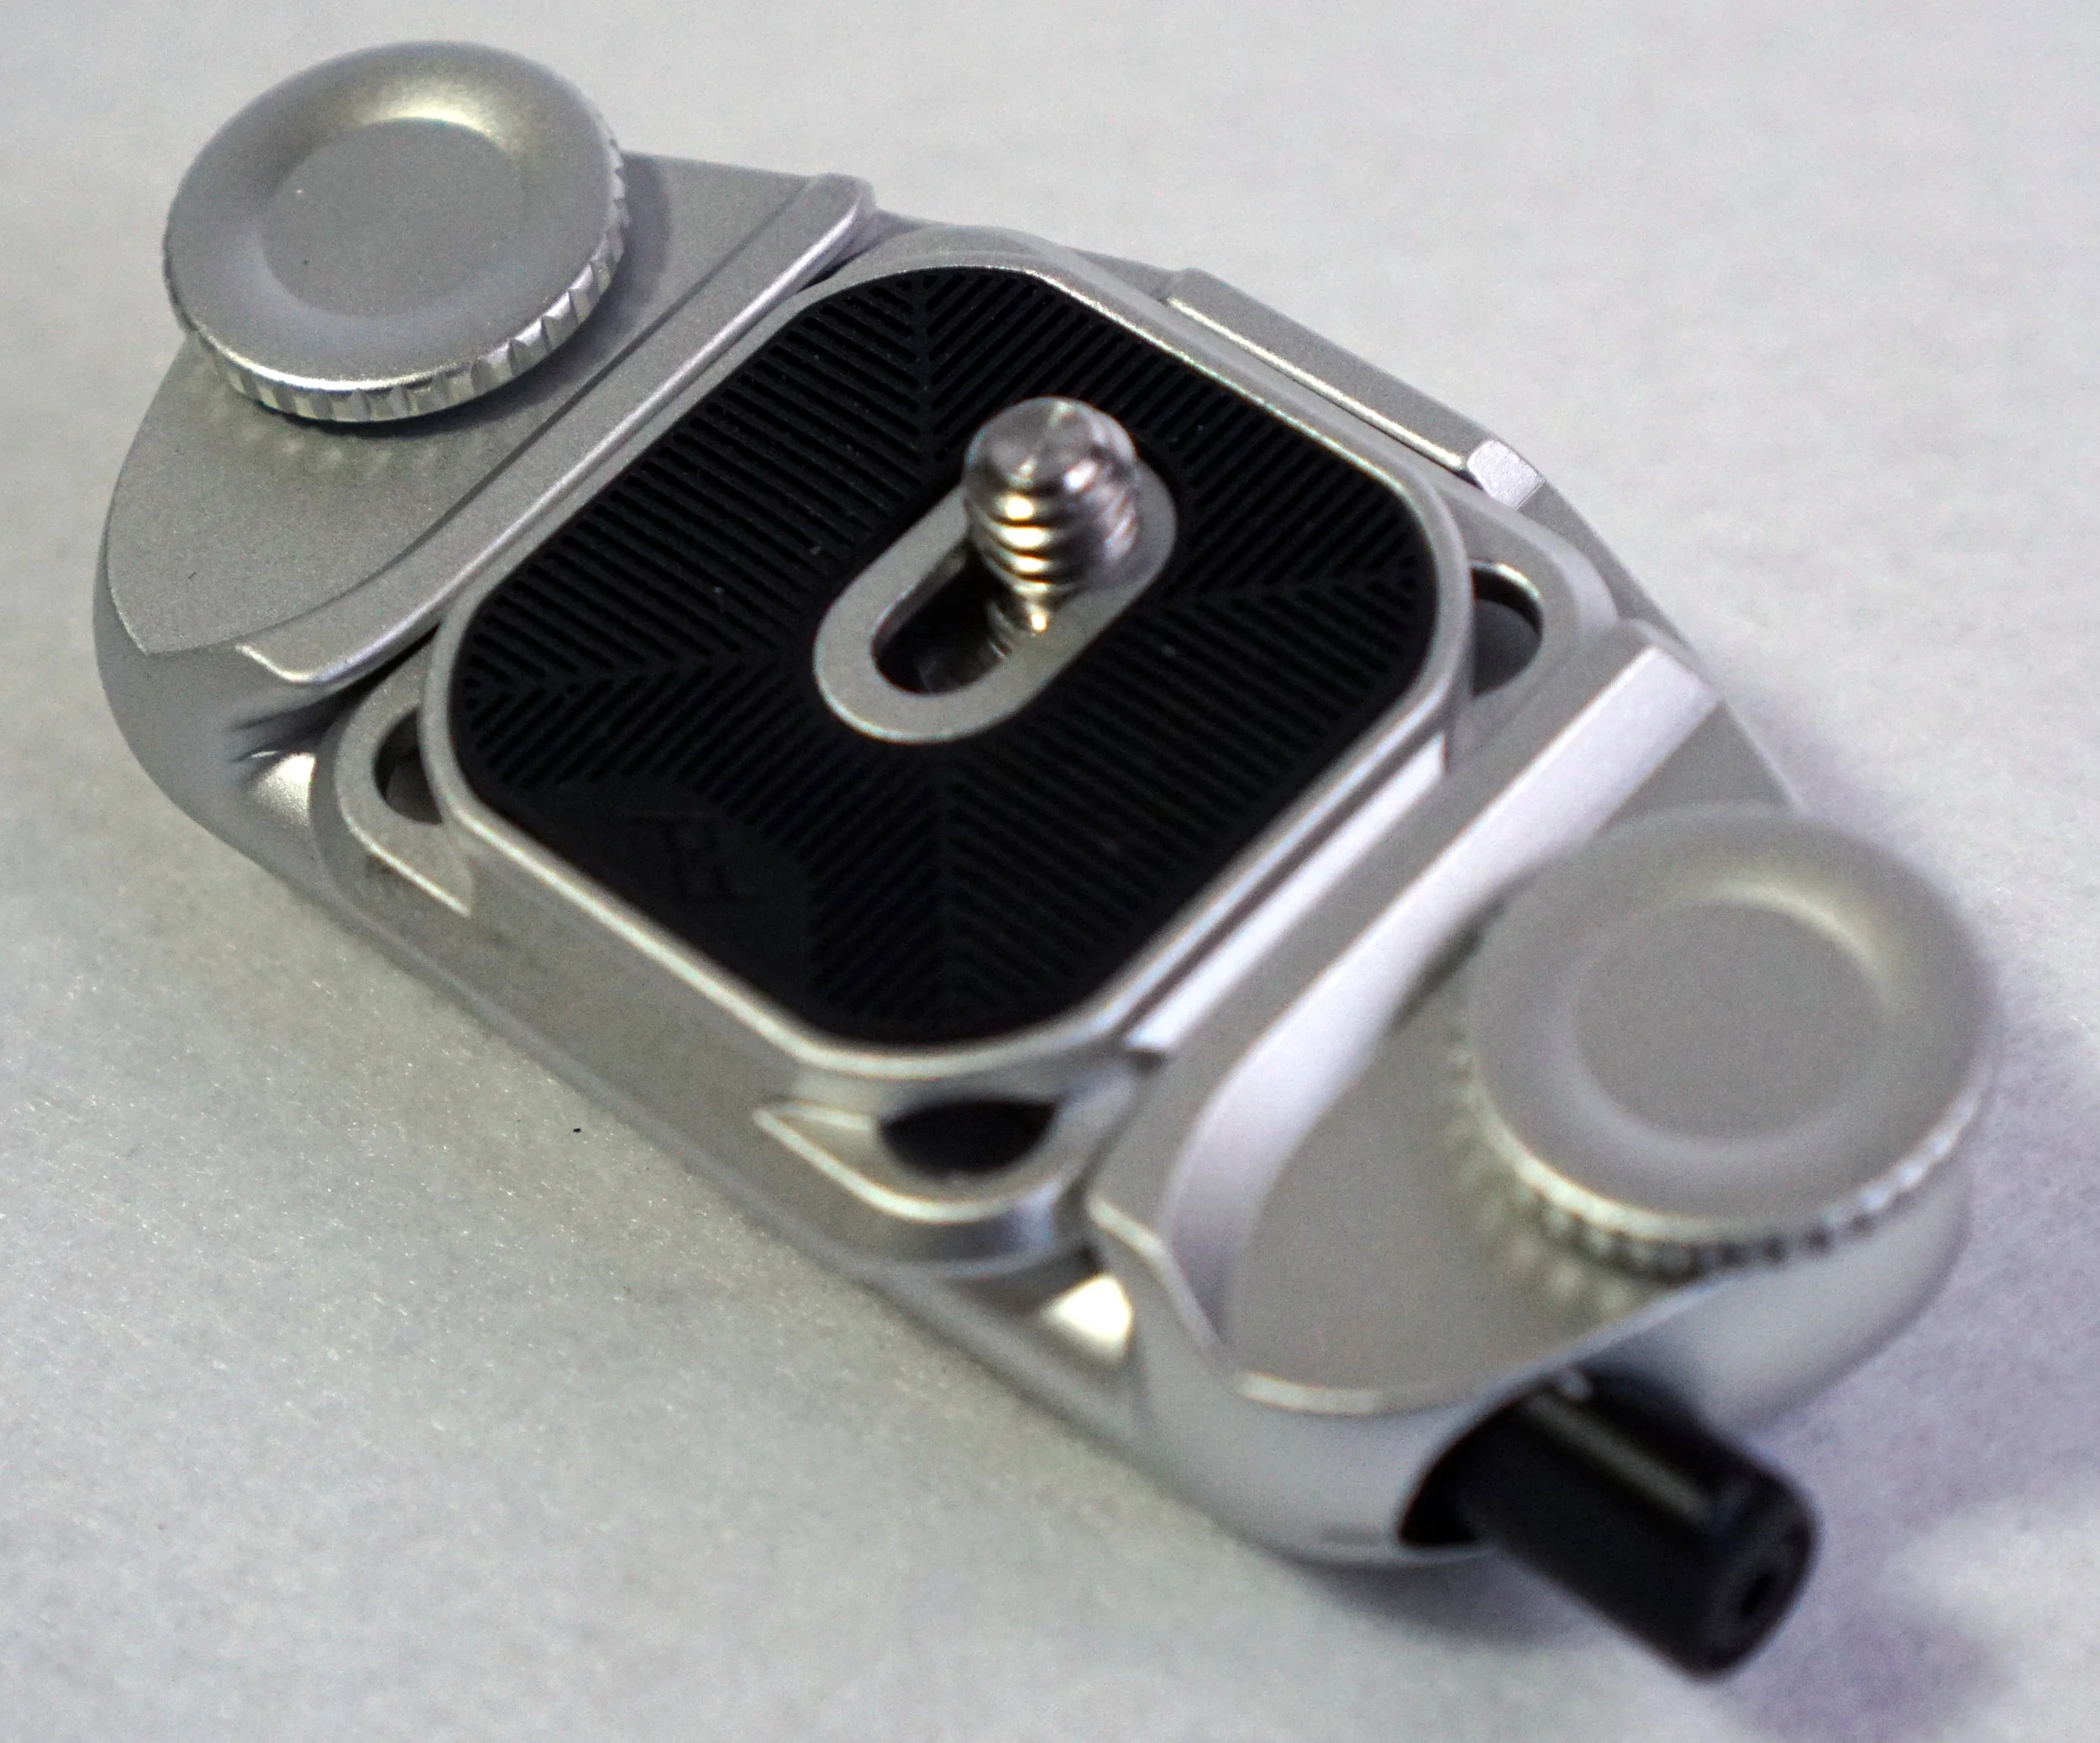
So I after falling in love with the Peak Design Capture Clip, my hunt for the best shoulder bag led me to the Peak Design Everyday Carry 5L in the sleek Ash Gray color. I liked the fact that it checked off almost all of my criteria: is not too large or small, is water resistant, has plenty of pockets and adjustable dividers, has some ability to protect against casual theft, and is decently padded to protect my camera gear. Sounds good, right?

Let’s get this out of the way: this shoulder bag and glorified fanny pack is $100 USD. It is not “cheap” by any measure, but “value” is different than “cheap.” With all the design features packed into the bag, I think it is offered at a fair value. Using a rare PD coupon, it was much cheaper for me to order directly from their website than Amazon.co.jp or other local retailers, coming out to about $105 shipped to Japan. It arrived about a week later from their shipping center in Hong Kong.
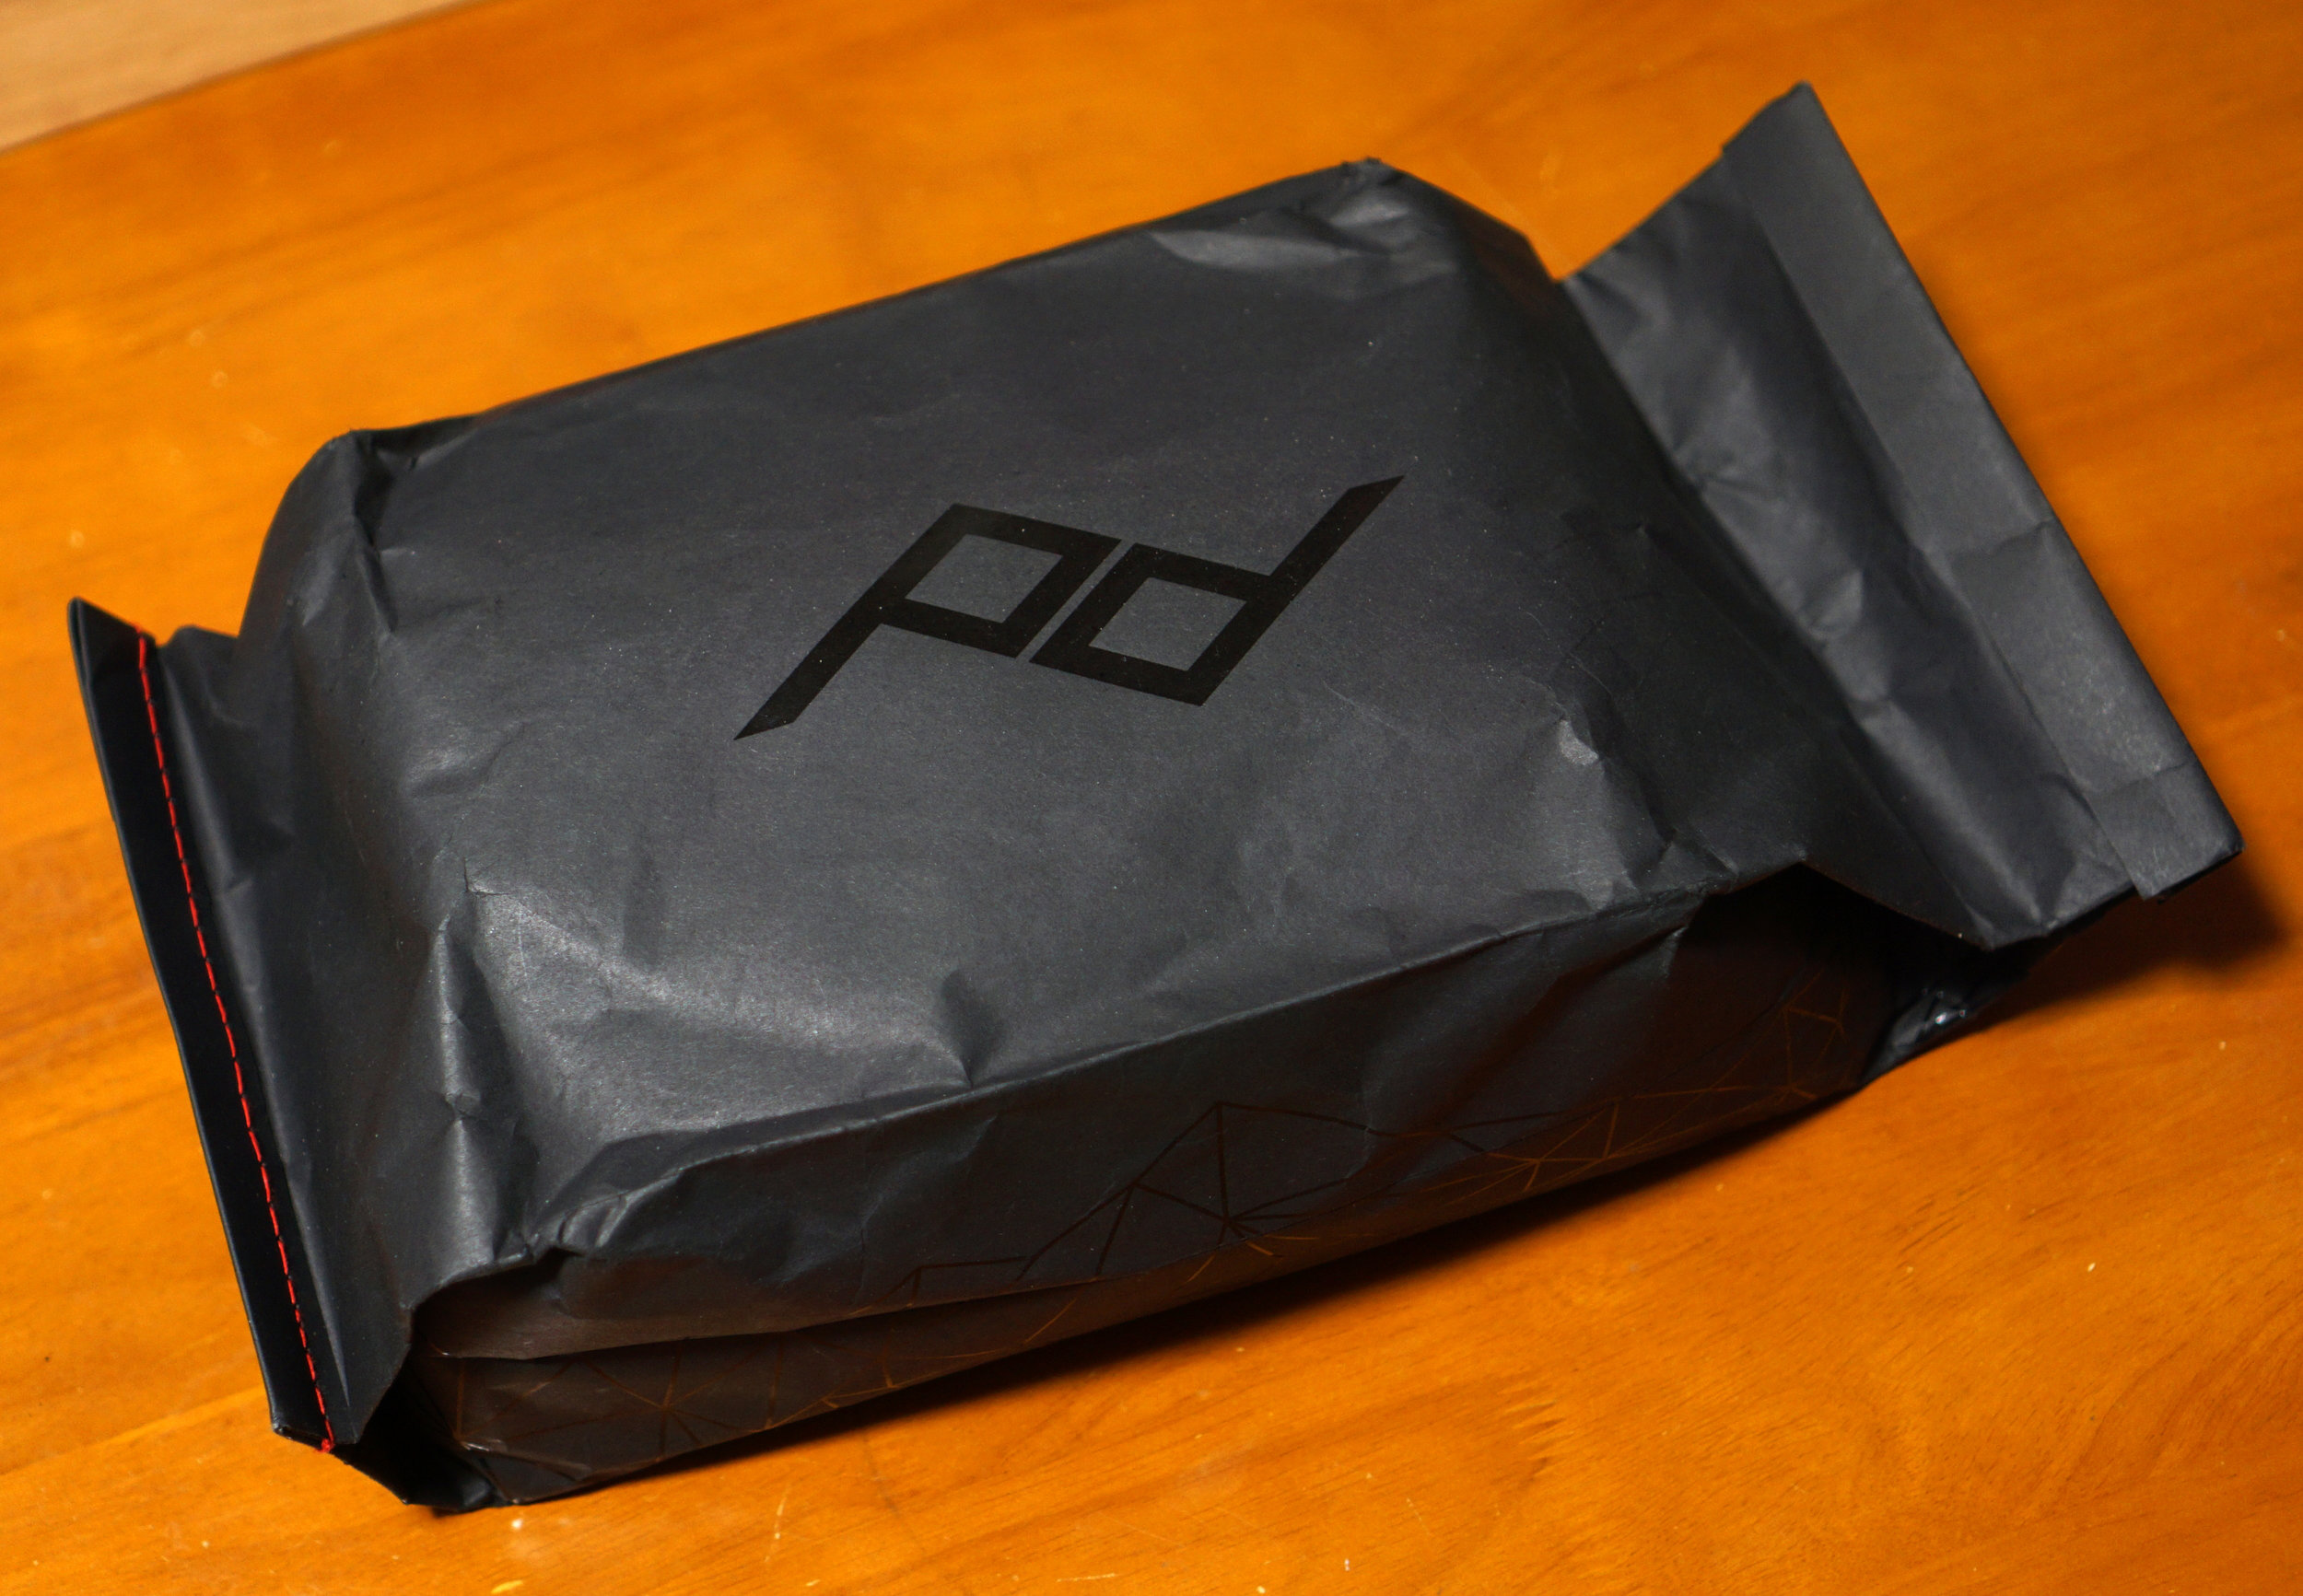
DSC00754.JPG

Packaging
Normally, this would be a ridiculous thing to mention along with those unnecessary “unboxing” videos, but this is an exception. PD really has some great designers putting thoughtfulness even into their packaging, which looks really slick and opens up rather cleverly.

DSC00765.JPG

Materials and Construction
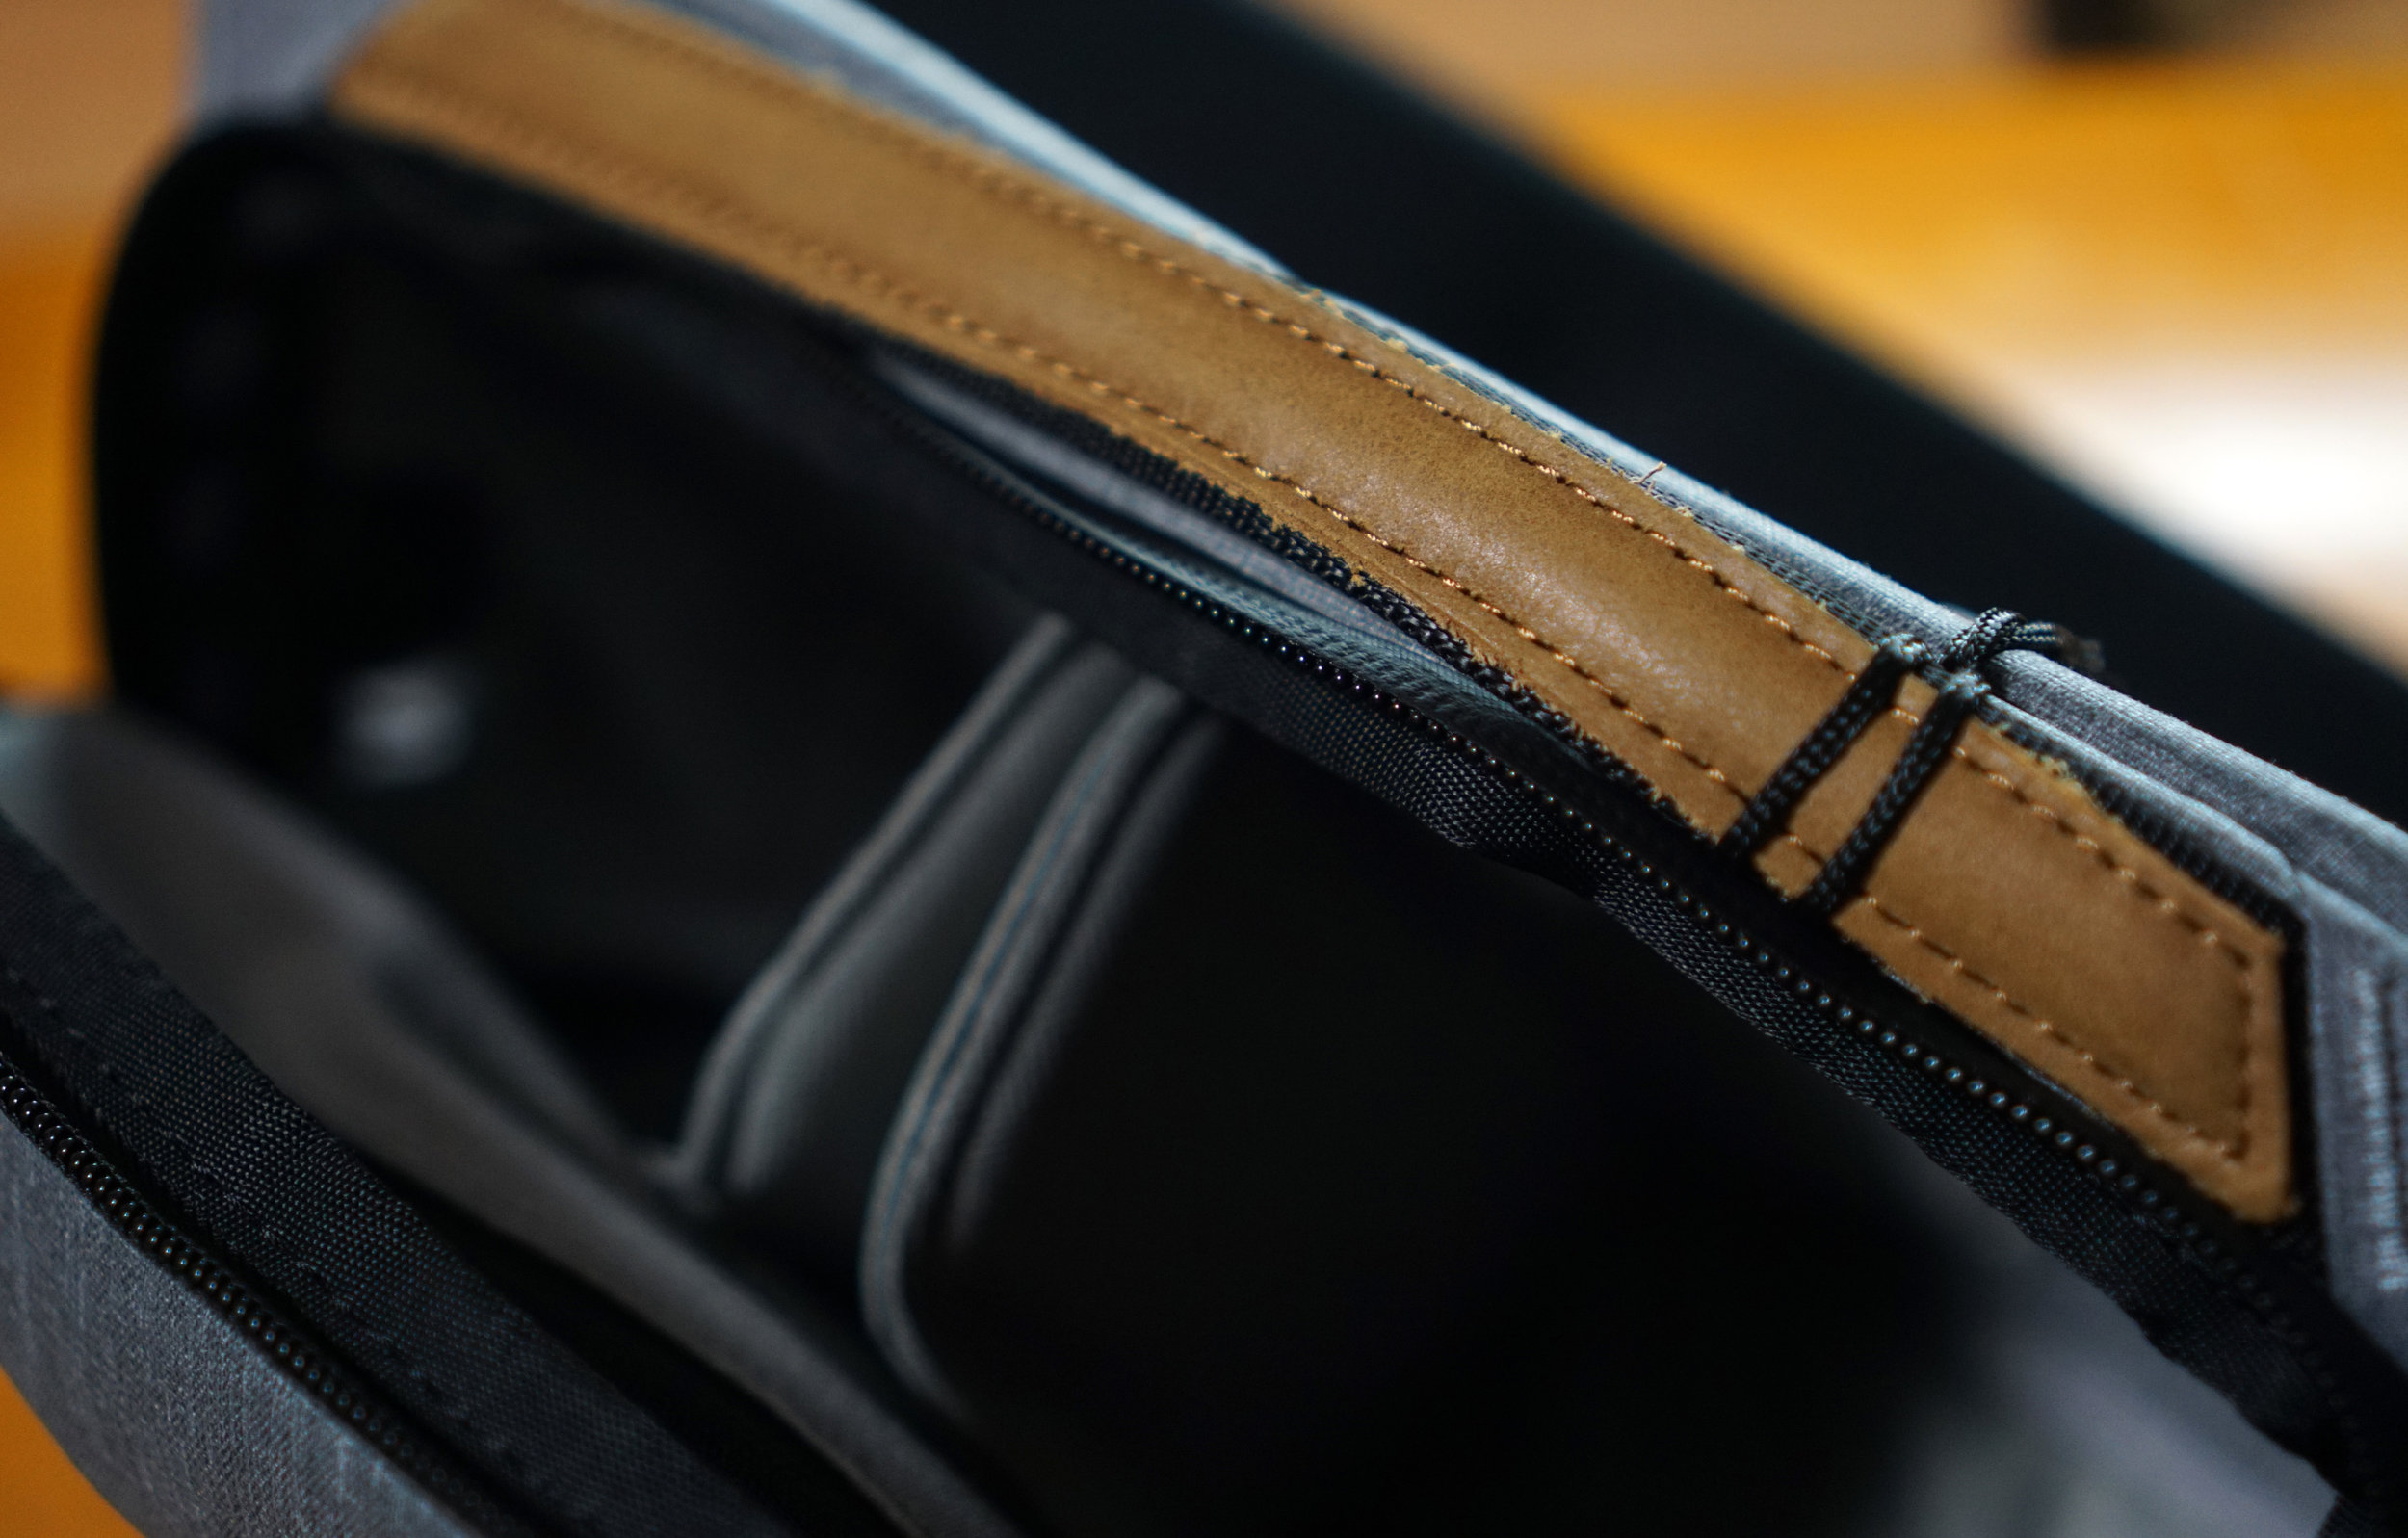
Immediately, you can see the rather substantial build quality of the pack immediately. The stitching is tight and even, although the blue accent stitching has a bit of leftover thread that shouldn’t unravel, but only time will tell about that. The 400D water-resistant nylon surface of the pack is smooth, thick, and has a great, substantial feel. The water-sealed zippers pull assuredly, but require some solid “tugging” at the corners to overcome the bends, but this is a worthwhile trade off for weather resistance. The seatbelt-like material used for the shoulder / belt strap is very smooth and should most definitely outlast the rest of the bag. Overall, I have only positive things to say about the materials used.

DSC00772.JPG

Exterior Design
Speaking of the exterior, there is only one outer front pocket besides the main compartment. This keeps the design clean, but limits some useability, as a rear flat pocket for a passport or electronic pass card would be nice to have.

DSC00763.JPG

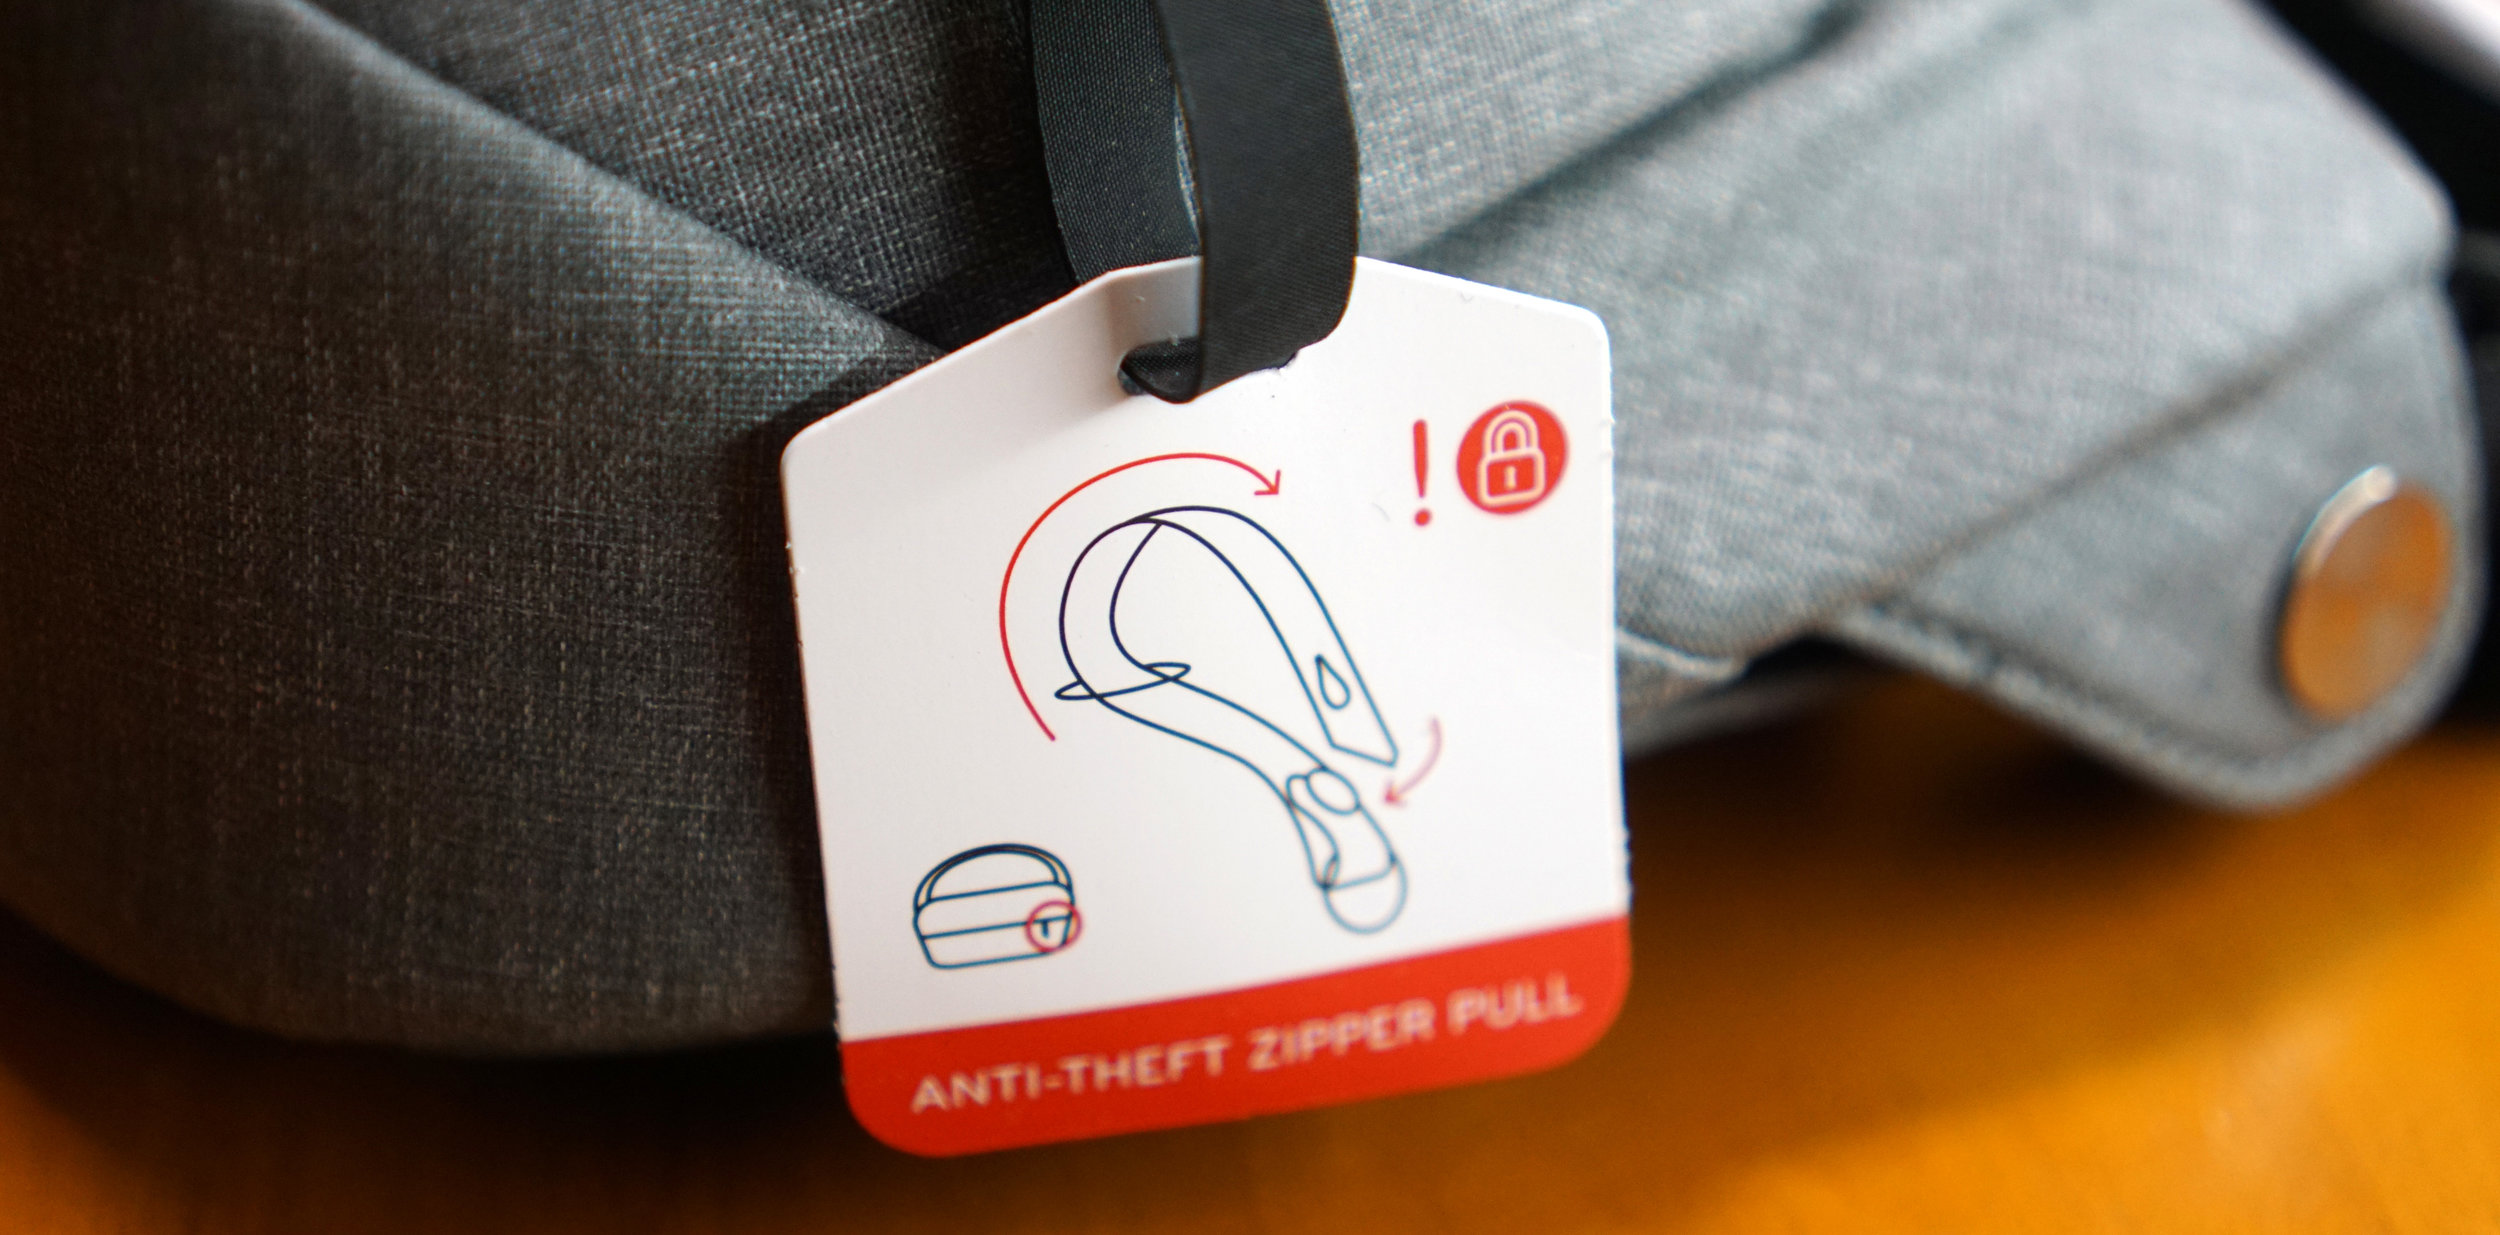
The zipper pulls are also “lockable” because they can tie into each other via a loop and button, preventing casual theft in urban areas. Not really a problem for me in Japan, but is a clever idea for traveling around many other major cities.

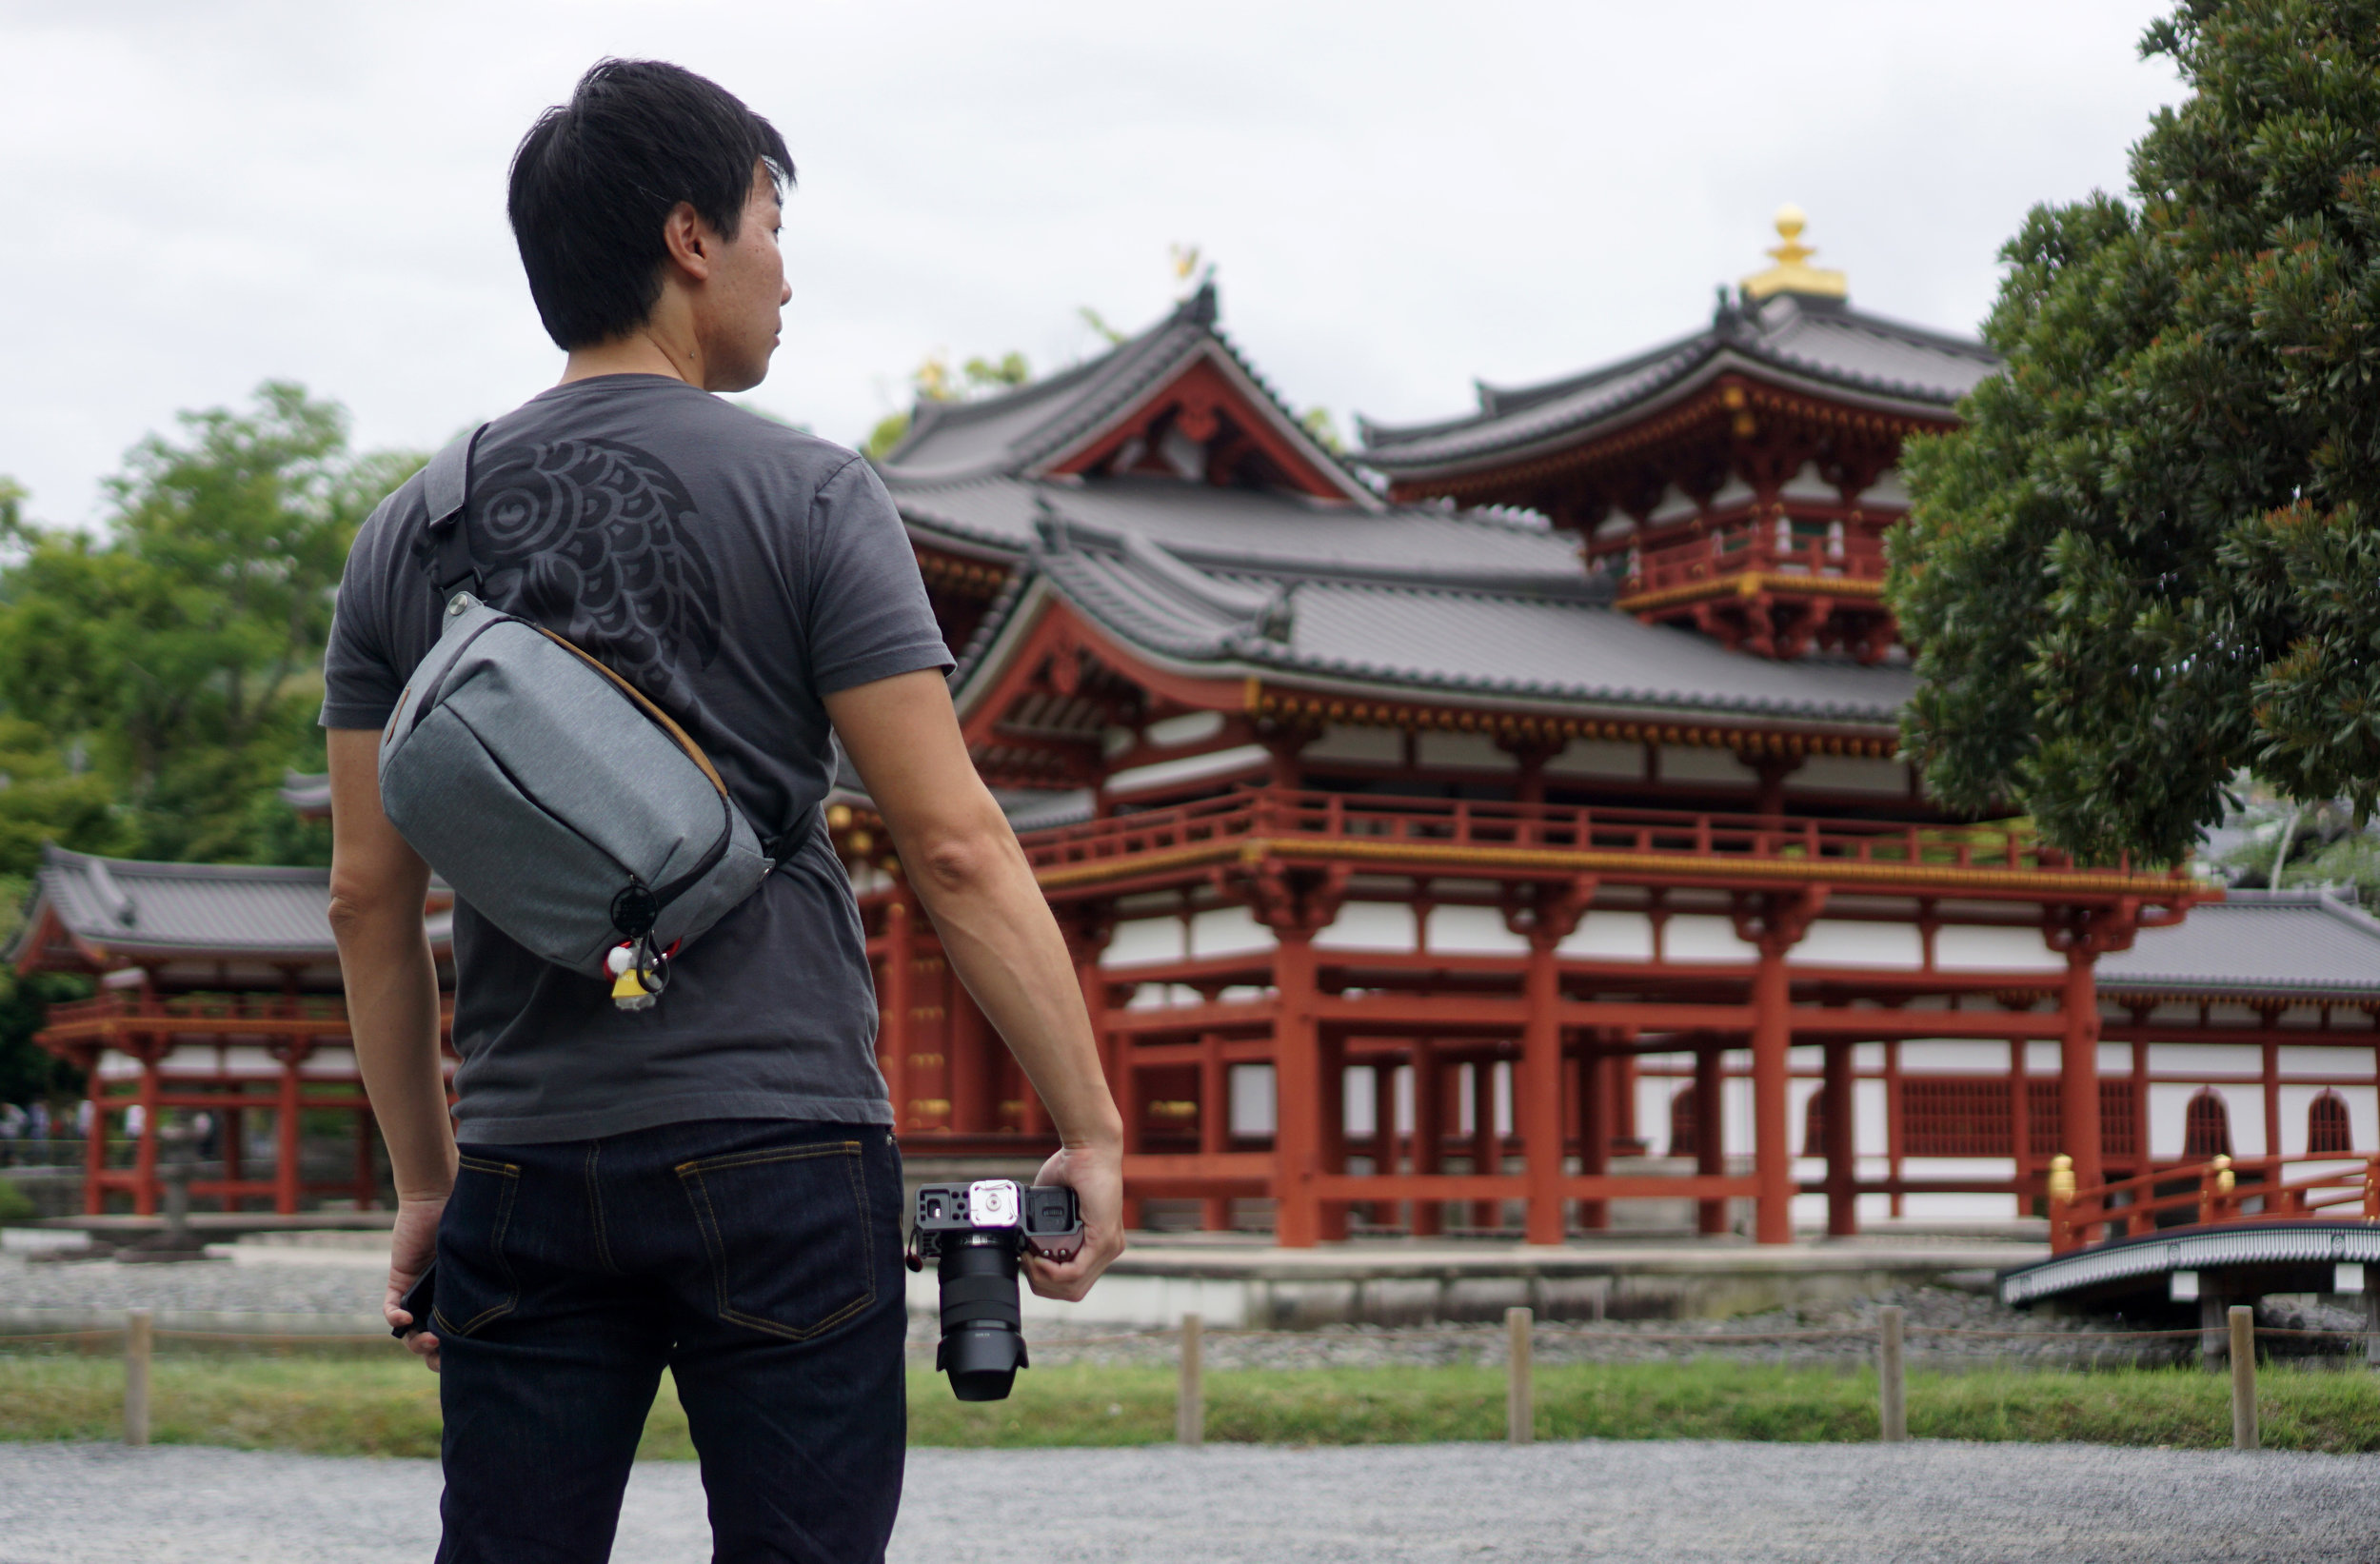
The shoulder strap has a relatively quick slide buckle arrangement that allows for on-the-fly adjustment to have the bag tighter or looser around the body and also for varying thicker garments. The best thing about the shoulder strap are the two stainless swivels that allow the strap to rotate and have more freedom of angles. This aids greatly in comfort and body angles. It can also be converted to a hip / waist pack as mentioned, but I will most certainly never use this unless it suddenly comes back in vogue.

The final notable outer design element is this loop on the right side of the bag that allows the mounting of a Peak Design Capture Clip for external camera mounting. I think this is a clever feature for additional convenience, but my clip is currently mounted to my backpack.

DSC00767.JPG

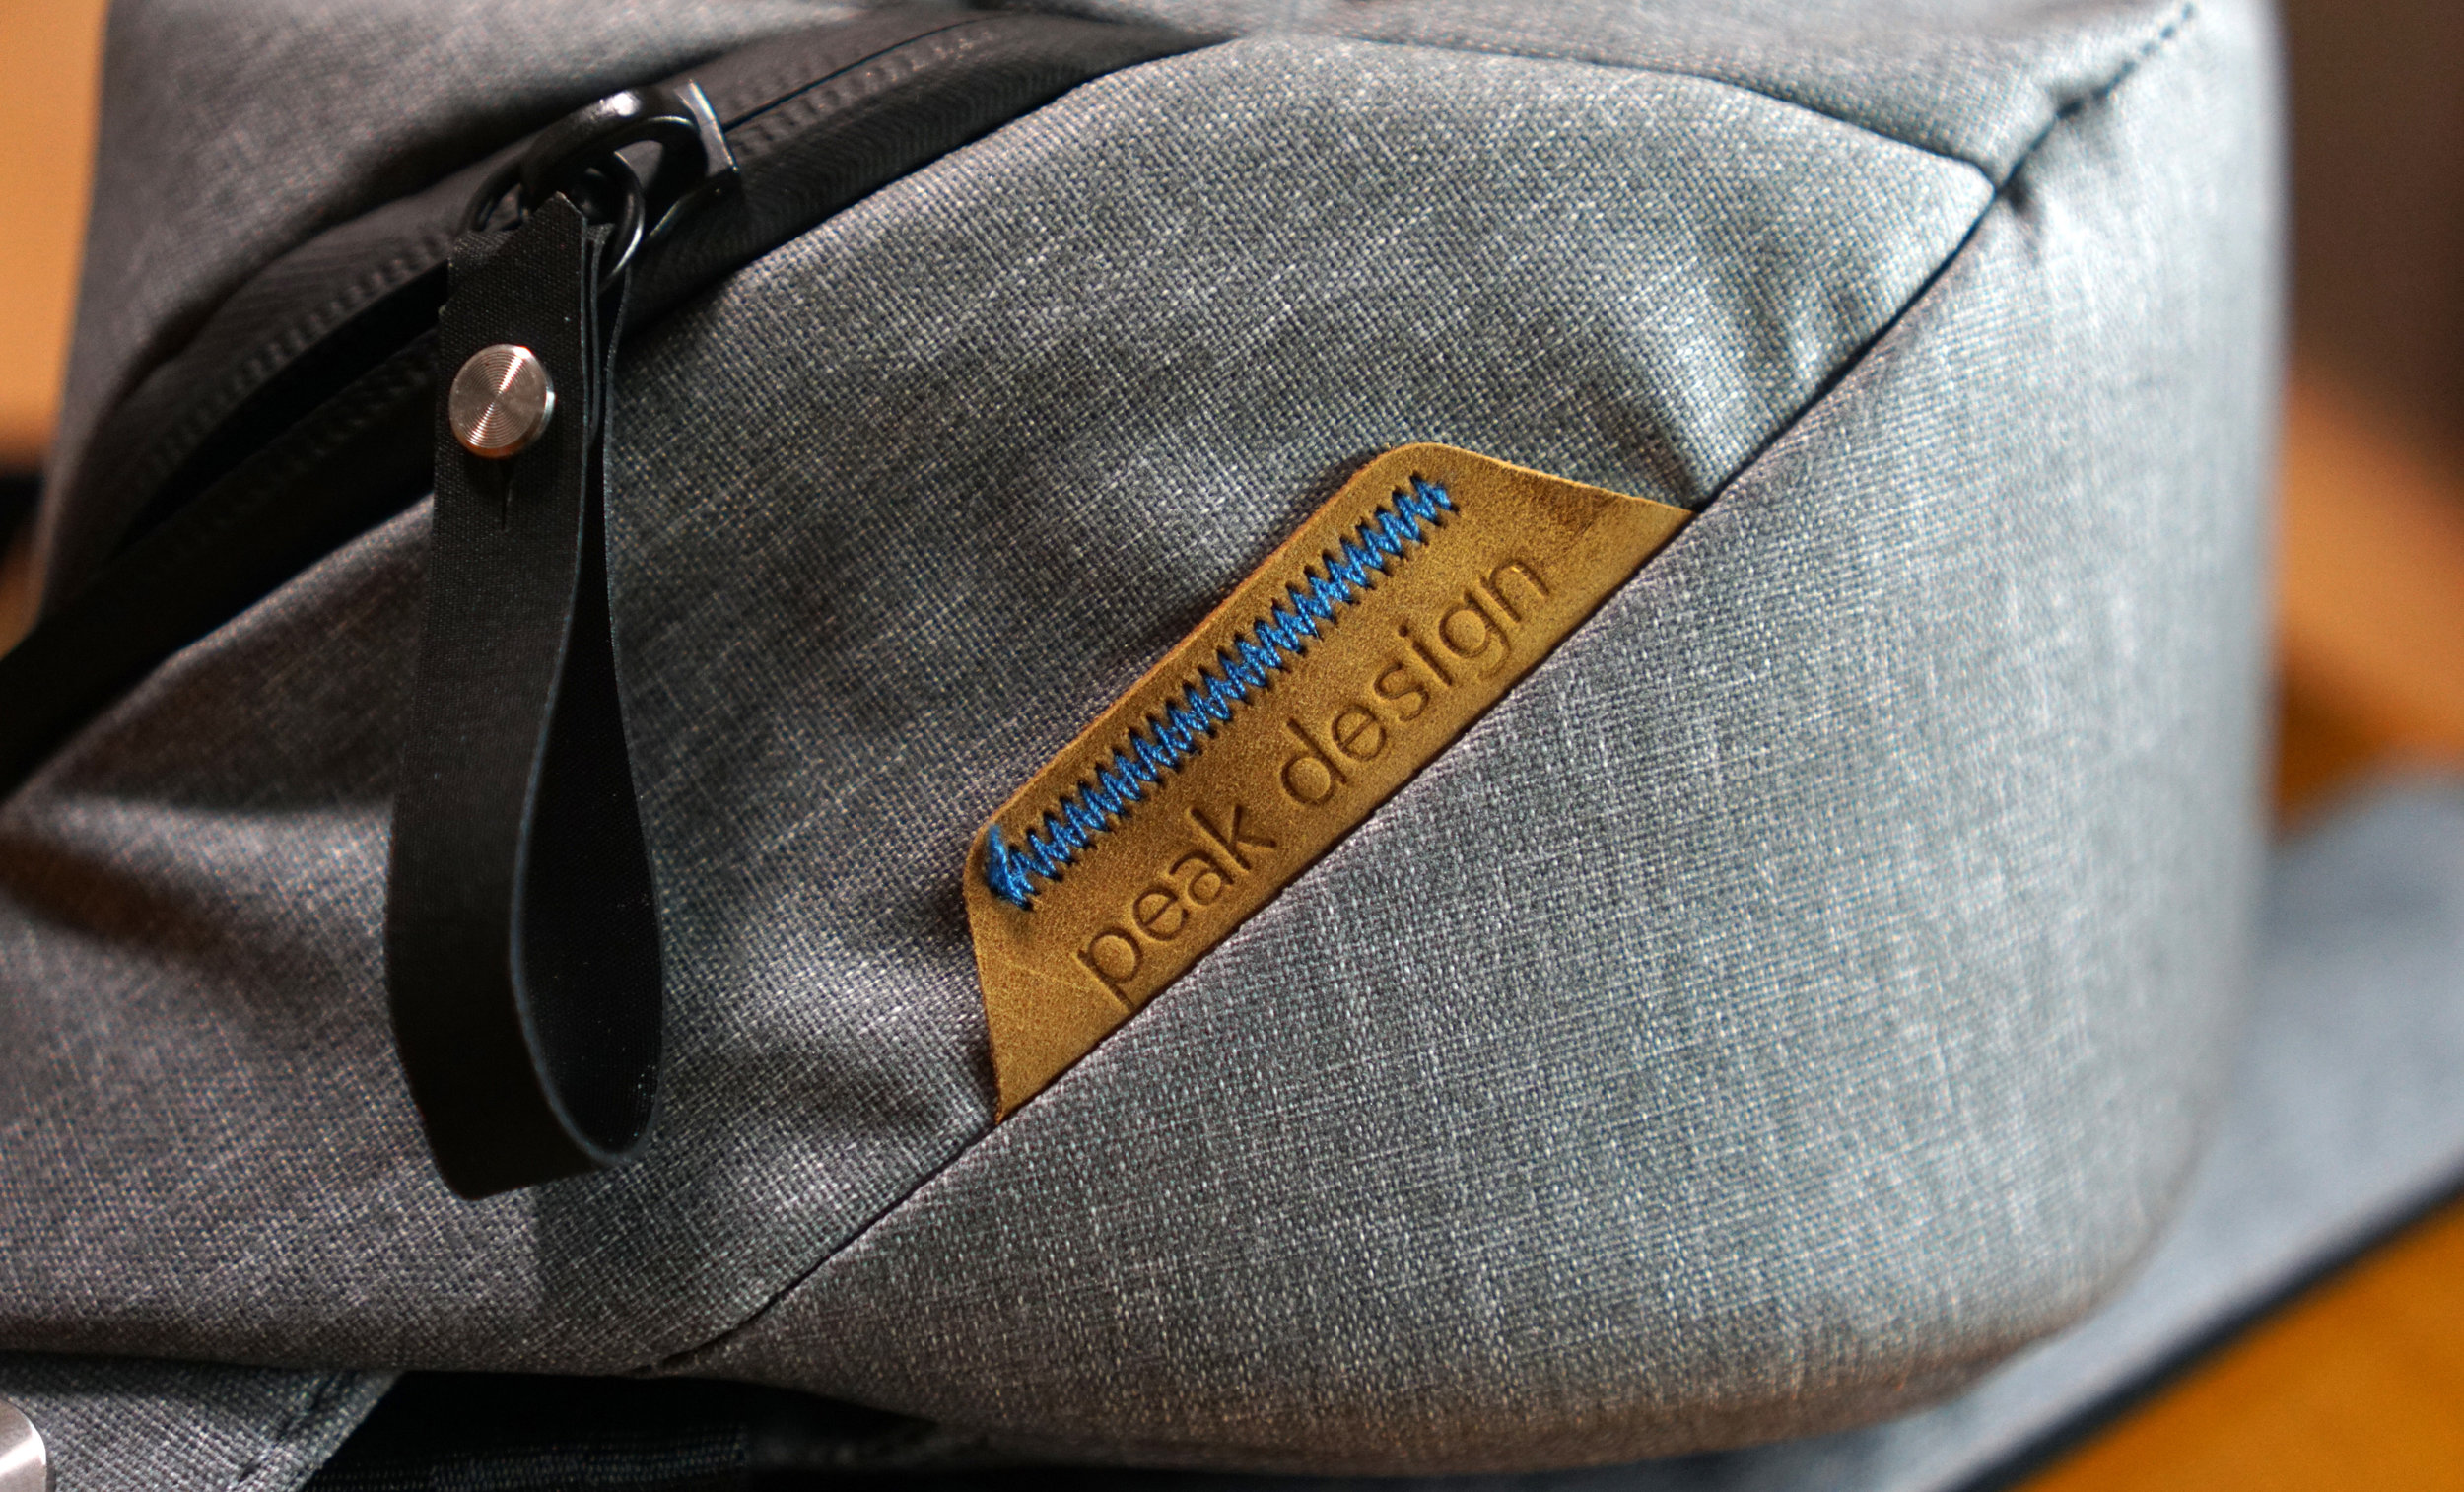
Good looking? You can be the judge, but I think it looks absolutely great. It has a smart, modern aesthetic that doesn’t look bulky or dated and likely will still look good in a decade or two; simple designs always endure the test of time. I also love their Ash Grey color with the small leather accent for the logo and the carry handle, as it can go with almost any look, casual or business.

DSC00769.JPG

Interior Organization
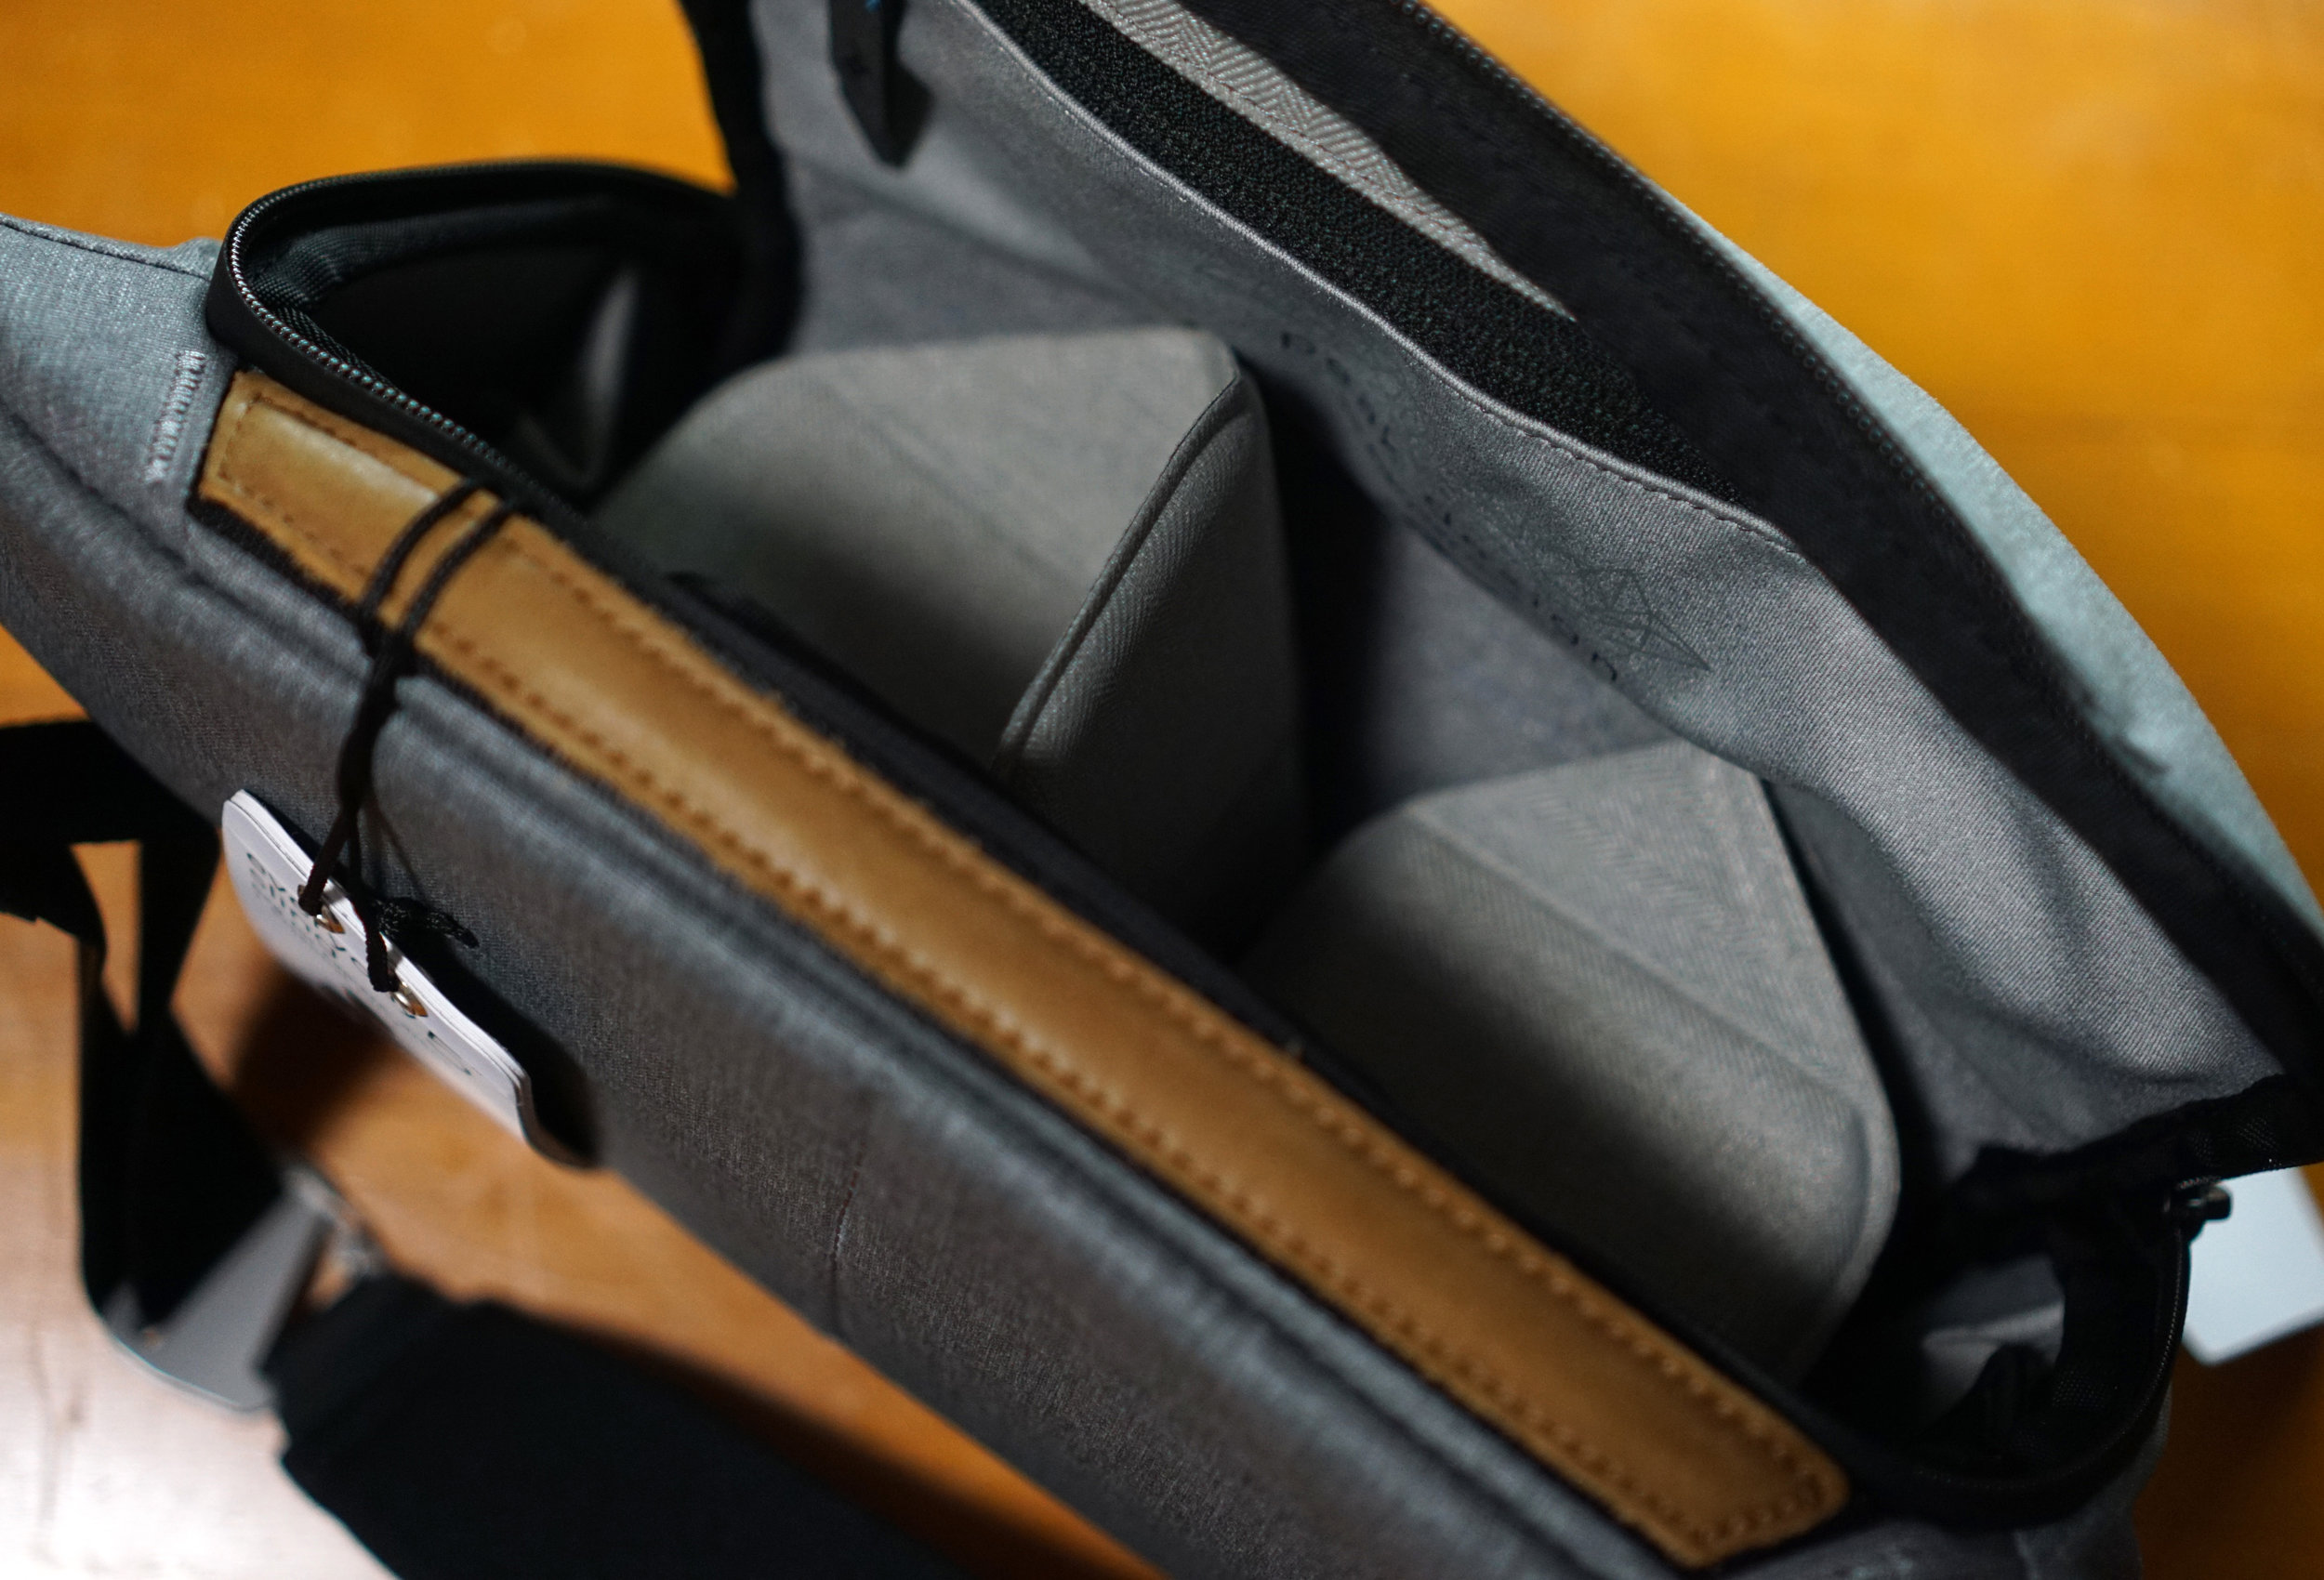
There are a lot more storage options inside the pack than outside. The main compartment is reasonably cavernous with all the dividers removed at about 5L of storage according to PD. To the back of the pocket is a large, magnetically-sealed flat pocket designed for an iPad Mini, but I put my USB power bank there. Directly to the sides of the main compartment are two stretchy side pockets which are tall enough to accommodate business cards and stretch for thicker items. The inside “door” has one zipper running the length with four smaller pockets inside. These also stretchy pockets are the perfect size for my Sony A6000/A6300 NP-FW50 batteries.

2019-03-14 003.JPG

What sets this bag apart from other similar shoulder bags are the two included “origami-inspired” foldable and movable dividers. These dividers split the main compartment, but each cleverly fold for half-tall items, creating an additional “shelf.” I use the dividers to separate my A6000 camera with a 35mm prime lens, my spare 16-55mm short lens, and my wallet and coin purse in three distinct areas. Fully loaded, it can even accommodate an A6300, A6000, kit lens, 4 batteries, and still have a bit of extra room!

One thing I wish they added was some solution to hold a water bottle, small umbrella, or Gorilla Pod without compromising the interior space for the camera, as I often have use for one or the other. Some bags do this by way of an admittedly ugly stretch pocket or by two external lashing straps. The PD Everyday Carry 10L does this, but sadly not the 5L. Compromises had to be made, I suppose.

DSC00768.JPG

Comfort
The single sling strap offers a small, wider, slightly padded portion. This could be… or should be… a bit thicker and/or wider for long-term comfort. It would more useful as both a shoulder bag as well as a waist pack to those who use it that way. A fully-loaded bag does weigh quite a bit, especially with a camera with two lenses. Some of the discomfort is offset by the clever sliding buckle on the strap that allows for on-the-fly adjustability, allowing the bag to be tight around the body instead of flopping around. This keeps it close, which is important for urban environments like crowded trains.

With this sliding buckle system though, the bag is not fully designed for off-side (over left shoulder) use, as the padded area is only on one side and the the sliding buckle is on the other part of the strap. I do use it occasionally on the opposite shoulder and it seems fine for short jaunts.

DSC00764.JPG

Negatives
For the price-point, they could probably have made this in America. While I appreciate the unique design and quality materials that go into the product, I think it wouldn’t have been too difficult to at least have the labor done stateside, if not the materials. To be fair, they do offer a lifetime guarantee, so I can rest assured that the product will hold up or be fixed should anything go wrong.

The metal articulated loops also had obvious fingerprints upon receipt in the glossed finish, which required surprisingly a lot of rubbing to get off, even though the bag was sealed, new-in-package. This is probably not a common issue, however.

DSC00766.JPG

Conclusion
I am a huge fan of Peak Design and every one of their products I own and want to purchase are well-designed, incorporating a ton of smart features and a modern aesthetic, with a price point to match. This Everyday Sling 5L is right along with their rest of their product line. While it is far from a perfect solution, in most ways it does what I expect from a quality bag and it looks great doing it. Even though it is a glorified fanny pack.

DSC00760.JPG
May 21, 2019 /William Tjipto
SONY, ソニー, A6300, ALPHA, アルファ, MIRRORLESS, DSLR, DIGITAL, デジタル, CAMERA, カメラ, DIGITALCAMERA, デジタルカメラ, OSS, PHOTOGRAPHY, フォトグラフィー, PHOTO, フォト, PICTURE, 写真, 撮影, EVERYDAY, PEAKDESIGN, PD, SLING, 5L, JAPAN, 日本, 平等院, BYODOIN
Photography, Reviews
Comment
DSC00111.JPG

[ Photography ] Peak Design Capture Clip V3 Review

March 15, 2019 by William Tjipto in Photography, Reviews

Today I’m taking a look at an alternative (or addition) to camera straps and slings. For nearly a decade, I used an ECHO NiNER camera strap with my Nikon and it worked out pretty well. While it wasn’t the most adjustable or smooth strap, it was certainly well made, with thick nylon webbing, solid quick-release buckles, and silicone non-slip coating. I worried that maybe somehow the buckles would accidently undo themselves, but I never had an actual issue.

I generally became tired with traditional straps because I wasn’t fully satisfied with the feel of a camera on my neck and the thick bulk of the E9 really could be improved. (Do I really need mil-spec webbing on a camera?) The idea of using a “holster” sounded pretty good. The most popular type at that time was the Spider Holster which necessitated a ball mount be affixed at the bipod mount. The biggest issues with that are it is no longer quickly mountable to any tripod and the camera no longer sits flat on any table. And the holster itself is pretty bulky. Not worth the hassle, frankly.

Peak Design introduced their Capture Clip several years ago as an alternative and it was pretty revolutionary, in my opinion. It was much smaller, flat, and compatible with Arca-Swiss tripod mounts. The “holster” clip itself was small, slick, and could be mounted on a variety of places, including backpack shoulder straps, making it extremely convenient and the camera still within easy access. Moreover, a friend of mine recommended me the PD clip since he used it with his own DSLR while hiking, keeping the camera hands-free when doing the Pacific Crest Trail through-hike. (Speaking of which, if youre into hiking, please head over to his site Halfway Anywhere to check it out. He’s crazy avid and runs a great site.)

Having picked up two camera bodies recently, I knew being able to switch between them halfway easily would be great, not to mention I wanted to try a different way to hold my camera while exploring. The typical over-the-neck carry wouldn’t work with two bodies and no way was I going to use those dual camera vests. So the idea of the capture clip really fit that need.

I’ll admit, I picked up a cheap, fake PD clip copy several years ago. First of all, at around $10 USD, the price was right. I needed to know how well it works and even if I would find use for it before investing in a real PD clip. And honestly, with one camera body and the camera strap. I had little use for a capture clip. So it basically sat in my closet for 2 years or so. For good reason, it turns out. But I’m getting ahead of myself, let’s start with a look at the real deal.

DSC00090.JPG

Peak Design Capture Clip V3 Review
This PD Capture Clip is the third iteration and has been fairly significantly redesigned to be smaller and sleeker than the two previous versions and it also comes in black and this shiny satin silver. The mounting plate is also thinner than before, but is still fully Arca-Swiss compatible. The clip can be mounted on a wide variety of straps and belts, as long as they are under 2.5” wide and .88” thick. In my case, I mounted it mid-way on the left shoulder strap of my Adidas backpack.

DSC00106.JPG

The mounting plate is screwed to the ⅜” tripod mounting thread on the bottom of a camera or in my case, to one of the threads on the cage. Sliding the plate into the clip will automatically result in an audible “click” and the plate is locked into the clip. (The plate can only be slid into the clip one-way and removed as such.) This results in a very secure holstering solution for your camera and PD claims that it has a 200-lb holding force, far more than virtually any camera setup and is probably much stronger than the fabric you’re mounting it to.

DSC00093.JPG

To remove the plate from the clip, simply push in the button on the side and simultaneously slide the plate (and attached camera, of course) out.  With a bit of use, I was able to easily push the release button and pull the camera off the clip with one hand. Of course, I would advise this only with at least a hand strap or shoulder strap attached… you know, just in case you’re not as dexterous as you think you are. For extra security, the redesigned plate also resulted in the one toggle switch on the side of the clip serving as a safety lock function. Rotating the toggle switch 90° results in a safety lock that prevents the button from being depressed and therefore keeps the plate locked in place. It needs to be rotated back before the button can be pushed in.

The size and convenience of a smaller “holster” other than the Spider holster is obvious, but why does the clip work better than any traditional carry strap or sling? It allows for hands-free carrying of the camera when not in use for longer periods of time, especially when more strenuously walking / hiking about. With a traditional over-the-neck strap, the camera bounces around against the body without a hand to stabilize it. When carried over-the-shoulder, the strap can slide off the shoulder, again, without a hand to hold it. Carrying the camera crossbody works well, but it doesn’t work comfortably with a backpack or shoulder bag, resulting in straps crossing other straps; a messy ordeal if you ever need to take one and not the other off. In addition, being mounted on a backpack (or other shoulder strap) results in better weight distribution since such straps often are thicker and offer more padding than most camera straps.

While the PD clip certainly sounds absolutely awesome, I do have a complaint, but it could be easily remedied by PD. It relates to the two mounting thumb / sunken head screws. First off, why do the thumb screws lack a coin/flathead slot to help tighten it down? It seems like an oversight considering those two screws hold potentially thousands of dollars of equipment and that some people may lack the necessary strength to really get it tight, even if they have to make the head just a few millimeters thicker for more material. Secondly, why are only two sets of same-length screws included? Does it really cost that much more to include a second, slightly shorter set? My backpack’s shoulder strap is actually fairly thin, so when the thumb screw is fully tightened, there is about 3mm of threading poking out the back of the clip, potentially cutting into my clothing.

Yes, I could take a dremel to it or buy a second set of screws (which I will), but this seems like a huge oversight and I’ve sent an e-mail over to PD. I’ll update if I hear any feedback from them regarding this. (Update 3/19: they “are considering” the coin-slotted screws and they do not offer any shorter-threaded screws. Too bad, but not a break-it for this product.)

DSC00094.JPG

Viltrox (Copy) Review and Comparison
This Viltrox-branded Capture Clip is a clone of the original PD V1 design, so there are a few differences when we compare the V1 to the current V3. The most apparent is the footprint size. The V1 is much larger and wider. The larger size is nowhere more noticeable than when mounted to a backpack shoulder strap, as the width is definitely felt. My arms definitely hit the side of the clip quite frequently and that might be the main reason I never decided to use this clip in that intended position.

DSC00096.JPG

There is also a side tension screw which tightens the slack between the clip and the camera mounting plate. Tightened all the way, the screw acts as a lock, preventing the removal of the camera.

The button to remove the camera plate is also quite long, which I suppose is good for larger DSLR cameras. The metal button definitely has a more positive feel compared to the smaller V3 button, so in some instances, I like this better.

DSC00103.JPG

The V3 and V1 plates are both fully compatible for the V3 Capture Clip, but unfortunately, the V3 plate does not work with the V1 knock off clip, due to the shallower mounting plate, resulting in the camera body contacting the thumb screws. This is a small price to pay considering the smaller footprint.

DSC00097.JPG

The finish on both clips really can’t be compared. The PD clip has a wonderful anodized aluminum finish whereas the V1 clip has a somewhat uneven coating and the metals are quite heavy, porous, and somewhat poorly casted. To be fair, this piece of copied chunk of pot-metal is only about $10 USD, shipped. I’m not sure I can really complain a whole lot besides the fact it’s a copy. Luckily, to my knowledge, there are no knock off V3s of the capture clip yet. Maybe those Chinese companies aren’t willing to retool for the newer version.

DSC00113.JPG

Testing
Of course, testing something like this is purely subjective, as it highly depends on your needs and gear setup, but I’ll tell you what I thought after about a solid week’s worth of use walking and hiking around for the whole day in winter weather.

I currently have the V3 Capture Clip mounted on an Adidas 26L OPS backpack, a decent “box” type backpack so trendy now in Japan. While the padding on the shoulder straps are not particularly thick or heavily padded, they are adequate even when the backpack is fully loaded with two cameras, a sweater, a 14” laptop, and associated peripherals. This made it a perfect specimen to mount the clip, as I could see how comfortable it would be with weight directly on my left shoulder strap.

I found that while I could theoretically have two camera bodies walking around, it still was a bit of a hassle having to switch off between them, as I needed to make sure I wouldn’t drop one while drawing or holstering the other. Since I didn’t change bodies often, I more often than not just ended up leaving one camera in my backpack.

DSC00422.jpg

Did that make the Capture Clip a moot purchase? Nope! I still found plenty of use for it for the hands-free purpose, locking the camera into the clip when I didn’t need it when strolling around. It proved especially useful hiking up a somewhat icy treacherous mountainside path to take some of these gorgeous views.

March 15, 2019 /William Tjipto
SONY, ソニー, 6300, A6300, ALPHA, アルファ, MIRRORLESS, DSLR, DIGITAL, デジタル, CAMERA, カメラ, DIGITALCAMERA, デジタルカメラ, OSS, PHOTOGRAPHY, フォトグラフィー, PHOTO, フォト, PICTURE, 写真, 撮影, SMALLRIG, カメラケージ, CAGE, CAMERACAGE, PEAKDESIGN, PD
Photography, Reviews
Comment

Powered by Squarespace