[ Photography ] Prime Lens
For nearly 9 years, I used two kit lenses for all my photography needs, as they provide enough focal ranges for all the pictures I needed. In the past year or so, I’ve started to slowly realize that my pictures lacked a certain quality that separates great photos from my mediocre ones. My photos, while not terrible IMO, weren’t “special.” Not to mention numerous photos taken inside dark gyms always were a little noisy, dark, or blurry, tripod or not. I don’t know how I used my camera for so many years strictly on “automatic” without knowing more about what other dial options, ISO, shutter speed, or f-stop meant.
When my Nikon started to have shutter issues a bit longer than a year ago (has it been that long already?), I did a bit of research on cameras and fell deep (...so deep…) into the rabbit hole of photography. I essentially had to start from scratch, trying to make sense of all these terms and most importantly, how I can take better pictures.

The world of photography is quite vast. Even with months of reading, researching, and a bit of experimentation, I realize I am an absolute amateur and I still know nothing. It is exactly the Dunning-Kruger Effect; the more you know the more you realize you don’t.

Nikon D40 / Yongnuo 50mm F4.5
Wading through this information, time and time again, I heard an oft repeated recommendation to start off with a “prime lens” in order to truly learn how to take great pictures. Prime lenses only have one focal length, forcing the user to move closer or further to reframe the shot. This might help in understanding positioning, getting better angles and more interesting shots. Though honestly, this sounds like more work to me.

Nikon D40 / Yongnuo 50mm F6.3
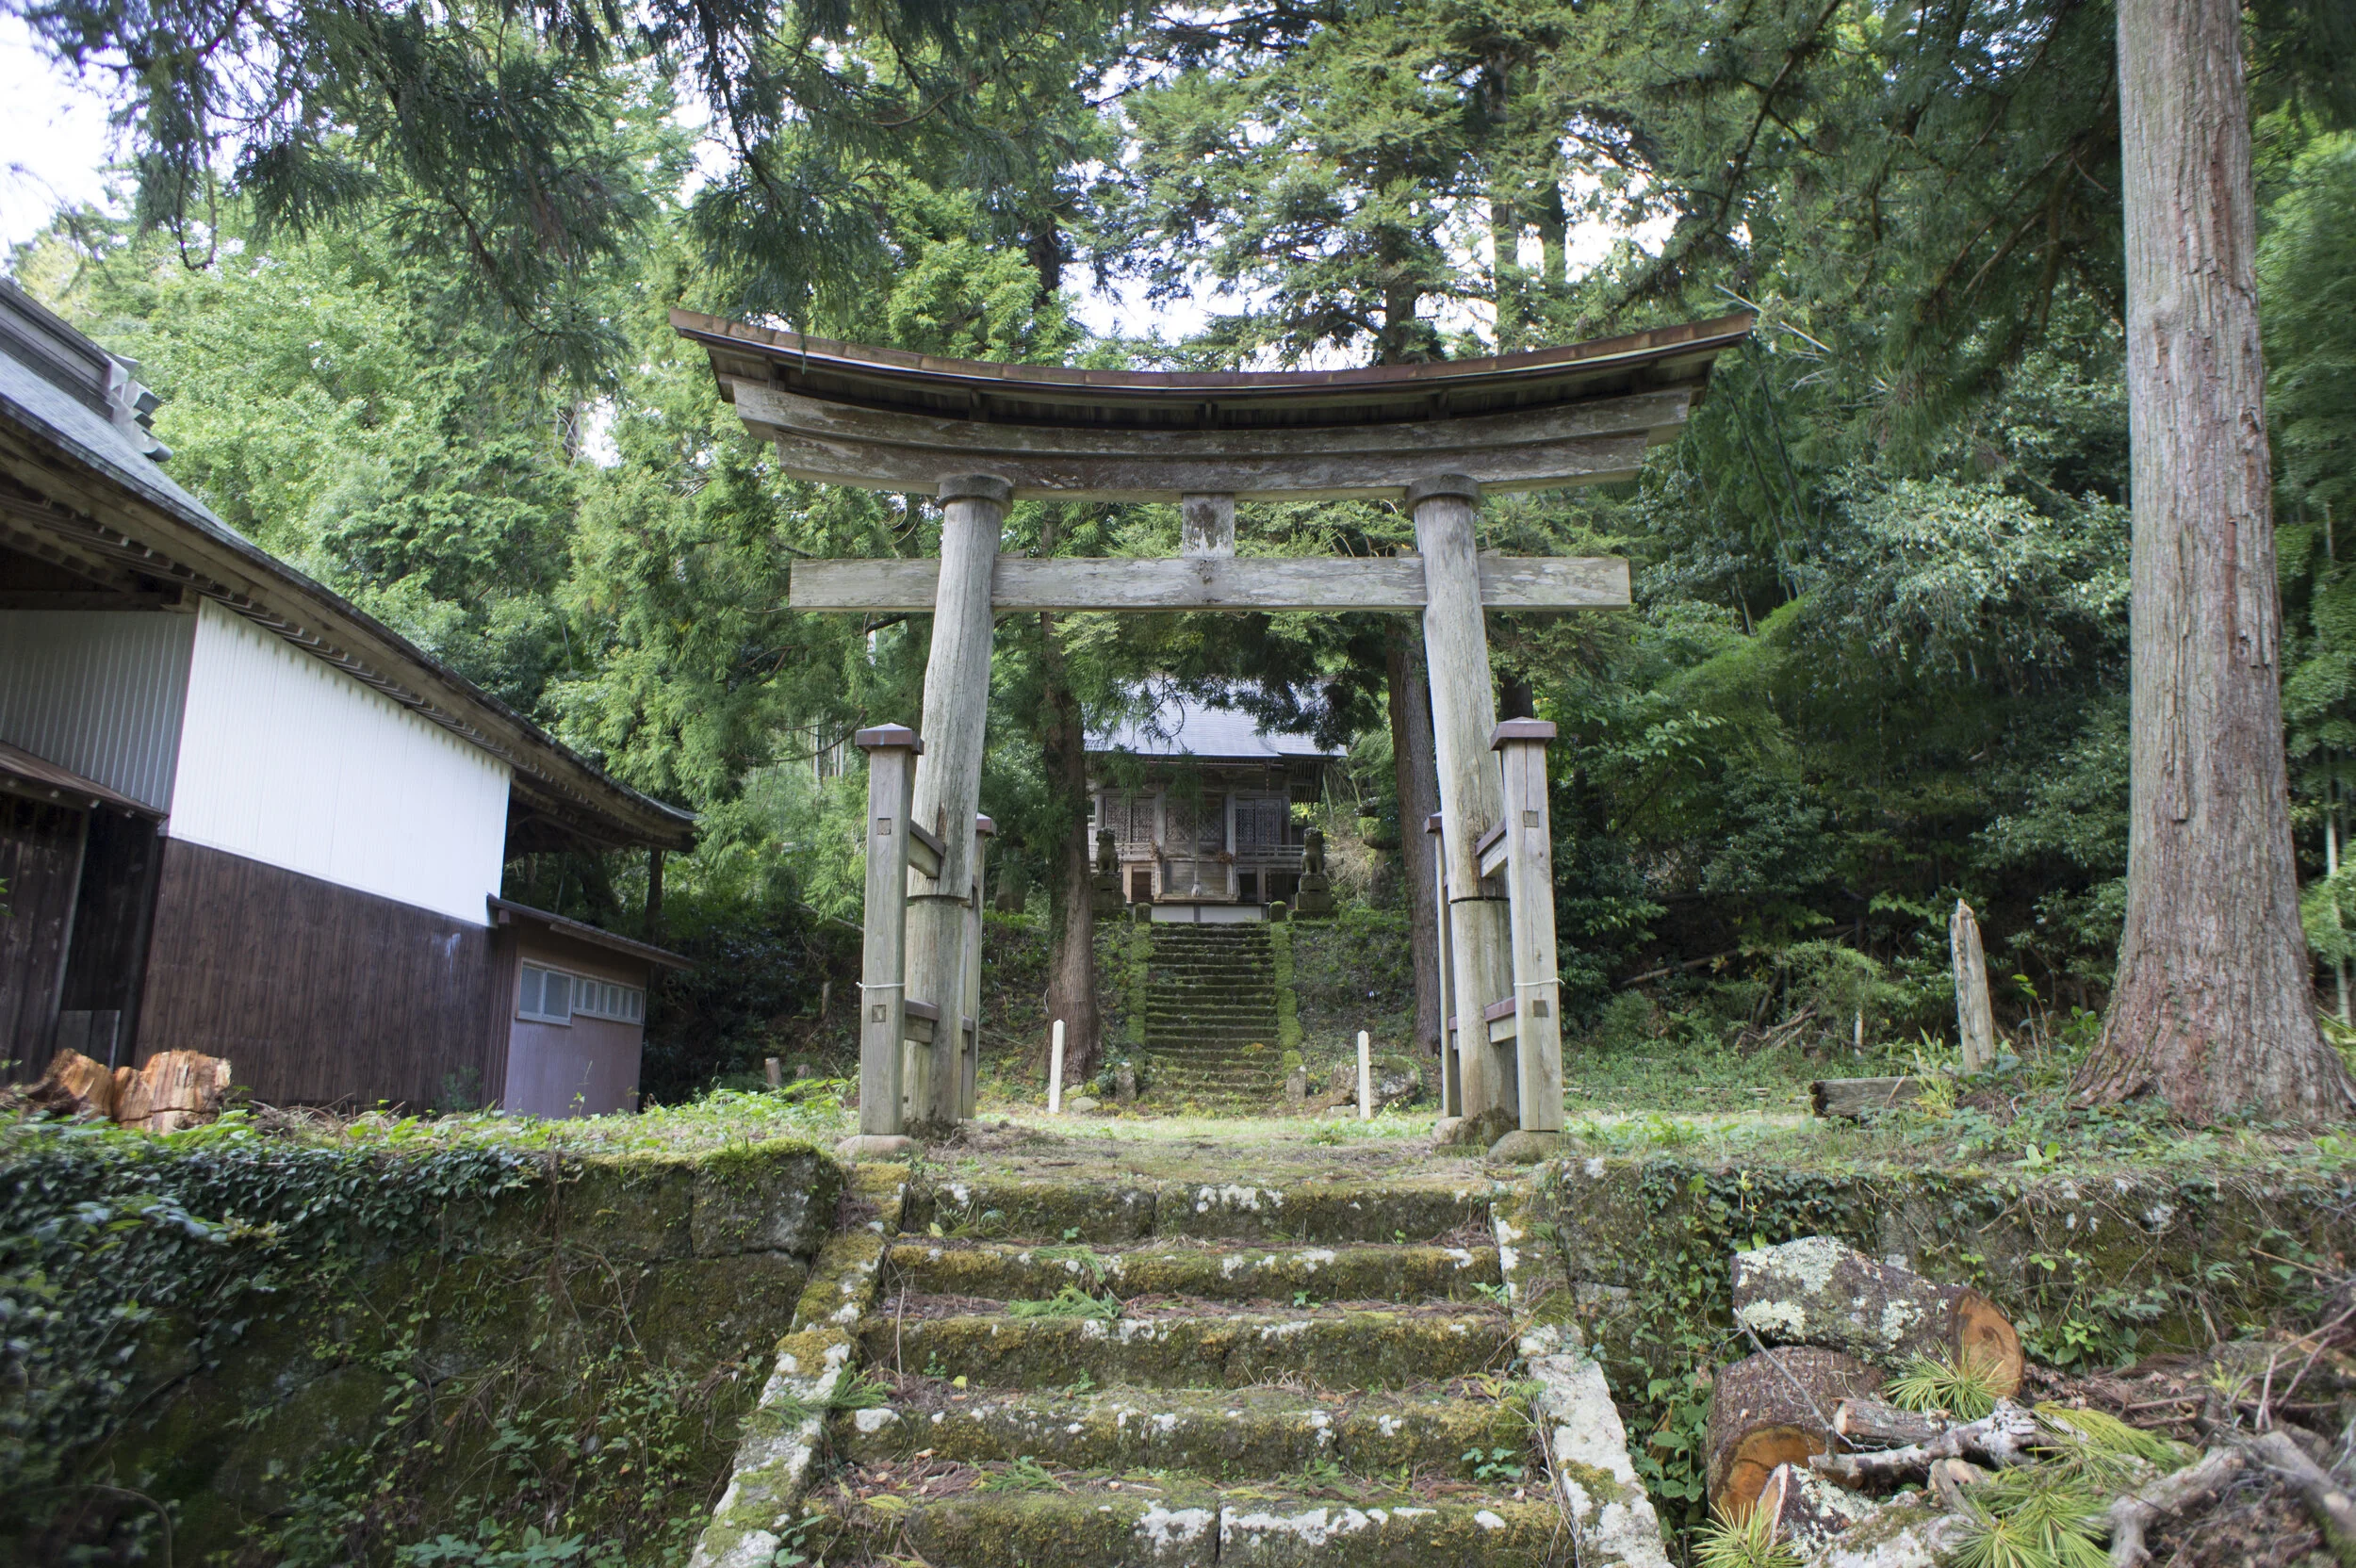
So why would one bother? Prime lenses can capture that elusive, beautiful blurred boke / bokeh.

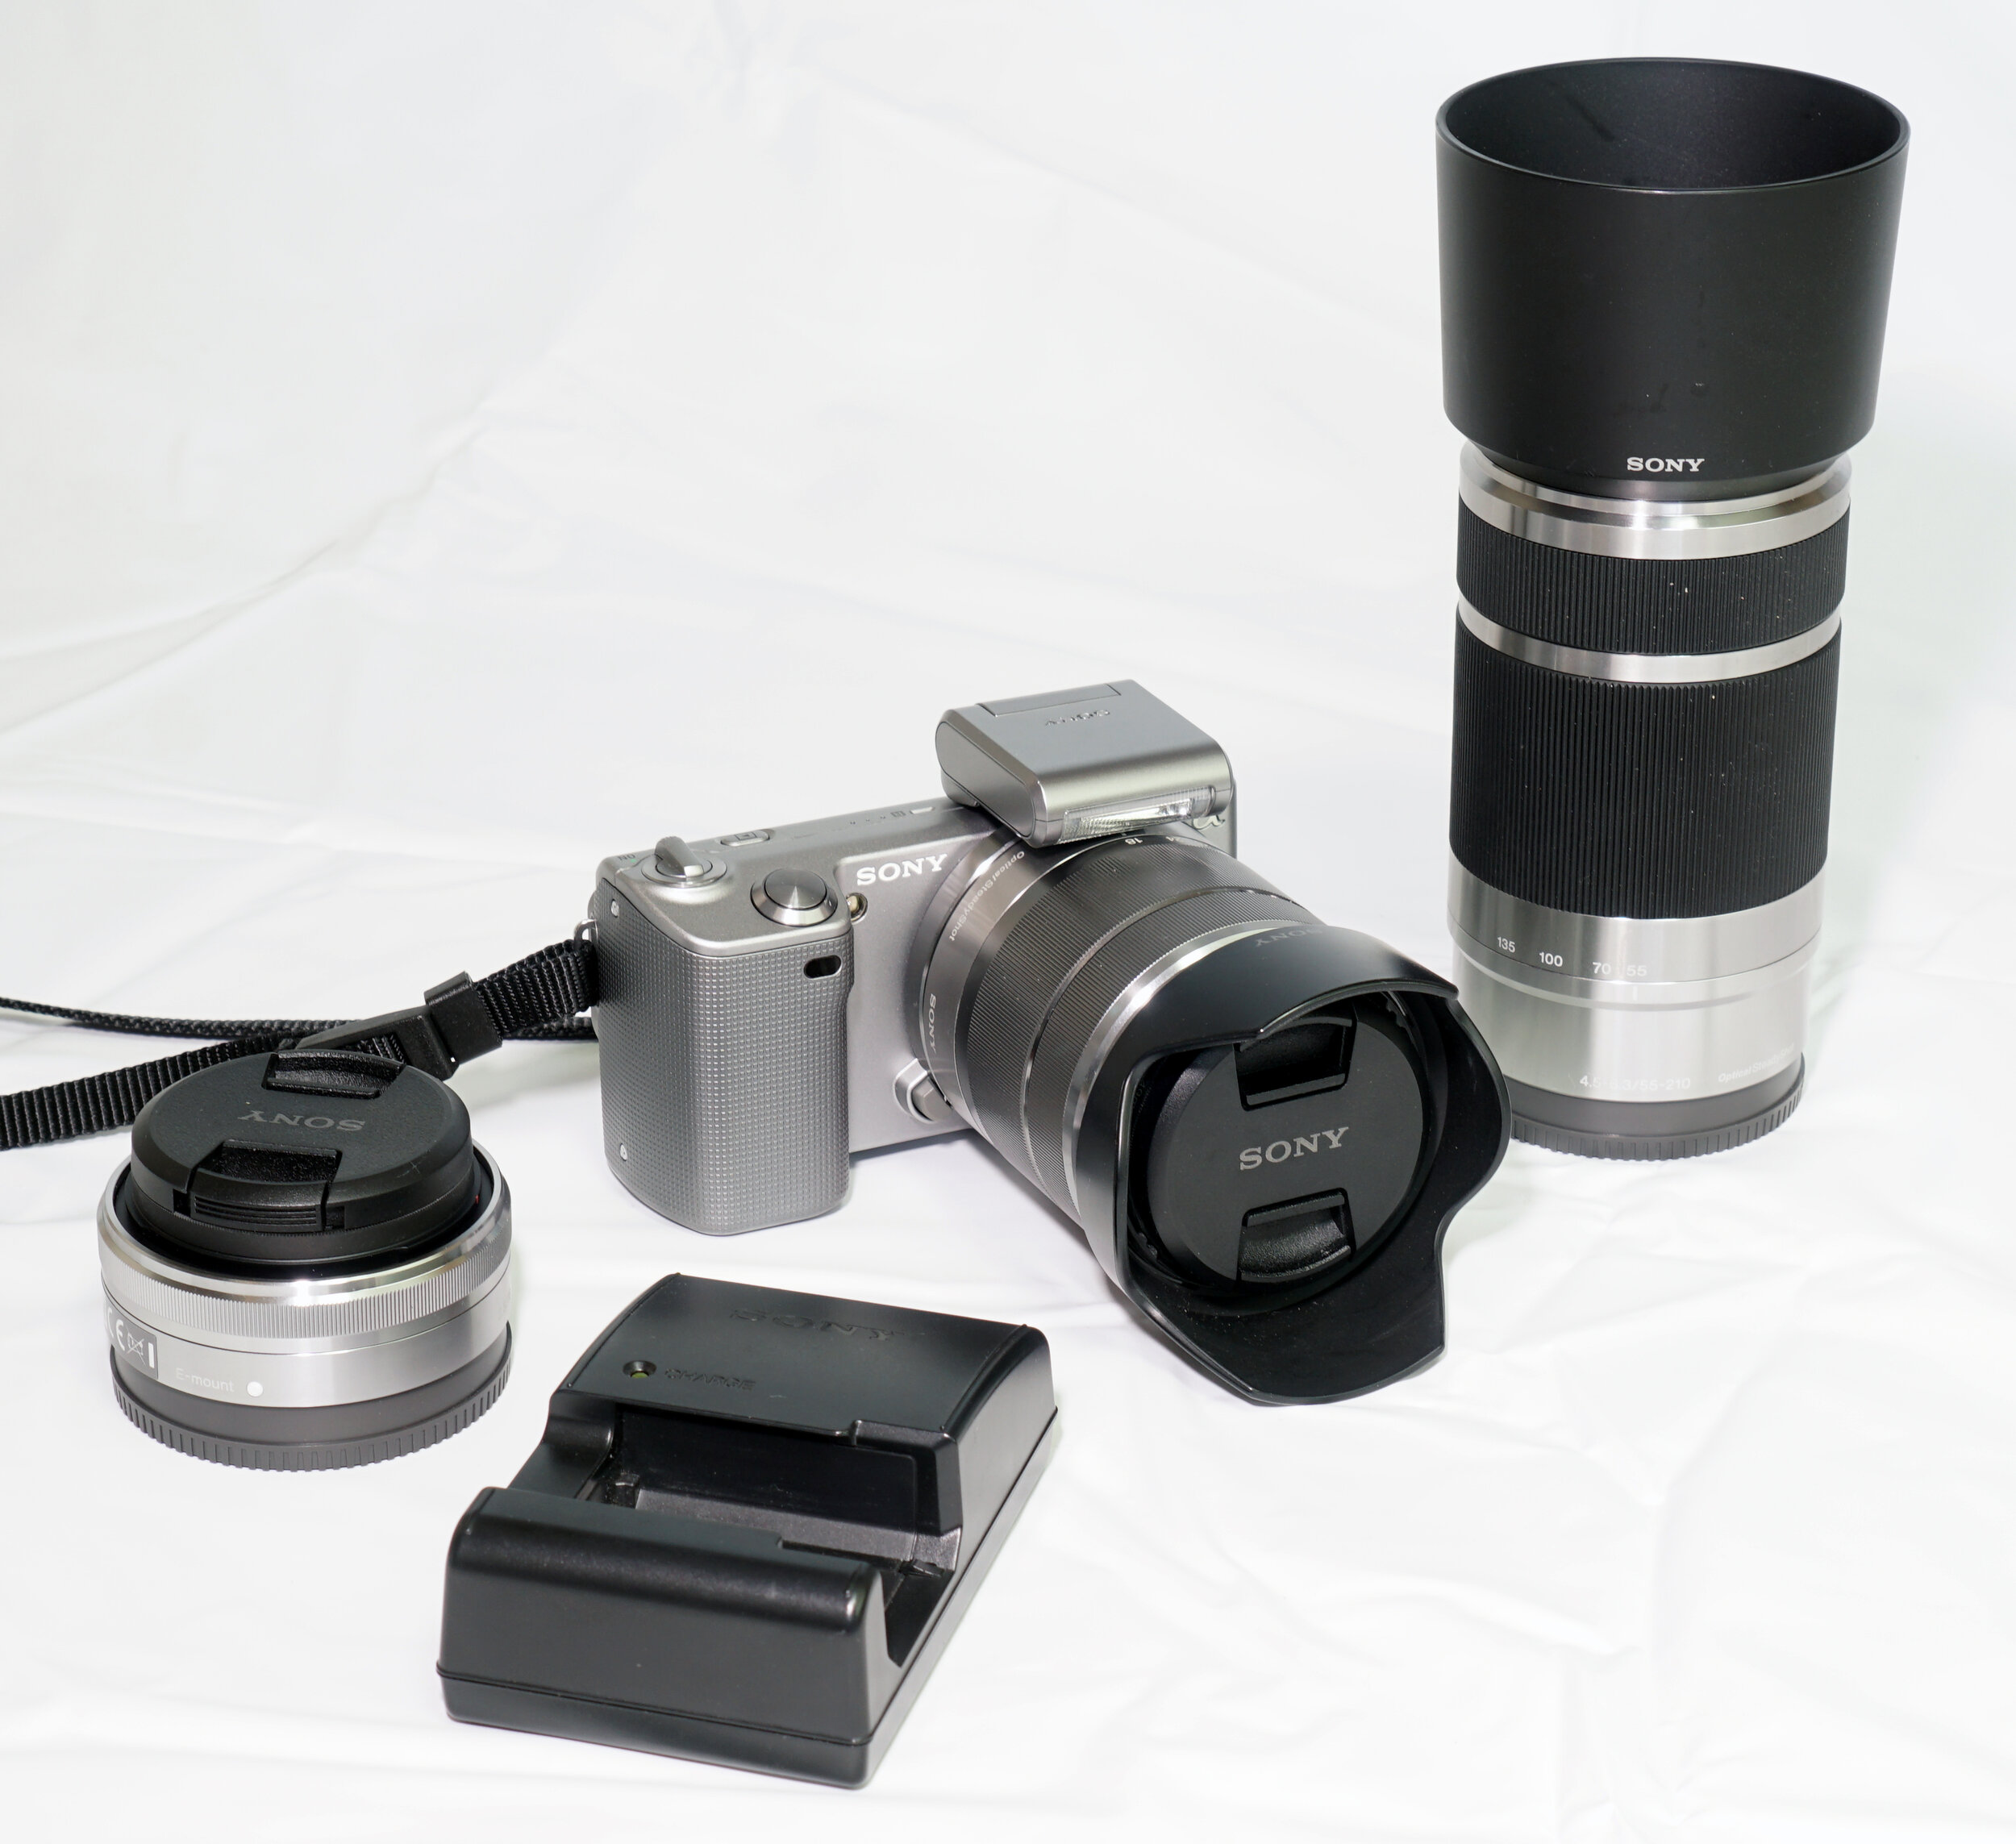
Sony A6000 / 35mm F2
This also means it lets in a lot of light allowing for brighter pictures with lower ISO, generating less noise and sharper images. Who knew that f-stop meant so much?

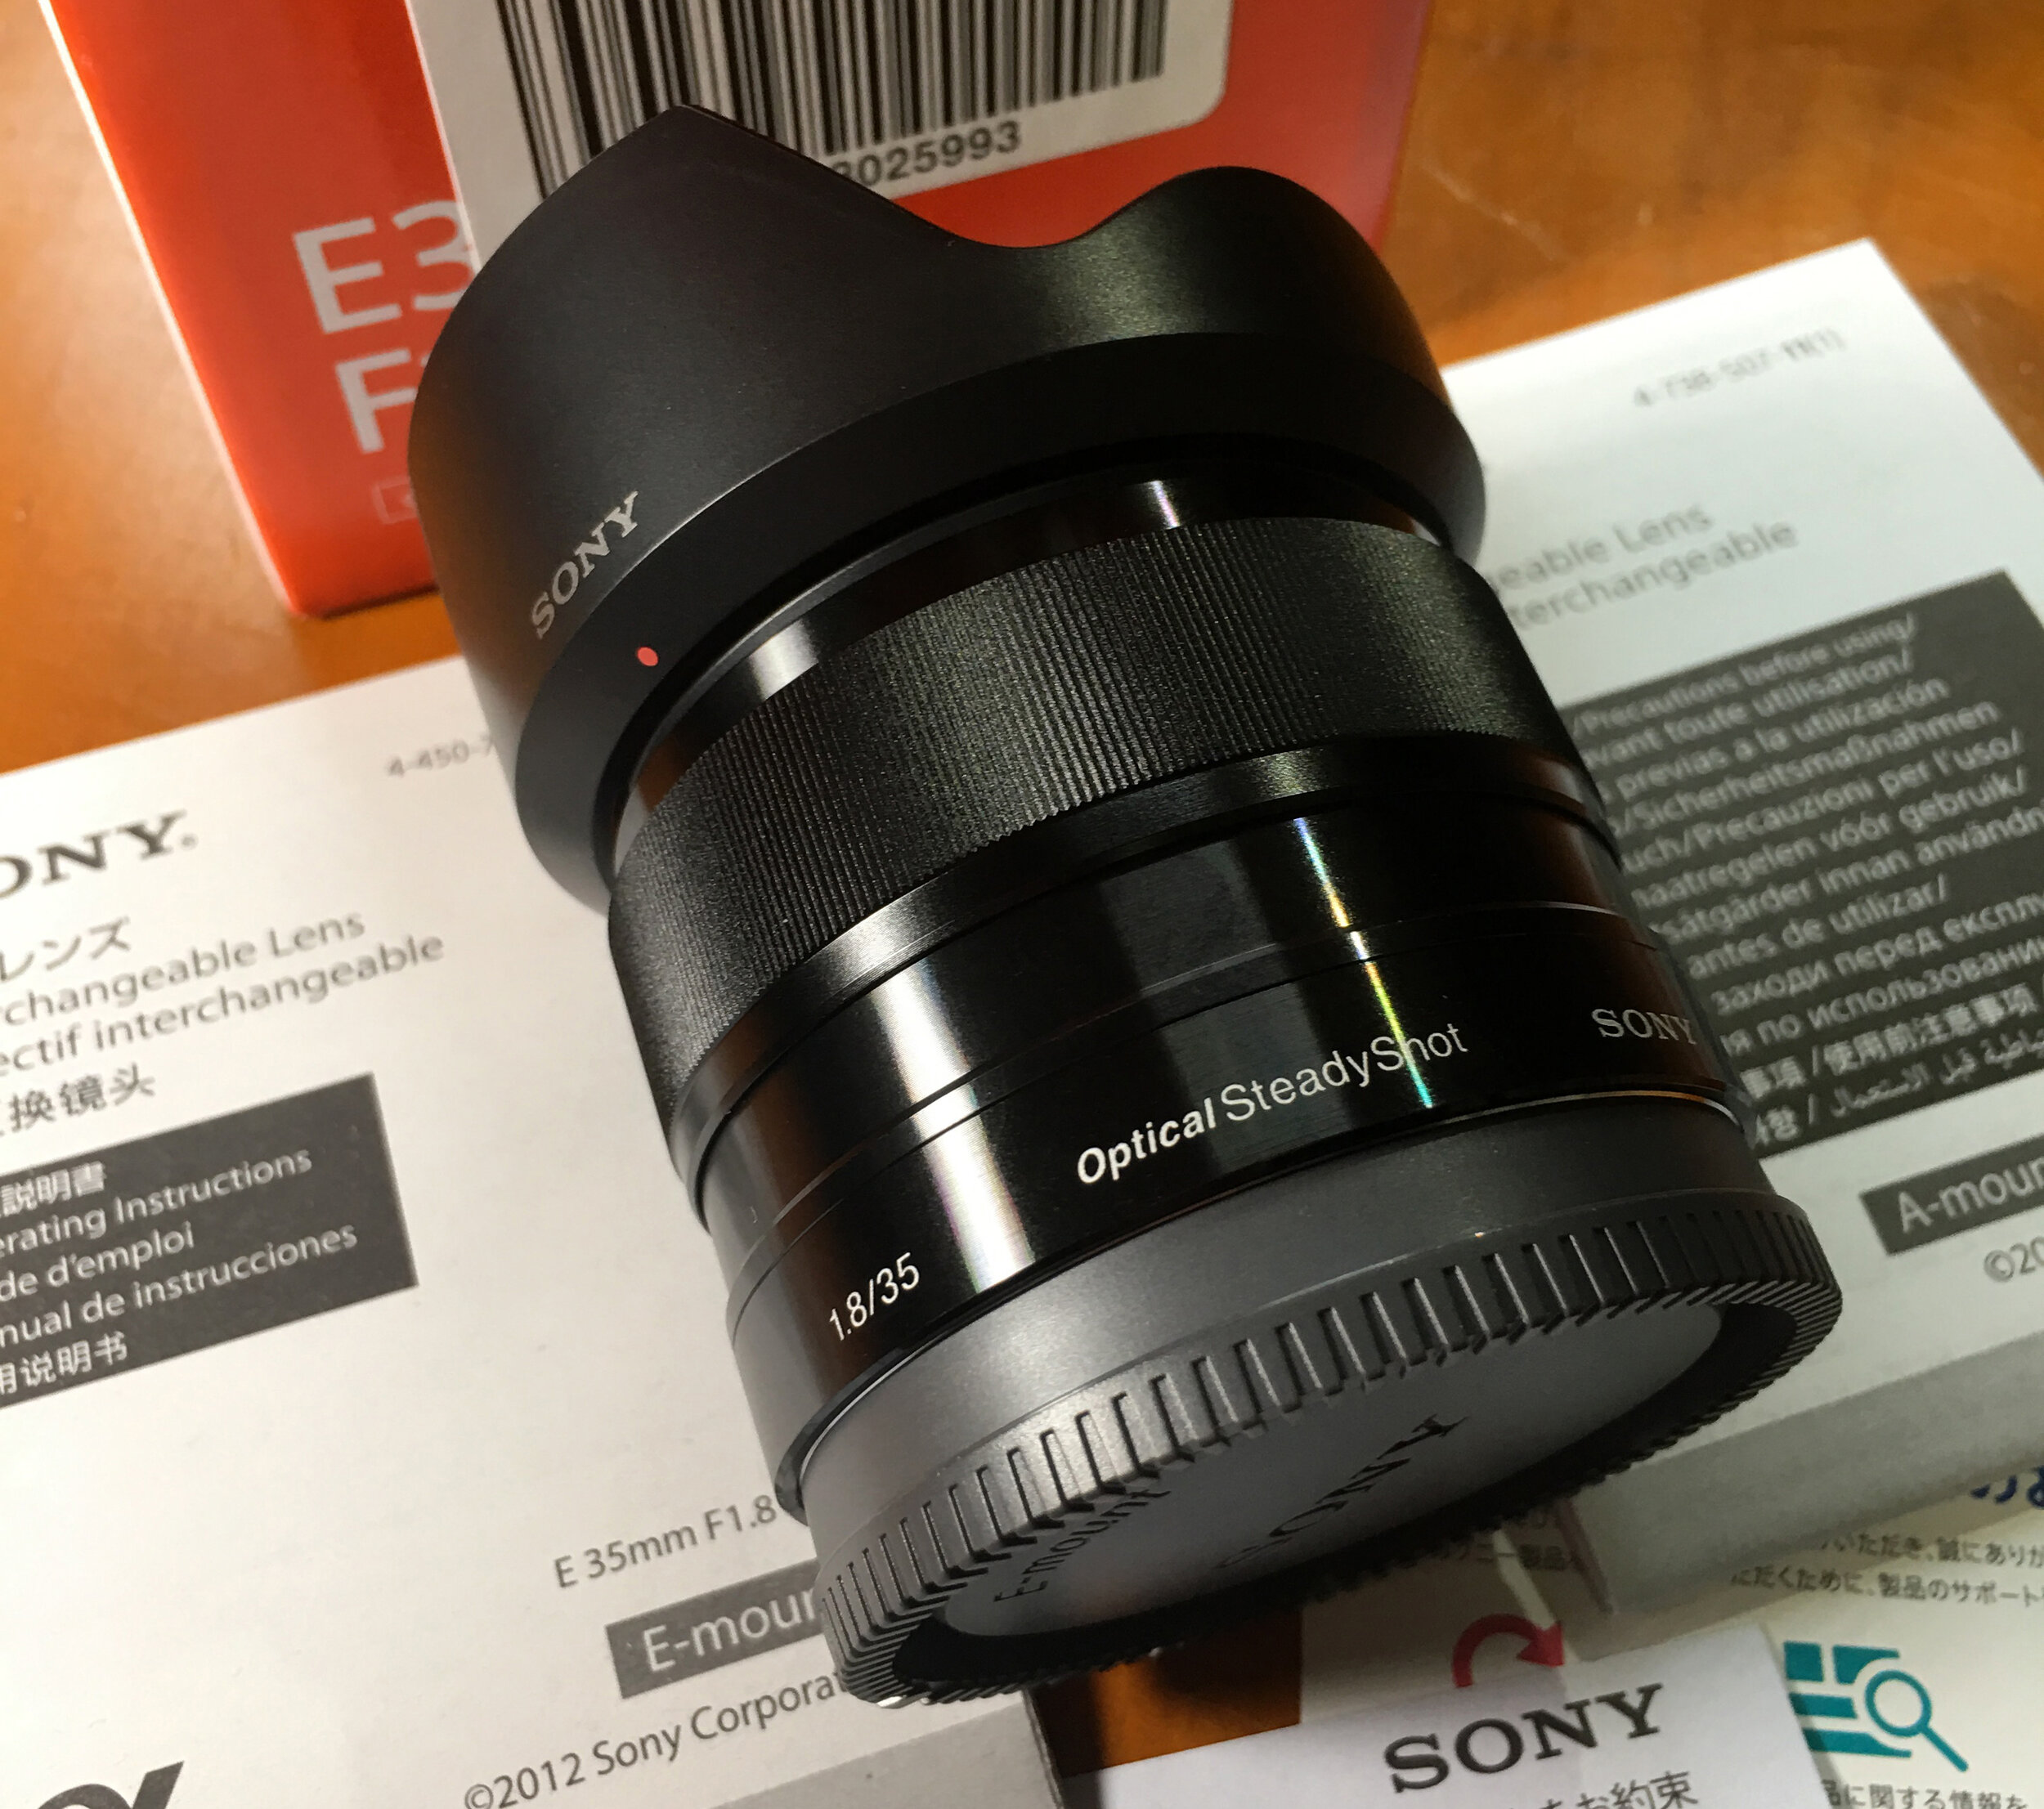
So all these benefits of prime lenses are great to be sure, but the lower cost APS-C ones, around $200 USD or less, are often manual focus, manual aperture, and often lack electronic sensors for file data. From there, lenses around $200 and up may have auto-focus, but sadly, often lack any lens built-in stabilization with cheaper third-party lenses. For hand-held shots, this can make a big difference, worth a couple of stops. And, again, they only have one focal length!

Sony A6000 / 35mm F2.2
But when shots are this beautiful…

Sony A6000 / 35mm F2.2
…nothing else matters.