Ready Seat Belt

レディー・シート・ベルト

A look into the cool and bizarre, focusing on the Japanese import car culture and delicious ramen. Updated weekly.

  • Home
  • Blog
  • Food
  • Archive
    • Complete Archive
    • Ramen Archive & Map
    • Suzuki Alto Works HA11S
    • Suzuki Alto Works HA12S (Scrapped)
    • Suzuki Swift Sport ZC31S (Sold)
    • Suzuki Wagon R MC22 (Scrapped)
    • Newbie Guide
    • Photography
  • About
  • Facebook
  • Instagram
  • Twitter
DSC00559.JPG

[ Alto Works ] Front Bumper Modification, Part 2

January 14, 2020 by William Tjipto in Cars, Japan, Ownership, Project Sachiel

Now that I have some parts in and the front grille properly painted, we can continue our front bumper modifications on my Alto project. I actually performed this modification some months ago, but never wrote about it previously. Since I did a few other things along with it, I thought I’d discuss a bit.

DSC07698.JPG

My priority was to increase airflow toward the intake, an important aspect of turbo cars. As you might see here, it is hidden behind the right headlight, deep in the engine bay with no direct airflow, sucking in hot air from near the engine. Now that I have the hood vents in, air pressure under the hood won’t be an issue if I pipe in extra air from the front grille. The question is where on the bumper?

2018-04-15 005.JPG

So I considered my various options for a long while, at first considering the use of the far right side vent, but the logistics of drawing air from there would’ve proved a bit complicated due to the headlight mounting bracket, the limited open space, and the oil cooler.

2018-07-08 037.JPG

I settled on a 50mm aluminum duct piping and an aluminum funnel in the only open space on the front bumper, the little corner between the existing grille, headlight, and turn signal lamp.

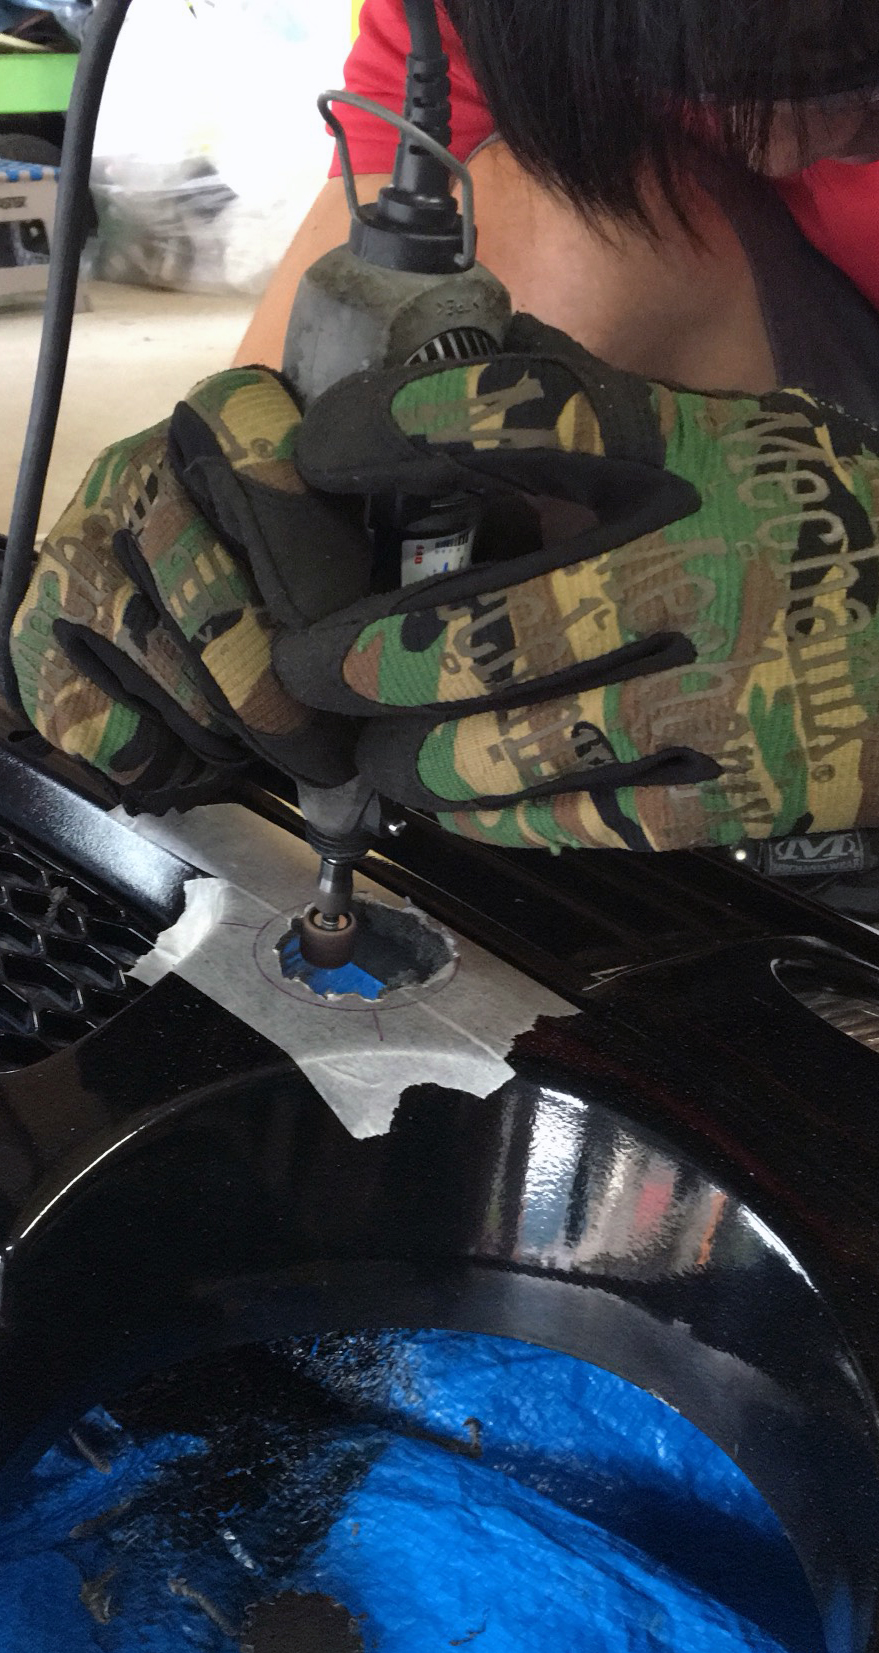
At first, I mocked up the piping several times with masking tape and removed and refitted the bumper several times to make sure it all lined up. Of course, I have to cut the bumper to get the aluminum funnel in. It took quite a bit of cutting and sanding to get it in, but I wanted it sized just right so that it can be held in place somewhat tightly.

2018-07-08 036.JPG

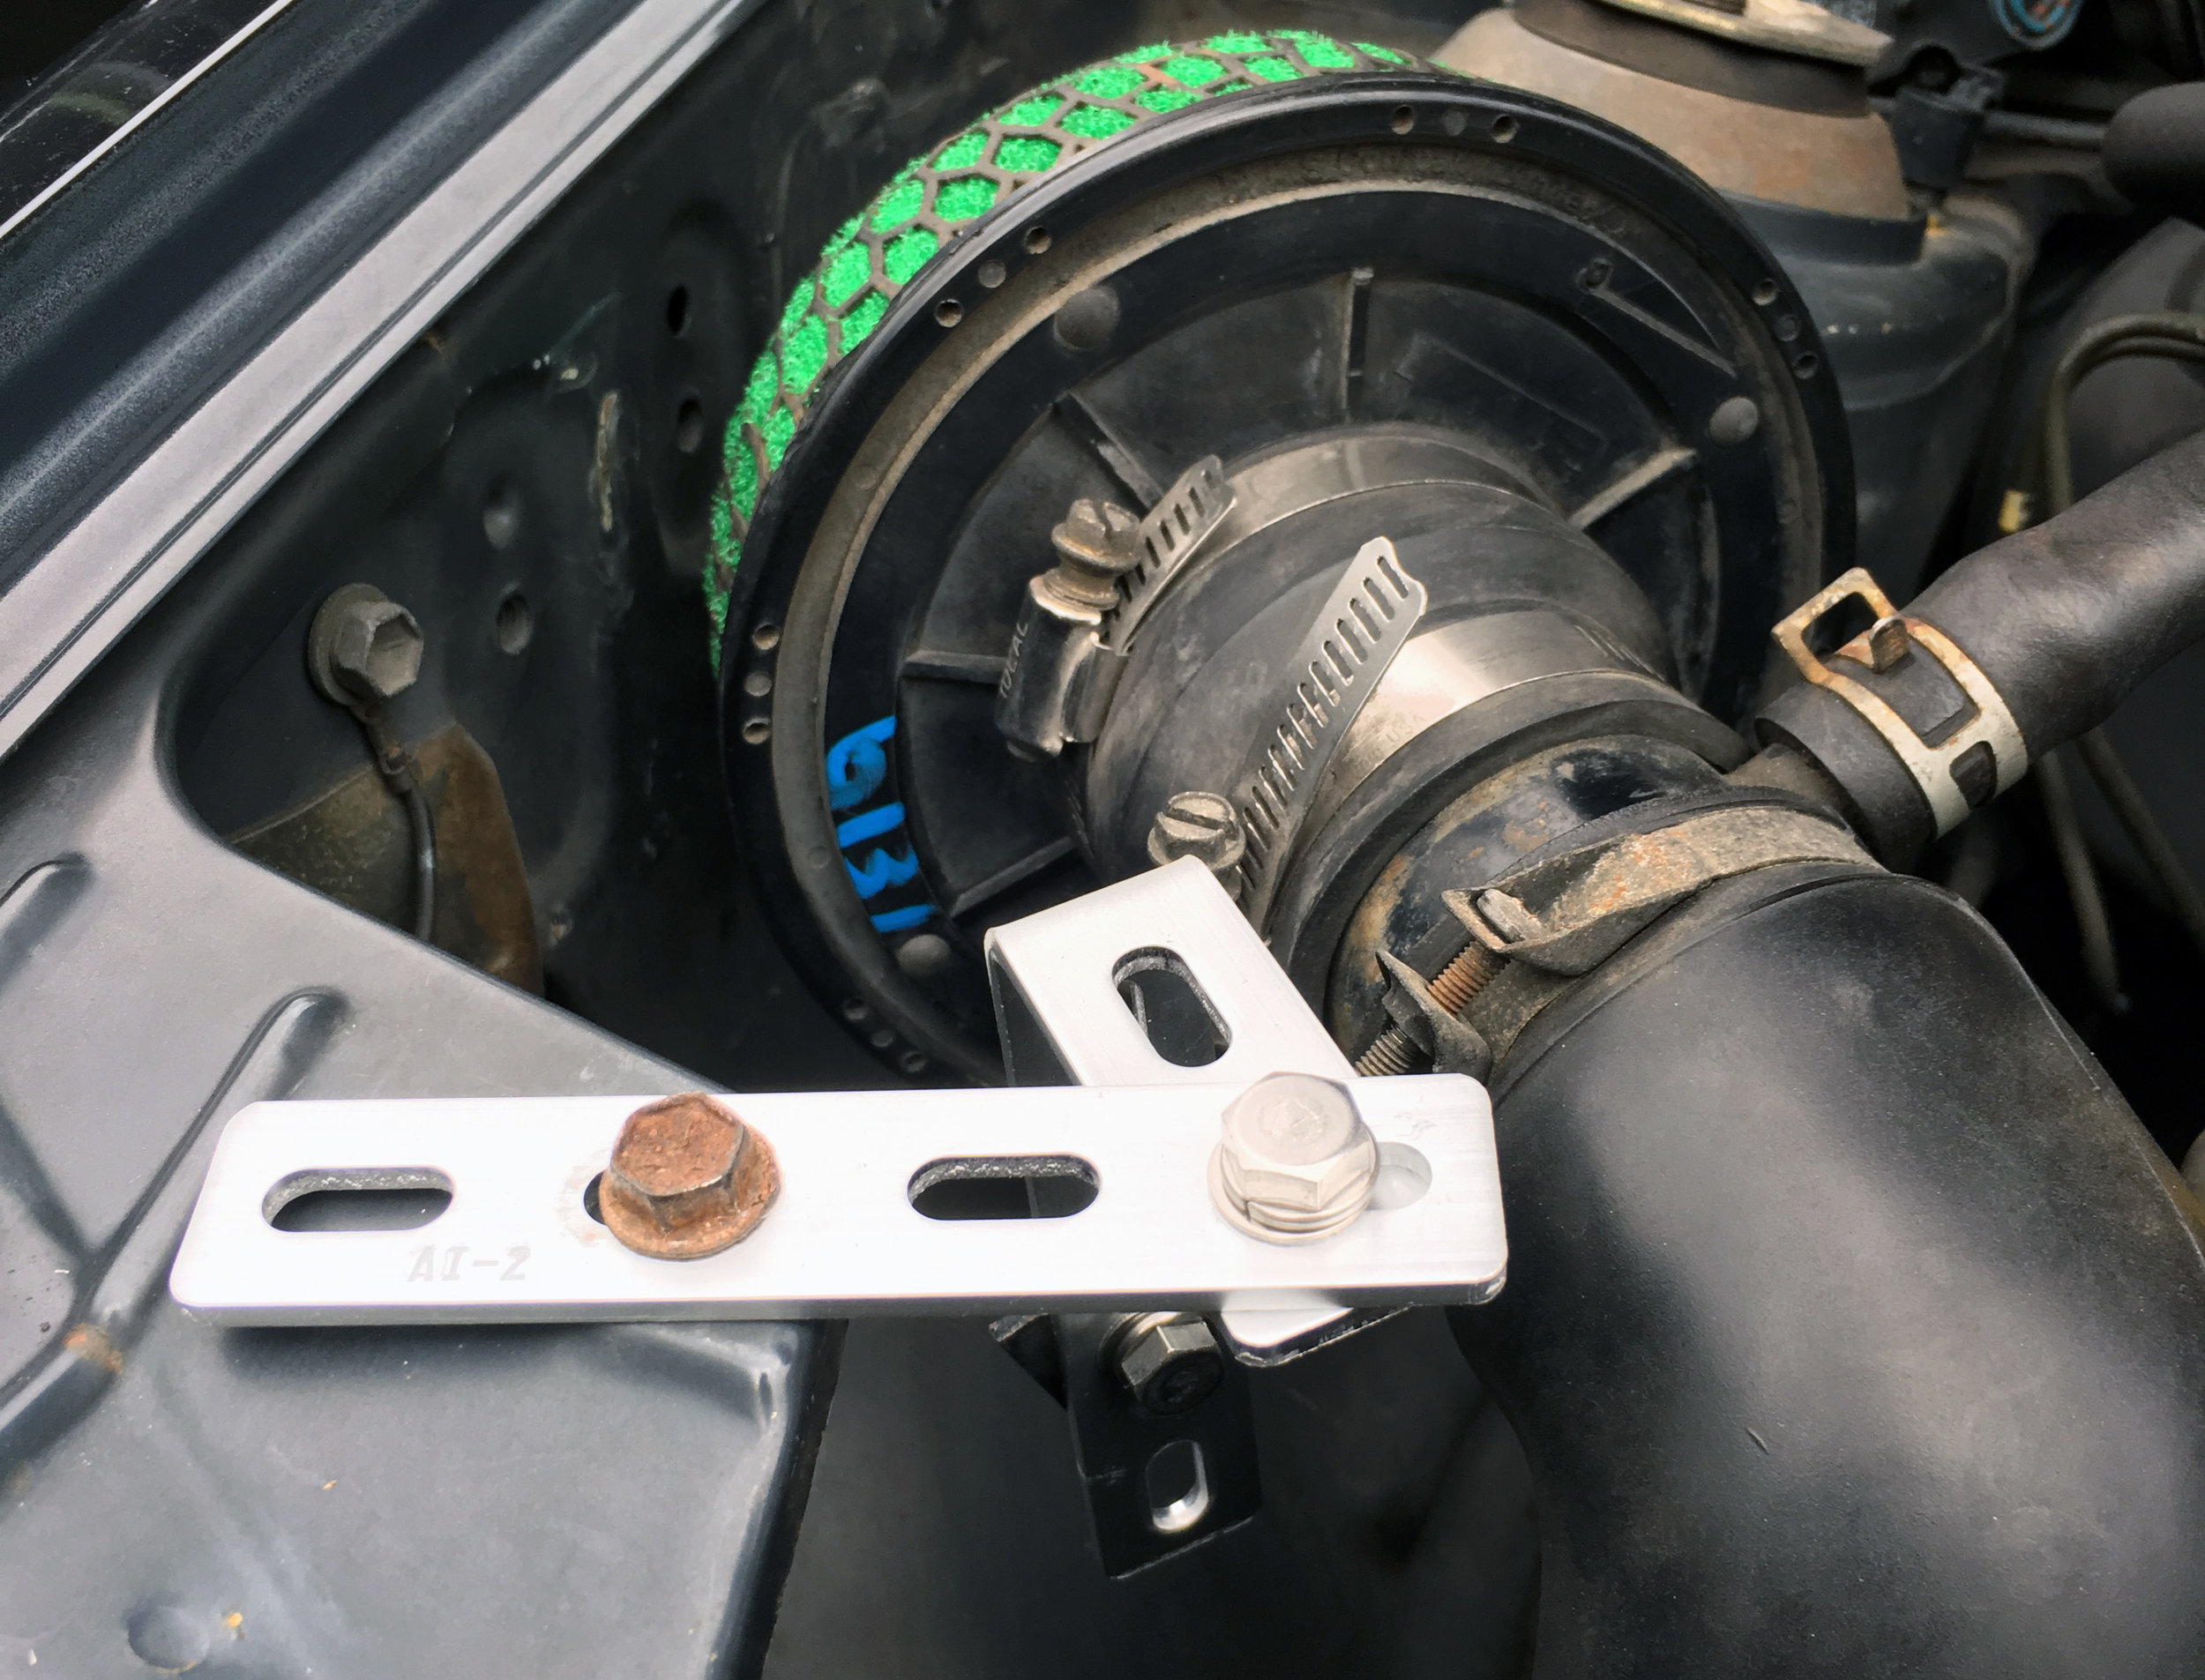
I wanted to use some metal brackets, but the space behind was pretty tight, so I had to resort to using epoxy putty. My application skills are a mess, so unfortunately, it didn’t come out as cleanly as I wanted to. No matter; it was the back of the bumper afterall. Basically, the whole assembly is snugly fit, the outlet of the duct pushing up against the intake piping. 

2018-07-08 034.JPG

With the bumper back on, I took the car out for a test drive. As expected, I couldn’t tell much of a difference in performance or sound and noise levels, but in theory, this should increase airflow and pressure into the intake. Weather should still be kept out as the piping goes up and the opposite-facing HKS filter should prevent any waterlogging. However, due to the small diameter piping and the indirect flow of air, the ram air effect and overall improvement may be limited. This modification will likely only benefit the car to a very small degree on the hottest of days and the hardest of driving.

DSC09623.JPG

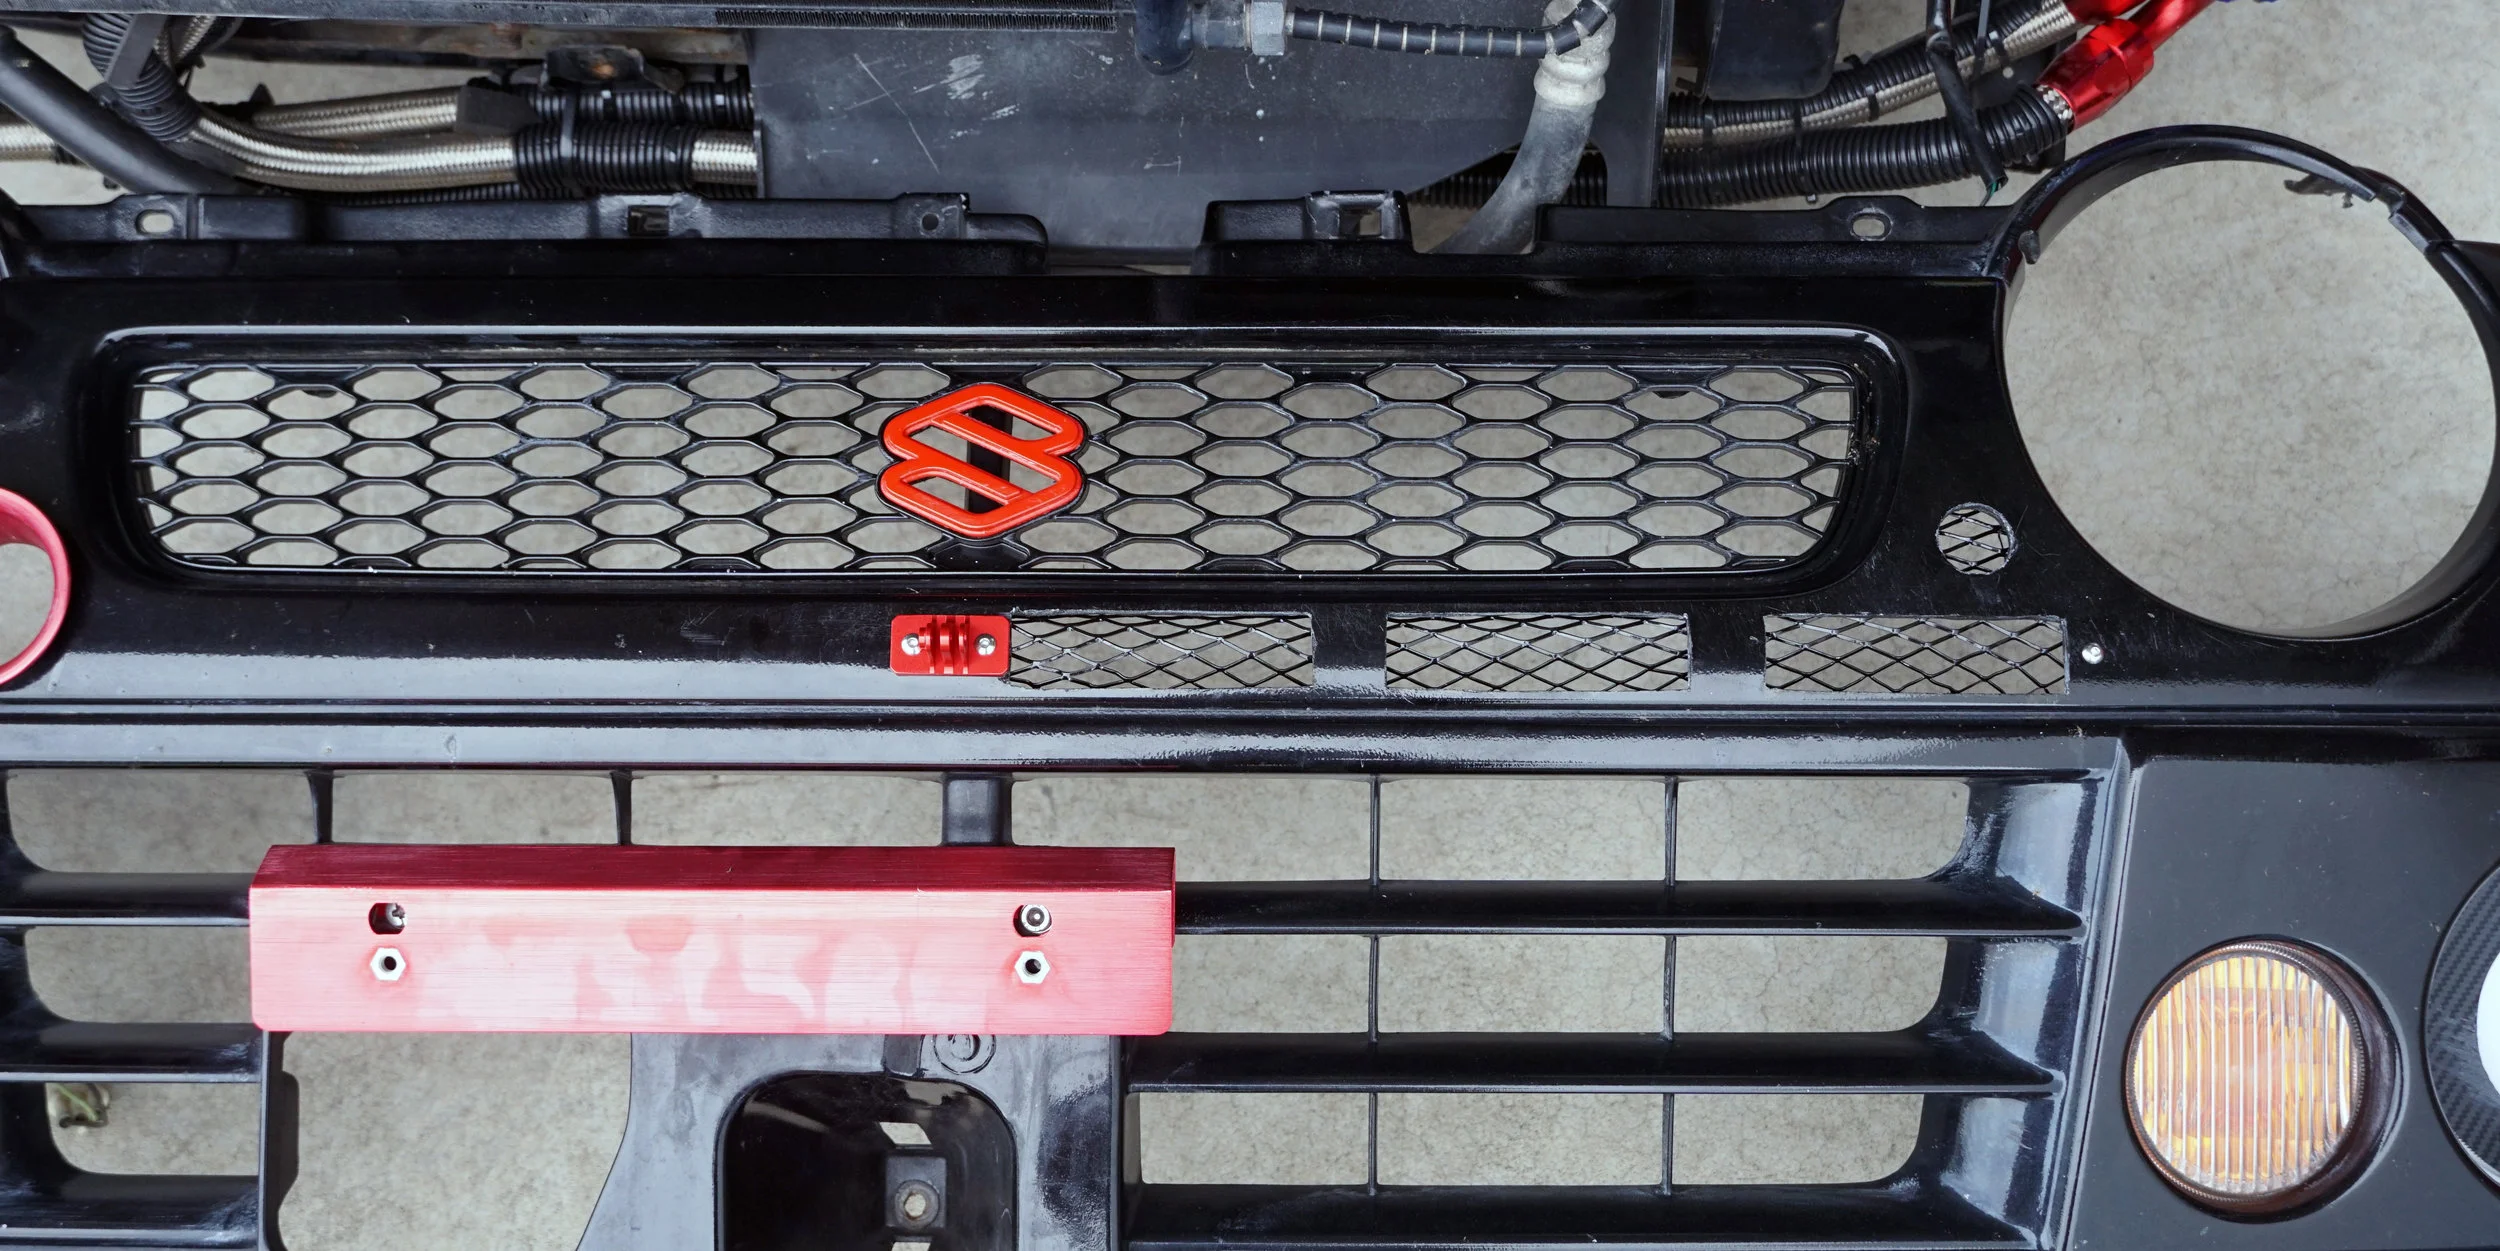
The next minor change I made to the front of the bumper is to clean up the front by adding a bit of mesh to the center grill for a more finished and professional look.

DSC09624.JPG

Along with that, I installed an aluminum GoPro mount directly to the bumper for stable video. My previous videos I took<l> were not secure enough because I had them on a longer arm mount which vibrated as you can see.

Here’s a quick one with the new mount, unstabilized in post. It is much more secure though I might have to reconsider in the future to mount on a stiffer point like the hood or brace the camera in additional ways. (The windshield, while very secure, is way too high and makes for a really boring video.)

DSC09642.JPG

For the last minor addition, I added some QR fasteners to the sides.

DSC09654.JPG

These are basically two aluminum mounts with a thick rubber band securing the two. It is designed so that the bumper can be quickly removed in a race setting for maintenance. Here, I’m using them to help secure the bumper since the upper radiator support mounts have a bit of play in them. And for those racing looks, of course!

You may notice one more change to the bumper here in the above shot, look forward to more about it next time!

January 14, 2020 /William Tjipto
JAPAN, JDM, SUZUKI, ALTO, ALTO WORKS, HA11S, CAR, KEI CAR, CAR LIFE, F6A, RHD, スズキ, アルト, アルトワークス, 自動車, 軽自動車, 日本, 車, AERO, エアロ, HKS, INTAKE, エアクリーナー
Cars, Japan, Ownership, Project Sachiel
Comment
2018-04-15 005.JPG

[ Alto Works ] HKS Super Power Flow

June 05, 2018 by William Tjipto in Cars, Japan, Ownership, Project Sachiel
IMG_0425.JPG

Turbo cars can benefit greatly with a well-designed aftermarket air intake, as the stock intake can be, on some cars, a bit restrictive and can limit the additional amount of air necessary for high boost pressures. A higher flow filter, directed to draw air from cooler areas of the engine bay or directly from the front, can help improve power at higher RPMs.

2017-10-07 004.JPG

However, there can be several drawbacks with aftermarket intakes, even the best designed ones. Noise is increased, unshielded filters can draw in hot air near the exhaust manifold, and exposed filters can draw in more debris or potentially water. Also importantly, engine tuning can be negatively affected, as the proper balance of air, fuel, and timing is absolutely critical.

Simply dropping in a cone filter does not necessarily improve performance. Many unknowing car owners pull out the stock intake piping, drop in a cone filter, and call it “good.” Stock intakes are designed a certain way for a reason; sometimes extra piping and large, empty Helmholtz chambers are needed and the location of air snorkels are well engineered. Moreover, the Mass Air Flow sensor is placed a certain distance away from the intake throttle body to properly measure air, but sadly, I’ve seen under enough hoods to realize not everyone knows this.

IMG_3281.JPG

In California and some states in America, the replacement intake must also be certified CARB legal, so options are limited. In Japan, virtually any reasonable intake can be installed and still pass Japanese inspection. Knowing the potential drawbacks of installing an aftermarket intake, I figure the potential benefits still outweigh them and so all my cars have aftermarket intakes installed at the moment, all from highly reputable manufacturers.

2018-04-14 027.JPG

Upon inspecting the original intake and filter, I found that it seems actually quite well designed as it is. The intake is piped in from just behind the right headlight, potentially drawing in plenty of fresh air, though sadly the intake piping is slightly small in diameter and has too many sharp bends, potentially decreasing airflow speed and pressure.

2018-04-14 032.JPG

The filter design itself seems actually quite good, as the pleated filter offers plenty of surface area to draw air in. I contemplated keeping the original air box and simply altering the intake snorkel to improve airflow. Thankfully the previous owner of this Alto was gracious enough to include an uninstalled HKS Super Power Flow as part of the package, so I neither needed to buy an aftermarket part, nor modify my existing intake.

2018-04-10 005.JPG

HKS filters have been criticized in some circles for being ineffectual or even poorly designed, as they say it can allow too much air particulates to enter the intake. Some famous Japanese tuners swear by them, though, and I’ve talked to a few owners who have put many miles (or should I say, kilometers) with the intakes and claim they work well.

Well, why not drop it in and see how it goes?

2018-04-15 007.JPG

The mounts it came with were OEM and did not appear to be the mounts HKS originally included, according to their manual, so I had to use some aluminum brackets for a proper fit to avoid hitting the hood or other components in the engine bay.

2018-04-15 006.JPG

While there is likely not a huge benefit for a stock-tuned engine, it might open up an ounce of HP if the engine can breathe more. The replacement HKS Super Power Flow intake sound is lovely, the sound of rushing air clearly audible in the cabin, even with windows up. These sounds, combined with the woosh of the recirculating valve, make the car sound lively around 3000 - 6000 RPM.

2018-04-15 009.JPG

Along with this installation, I used a super thin .3mm aluminum sheet bent and shaped to block off extra radiant heat from the engine, hopefully encouraging cooler air to be drawn in from around the right headlight. (Although it looks like cardboard from some angles, the brown is actually just an adhesive backing sheet I opted not to remove at this time.)

2018-04-15 010.JPG

This heat shield modification is only temporary until I redesign it with a thicker and larger aluminum sheet, which is already in progress. I would also like to use the dummy right inlet to the side of the headlight to potentially force more air directly into the air filter. Let’s see how that goes in the future...

June 05, 2018 /William Tjipto
Japan, JDM, Suzuki, Alto, Alto Works, HA11S, car, kei car, Car Life, F6A, RHD, HKS, スズキ, アルト, アルトワークス, 自動車, 軽自動車, 日本, 車, Mitsubishi, 4B11T, 三菱, Mazda, マツダ, M16A, AEM, Racing Beat
Cars, Japan, Ownership, Project Sachiel
Comment

Powered by Squarespace