Ready Seat Belt

レディー・シート・ベルト

A look into the cool and bizarre, focusing on the Japanese import car culture and delicious ramen. Updated weekly.

  • Home
  • Blog
  • Food
  • Archive
    • Complete Archive
    • Ramen Archive & Map
    • Suzuki Alto Works HA11S
    • Suzuki Alto Works HA12S (Scrapped)
    • Suzuki Swift Sport ZC31S (Sold)
    • Suzuki Wagon R MC22 (Scrapped)
    • Newbie Guide
    • Photography
  • About
  • Facebook
  • Instagram
  • Twitter
DSC_9956.JPG

[ Alto Works ] Fender Flares, Part 1

June 10, 2020 by William Tjipto in Project Sachiel, Ownership, Japan, Cars
DSC_1214.JPG

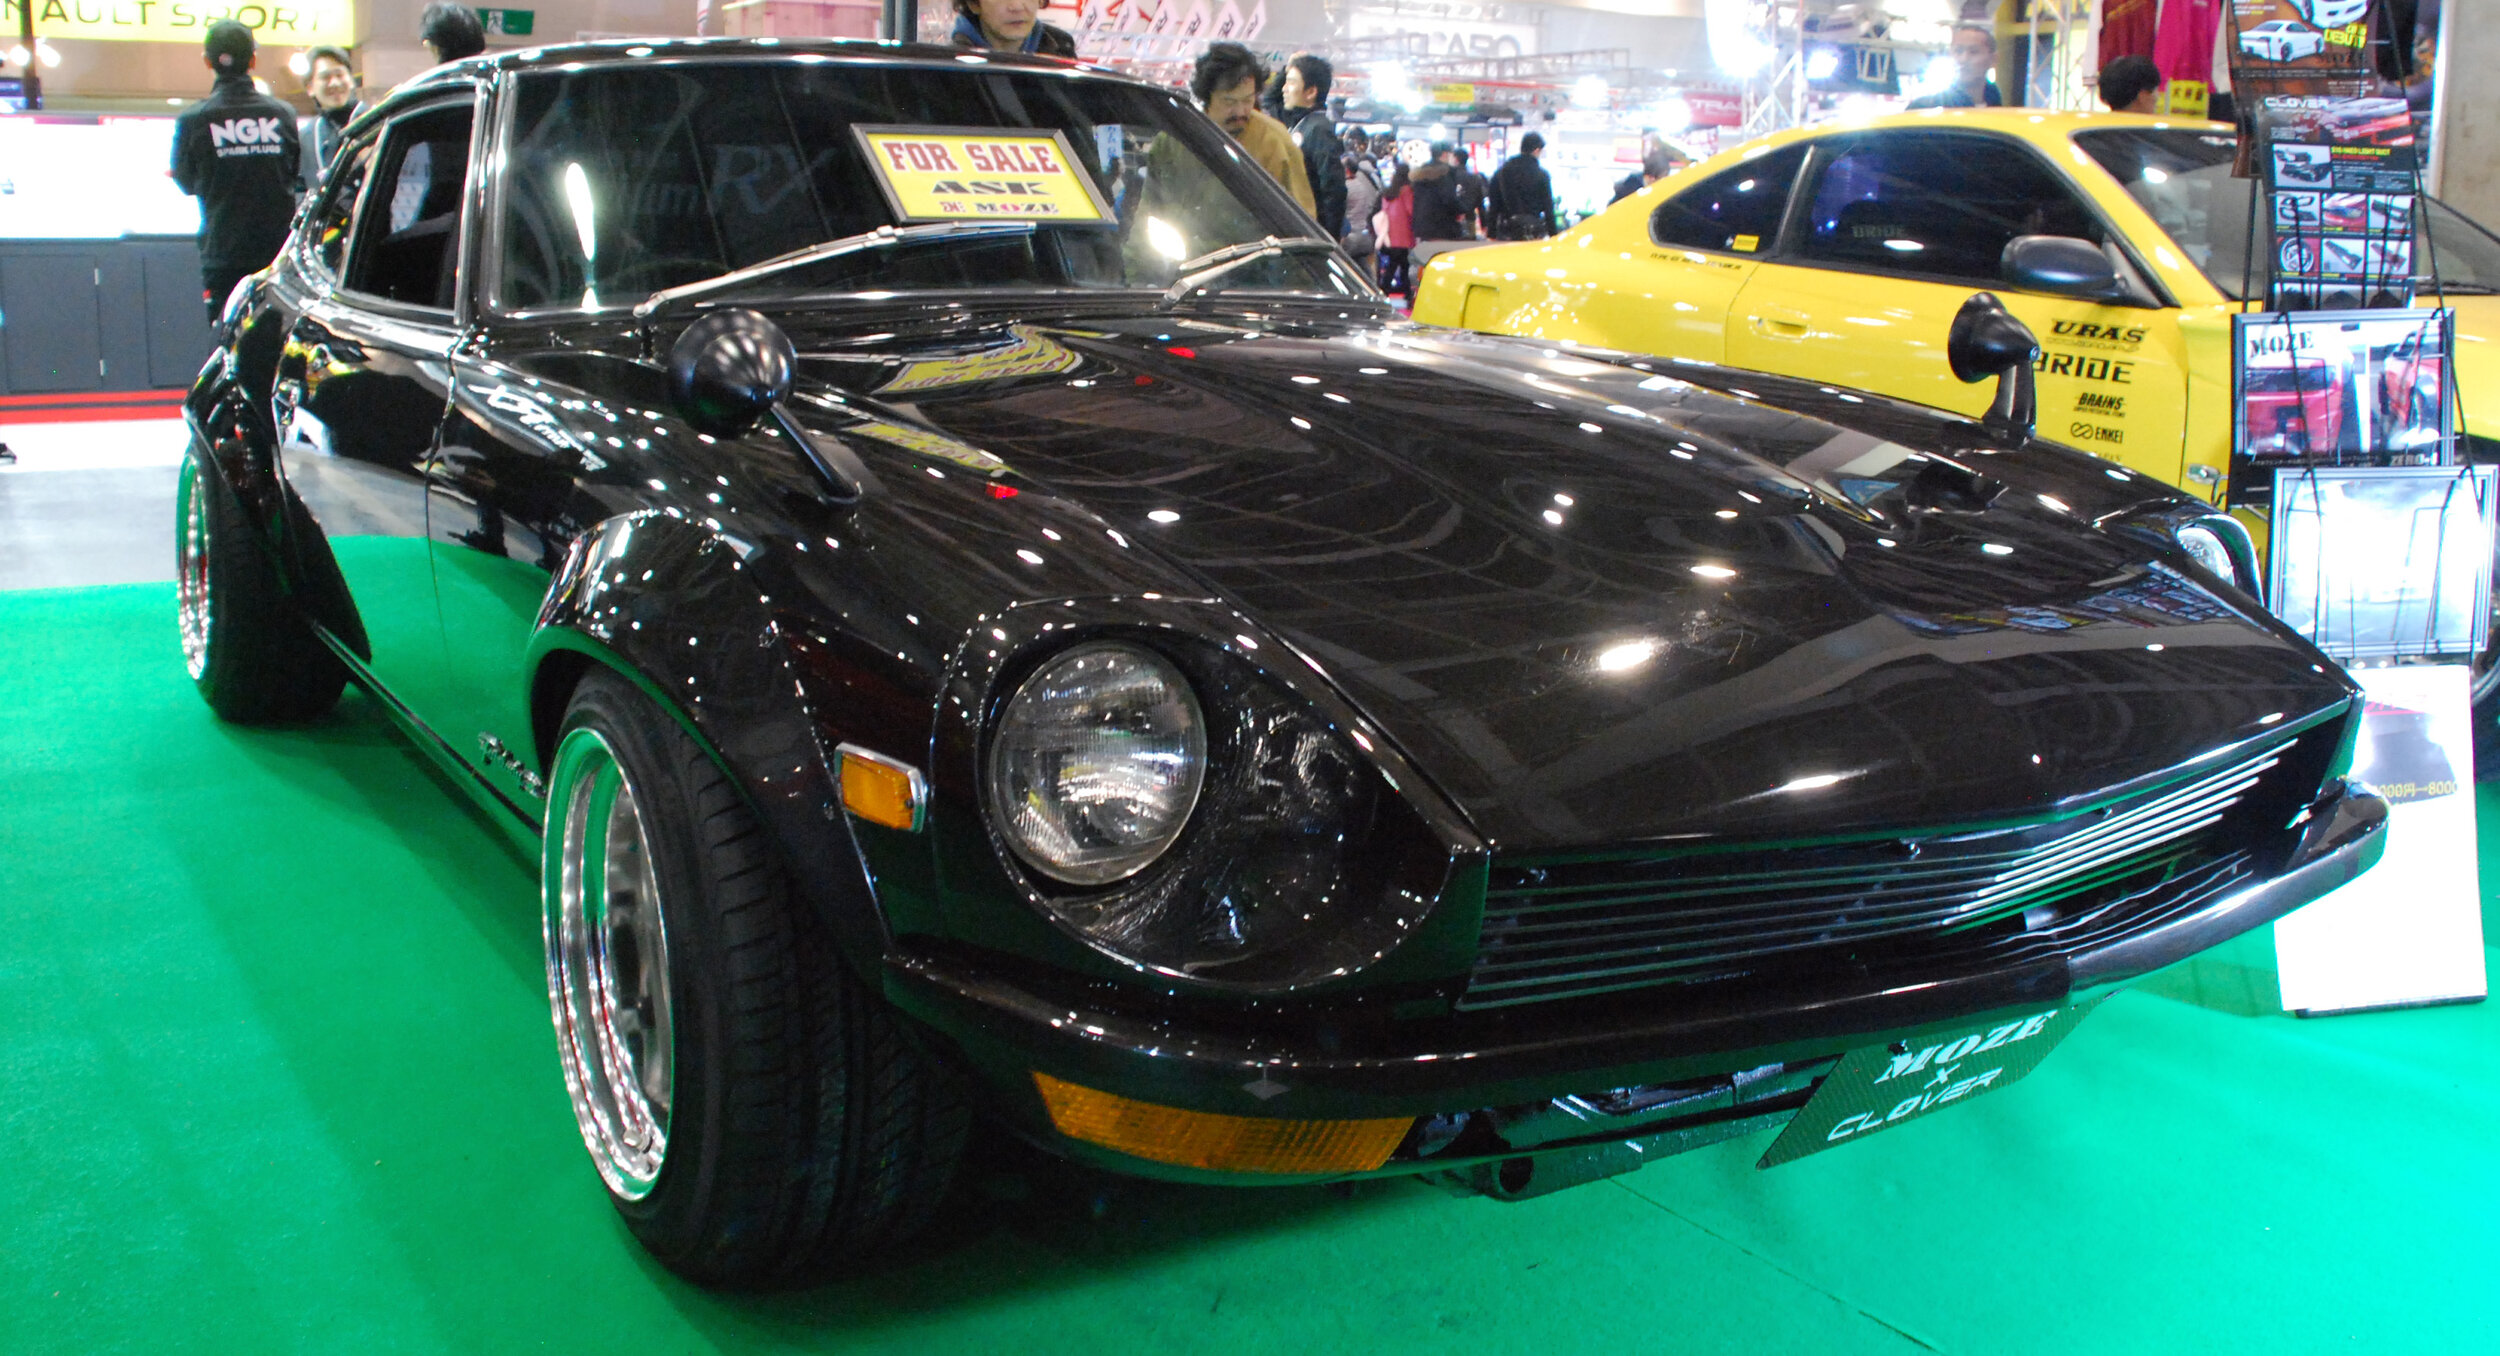
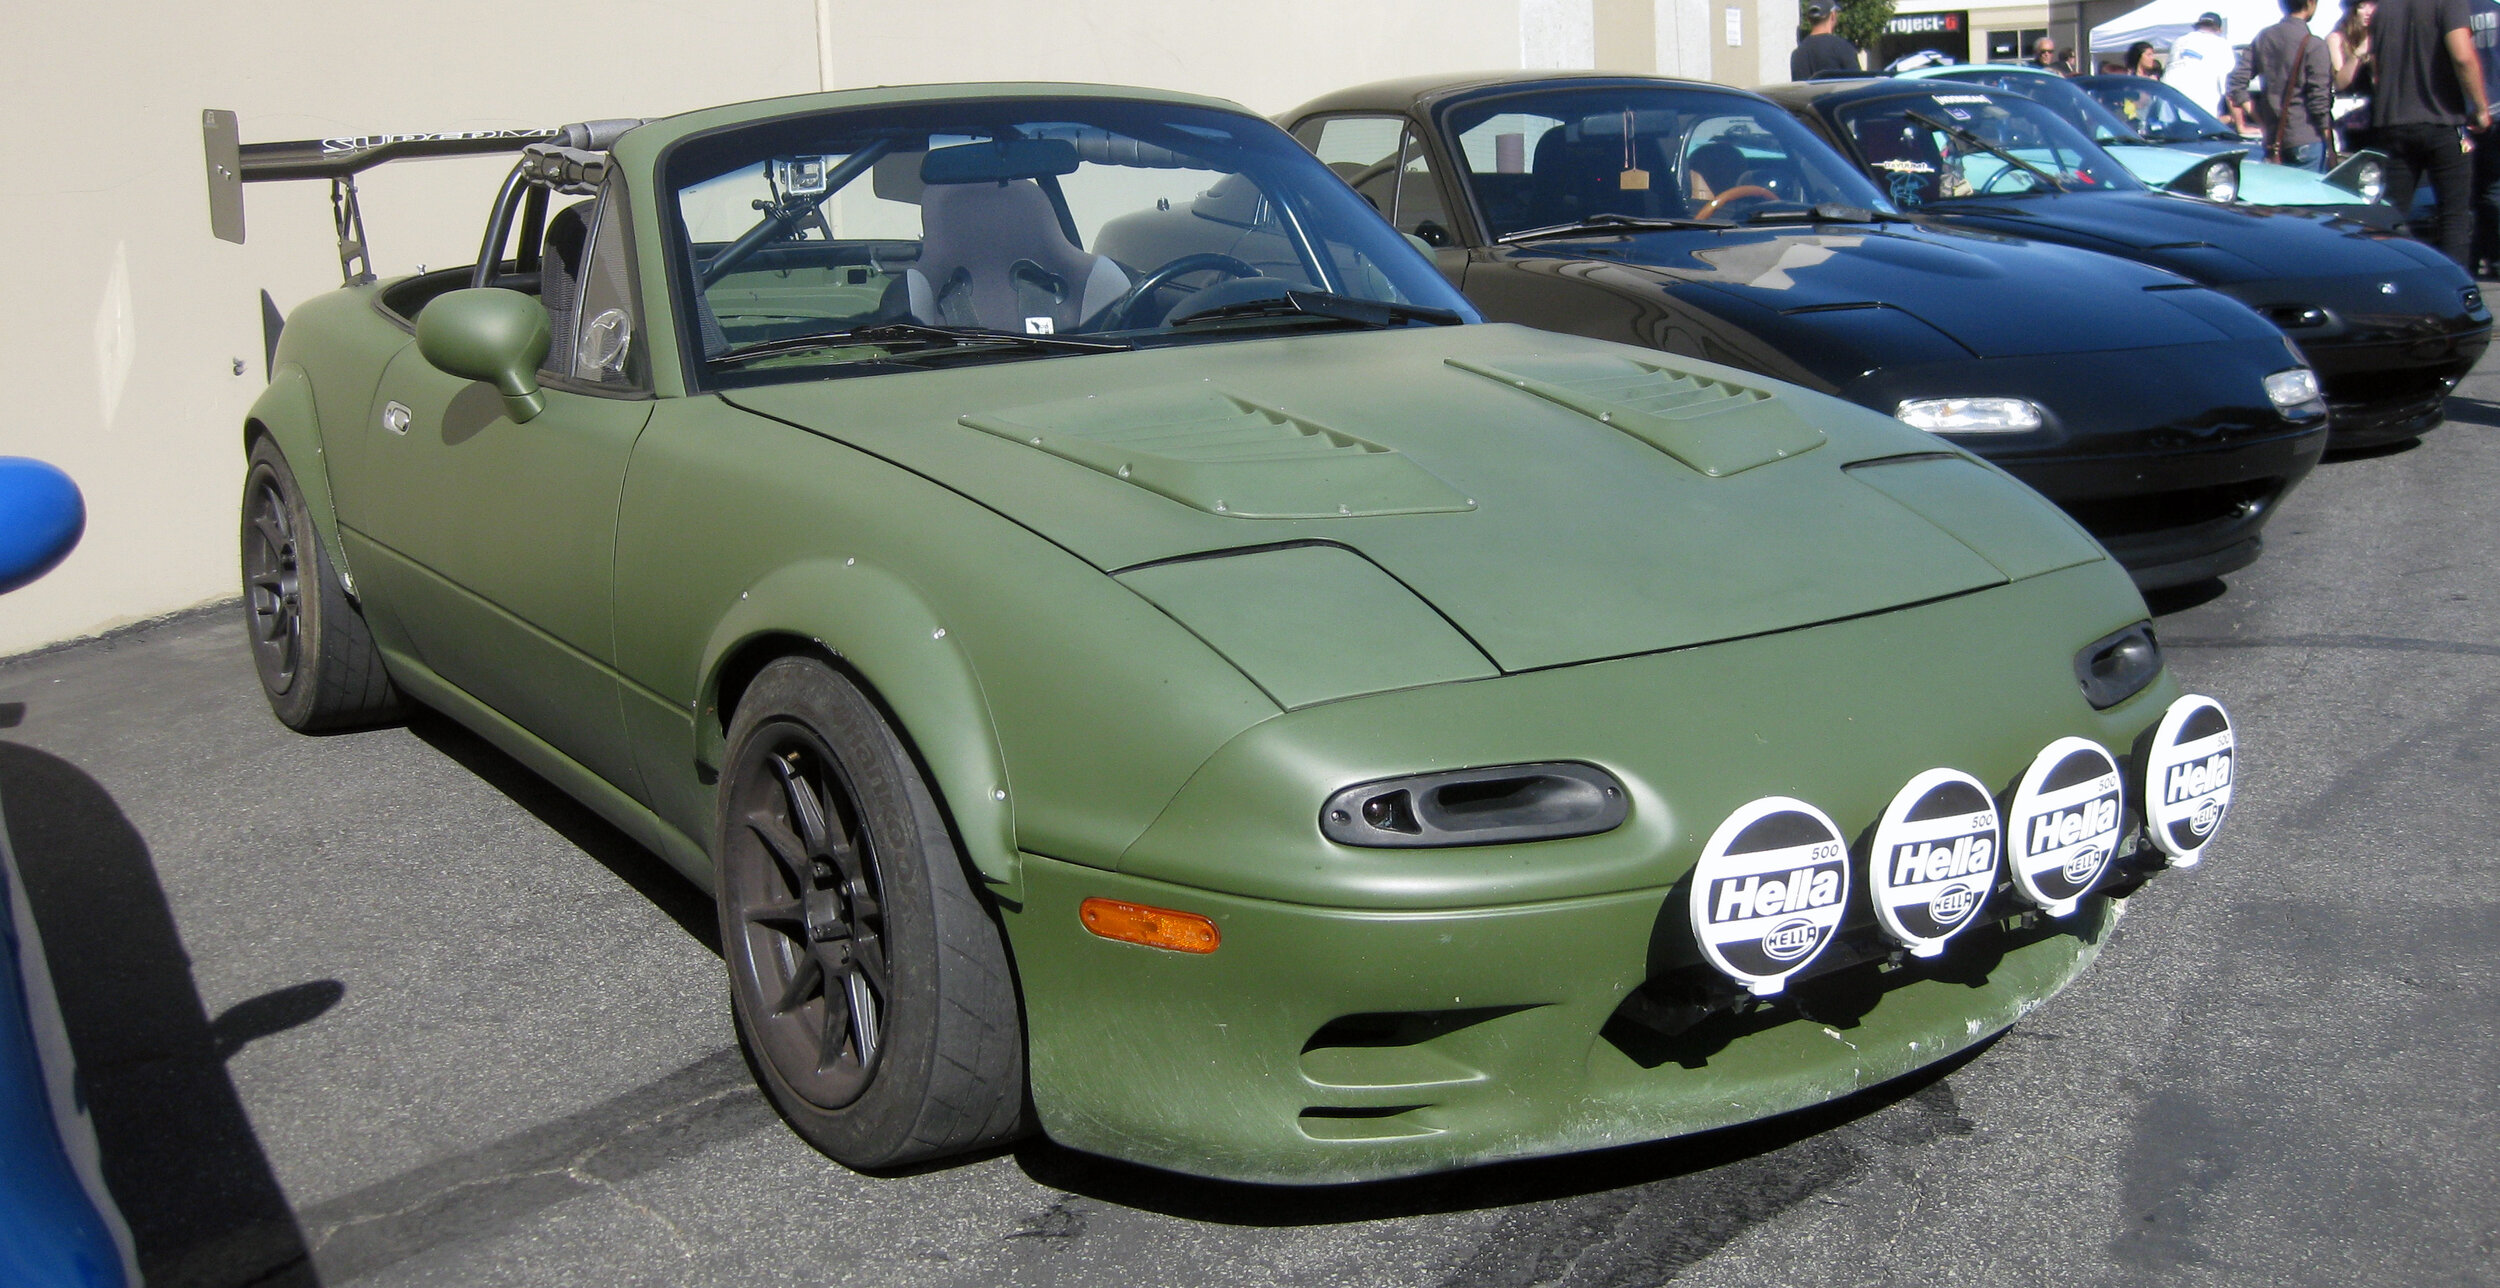
Just when I thought I was close to “finished,” I came to the sad (yet, fun...) realization that no project car ever can be truly complete. I’ve always liked the look of simple overfenders on older cars, probably starting with the beautifully gorgeous look of modified early Fairlady Zs (240Z in the US). I wanted to install a set on my Miata back home, but never had the chance to put a set on.

IMG_4312.JPG

Unfortunately, I’d say that the boxy look of the Alto Works doesn’t necessarily go completely well with the look of rounded overfenders when compared to the sleeker look of the Z or Miata. Besides looks, wider fenders provide a few other benefits, chief among those is the ability to install wider or spaced-out wheels. Wider wheels can provide better traction, grip, and potentially better handling…

DSC_1444.JPG

Though more often than not, the drawbacks far outweigh the advantages. Cars are often designed and engineered properly from the factory, by engineers. Garage “engineers” try to improve upon essentially perfectly functioning cars, but I’ll be honest… we often do more harm than not to a car’s performance, reliability, or even looks. Cars are originally designed with a particular set of springs, dampers, and rough wheel size and weights in mind, not with the larger unsprung mass of wider / bigger wheels that we love the look of. On my Alto Works, for example, the wheel bearings, already stressed from spacers, will have significantly more premature wear over the coming months / years with wider-set wheels. How do we ruin the car as a daily driver? Add some potential for rubbing wheels on fenders. And how do we screw ourselves in Japan? Fail shaken is probably the main way...

DSC09108.JPG

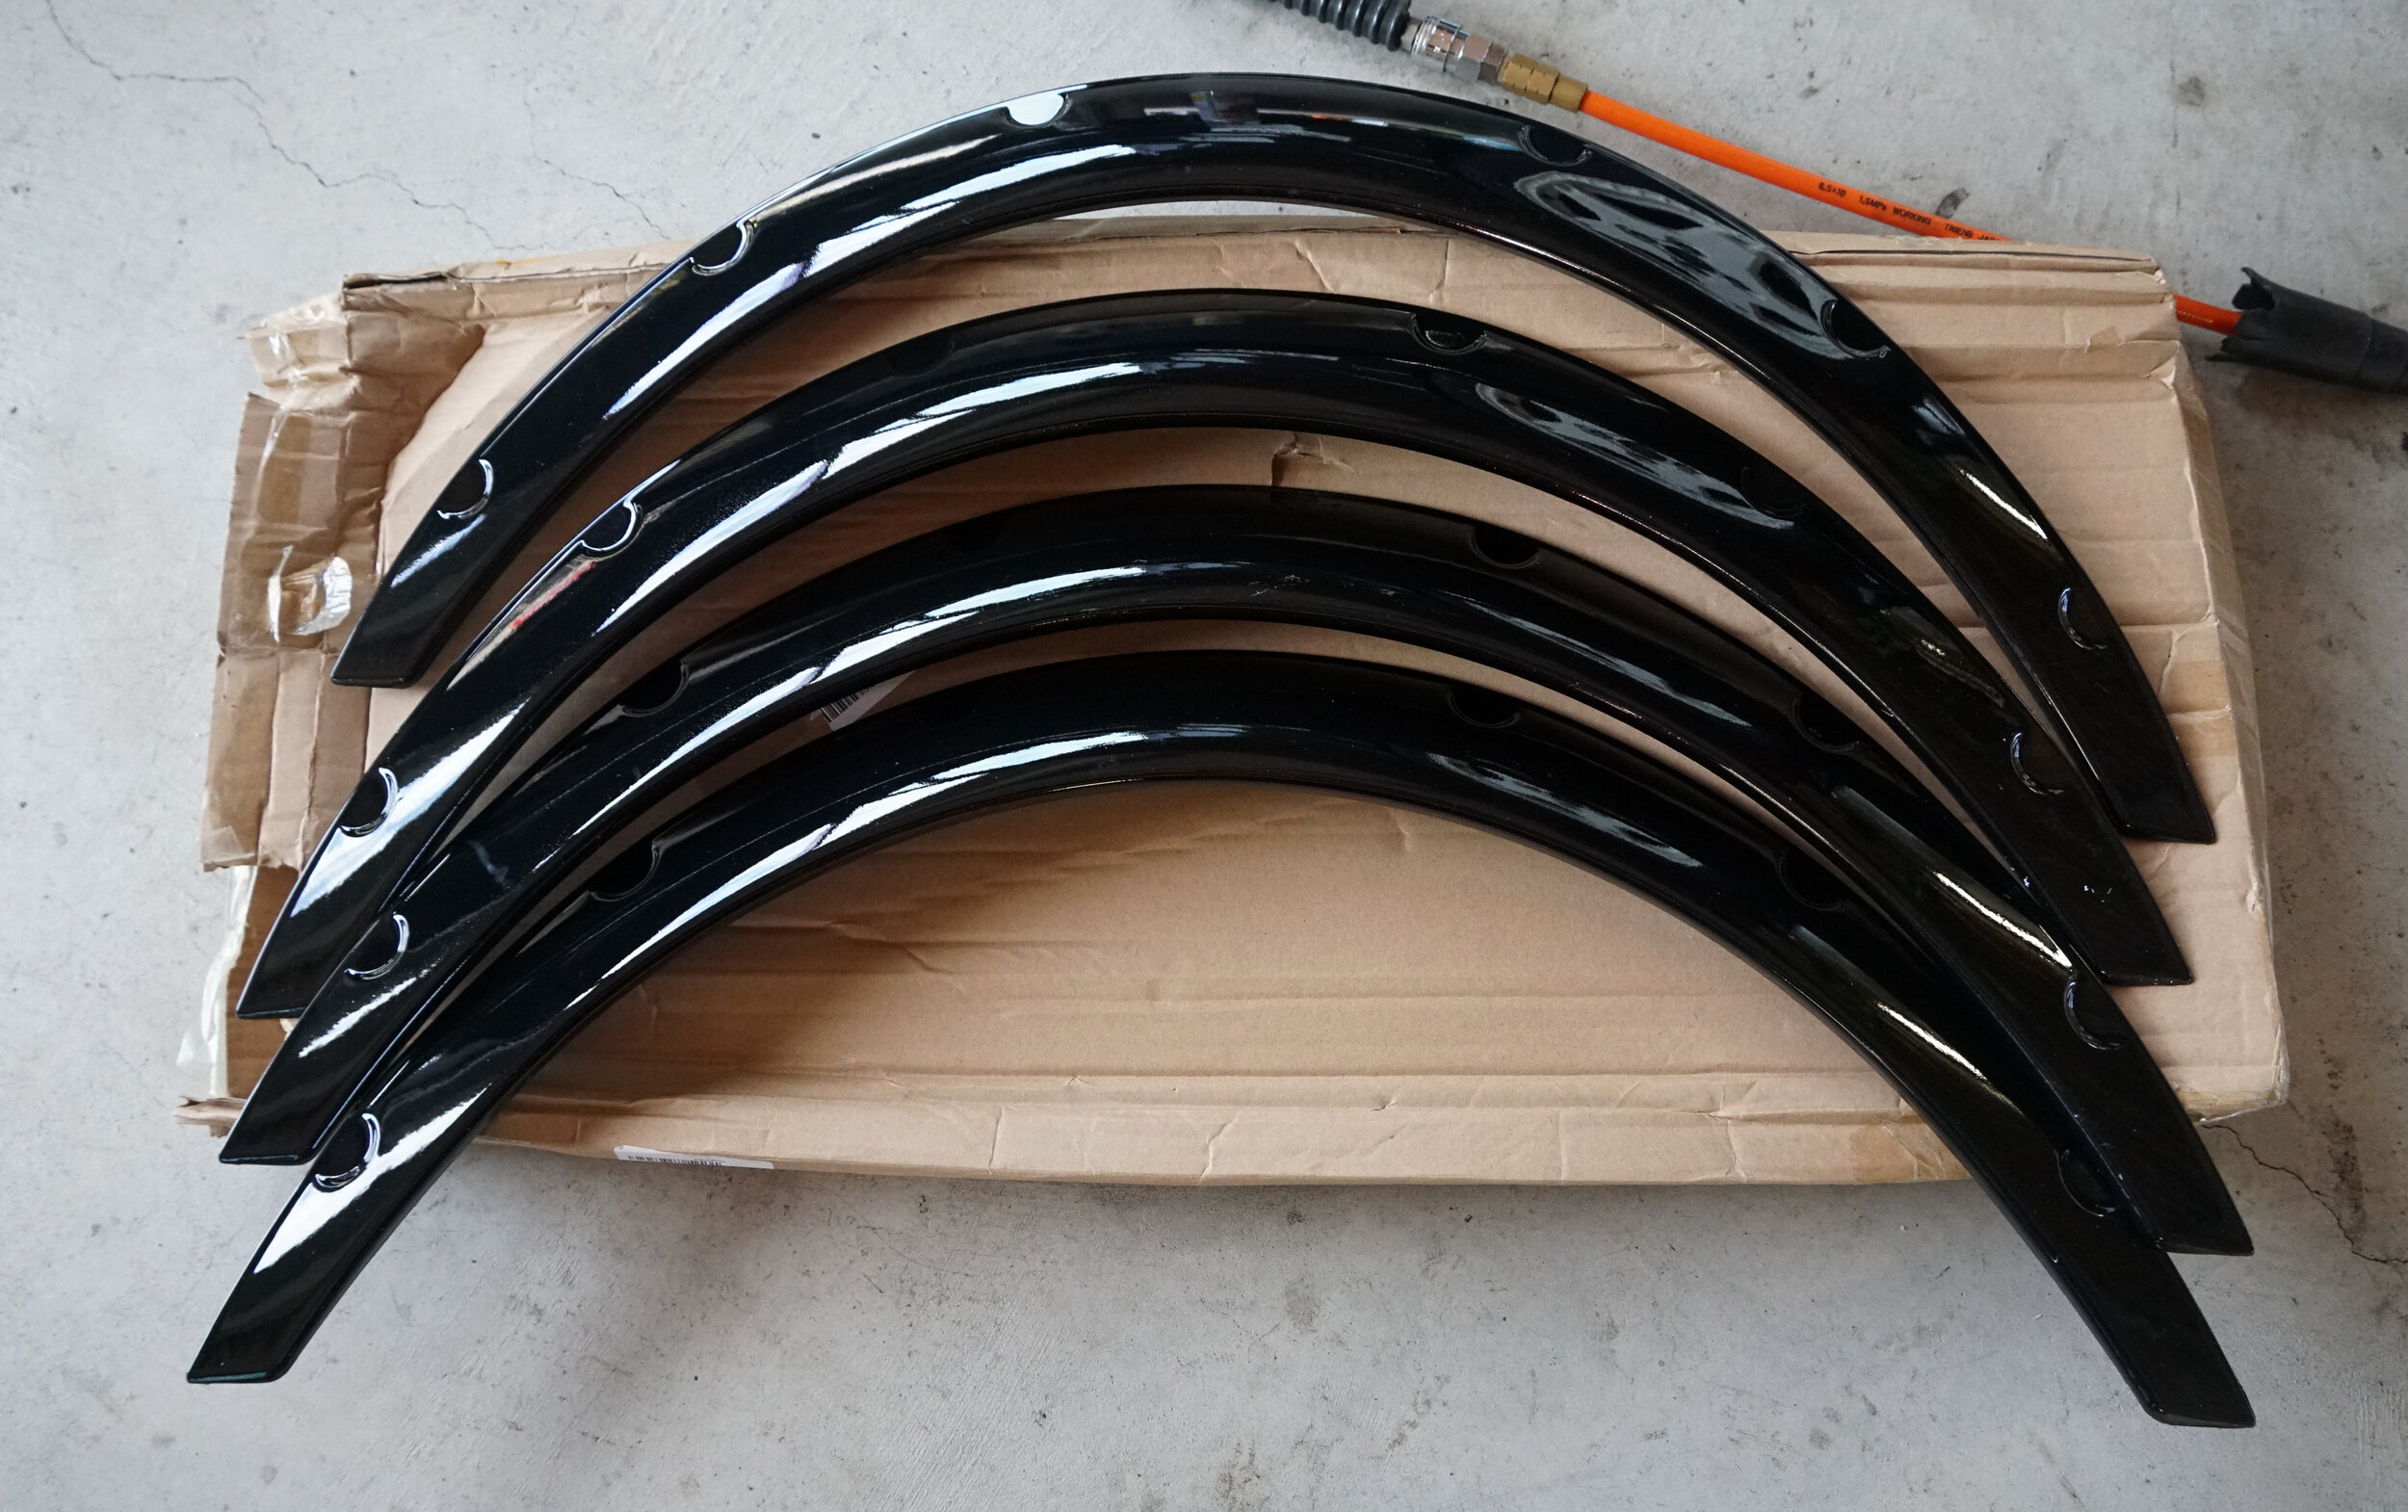
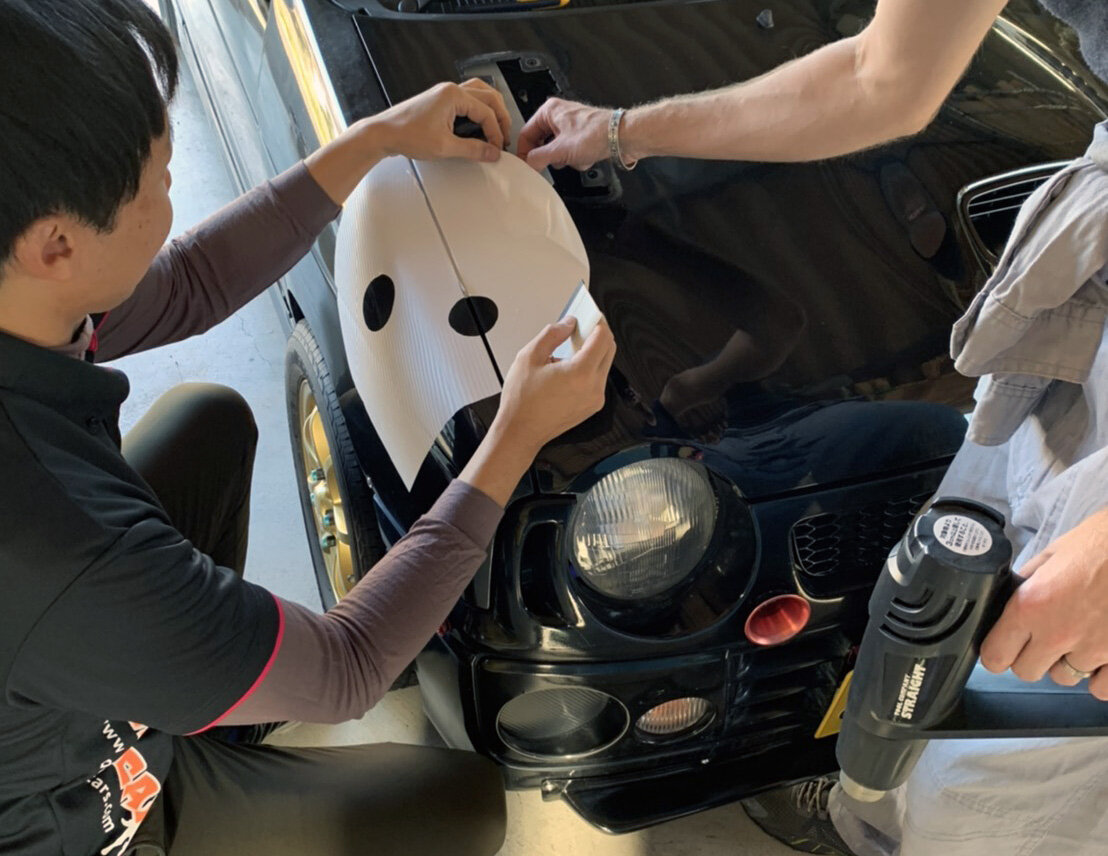
All that aside, I still really wanted to try a set of overfenders out. I figured, worst case scenario, it would ruin a car that I could no longer perform shaken on next time. Best case scenario? Well, the car could look darn wicked with a widened track and some custom fenders. Weighing these options, I ordered a set of four overfenders for a super cheap price of about $50? USD, shipped. These are made as universal “front” fenders at ?mm long, about ?mm wide. Of course, given the price, I expected little in terms of quality. I even considered that it wouldn’t even fit the car. Though who cares if it won’t be a perfect fit? At this price, the experiment is worth a shot…

2019-10-06 003.JPG

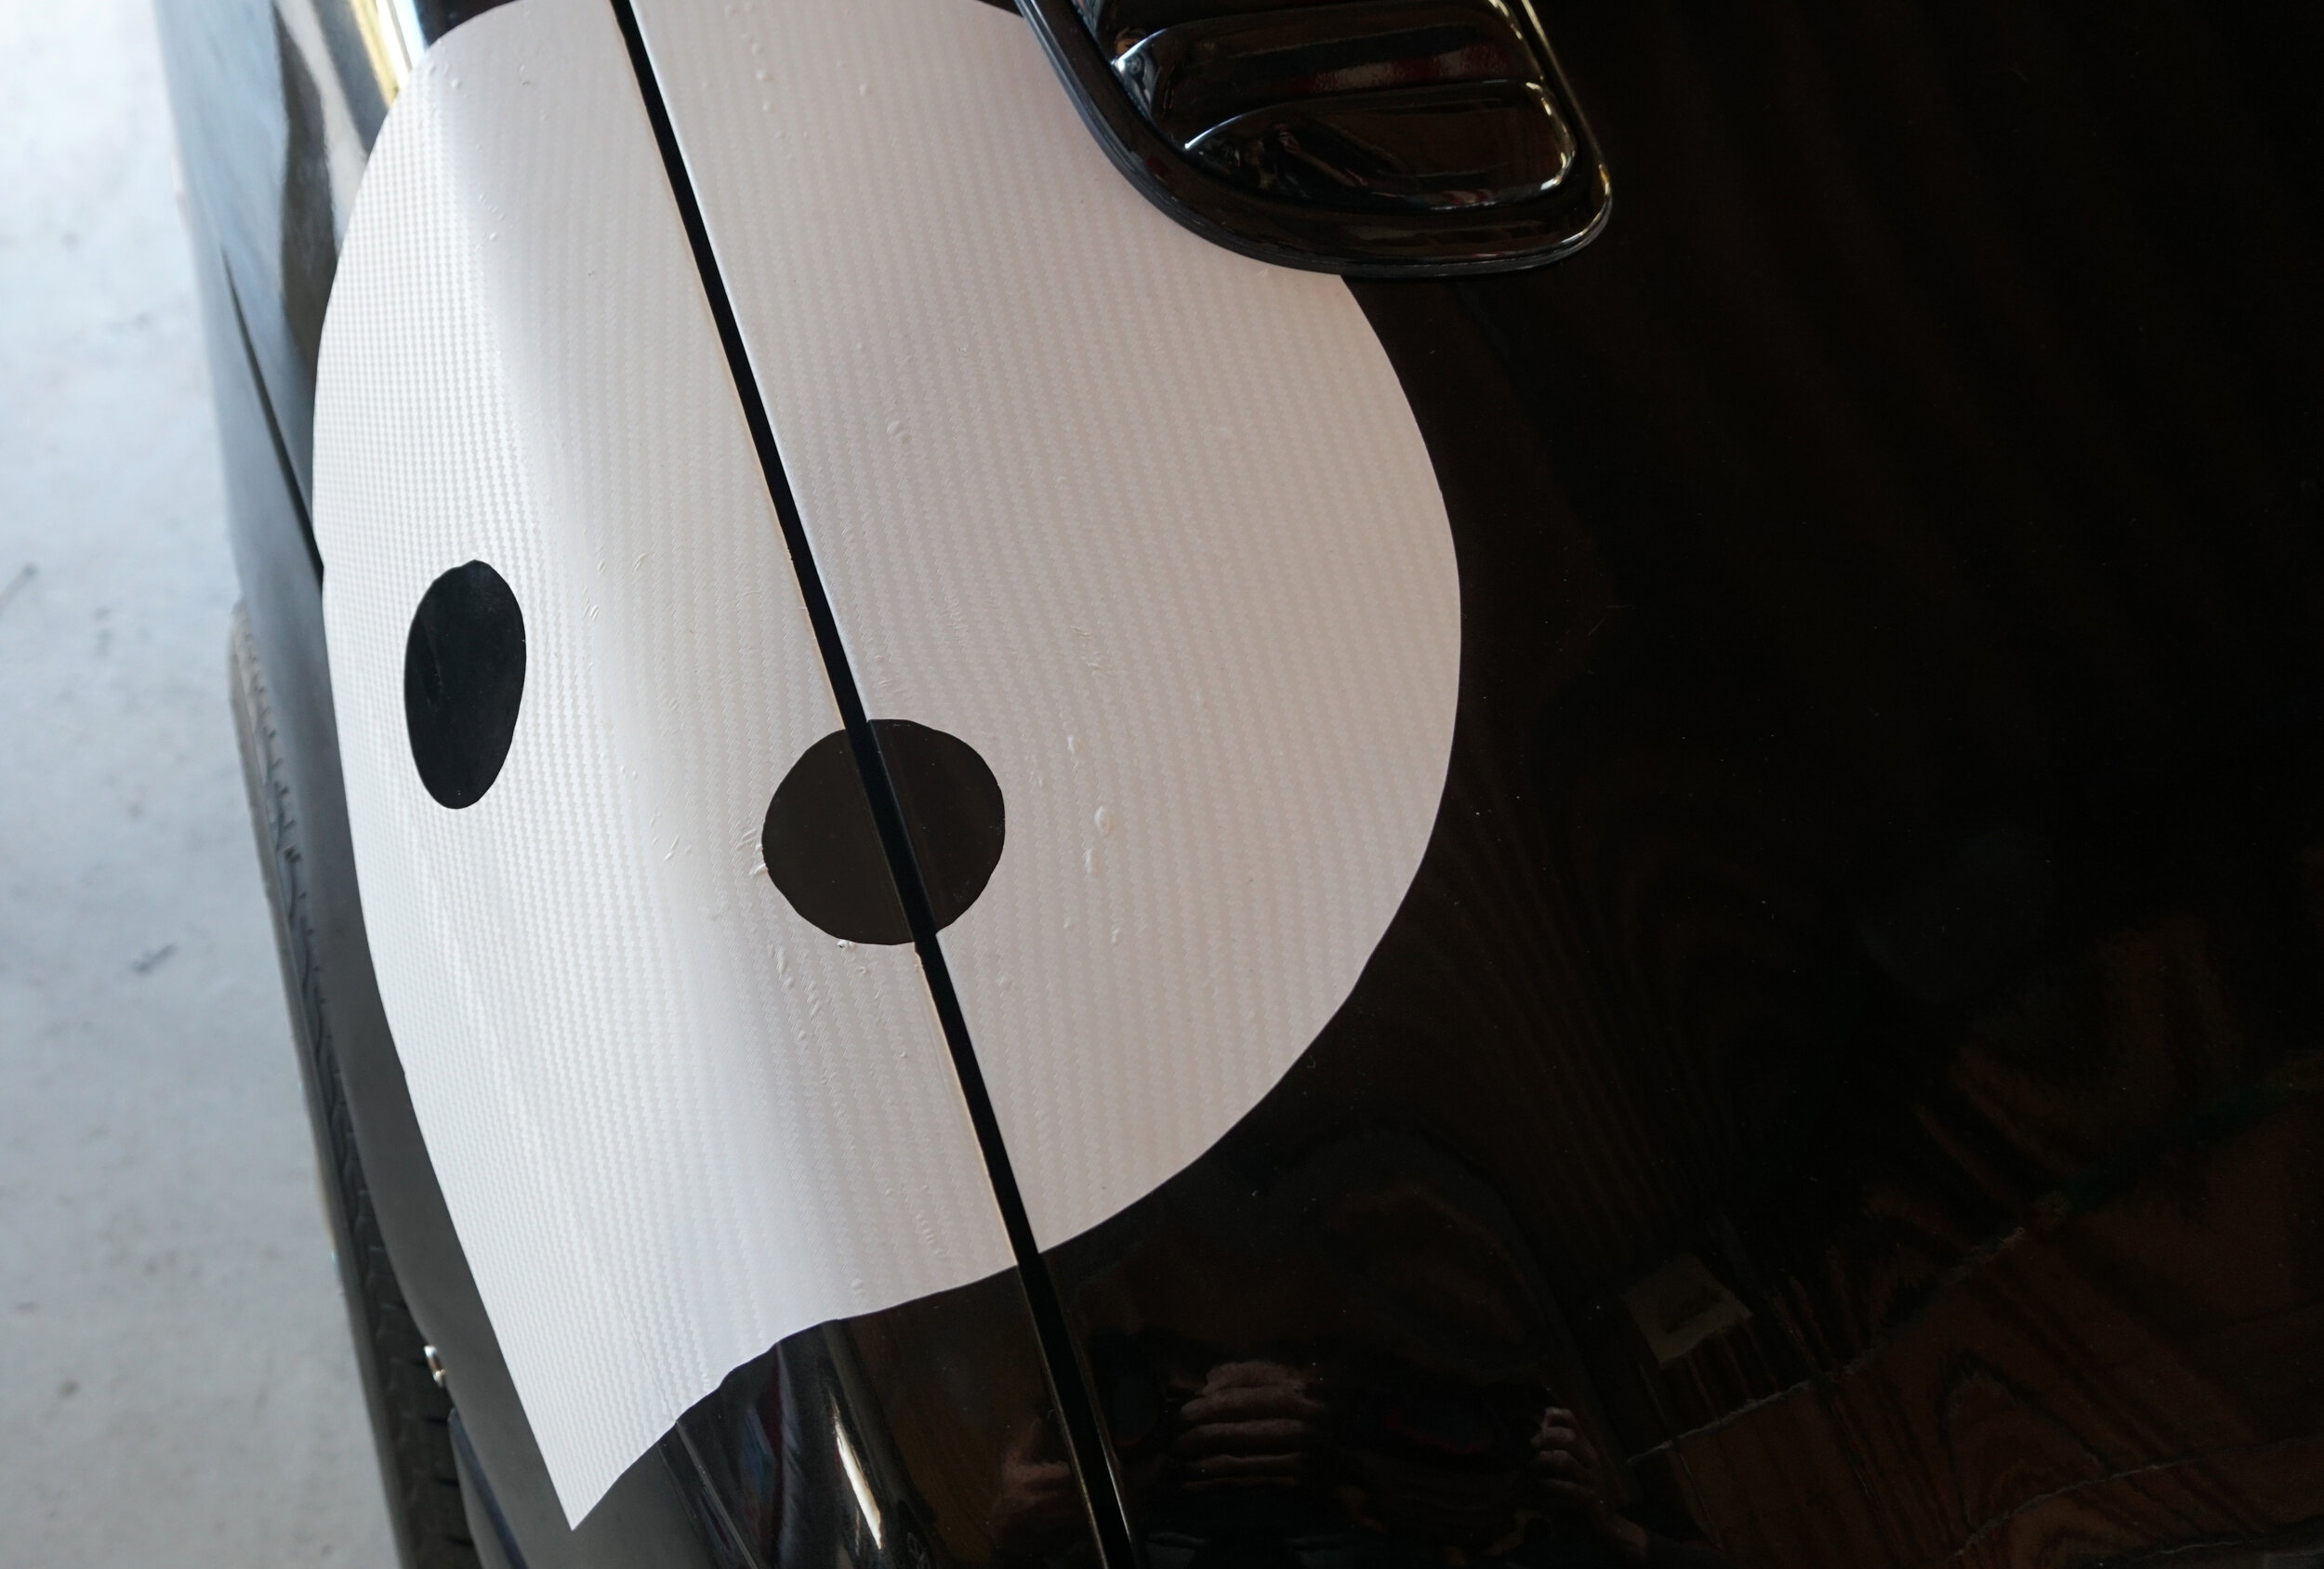
It turns out the fender quality seems to be pretty good. They are flexible under pressure, yet very stiff. I had no issues subjecting them to strong bends in an attempt to see if they would crack or shatter. The black shine also was fairly decent, though out of the box there were a few scrapes. If I had worried about them more, I’d refinish them, though since the car itself has bad paint, I didn’t bother.

2019-10-06 005.JPG

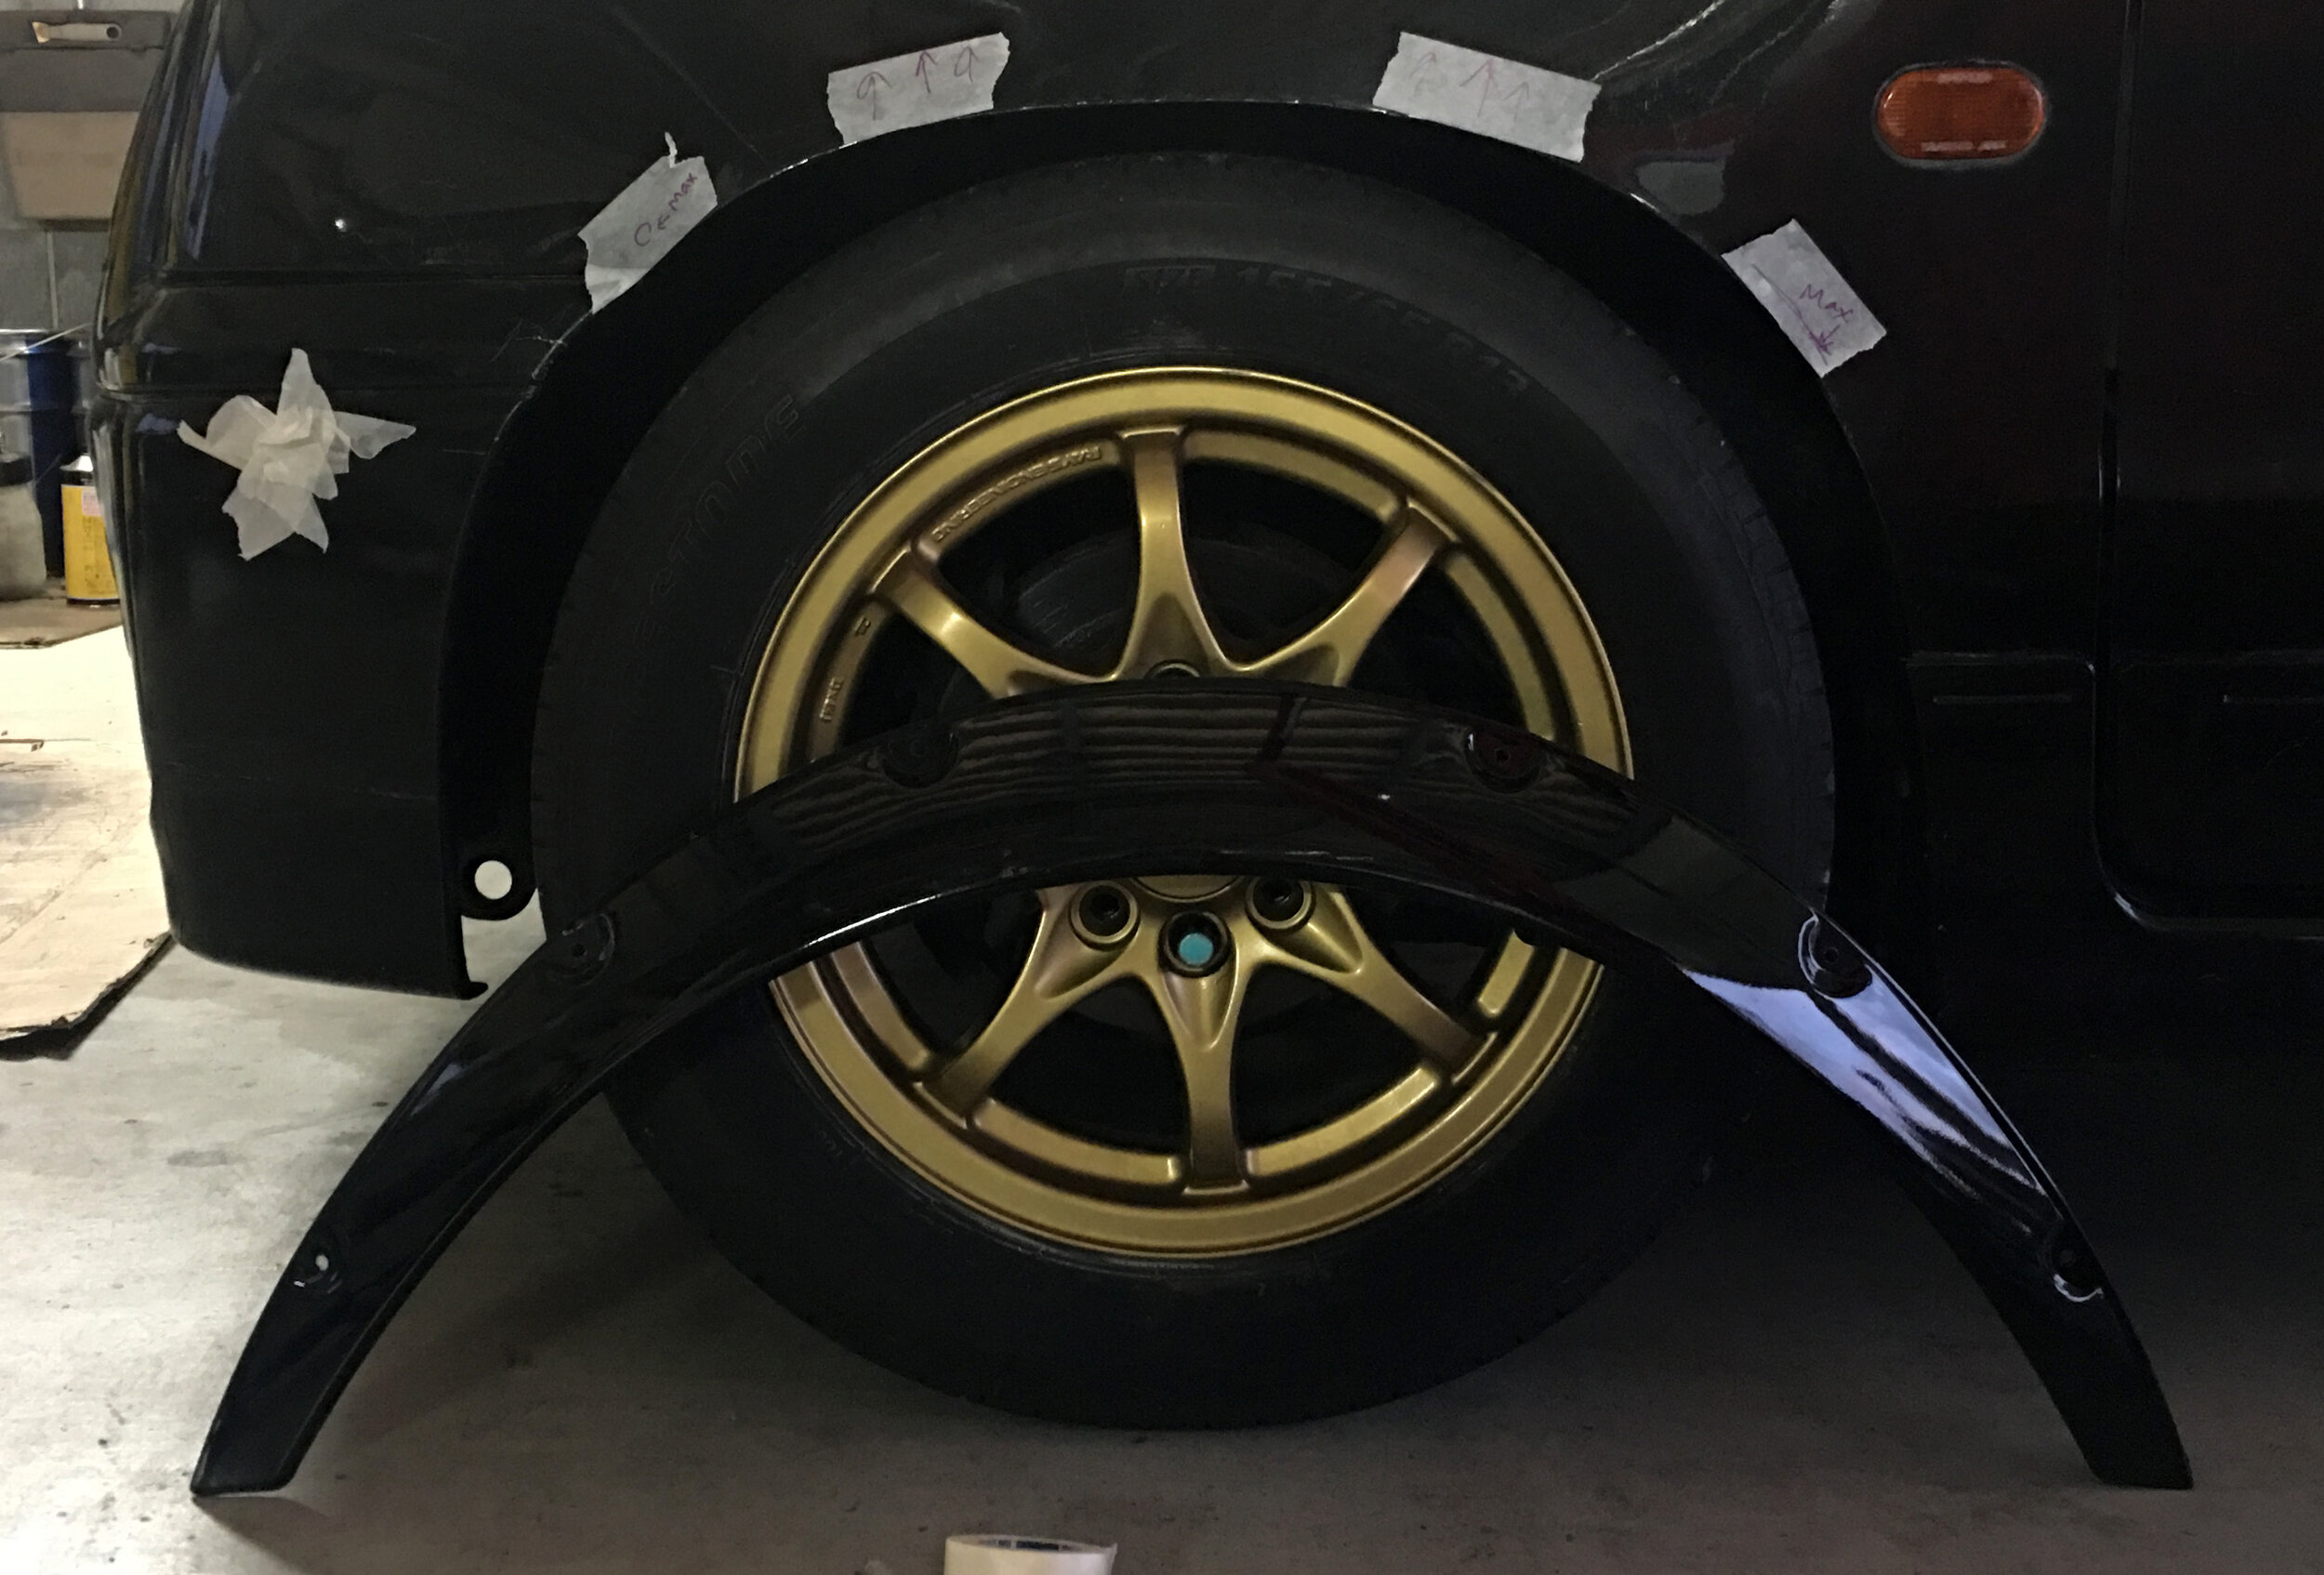
Time to get them installed next time!

June 10, 2020 /William Tjipto
SUZUKI, ALTO, ALTOWORKS, WORKS, HA11S, HA21S, JAPANESECARS, JDM, CAR, JAPAN, CARLIFE, READYSEATBELT, WING, AERO, SPOILER, スズキ, アルト, アルトワークス, ワークス, 軽自動車, 日本, 愛車, 自動車, 車, ウィング, スポイラー, エアロ, エアロパーツ, TRUST, GREDDY, オーバーフェンダー, オバフェン, OVERFENDERS, FENDERS
Project Sachiel, Ownership, Japan, Cars
Comment
DSC02283.JPG

[ Alto Works ] Vinyl Stickers

April 17, 2020 by William Tjipto in Cars, Japan, Ownership, Project Sachiel

If you look carefully, you might have seen some new stickers appear and disappear on my car from time to time. Thanks to RKADE and ORCA for all the sticker sponsorship so far! These gorgeous designs are absolutely badass!

DSC03212.JPG

There are two basic ways to put on vinyl, wet or dry. For most folk and for most stickers, the wet method is the easiest to lay down. The use of slightly soapy water allows infinite repositioning of the vinyl (unless it sticks onto itself), so mistakes can be easily fixed before drying. This also makes removal of those tricky, tiny air bubbles quite easy if done properly. However, this works extremely poorly for complex shapes and complex curves, as the benefits of easy removal make conforming vinyl over these surfaces hard to do; the wet stickers won’t stick easily and don’t work with a heat gun. (Of course, I’m not saying it isn’t a possibility, but in my limited experience it isn’t very easy to do.)

The other method is to apply the vinyl dry, in which case it is extremely useful to have a heat gun. Heating the vinyl allows it to stretch and shrink to some degree, conforming to curves and body shapes of car panels. For large sheets of vinyl, having two sets of hands to prevent vinyl from sticking on itself and help to push out the bubbles is a huge boon.

2019-11-23 005.JPG

As I might have mentioned before, I wanted to adorn my car with an Evangelion theme. So I enlisted my friend Aleks to help me apply a decent size cut of vinyl of Sachiel for my front hood and right fender. This is actually my second attempt, as the first time I tried this, I failed to apply it cleanly. I had considered trying the wet method this time around since the curves aren’t that “complex,” but I thought it would be worth one more try.

DSC00476.JPG

With the extra set of hands and a heat gun, we proceed to lay it out, moving carefully a little bit at a time. The result was actually pretty good from a few feet away. There were a few air bubbles I failed to poke out, though, as this sheet of vinyl doesn’t have those “air release” holes or channels. No matter, as it isn’t anything a pin or razor couldn’t alleviate at a later time.

DSC00481.JPG

Now these next two are just for fun. As some of you may know, I am friends with Rodeo Cars and Matsuda-san. He has generously lent me the use of his garage and occasionally his expertise to work on my crap can… I mean, Alto Works project… So in a manner of speaking, I’m here to represent my “sponsorship” with him now that the car is at a point where I am proud of it’s looks. (Or less embarrassed?)

2019-11-23 006.JPG

This was the initial plan, but I ended up ordering stickers a bit smaller due to the exponential cost increase with any larger sheets. In the end, the stickers still weren’t cheap. I won’t say how much… what do you think it costs?

DSC00492.JPG

Like the Sachiel decal, I will do this dry to allow it to go over the necessary surfaces.If you look super carefully, you might see the mistake I made with the pink side of the sticker. Otherwise, from a few feet away it is otherwise not so noticeable. Not to mention the colors are so bright and contrasting, most won’t be staring that close...

DSC00484.JPG

...but I notice it...

DSC00545.JPG
April 17, 2020 /William Tjipto
SUZUKI, ALTO, ALTOWORKS, WORKS, HA11S, HA21S, JAPANESECARS, JDM, CAR, JAPAN, CARLIFE, READYSEATBELT, WING, AERO, SPOILER, スズキ, アルト, アルトワークス, ワークス, 軽自動車, 日本, 愛車, 自動車, 車, ウィング, スポイラー, エアロ, エアロパーツ, TRUST, GREDDY, VINYL, STICKER, ステッカー
Cars, Japan, Ownership, Project Sachiel
Comment
DSC00497.JPG

[ Alto Works ] TRUST / GReddy Produce Carbon Fiber Rear Wing Spoiler, Part 2

March 31, 2020 by William Tjipto in Cars, Japan, Ownership, Project Sachiel

With all the overall benefits and drawbacks of a wing considered, I decided to put a bigger, sportier wing on my Alto Works. There were a few existing ones from some manufacturers like Jaws Yamamoto and TAKE OFF, but I came across this gorgeous TRUST / GReddy carbon fiber wing. While it wasn’t in perfect condition, as it came used, it still is absolutely beautiful and it would really go well with the rest of my modifications.

Wait, you might be asking, “Does GReddy make a CF rear wing for the Alto Works?” (Okay, maybe you’re not asking that.)

You better darn bet they don’t! This wing comes courtesy of my Suzuki Swift Sport, which was removed in preparation to sell the car. I know well the lack of value aftermarket parts have on cars, if not devaluing a used car even more due to the sign that the car was modified. Further, the GReddy spoiler, while quite beautiful in these photos, have long since succumbed to outdoor weather in the years it was installed on the car with the clear coat faded and some discoloration present. With a professional clear coat, it might be once again worth a bit of money, but in its present state it would have only ruined the Swift’s otherwise beautiful appearance.

Hence, the wing was removed before I decided to sell the Swift. On the second hand market, the spoiler, even in its current state, might fetch 5000¥ or more, given that it is a model-specific, full CF piece no longer in production, made by a reputable manufacturer. What would be even better would be to give it life on my Alto since the aforementioned hatchback spoilers go for around the same cost and they are nowhere near as fancy.

I’ll admit a drawback, however. Since it is not model-specific, I’ll have a few issues. First, the fit. It may not even work right or it could be loose. Secondly, it was not tested and designed for this car, so the aero benefit may be minimal, if at all. It may even cause unnecessary drag or unbalance the car.

But this is a project car, after all. Why don’t we give it a shot?

DSC00241.JPG

Spoiler on a spoiler so you can spoiler. This is a joke… though I was half-serious about doing this.

DSC00267.JPG

The original spoiler came off with four screws and a lot of old, dried, rotted double-sided tape. Sadly, due to the 3 decades since, it has become semi-permanently attached to the back of the car.

DSC00254.JPG

Before the other spoiler goes on, it was time to try to get the old stubborn tape off using the rubber decal remover I used on my ugly side decals awhile back. After that failed to get the desired results, I resorted to a heat gun and pointy, sharp objects. I know it won’t be perfect and I’ll likely damage the paint, but as you can see, the paint isn’t that great to begin with.

DSC00496.JPG

This is probably as good as it’s gonna get without resorting to sandpaper or something harsher. The edges where the double-sided tape were created a little area where rust formed, so there are now tiny little bubbling paint spots. For now, it is all primarily surface rust. Hopefully a little touch-up is adequate for now.

DSC01032.JPG

And with the removal of the four screws, there are now four rubber mounting points which I cannot easily plug without a lot of filler… Well, there were 4 rubber mounts. One rubber grommet fell apart and into the roof. (No matter, I managed to fetch that out later.) Since there is no easy way to plug up the holes without going through a lot of trouble, I decided to remove the remaining rubber mounts and cover up the remainder with some CF vinyl. This will clear up the look a bit in the rear and not only hide the holes, but cover up the ruined paint back there.

DSC00262.JPG

There are 4 total screws holding the spoiler in place on the Swift, but due to the width of the car, in reality only two can only be used due to the mounting surface. To mount the two screws, I drilled some holes and used some blind M6 rivnuts.

DSC00287.JPG

Surprisingly, it was super secure with only two points of mounting. But leaving it like this would be a half-baked job.

DSC00276.JPG

I drilled and installed some rivnuts to my car and the spoiler to install support rods. These support rods are commonly added for extra support on the backside of spoilers and wings or in front wind splitters. They are simple threaded stainless steel or aluminum bits. Since the purpose of these supports here are to help hold the spoiler in place and the fact the spoiler isn’t designed for significant downforce, they should be more than enough to help secure it.

The wing is bolted on and super secure! You can literally shake the whole car by the wing and rods.

DSC00552.JPG

Overall, this project was a simple one that really enhances the look of the car. Although upon closer inspection, one can tell this wing was not made for this car, but even then it still gives off a very custom, racing aura. Definitely one of my best appearance modifications so far.

But I have more to do yet!

March 31, 2020 /William Tjipto
SUZUKI, ALTO, ALTOWORKS, WORKS, HA11S, HA21S, JAPANESECARS, JDM, CAR, JAPAN, CARLIFE, READYSEATBELT, WING, AERO, SPOILER, スズキ, アルト, アルトワークス, ワークス, 軽自動車, 日本, 愛車, 自動車, 車, ウィング, スポイラー, エアロ, エアロパーツ, TRUST, GREDDY
Cars, Japan, Ownership, Project Sachiel
Comment

[ Swift Sport ] GP Sports Exas Evo Tune Exhaust (Modifications, Part 3)

October 10, 2019 by William Tjipto in Cars, Japan, Ownership

Early on, I focused on the interior touch points and bracing for my 2007 Swift Sport, but it was about time I started messing with the looks of the car. With the carbon fiber hood and spoiler, it was already very nearly perfect, though there are improvements I wanted to make.

2018-07-16 006.JPG

I picked up a flush aluminum rear wiper plug off of Yahoo! Auctions to remove the rarely used rear wiper. This simple, cheap part really cleaned up the back window end.

The next two small, but quite noticeable parts I ordered were front and rear tow hooks. I admit these were added for primarily cosmetic reasons, but they do serve a purpose on a track day. If I ever had an off-road excursion and the car needed to be pulled away, having two easily identifiable tow points are a necessity. Not to mention it could prevent further damage to other bits of bumper bodywork if a tow truck needed to latch on bottom frame points.

2018-05-27 004.JPG

Fine, fine, I’ll concede they are purely cosmetic. This car isn’t likely to be tracked anytime soon, but these tow hooks do attract a lot of attention from non-car fans. This is probably my most inquired-about modification. I’ve probably had a dozen people ask me, “why?” And my answer is always, “Because race car.”

For the rear, I picked up an aluminum universal rear tow hook which clamped easily on the bottom rear tow hook. Not only is it potentially useful on a track, as it sticks out past the muffler tips and bumpers, it is also a preventative safety device. Backing up into tight parking spots is the norm here in Japan and should I ever get too close to a wall or low curb, the tow hook will be scraped or damaged instead of the bumper.

The front tow hook is a screw-in design that can attach to both the threading here in the front and to a hidden threaded hole in the lower rear crash beam as well. However, as this rather cheap piece is aluminum, it is definitely not for actual towing use. It will likely be damaged or deform under heavy tow stresses so essentially this part is 100% for looks only. The car does come with an actual, non-folding tow hook in the tool box in the trunk, so this piece can be removed easily and the other hook bolted in without tools.

I really enjoy the nice, reasonable sound of the Fujitsubo Authorize R exhaust, but not enough for me to keep it. I wanted a throatier sound, so after listening to several dozen test clips online of other various manufacturers, I narrowed down my choices. The Suzuki Sports, HKS, and Trust exhausts were too quiet and barely louder than the Fujjitsubo, if at all.

2017-11-12 010.JPG

I finally came across GP SPORTS, which I had not heard of prior, but with a bit of research, it turns out they are quite prolific in Japan, making a huge range of exhausts for many Japanese cars. I heard a few clips of their dual exhausts on other car models and I was impressed. Not to mention, the titanium tips really added a gorgeous, sporty look. Eventually, I came across a great deal on a used unit from Upgarage for a steal at 39900¥ ($372 USD) in absolutely gorgeous condition. There was no way this exhaust had to be used more than a few thousand kilometers.

The exhaust was also surprisingly lighter and absolutely beautiful on the car.

IMG_2067.JPG

It reminds me of my old HKS Legamax exhaust on my Evo X, but this one is way louder and deeper. The sound under load and deceleration is nice and throaty. There is a more pronounced growl in the cabin with the windows down, but not significantly annoying with the windows up and there is minimal drone. Passengers, particularly those sitting on the rear seats, complain that it is a bit loud when I’m driving aggressively. Certainly a good thing in my opinion. Idling decibels are only a fraction louder, very important in traffic and when I spend the minute or two to warm up my car in the morning.

You can hear it for yourself in the above clip. In a word: Perfect.

2018-04-03 042.JPG

I really love the look of my WORK Kiwami wheels, but the thin, multi-spoke look doesn’t quite go with the bulbous, plain panels of the Swift’s bodywork. Smaller diameter wheels also look better and ride softer as a daily driver, so I looked around for 16” wheels. I was lucky to find some RAYS Gram Lights 57 wheels, wrapped with grippy Toyo DRB tires, also off of Upgarage for a great price of 40000¥ ($372 USD). They are the perfect size, offset, and fit for my Swift.

DSC01597.JPG

While they came in reasonably good condition, I figured a few coats of paint would really make them pop. Many layers and a long while later, here are the results.

If I say so myself, the white looks amazing on my Pearl White car.

October 10, 2019 /William Tjipto
JAPAN, JDM, SUZUKI, ZC31S, CAR, CAR LIFE, M16A, RHD, スズキ, SWIFT, スイフト, SWIFTSPORT, スイフトスポーツ, 自動車, 軽自動車, 日本, 車, HOTHATCH, FF, FWD, CARBONFIBER, カーボン, WORK, WORKWHEELS, ワークホイール, CRKIWAMI, KIWAMI, GREDDY, トラスト, GPSPORTS, FUJITSUBO, フジツボ, 藤壺, マフラー, EXHAUST, MUFFLER, RAYS, レイズ
Cars, Japan, Ownership
7 Comments
2017-11-26 009.JPG

[ Swift Sport ] Okuyama Carbing and Laile Beatrush Strut Tower Bars (Modifications, Part 2)

October 03, 2019 by William Tjipto in Cars, Japan, Ownership

Not long after buying my Swift Sport, I started modifying my car and putting a few bolt-ons <l>, because I can never be happy with stock. As nice as these Suzuki Swift Sports come from the factory, there is always room for improvement.

Sometimes, the modifications don’t work out the way I wanted them. I suppose aftermarket wheels on tall, wide winter tires are considered aftermarket modifications. As mentioned last time, I bought a set of winter wheels and tires, required in wintertime for many parts of Japan. They are a size taller and wider, so they rubbed a bit on the lowered Suzuki Sport suspension I had. At first, the rubbing wasn’t so intrusive, a few dips and bumps would cause fender scraping which would get severely worse if I had a passenger.

2017-11-26 011.JPG

I raised the suspension a bit in hopes of minimizing the rubbing. A bit wouldn’t be a problem to me. I thought until a few months into driving on them, I hit a hard dip and all of a sudden, I noticed my front windshield had a hairline crack. I was frankly quite shocked. Did the crack appear as a result of the tires hitting the fenders hard, causing the crack? Or was it simply a result of an exacerbation of pre-existing stress cracks in the window? Most likely, it was a combination of the two.

While I personally didn’t mind driving around with a minor stress crack in my windshield (which slowly grew in length), it would not pass shaken, which was due in a few months. I prepared my wallet for the worst because I knew a front windshield would not be cheap.

2017-12-16 001.JPG

Of course, soon after that incident, I knew I needed new tires immediately that would not further any damage. I settled on a pricey set of Suzuki Swift Sport wheels from the ZC32S model year (2010-2016). These wheels are slightly larger and wider, at 17x6.5 compared to my stock wheel size at 16x6. Unfortunately, due to the late winter timing when winter tires are at their peak pricing, I had to pay a slight premium about 30,000¥ with a set of nearly-new winter Nankang Corsafa studless tires which are appropriately sized for my car.

The wheels themselves were also nearly mint, with no curb damage and only a few minor rock chips. However, to me, these multi-spoke, bright silver wheels don’t really match the flat, simple lines of the car itself. What do you think?

2018-01-19 030.JPG

My shaken was due in late January 2018, so over winter vacation, I had to replace the front window at a miserable cost of almost 80,000¥. Add to the cost of the inspection for a regular white plate and other maintenance, the total cost hit me about 180,000¥ ($1700). To put it lightly, that really hurt my wallet.

My mechanic ordered some China-sourced H4 LEDs to replace the messy wires of the old PIAA HID bulbs installed on the car. These cleaned the engine bay up a bit and are genuinely very bright. Having used this brand himself for a few months prior, the quality seemed to be good and haven’t burned out yet (which is quite likely for many lower-quality sets).

2018-03-03 024.JPG

Carbing Okuyama Front Strut Tower Bar
My next modification would not (or should I say, could not) come until a few months later. After cracking my windshield driving around the mountainous, bumpy roads of Japan, I considered strengthening the perceived chassis rigidity in my little box-shaped hot (warm) hatch.

Most traditional front strut tower bars connect the tops of the strut towers, but due to the compact design and dimensions of the Swift, it is actually rather difficult to have a bolt-on product that works the same as the Cusco piece on my Alto. I found a STB offered by Tryforce that appears to bolt on directly to the top of the strut towers, but judging by the thin sheet metal and tiny mounting points, it looks extremely flimsy. I’m not an engineer by any means, but there is no possible way it could do anything noticeably beneficial.

Well, let’s be fair, the front of the Swift is probably already fairly rigid, so would anything else benefit? Products such as those offered by Laile Beatrush and Carbing Okuyama seem to offer stiffer solutions. These products attach to the chassis near the strut towers near the firewall.

Initially, I wanted the Laile Beatrush unit because I have good experience with their products on my old Mitsubishi Evo, but I liked the more rigid design of the steel Carbing Okuyama one, as it is one solid piece of steel. 16000¥ later, it came in the mail a few days.

2018-03-03 018.JPG

It installed quickly in under an hour, using a few bolts through pre-existing holes in the chassis, so there is no permanent modification.

2018-03-10 001.JPG

After the install, I don’t honestly think I felt a huge difference in driving dynamics. While bumps felt slightly more isolated, overall I’d say turn-in and handling was largely the same as before. Sadly, I’ll be honest and say this bar might be more automotive bling than an upgrade.

2018-04-06 002.JPG

Laile Beatrush Rear Strut Tower Bar
After my Carbing bar install, I found a deal for a Laile Beatrush rear STB, used for 8000¥, a few weeks later. While the performance and overall stiffness of the rear of my Swift was not at all lacking in comparison to my Alto, I figured for the price it would be a cool addition and the fact that the rear of a hatchback really could benefit from overall stiffness.

Installing the bar was actually really simple and only took about a half hour of actual work. First, the carpet had to be peeled back a bit to expose the mounting points. The bar used existing rear seat latches, which are hard points bolted into the frame. Four bolts for each side and the bar is installed. I had to cut the interior carpeting to poke the bar through, but everything looks clean and is easily reversible, unlike the cut I had to make for the rear STB for my Evo.

In theory, this bar adds rigidity to the rear of the car on rough roads and corner transitions, as it adds two additional points of contact between the empty rear “box” of a hatchback car. This arguably does more for this car than the front strut.

The main drawback of this bar is a major sacrificial loss to the already limited rear trunk space. It cannot be quickly removed since the bolts are hidden under the panels, so large objects such as suitcases will only fit now with the rear seats folded.

As for driving impressions, I think I’m not wholly impressed. While I do feel marginally more predictability in hard corners, the cost to actual performance is pretty poor. Overall I feel the Swift Sport is already well designed and reasonably stiff, so additional structural bars like these two will not transform the car. Either way, they add a bit of automotive "jewelry," for whatever that is worth.

October 03, 2019 /William Tjipto
JAPAN, JDM, SUZUKI, ZC31S, CAR, CAR LIFE, M16A, RHD, スズキ, SWIFT, スイフト, SWIFTSPORT, スイフトスポーツ, 自動車, 軽自動車, 日本, 車, HOTHATCH, FF, FWD, CARBONFIBER, カーボン, WORK, WORKWHEELS, ワークホイール, CRKIWAMI, KIWAMI, GREDDY, トラスト
Cars, Japan, Ownership
Comment
  • Newer
  • Older

Powered by Squarespace