[ Newbie Guide ] to Car Buying in Japan, Part 1
This first post will be an overview of the basics you need to know before buying a car, so I am writing in very general terms for the purposes of this guide. I wrote this guide on the basis that you have little to no Japanese language ability and are probably pretty new to Japan, otherwise, you could probably do just fine without me. I am also under the assumption you are an ALT, JET or private company hire, although much of this information is applicable for any foreigner in Japan. If you also don’t have very specific car desires and you just want reasonable, reliable transportation, definitely read on. (If you’re a car guy, message me and we can talk shop.)
Since I have a few years and over a half dozen car purchase transactions under my belt, hopefully I can use my personal experience to help a few folks every year buy their first (or second…) car in Japan! Of course, my advice is a mix from my own and others' experiences, so take it with a grain of delicious sea salt, as your situation may vary.
Contents
Do I need a car?
How much is a car? Insurance?
What is the shaken vehicle inspection?
What are the long-term associated costs?
1. Do I need a car?
The easiest answer would be to ask your predecessor or your company for more information. It generally depends on your employment needs and your personal needs. Assuming that it is not absolutely crucial to buy a car, as in you have other reasonable means to and from your place of work, then buying a car will be up to personal preferences.
The benefits of having a car, as you might imagine, is freedom and convenience. Having a car allows you to travel freely without relying on public transportation (and occasionally the kindness of others when you go furniture shopping). Public transit, especially in more rural areas, is limited to certain schedules. While most places are accessible by the massive train and bus network, a car can take you to places when and where it would otherwise be inconvenient to go… and there are countless places in Japan to explore, assuming that is your thing. Even if you don’t care to wonder out of your local municipality, having a car makes grocery shopping, going to places of entertainment, and commuting to work more convenient, especially when the weather gets sour. It rains quite often throughout the year in Japan and many regions receive snowfall in the winter.
My recommendation to most newcomers to Japan who are unsure of their situation is to wait-and-see. Unless you get an offer on a car from your predecessor you can't possibly refuse, you can probably hold out and get a feel of your own situation before deciding. (But be aware of potential hand-me-down issues and shaken! See below and an upcoming post next week.)
The main problem with car ownership is the monetary costs of owning a car.

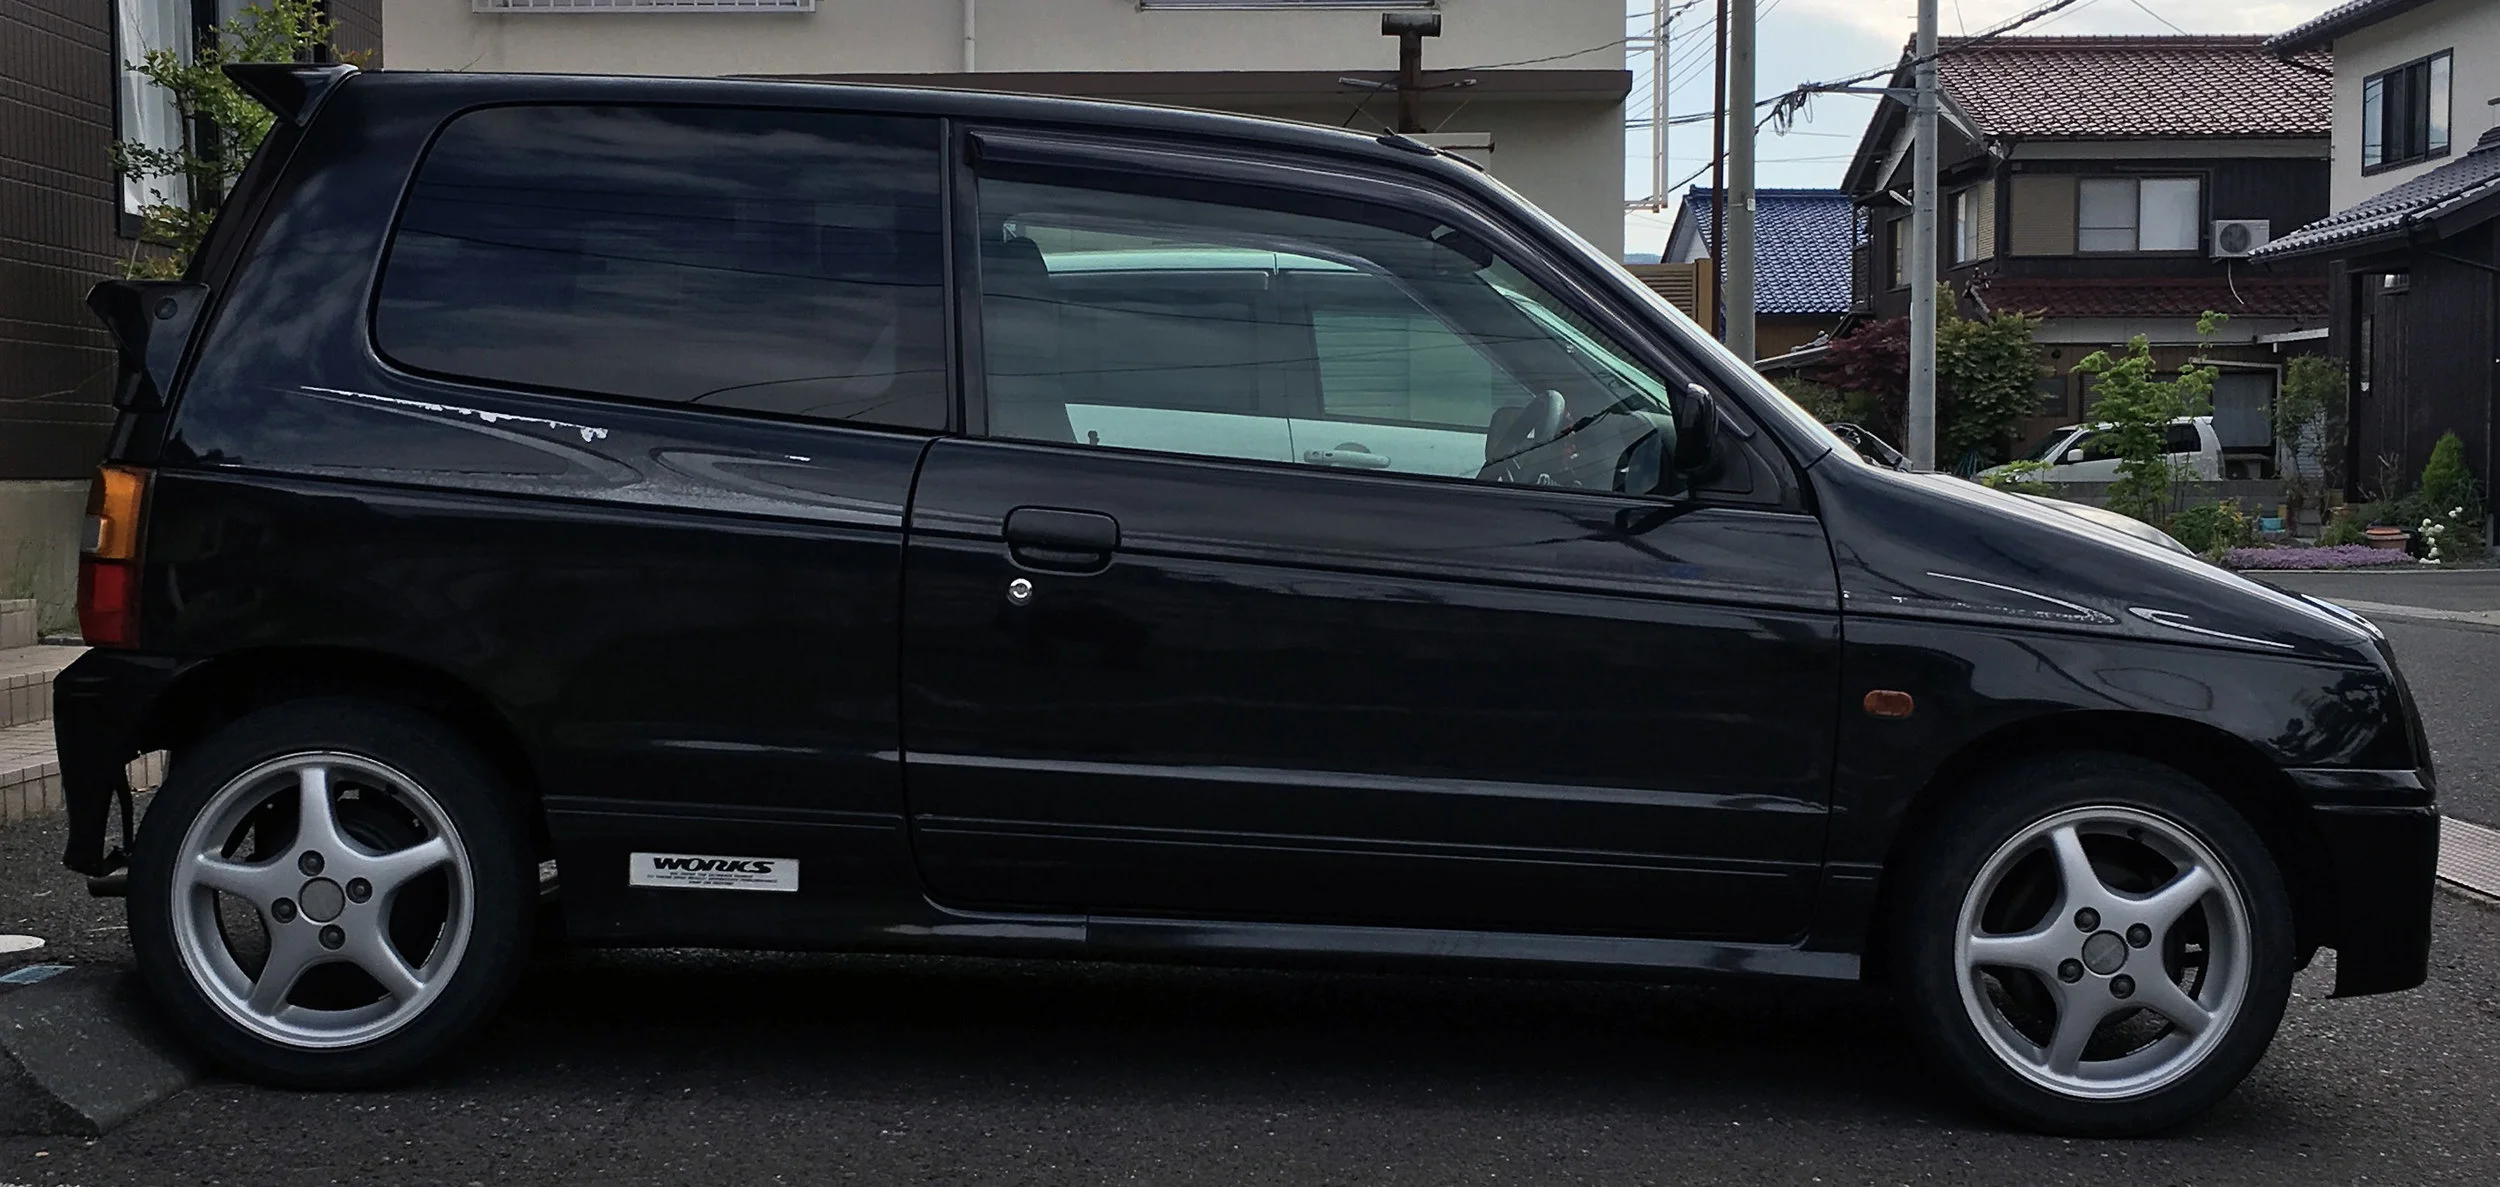
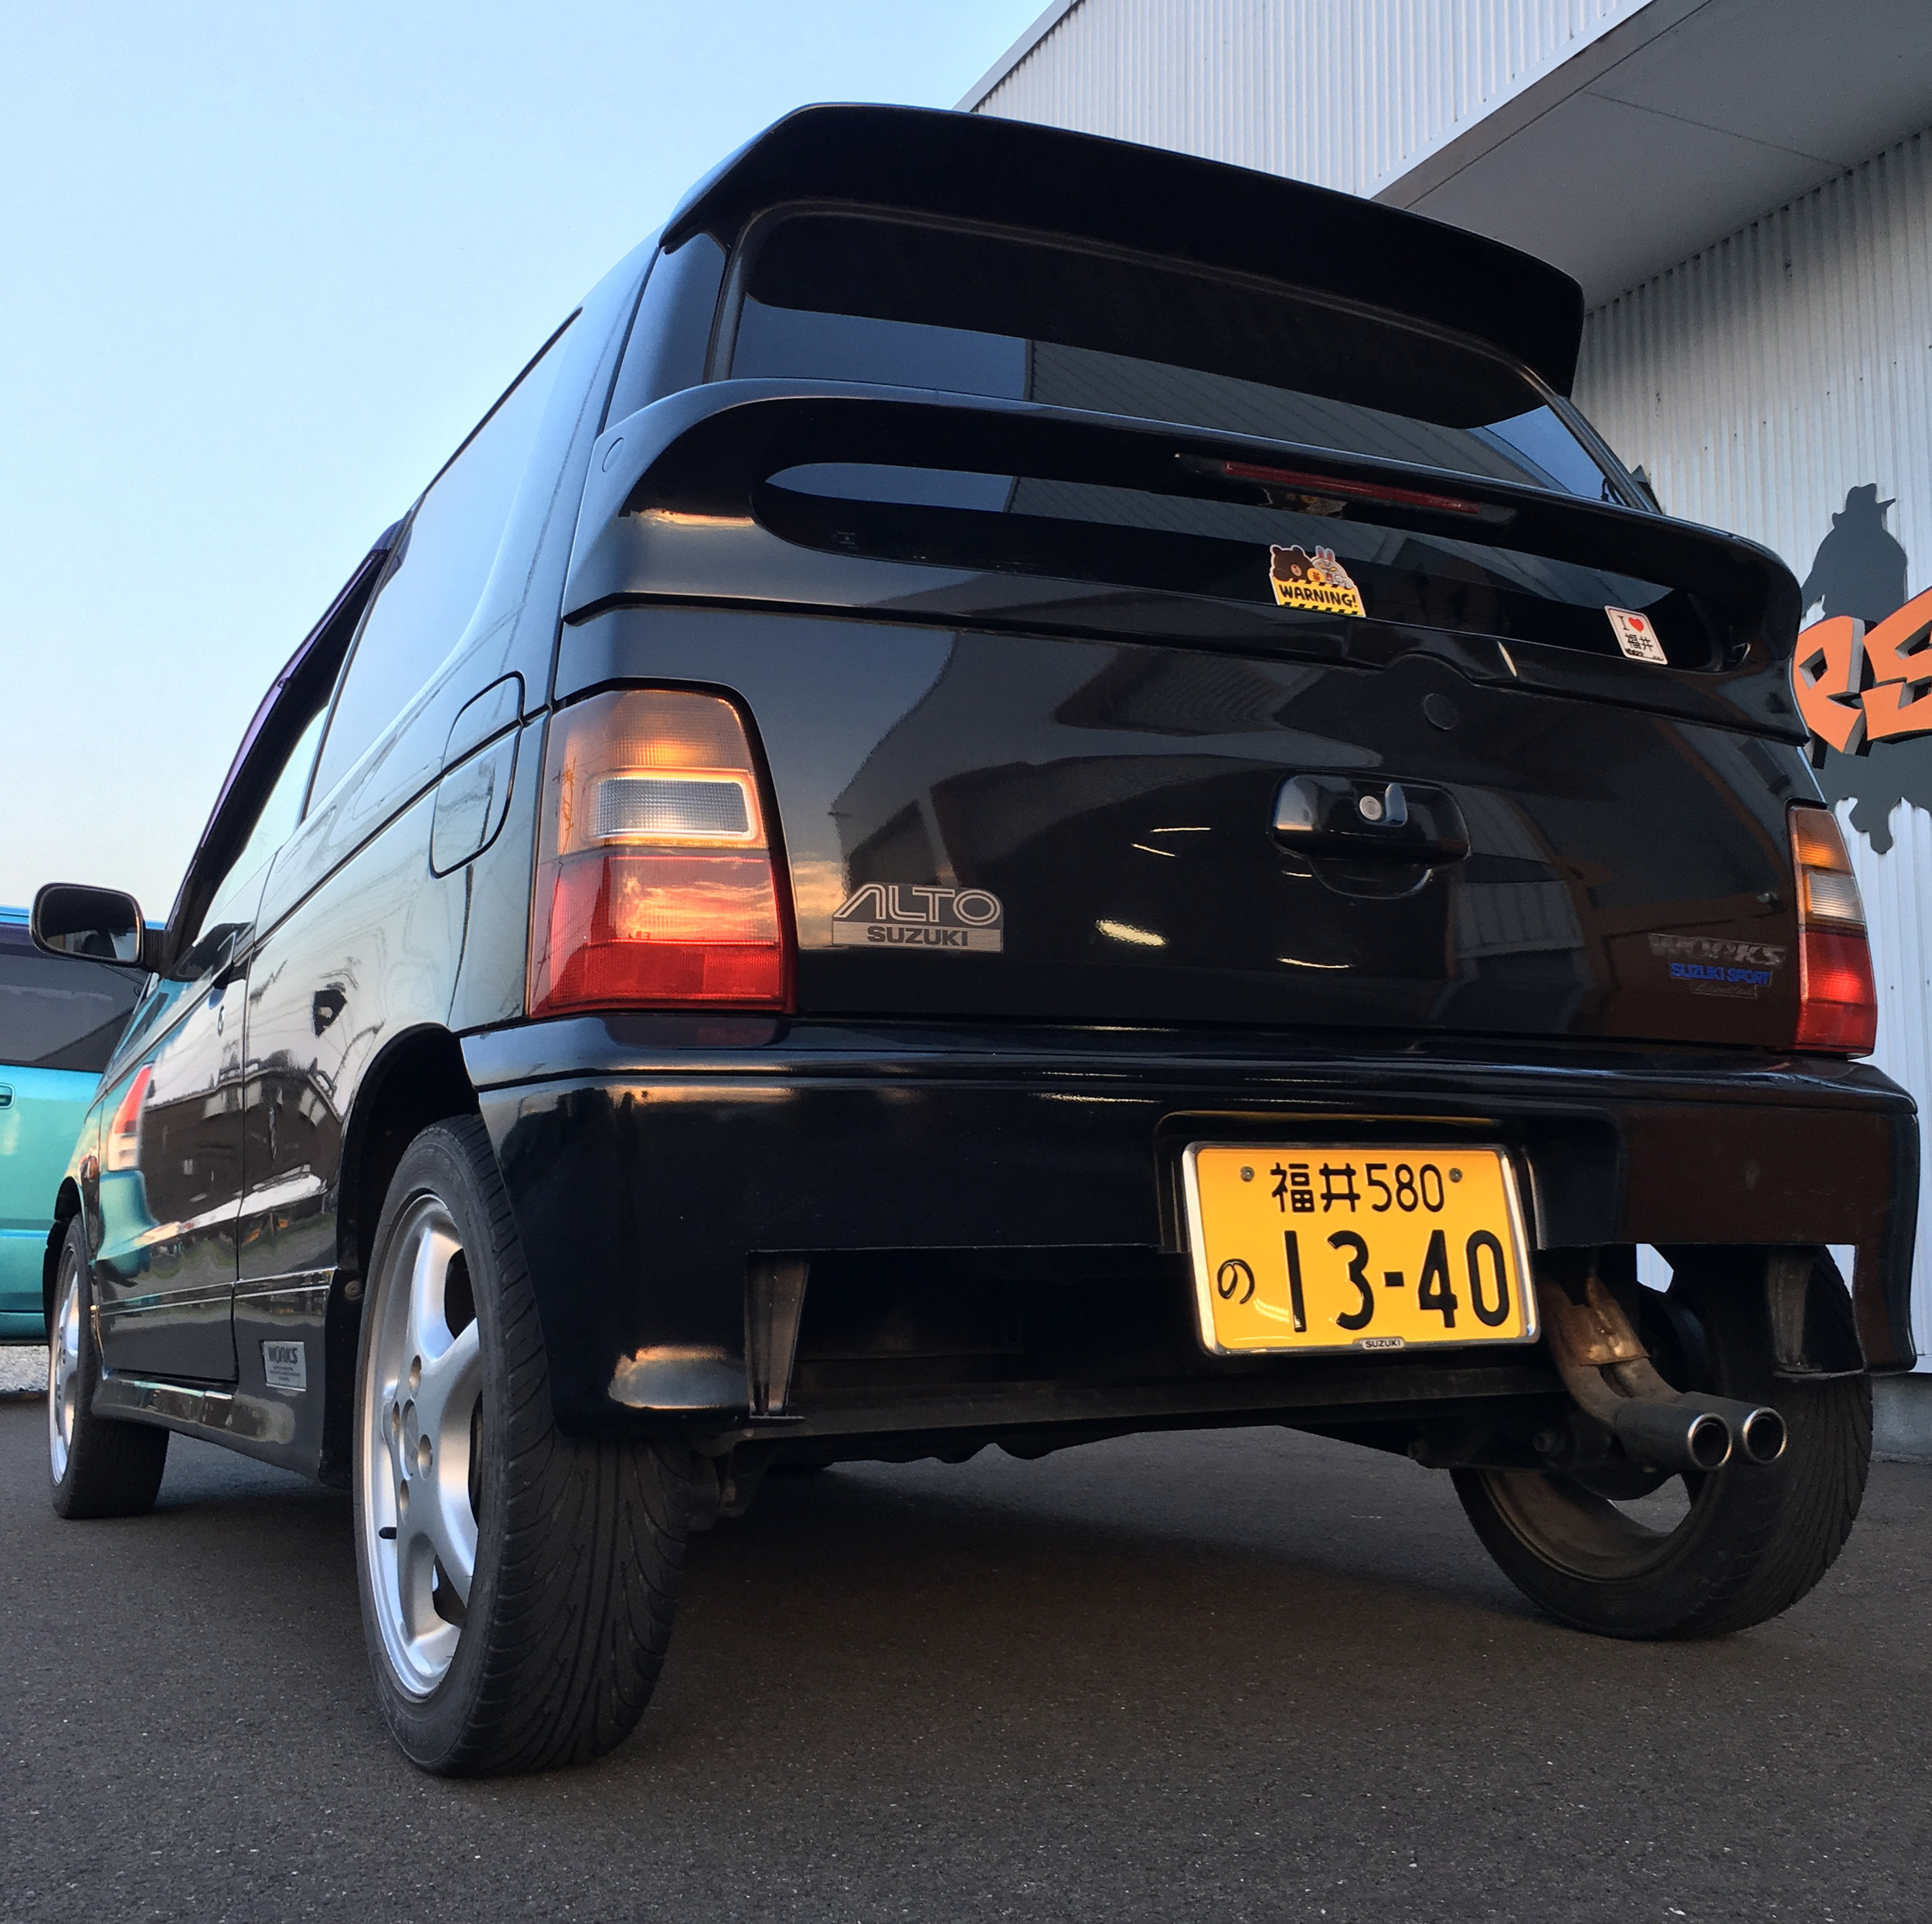
A kei car is on the left, the right a regular compact car. Note the size differences.
2. How much is a car? How much is insurance?
The price of a car can start from literally 30,000¥ ($270 USD) and up. You can likely find many reasonable-condition smaller yellow plate kei cars for around 100,000¥. White plate regular futsuu cars, as typically found in foreign countries, are usually a bit more, some around 180,000¥.
While this might sound extremely reasonable, there is a major, hidden cost to car ownership in Japan and that comes through shaken, the mandatory maintenance and inspection that is required every two years. When you buy a second-hand car, the amount of shaken left on the car can greatly affect the price, as shaken costs, at the bare minimum, 50,000¥ for kei cars and 70,000¥ for regular cars when those two years expire. (See #3 below.)
Insurance costs, as with other countries, vary with age, location, and the type of car you choose. Expect to pay around 8000¥ a month for fairly comprehensive insurance if you are in your early 20s for a kei car, possibly around 10,000¥ for a regular car. The longer you stay in Japan without incident, the lower it drops annually.

The first part of a shaken vehicle inspection being performed.
3. What is the shaken vehicle inspection?
Shaken (しゃけん / 車検) is a government-mandated program that requires the car owner(s) to have a check performed every two years (for most cars). This check is to ascertain the operating condition of the car and ensure that there are no major issues that could pose a potential risk or hazard. Any cracked headlamps, major rust, major leaks, etc. are quickly rejected. As a result of this rather strict inspection, maintenance and some pre-maintenance work is performed by a mechanic. This is the reason cars on the road in Japan are in fairly excellent condition and why you rarely see polluting, rotting clunkers driving around.
However, all this comes at a cost. Shaken needs to be renewed at participating dealers and mechanics, starting at around 50,000¥ for a kei car and 70,000¥ for a regular car. This fee does not include the actual maintenance that needs to be performed. Expect well-running, fairly new kei cars that need minimal maintenance to cost around 70,000¥ - 80,000¥, but if the mechanic or the mileage on the odometer deem it necessary, expensive things such as timing belt changes, brake changes, etc. may exponentially increase that cost.
It is possible to find used cars with a sizable portion of the two year shaken left before you have to renew, so definitely keep that in mind if you start your search for a car.

4. What are the other long-term associated costs?
Maintenance
Beyond the mandatory maintenance performed every two years, there are the usual other maintenance costs associated with operating any motor vehicle. Oil changes are around 3000-5000¥, filters are typically replaced every other oil change at around 2000¥. I typically recommend oil changes at 3000-4000km for kei cars, 5000-7000km for regular cars, depending on the car and condition. Batteries, fluids, air conditioner gas, wipers, bulbs, etc. are fairly in line with most modern countries in terms of costs.
Gas
As of mid-2018, gas is around 145¥/liter for regular, 160¥/liter for premium gas. Most cars use regular gas. Kei cars are rather fuel efficient, netting around 17km/L (40 MPG) on the highway. Regular cars may fetch 14km/L (33 MPG) or less, depending on the car. Of course, traffic and frequent, slow, short city trips will drop that dramatically.

A typical toll road I/C entrance and exit.
Tolls
Virtually every “highway” in Japan has a toll cost. Unfortunately, they are often the fastest way around the country, particularly if you plan on travelling significant distances. For example, the relatively short distance between Kyoto and Osaka has several toll points, adding up the cost quickly to over 3000¥, though long distances can be fairly reasonable, for example the toll between Nagoya and Tokyo is around 10,000¥.
You can use the following toll calculator to get an idea of the cost of tolls: Nexco Toll Road Search (in Japanese)
Monthly Parking
This hugely depends on your housing. My apartment situation includes a designated parking space in front. Some places require an additional monthly fee for limited apartment parking and some places have no parking on-site. In those cases, rental parking lots can usually be found nearby. In congested cities, expect upwards of 10,000¥ per month or more for the privilege of a parking space. Land is at a premium in Japan, after all.

A set of winter studless tires on steel wheels.
Winter Wheels
Winter tires (ふゆタイヤ / 冬タイヤ), sometimes called studless tires (スタッドレスタイヤ) , are not necessary for all prefectures. However, in most areas, you will need to change to them from the usual all-season tires when the temperature drops below 10°C or at a certain time of the year, whichever comes first. This is to ensure safety, as typical all-season tires do not function as well as winter tires when the temperature drops and vice versa.
Expect 2000-4000¥ to remove summer wheels and mount winter wheels and 30,000¥ for a new set of kei car winter tires and wheels, more for regular cars. Used sets are cheaper and some used cars may even come with them. Financially, it makes the most sense to have actual wheels with the winter tires attached on them, as swapping just tires on one set of wheels on the car costs more in the long term.
Tax
Taxes are mailed out around April every year and vary by region, type of car, and age of car. The denser the city, the bigger the car, and the older the car, the higher it may cost. Unfortunately, I don’t have personal information regarding taxes in other areas, but in my prefecture of Fukui, it is 13,000¥ for my old kei car and around 40,000¥ for my regular car. (Please drop me a line if this is not in line with your bill in Japan and I’ll update this information.)
Still with me and still interested in taking that literal drive into car ownership? Great! Next time I’ll detail how to find and buy your new-to-you car! Update: Part 2 is up!
Feel free to leave a comment below or send me a message on Facebook or Instagram if you have any specific questions!