Ready Seat Belt

レディー・シート・ベルト

A look into the cool and bizarre, focusing on the Japanese import car culture and delicious ramen. Updated weekly.

  • Home
  • Blog
  • Food
  • Archive
    • Complete Archive
    • Ramen Archive & Map
    • Suzuki Alto Works HA11S
    • Suzuki Alto Works HA12S (Scrapped)
    • Suzuki Swift Sport ZC31S (Sold)
    • Suzuki Wagon R MC22 (Scrapped)
    • Newbie Guide
    • Photography
  • About
  • Facebook
  • Instagram
  • Twitter
DSC00557.JPG

[ Alto Works ] GT Aero Mirrors

December 30, 2019 by William Tjipto in Cars, Japan, Ownership, Project Sachiel

Door-mounted wing mirrors are essential safety items that provide a rearward and side view of blind spots. When positioned correctly, they provide a large view of things past your direct lines of sight, even when shoulder-checking. Motorcyclists and small cars disappear under towering SUVs, so quality mirrors and position are an absolute necessity. Not to mention they are necessary for legal purposes. Obviously!

2015-10-31 245.JPG

Because they are present on all automobiles, wing mirrors are often ignored on most stock cars, but when they well-designed from the factory or are replaced with aftermarket pieces, they really pop.

2015-10-31 344.JPG

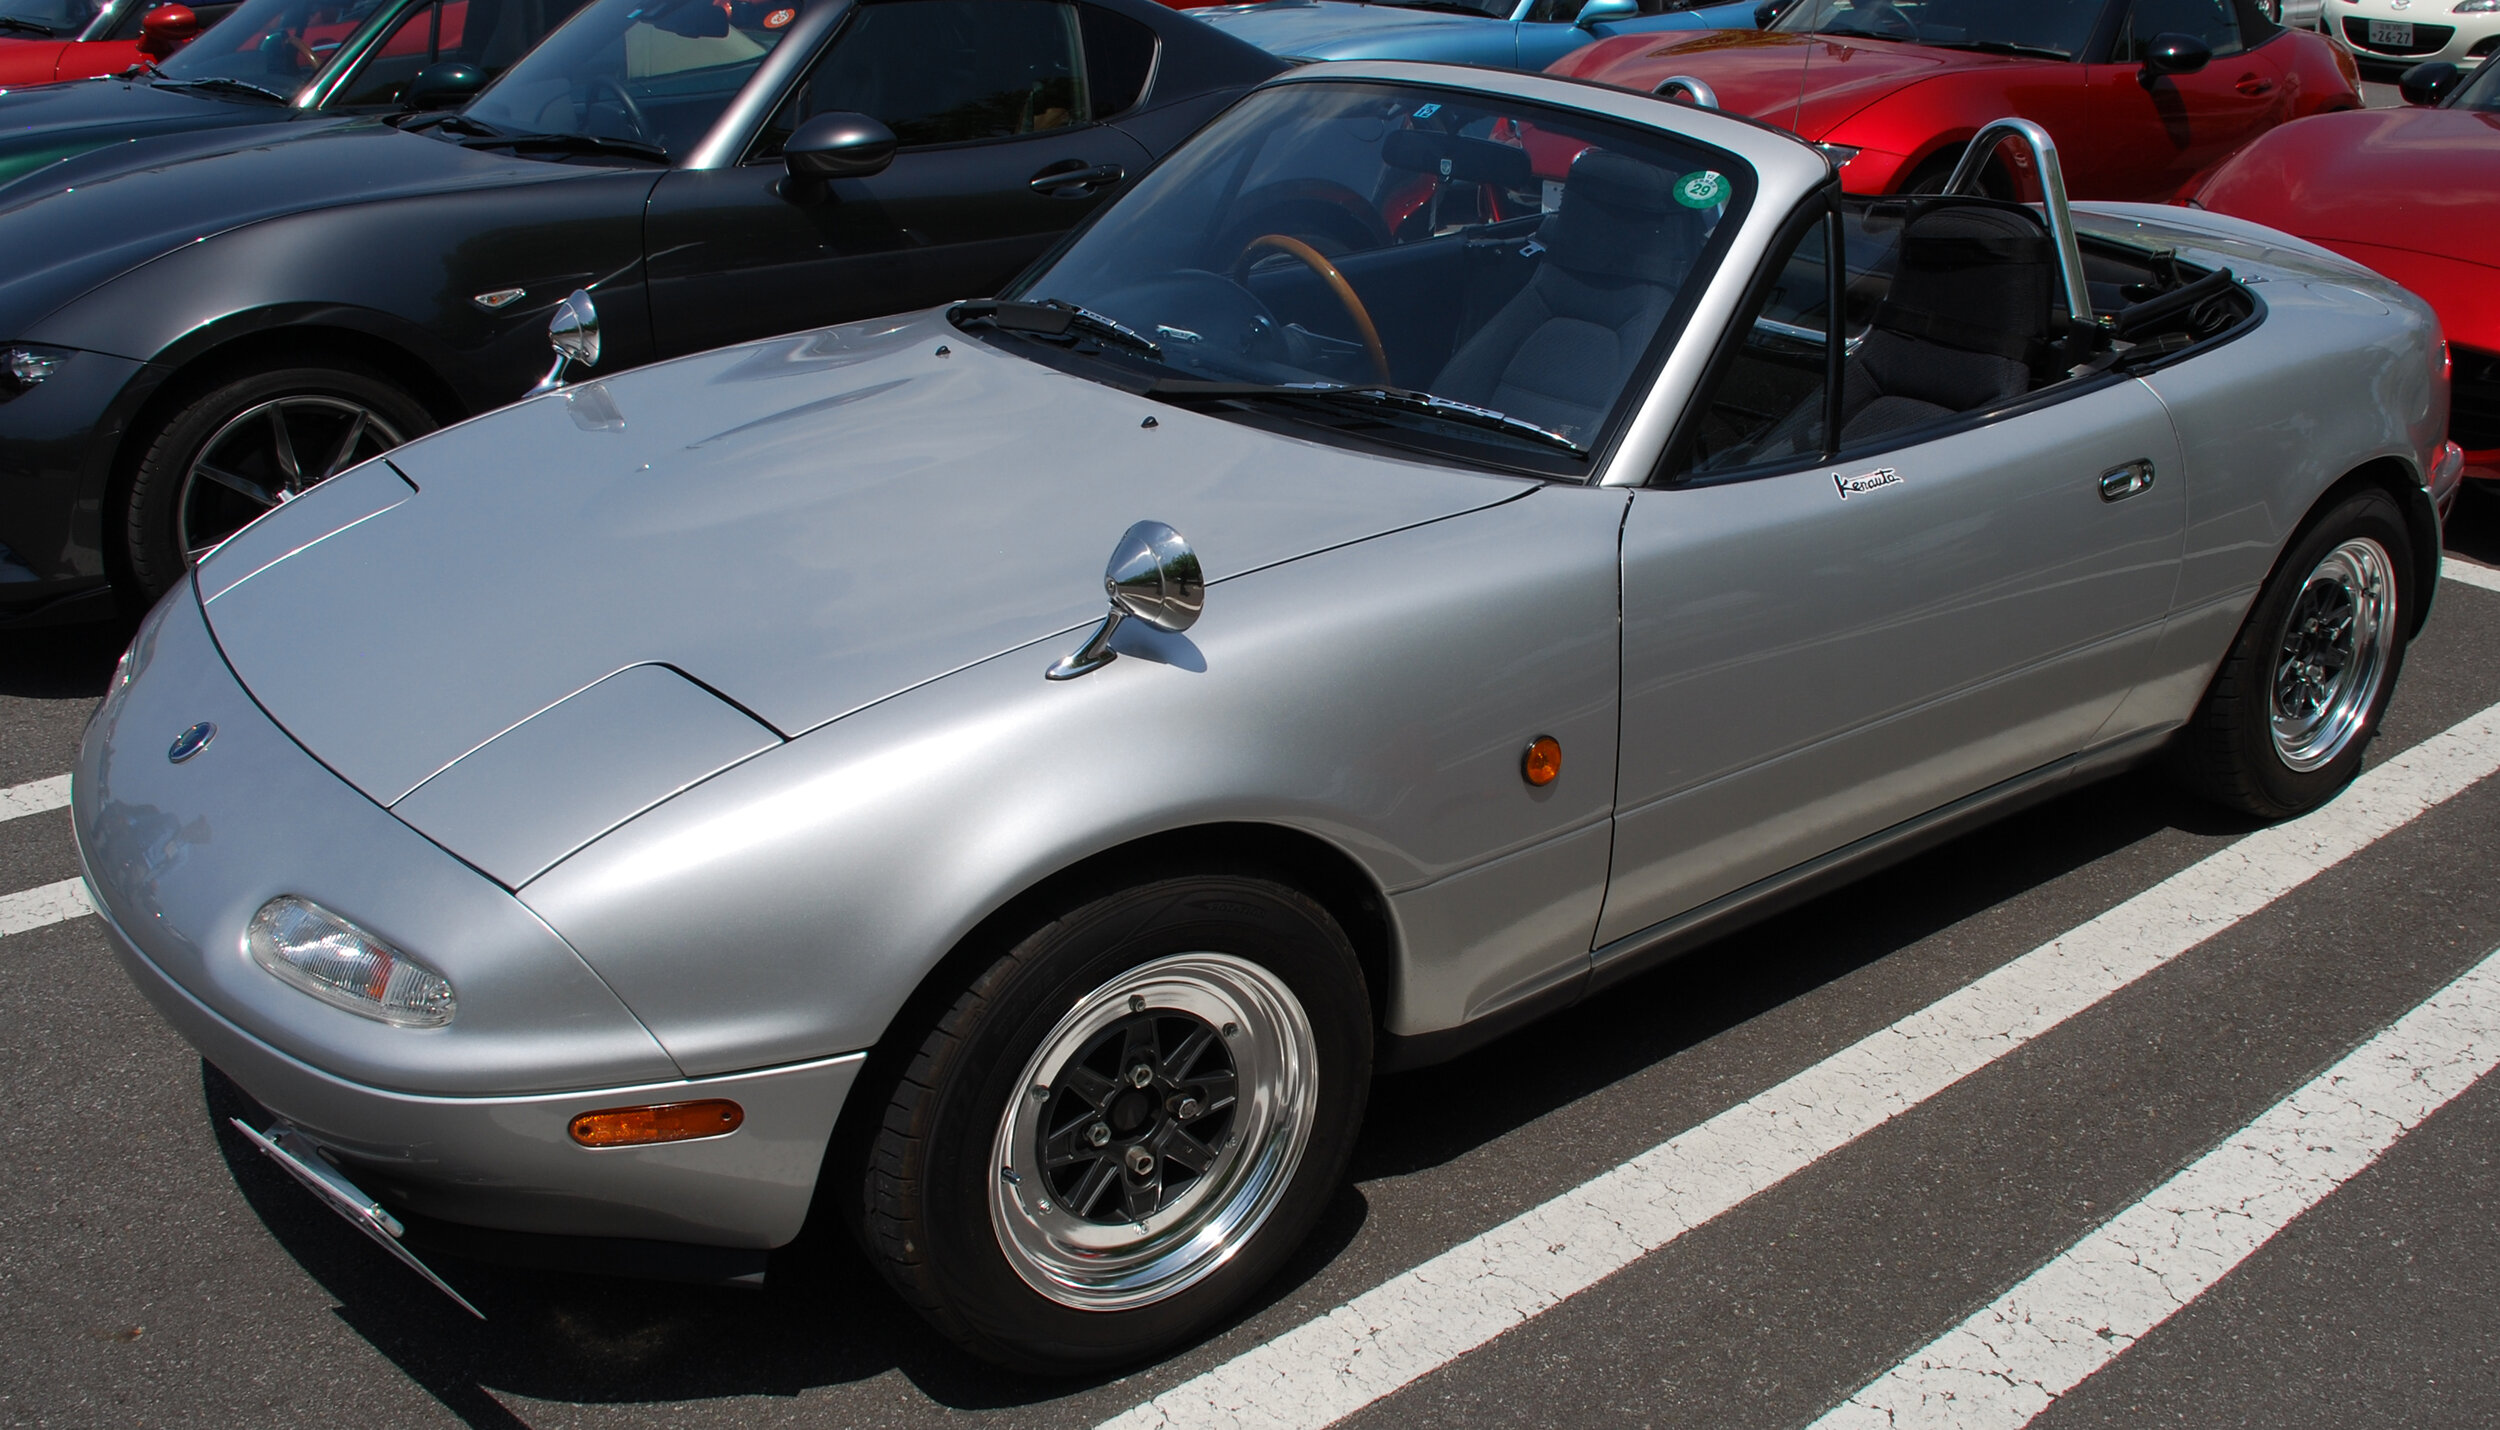
Case in point are concept cars, whose large wheels and sharply raked windshields complement impossibly tiny wing mirrors.

DSC03224.JPG

While it may seem like a small thing when compared to the whole of the car, I always wanted to change the wing mirrors on my Alto Works. To me, the stock ones are really ugly. The connection between mirror and door is covered by a rubberized accordion expansion joint which is frankly strange since the mirror only pivots open and closed on one axis. It must be an ‘80 or ‘90s style thing.

DSC_0087.JPG

One of the first aftermarket options that I could find are small racing mirrors, essentially copies or variants of the APR Formula GT3 mirrors, mounted on a base compatible with the Alto. Their small size imparts a nice aero benefit, as they are designed to cause less turbulence and resistance. Not to mention really giving the car a racy look. However, because of that same reason, blind spots are a bit harder to see, despite the convex mirrors. (At least, that was the case when I looked through them mounted on a Miata.) They also don’t fit the ‘90s-Plus-Alpha styling of my Alto Works and at around 13,000¥ ($120 USD), they don’t fit my on-a-budget modifications.

DSC_0461.JPG

The most common option available for the Alto currently seems to be several styles of “GT-style” aero mirrors by two or three different suppliers These mirrors are contoured and styled so they appear to offer aero benefits as well, though in reality it probably is quite questionable. Some also offer built-in turn signals which would make the car easier to see when changing lanes. They are also about the same pricing as the above mirrors at around 12,000¥ ($110 USD) and up.

DSC_1213.JPG

The final option which I did not consider seriously at all, is a fender-mounted mirror. Fender mirrors are definitely an older retro styling thing with some 60s/70s cars having them. Personally, I think they are absolutely awesome, providing a wide view of blind spots with minimal head turning. Unfortunately, they are also really tiny when mounted so far ahead. And honestly, they don’t fit the theme of the car. Love them or hate them, I’m going to put on a set on my Roadster in the future!

DSC09316.JPG

GT Aero Mirrors
I was pretty patient, coming across several auctions over the past few months, but none within my low budget. Eventually, I won an auction of “GT-style” aero mirrors off of Yahoo! Auctions for 4000¥. That is not a bad price at all considering the price of a new set. However, the price was low because the condition is similarly just as low: the clear coat is gone and two of the outside screws have rusted. Just like the set of cheap RAYS wheels I bought, I don’t mind a little bit of proverbial elbow grease to get something looking new again. I honestly hate this fake-looking blue carbon and I would have probably recolored it even if it came in good condition, anyway. Hopefully, since the surface areas are broad, it won’t be hard to refinish.

DSC09331.JPG

About an hour of 100-800 grit sandpaper, with my hands and my back tired from hunching over, this was the result. The surface looks appropriately roughed up and should look good with a few layers of paint. I also somehow forgot to test mount them in my zeal to get them refinished. Whoops. The stock mirrors on my Alto are manual, so they are extremely easy to replace, with only 3 screws and a plastic cover holding them on. No wiring or switches to undo or remove. Luckily there are no fitment issues. It’s already looking much better than the stock mirrors even in this temporary rough shape.

I can’t count how many layers of paint I put on. Obviously, it doesn’t look as awesome as a professional job would look, but it certainly looks amazing as it does now.

DSC09196.JPG

Conclusion
Functionally, there is no aero beneficial difference between this unit and the stock set. The blue-tinted mirrors look good, but offer very different fields of view. The replacement mirrors have a slightly convex view, offering a fairly wide view relative to the mirror size, but the main problem is that they have a limited adjustment range, so more car body is viewed from both mirrors than I would like. Ideally, they should be nearly completely pointed toward the blind spots, but these are not. So in actuality, these might be worse even with the convex reflection. In addition, they are also worse because they do not fold when a tight parking situation demands it… Which means I just have to park further away from everyone to prevent people from hitting my mirrors. Technically, this shouldn’t be much of a problem since the car is relatively small in most spaces.

However, they look sporty, so that’s worth at least +5 HP, right?

December 30, 2019 /William Tjipto
JAPAN, JDM, SUZUKI, ALTO, ALTO WORKS, HA11S, CAR, KEI CAR, CAR LIFE, F6A, RHD, スズキ, アルト, アルトワークス, 自動車, 軽自動車, 日本, 車, AERO, エアロ
Cars, Japan, Ownership, Project Sachiel
Comment
2018-05-27 041b.jpg

Karuizawa Meeting 2018

December 26, 2019 by William Tjipto in Japan, Cars

The Karuizawa Meeting 2018 was a huge annual Mazda MX-5 Miata Roadster meet last week on May 27. I made another 9 hour drive to beautiful Karuizawa in Nagano, Japan, to check it out.

DSC_3829.JPG

The event was held, as in the previous years, at the Prince Hotel Ski Slope parking lots. There, as far as the eye can see, were rows upon rows of unique Roadsters in all years, conditions, and modifications. This year, I felt there were less NBs and NCs, but many more NDs. There were still a fair number of NAs present.

(Sadly, due to various commitments, I was not able to attend this year’s meet.)

DSC_3359.JPG

I wasn’t sure I would be able to snag parking, so I actually ended up stopping at Naka-Karuizawa Station and parking there, though I realized later I came early enough to potentially get a good spot when I walked up around 8:30 AM. I did learn a lesson last year: since there were three lots, I had to work quickly to cover as many cars and as much ground as possible.

DSC_3521.JPG

I started with Lot 2, which was already full, instead of Lot 3, which was still filling up. While I appreciate a good stock, well-kept NA or NB Roadster as much as anyone, I came here for the custom ones.

DSC_3517.JPG

I didn’t spend long taking beauty shots of the stock ones or the ones with minimal modifications, as my time was limited.

DSC_3663.JPG
DSC_3570.JPG

Another big change this year is the wider variety of wheels and many NAs rocking smaller diameter wheels with fatter tire setups than I saw the year prior.

DSC_3666.JPG

Now that it was getting into the late morning, Lot 3 was full and closed up. (They stop entry into the 3 main lots at 9:30.)

DSC_3798.JPG

There were more NAs, NBs, and a few NDs, even the “Fiata” (Fiat Spider) versions.

DSC_3813.JPG

Finished with the outer two lots, I entered Lot 1 where the dealer booths and shop cars were shown, along with the main tent. RS Factory Stage had two sporting NDs quite heavily cosmetically modified. Autoexe made a good showing with their variety of braces for the ND, Barchetta with their always… unique… NC, Car Make Corn’s with their lifted car and variety of parts.

DSC_4059.JPG
DSC_4065.JPG
DSC_4058.JPG

Even though the NA stopped being produced 20 years ago, Garage Vary still had a few new parts to showcase, such as their newly redesigned aero lip, hardtop, and yet-to-be-sold rear diffuser. According to the staff the diffuser is tested and is flat-bottomed to ahead of the rear axle, though I couldn’t see well underneath to confirm.

DSC_4038.JPG
Nakamae’s Beautiful Shop Car Interior

Nakamae’s Beautiful Shop Car Interior

DSC_4053.JPG
DSC_4051.JPG
DSC_3822.JPG

Jet Stream’s blue NA looks posed to take a track and on the other hand, Esqueleto’s ND is ready to just cruise.

DSC_3620.JPG
DSC_3624.JPG

Although this wasn’t part of the official booths, a few companies brought their shop cars. SS Works was probably my favorite of those. It had some serious engine work… and nitrous!

DSC_3834.JPG

Finished with the shop cars, I set about to go up and down the rows of Lot 1. As with the other two lots, there were a range of heavily modified to virtually stock, but most had at least a set of aftermarket wheels. I took plenty of pictures of those, especially since I recently became inspired to change up my own Miata. I finally determined that 14” wheels with fat 60 Series rubber fits the look of the NA the best, especially since my own has a retro-modern theme. Watanabe? Work Wheels? Enkei RPF1s? Volk Racing TE37Vs? Ah, the potential is endless...

DSC_4073.JPG
DSC_4077.JPG

If you’re gonna do something strange, you might as well go all in. This has some cool Buzzin Hornets livery used on Hondas in the late 90s.

DSC_4188.JPG
DSC_3612.JPG
DSC_3554.JPG

Full bumper and fender conversions really change the look of an NA Roadster.

DSC_3974.JPG

Aston Martin NB, anyone?

DSC_3406.JPG
DSC_3780.JPG
DSC_3641.JPG
DSC_3700.JPG

I saw a couple more Project-G -style G-String Bikini Tops this year from last. A few of them are definitely homemade, though a few I thought might actually be legit.

DSC_3672.JPG
DSC_3919.JPG

I definitely noticed a few more lowered, stanced Roadsters with minimal wheel gap and greater camber this year, but few I would consider “slammed.” I know there are quite a few in Japan, but maybe those guys don’t really come to these type of car meets. In either case, these are really clean and well-taken care of. The love for their cars shows, as they all have properly rolled fenders and reputable wheels. Thankfully, I didn’t see the likes of the haphazard, poorly slammed ones I often see bouncing around on Los Angeles freeways.

DSC_4002.JPG
DSC_4012.JPG
DSC_3776.JPG
DSC_4055.JPG
DSC_3779.JPG

On the opposite end of the slammed spectrum, perhaps literally, were these two lifted cars, riding high on all-terrain knobby tires. Excluding the shop car, these two owners really wanted to be able to take their Roadster anywhere. I know in North America, Paco Motorsports sells a lift kit for the Miata, but I’m not sure how these have been raised. Either way, I really love the NB2 with its off-road LED lighting array, custom skid plate, and spare tire and gas racks bolted to the rear decklid. Flawless execution.

DSC_3552.JPG
DSC_3654.JPG
DSC_3501.JPG
DSC_3999.JPG

There were plenty of beautiful examples of absolutely stunning custom paintwork.

DSC_3755.JPG
DSC_3760.JPG
DSC_3759.JPG

While I could probably write whole articles on each individual NA or NB on the lot, I think these two cars were my favorites this year because they each pulled off a theme very well. This NA, while not adorned with massive flares, body kit, or extremely wide wheels, managed to draw my eye as it pulled into the lot. It was beautiful, simple, and cleanly executed. The owner likely wanted to keep true to the “M2” classic Roadster theme and yet offer his own unique plus alpha take on the concept with some custom work.

DSC_3736.JPG
DSC_3737.JPG

Kudos to this gorgeous one as well, rocking simple fender flares, beautiful Hayashi Racing wheels, chrome roll bar, topped off with a bikini top.

DSC_3447.JPG
DSC_3436.JPG
DSC_3443.JPG

And then there is absolutely so much to love about this NA. With so much kit from a fastback hardtop, huge fenders, slick diffuser, fat wheels, and a huge bulge in the hood… certainly hiding something monstrous underneath.

DSC_3857.JPG
DSC_3861.JPG

As always, I am attracted to the little custom things that some guys do to their roadsters. Added hood vents, interior gauges, and engine work are often seen, but sometimes you get a few really unique things. Now this was something special. It is definitely the cleanest original work I’ve seen in awhile.

DSC_3426.JPG
DSC_3429.JPG

This one has a few things that I personally like, cut rear bumper, full cage, 14” TE37s…

DSC_3557.JPG
DSC_3789.JPG

Yesss… Fender mirrors, anyone? How do y’all feel about them?

DSC_4082.JPG
DSC_4080.JPG

This made me smile. Is this supposed to be old school Alitalia rally car livery???

DSC_3898.JPG
DSC_3844.JPG
DSC_4180.JPG
DSC_4176.JPG

Not everything was peaches and cream, though. Sometimes less is more.

DSC_4145.JPG
DSC_3690.JPG

Completely exhausted, I meandered back to the train station and took another 9 hour drive straight home. There were so many things I wanted to buy, but my funds sadly are tied up in my Alto Works and Swift Sport at the moment. I’ll make it a point to bring a bit of cash next year for these show-exclusive deals they offered... There’s always next year! I’ll definitely come again.

DSC_3381.JPG

www.karuizawa-meeting.com


December 26, 2019 /William Tjipto
JAPAN, JDM, MIATA, MAZDA, ROADSTER, KARUIZAWA, NAGANO, 日本, マツダ, ロードスター, 軽井沢, 軽井沢ミーティング, 長野, NA, NA6, NA8, NB, NB1, NB2, NC, ND, KARUIZAWA MEETING
Japan, Cars
Comment
DSC03191.JPG

[ Alto Works ] Suzuki Sport Racing Type-C 13” Wheels

December 18, 2019 by William Tjipto in Cars, Ownership, Project Sachiel, Japan

Despite only owning my car for barely a year, I’ve had 5 sets of wheels for my Alto Works. The car started off with the stock, 5-spoke 14x5” Enkei wheels, wrapped in cheap, old, Nankang rubber. They worked fine for a bit and I’ll admit they look quite good with a set of spacers. The car also included a set of steel 13x4” steel wheels and Nexen studless winter tires, but I soon gave away those steelies.

2018-05-20 005.jpg

Shortly after driving my car around for a bit, I picked up a set of super cheap 14x6 +38 Bridgestone wheels. The best thing I could say about them is that they were made in Japan. They weren’t particularly light and looked better in my mind than they actually did on the car.

2017-08-26 010.jpg

A few months later, I picked up my old Wagon R again which had my old set of 14x5.5 Yokohama Advan Rally wheels in pure white. They are beefy, durable, and look really good on the car. I initially planned on using them year ‘round as my all-weather set.

2018-11-17 088.JPG

It was soon after I picked up a set of gorgeous 13” RAYS wheels, which I detailed the restoration here. It was then I fell completely in love with the smaller wheels and fatter rubber, definitely fitting with the old school look of the car. To me, these still look the best and as such, I will keep them on the car as my all-weather set, wrapped with a set of Bridgestone Sneaker rubber.

So now that I have a set for “summers,” I’ll keep my original stock Enkeis as a track-focused set. The gray Bridgestones were my least favorite so far, so I sold them for about half of what I paid for them. I should’ve been happy with my three sets of wheels now, but I couldn’t settle there. I really wanted a set of winter 13s, since they fit the look of the old Alto so well.

DSC_3616.jpg

I first looked into what I consider the best looking wheel for older Japanese cars: Watanabe wheels. After some deliberation, I decided in the end that my Roadster would look best with them, as they fit that old, retro modern look. The squared 90s look might go better with a set of same-era wheels.

DSC09613.JPG

Most recently I picked up what I hope will be my final (cough, cough) set of wheels, a set of old school Suzuki Sport 13x5” wheels, manufactured by Enkei, for a mere 12,000¥ ($110 USD). After searching around the internet for 1990s wheels, I discovered these wheels came as a Suzuki Sport aftermarket option in their accessory catalogs in various colors and in both 4x100 for newer Altos/Wagon Rs/etc and 4x114.3 for Cappuccinos and older Altos.

DSC09618.JPG

As expected for the price and much like the Rays wheels, they were shabby. The original paint is largely bubbling and chipping off, so I had to refinish the whole set. This took an incredible amount of time, as I think these were in even rougher condition than the GR-N were.

DSC09114.JPG

You can see the difference between these two wheels after tedious sanding.

DSC09176.JPG

I decided to keep them all metallic grey, but I was fine with losing the polished lip. For the base layers of paint after the primer, I went with spare dark grey paints I had leftover, then finally coating with Soft99’s Metallic Grey for the perfect shine. (Also, it was fairly expensive so I was not looking forward to buying more than two cans of the stuff.

2019-10-04 019.JPG

I finally found a free weekday to get them mounted with my winter tire set.

DSC01952.JPG

While they are very old-school appropriate with a very cool old-school tuner look, they have an incredibly boring offset at +45, essentially the same as the stock wheels. Therefore, I also picked up a set of two 40mm spacers, which are even wider than the +15 spacers I bought earlier. This will give them a nice push to +5.

DSC01980.JPG

Holy wow, even just the front two wheels spaced out look amazing. And they fit under the stock rolled fenders with the cambered Wagon R suspension just fine! So far, no rubs except under reasonably hard cornering, when the turned wheels rub the fender lip.

(Also pictured are a few other modifications I’ve made recently!)

(Also pictured are a few other modifications I’ve made recently!)

Now what to do about those rear tires? How can we fit a set of wider spacers or wheels?

December 18, 2019 /William Tjipto
JAPAN, JDM, SUZUKI, ALTO, ALTO WORKS, HA11S, CAR, KEI CAR, CAR LIFE, F6A, RHD, スズキ, アルト, アルトワークス, 自動車, 軽自動車, 日本, 車, ロールケージ, ロールバー, ROLLBAR, SAITO, SAITOROLLCAGE, サイトウロールケージ, サイトウ, SUZUKISPORT, スズキスポーツ, ENKEI, エンケイ, TYPEC
Cars, Ownership, Project Sachiel, Japan
4 Comments
DSC04797.JPG

[ Alto Works ] Saito Safety Roll Cage, Part 3

December 13, 2019 by William Tjipto in Cars, Japan, Ownership, Project Sachiel

First up, in order to make sure everything lined up and worked before I started drilling in my Alto Works, I wanted to temporarily install the Saito Roll Cage and tighten everything down to ensure fitment. This will allow me to see where the screw holes will need to be drilled with all options installed and ensure no strange play or issues.

DSC04782.JPG

Surprisingly, even without bolting it in, the cage is extremely stiff and doesn’t wobble or shake; It is an absolute perfect fit. I didn’t have much time on the first day of my project, so I drove it home like this.

DSC04776.JPG

Project time was a bit scattered afterwards, but I resolved to finish as much as I could, whenever I could. Sadly, because the September summers in Japan are always a rainy mess (it has been raining virtually every day for two weeks), I couldn’t repaint my backing plates, which are a must to get things mounted.

DSC04804.JPG

But we can drill. After carefully center punching all the holes, I drilled them one-by-one, putting bolts through each time to ensure the bars do not shift around. I then disassembled the whole cage again. I used a rat-tail file to clean off the metal burrs, vacuumed out the interior, and then painted to coat the exposed metal several times with rust preventative paint.

DSC04788.JPG

Before the cage goes back in, I need to add foam padding so my body and especially my head have some protection in a crash. The last thing I would want is to strike the bare metal bars in a rollover. Even with padding, I am well aware that it can still be unsafe for a daily car. I ordered these rolls to cover all surfaces, 12m of 4-5mm thick foam for about 7000¥ ($65 USD). While they are adequate, I plan on adding thicker padding for the bars near my head later.

DSC09085.JPG

With the cage reassembled outside the car, I first painted the cage where any scrapes, scratches, or surface rust are present, then I wrapped the whole front 4-points of the cage with padding, acetate cloth tape, and zip ties. This ensures that the most likely surfaces passengers may come in contact with are relatively safe. The rear bars I will probably leave exposed as they are, as the chances of accidental contact are minimal. Plus, the aluminum cross brace just plain looks cool.

DSC09086.JPG

To make the installation easier, I also took out the rear bench seat, which came out with about 6 screws in total. I plan on leaving the rear seat back off the car, since it weighs quite a bit and also partially blocks one of the rear safety harness bolts when the seat is folded down (as it must be with the harness bar in place). I will, however, keep the rear seat bottom, as it provides a flat surface for rear storage and is good sound insulation since this is still very much a “street” car.

I look forward to the day when I go all-in and strip out the interior panels and carpeting.

DSC09095.JPG

Before the cage could go back in, though, the front carpet and rear panels also had to be cut out for the roll cage feet. The front carpet was fairly simple to cut with scissors, but the rear plastic panels had to be roughly measured out. I cut a pretty large opening, which isn’t quite as beautifully perfect as I would like, but this will make installation of the bolts much easier with the extra bit of clearance to work with.

DSC09089.JPG

With the backing plates finally painted with layers of primer, rust-preventative paint, enamel paint, and clear, I bolted the screws in and added plenty of silicon for weather resistance, as I did with my roof vent. I took a lot of time with this, carefully tightening the bolts evenly to ensure everything was straight.

Once that was complete, I could finally reinstall all the carpeting and panels back into place.

Impressions
After driving around for a few days, I can say the car definitely feels more solid around turns and bumps. The interior shakes and rattles noticeably less and the car overall feels nicely composed. Part of this may be the added weight distributed around the car, which I can feel; it’s almost as if I have an added passenger sitting in the middle. I can also hear the added weight, since my rear tires, already prone to rubbing over hard bumps, rubs marginally more often now.

As for comfort, I am glad the side bar does not intrude as much as I had initially anticipated. I specifically said the singular side bar, not plural side bars because unfortunately, the passenger side bar does not fit with the stock seat in place. It looks like it only works with a slimmer bucket seat.

Getting in and out of the car is slightly more difficult with the roll cage, but not as strange as I expected. Honestly, the bucket seat still requires me to disgracefully fall out of the car, so the bars change little. Any passengers, though, will have to be careful, lest they hit their head on the upper bar and fall out of the car disgracefully as well. Otherwise, the interior front cabin space, rear seats exempt, is largely the same as it was before and not a significant hindrance.

DSC04785.JPG

Conclusion
In the end, the Saito Roll Cage was a pretty cool addition to my Alto Works, giving me a bit more stability and more importantly, a lot more safety. May it also give me some street racer cred.

December 13, 2019 /William Tjipto
JAPAN, JDM, SUZUKI, ALTO, ALTO WORKS, HA11S, CAR, KEI CAR, CAR LIFE, F6A, RHD, スズキ, アルト, アルトワークス, 自動車, 軽自動車, 日本, 車, ROLLCAGE, ロールケージ, ロールバー, ROLLBAR, SAITO, SAITOROLLCAGE, サイトウロールケージ, サイトウ
Cars, Japan, Ownership, Project Sachiel
Comment
DSC00425.JPG

Suzuki [ Swift Sport ] SOLD

December 06, 2019 by William Tjipto in Cars, Japan, Ownership

As I’ve said in previous posts, I love my little Swift Sport. I have driven it halfway around Japan, literally the whole of Hokkaido and nearly three-quarters of the main island’s prefectures. The car has given me great confidence in its handling prowess and enjoyment in its comfort and ride quality. For those interested in sporty, yet very practical cars, the Swift Sport is perfect. It features superb handling, good power-to-weight ratio, and a smooth 5-speed manual transmission, all with the practicality of 5 seats and ample hatchback interior space. But I have changed the aftermarket parts off of it in the preparation to sell the car. And now it is gone...

There are quite a few ways to sell a car in Japan, so I carefully considered the pros and cons of each before I finally decided on the best course of action. There are two primary ways to sell a car, directly or through a third party.

DSC00438.JPG

Direct
Of course, there is always the most direct method to sell a car, buyer-to-buyer: by finding a buyer through word-of-mouth or by advertising in various forums or online sites. This might net me a fair amount of yen, but it is highly dependent on the appearance of the car in photos and the general desirability of the car… if they’re a dime-a-dozen Wagon R, I highly suspect that people aren’t going to be paying top dollar for your vehicle if they can find another one that looks better. Or if it’s strange or otherwise super eclectic, it won’t draw enough people to search and hunt for your car. And all this requires the greatest amount of effort to spread the word.

The second direct method commonly used is selling through online auctions like Yahoo! Auctions or Mercari. Given the fact I am in Japan, this requires a bit of Japanese language skill and a lot of legwork. First off, customers may ask to see the car before bidding or ask very specific questions that would be difficult to answer. Poorly written replies would draw less confidence in the buyer. After all, they might be putting a lot of money down so they won’t just go spend willy-nilly. Secondly, there is potential for auction failures or bid cancellations. Anyone who has used eBay knows this quite well. It is not uncommon even in Japan for bidders to regret their bids after. Third, but not lastly, even if the car is sold and payment has been made, the issue of arranging pickup and name transfer is not as easy as signing over a pink slip. (I’ve done this nearly a dozen times and it still confuses me.) However, this actually might net me the highest income from the widest potential customer base, dependent on the aforementioned factors.

DSC00419.JPG

Third-Party Sales
Many people in Japan end up selling their 10 year-old cars to a used car dealership like Gulliver or Big Motor, two of the more common shops I see around locally, because it is a simple, smooth, and quick transaction. They are typically looking for a certain type of car, usually newer and unmodified, to resell back on their huge lots. Unfortunately, with such huge storefronts, inventory, and staff, they have higher overhead operating costs and will pass such onto any customer looking to sell off a car. Convenience comes at a price, after all.

I’ll give you my own personal example. I brought a friend’s car to Gulliver a few months ago and their quote was… disappointing, to say the least. A perfectly-operating, decently-new kei car with some shaken left should definitely fetch more than 5000¥... the shaken alone would be worth more. Let’s just say I will never be back to support them.

What happens to a car they buy that they are not interested in reselling or doesn’t meet their standards? They end up getting pushed to a second third-party seller by way of an auctioneer….

Which is the last option available to me at this time. A car auctioneer is a licensed dealer who can buy and sell cars at car auctions, none of which are open to the public. Aforementioned dealers will sell their car to these auctioneers for pennies on the dollar as a quick way to rid themselves of excess inventory. They will, in turn, take the car and prep it for the auction block.

If you’re any kind of car fanatic, you would likely have come across a glimpse of this on Mighty Car Mods. If you haven’t watched the video or follow them at all, I would highly recommend checking them out.

Buyers of said auctions will usually be small, niche dealers looking to sell to their local markets, doing minimal maintenance and slapping shaken on it essentially in name only. Buying from such auctions and smaller dealerships is a bit of a gamble; you have to take on a bit of risk with the lower price.

DSC00414.JPG

In the end, I took the second-easiest route that will also net me the second-lowest amount, the auctioneer. My friend at Rodeo Cars has a friend in Nagoya working at such a place. So the drop-off was made on Saturday, November 30th.

2019-11-30 006.JPG

While the car is gone, it is technically not SOLD. Not just yet. It’ll go on the auction chopping block in the next few weeks. How much it’ll sell for is a complete unknown, but estimations go for about 100,000¥ ($900 USD). Yes, I know it’s not much, but that is how car auctions go. I’ll update when I get the final selling price.

DSC03841.JPG

We’ve had a good run, buddy... This is the literal end of the road for us.

IMG_4236.jpg

Update December 15, 2019: The car sold at auction for 150,000¥, which is actually on the high end of what other Swift Sports go for. Unfortunately, the auctioneer takes a set fee for handling, but overall, I am not displeased.

Time to go car shopping!

December 06, 2019 /William Tjipto
JAPAN, JDM, SUZUKI, ZC31S, CAR, CAR LIFE, M16A, RHD, スズキ, SWIFT, スイフト, SWIFTSPORT, スイフトスポーツ, 自動車, 軽自動車, 日本, 車, HOTHATCH, FF, FWD, CARBONFIBER, カーボン, ORIGINAL, STOCK, STANDARD, 純正, オリジナル, FORSALE
Cars, Japan, Ownership
2 Comments

Powered by Squarespace