[ Alto Works ] Suzuki Sport Racing Type-C 13” Wheels
Despite only owning my car for barely a year, I’ve had 5 sets of wheels for my Alto Works. The car started off with the stock, 5-spoke 14x5” Enkei wheels, wrapped in cheap, old, Nankang rubber. They worked fine for a bit and I’ll admit they look quite good with a set of spacers. The car also included a set of steel 13x4” steel wheels and Nexen studless winter tires, but I soon gave away those steelies.

Shortly after driving my car around for a bit, I picked up a set of super cheap 14x6 +38 Bridgestone wheels. The best thing I could say about them is that they were made in Japan. They weren’t particularly light and looked better in my mind than they actually did on the car.

A few months later, I picked up my old Wagon R again which had my old set of 14x5.5 Yokohama Advan Rally wheels in pure white. They are beefy, durable, and look really good on the car. I initially planned on using them year ‘round as my all-weather set.

It was soon after I picked up a set of gorgeous 13” RAYS wheels, which I detailed the restoration here. It was then I fell completely in love with the smaller wheels and fatter rubber, definitely fitting with the old school look of the car. To me, these still look the best and as such, I will keep them on the car as my all-weather set, wrapped with a set of Bridgestone Sneaker rubber.
So now that I have a set for “summers,” I’ll keep my original stock Enkeis as a track-focused set. The gray Bridgestones were my least favorite so far, so I sold them for about half of what I paid for them. I should’ve been happy with my three sets of wheels now, but I couldn’t settle there. I really wanted a set of winter 13s, since they fit the look of the old Alto so well.

I first looked into what I consider the best looking wheel for older Japanese cars: Watanabe wheels. After some deliberation, I decided in the end that my Roadster would look best with them, as they fit that old, retro modern look. The squared 90s look might go better with a set of same-era wheels.

Most recently I picked up what I hope will be my final (cough, cough) set of wheels, a set of old school Suzuki Sport 13x5” wheels, manufactured by Enkei, for a mere 12,000¥ ($110 USD). After searching around the internet for 1990s wheels, I discovered these wheels came as a Suzuki Sport aftermarket option in their accessory catalogs in various colors and in both 4x100 for newer Altos/Wagon Rs/etc and 4x114.3 for Cappuccinos and older Altos.

As expected for the price and much like the Rays wheels, they were shabby. The original paint is largely bubbling and chipping off, so I had to refinish the whole set. This took an incredible amount of time, as I think these were in even rougher condition than the GR-N were.

You can see the difference between these two wheels after tedious sanding.

I decided to keep them all metallic grey, but I was fine with losing the polished lip. For the base layers of paint after the primer, I went with spare dark grey paints I had leftover, then finally coating with Soft99’s Metallic Grey for the perfect shine. (Also, it was fairly expensive so I was not looking forward to buying more than two cans of the stuff.

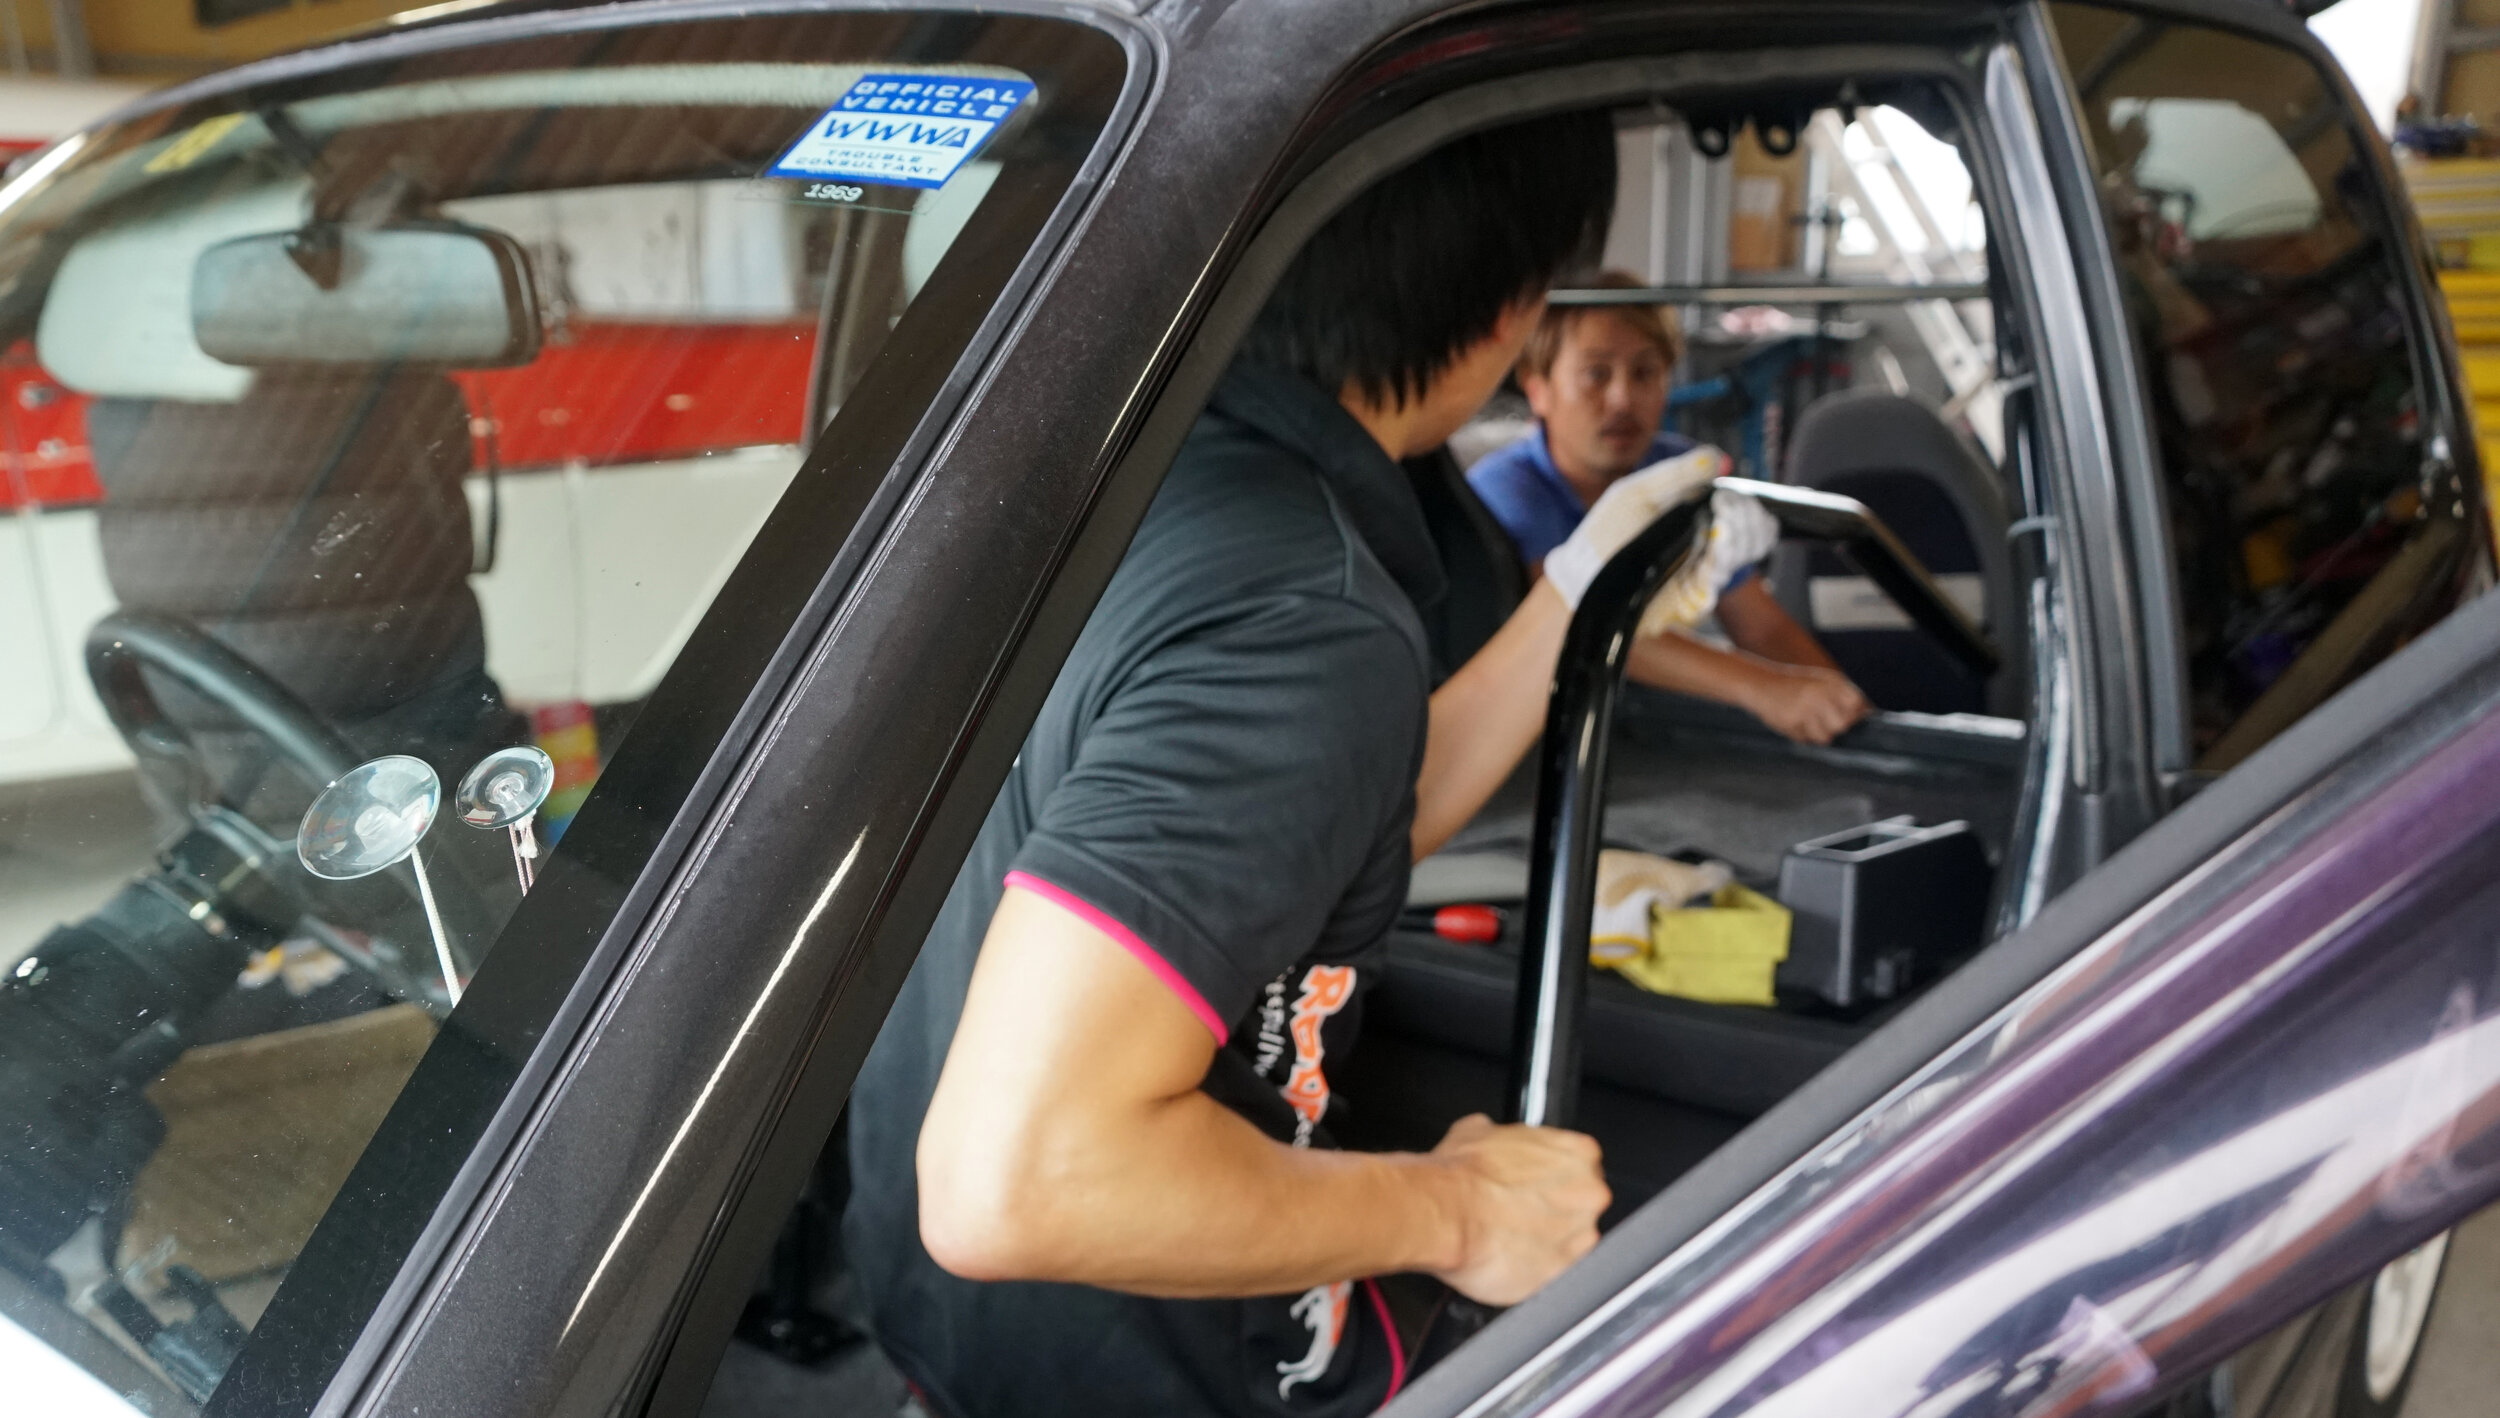
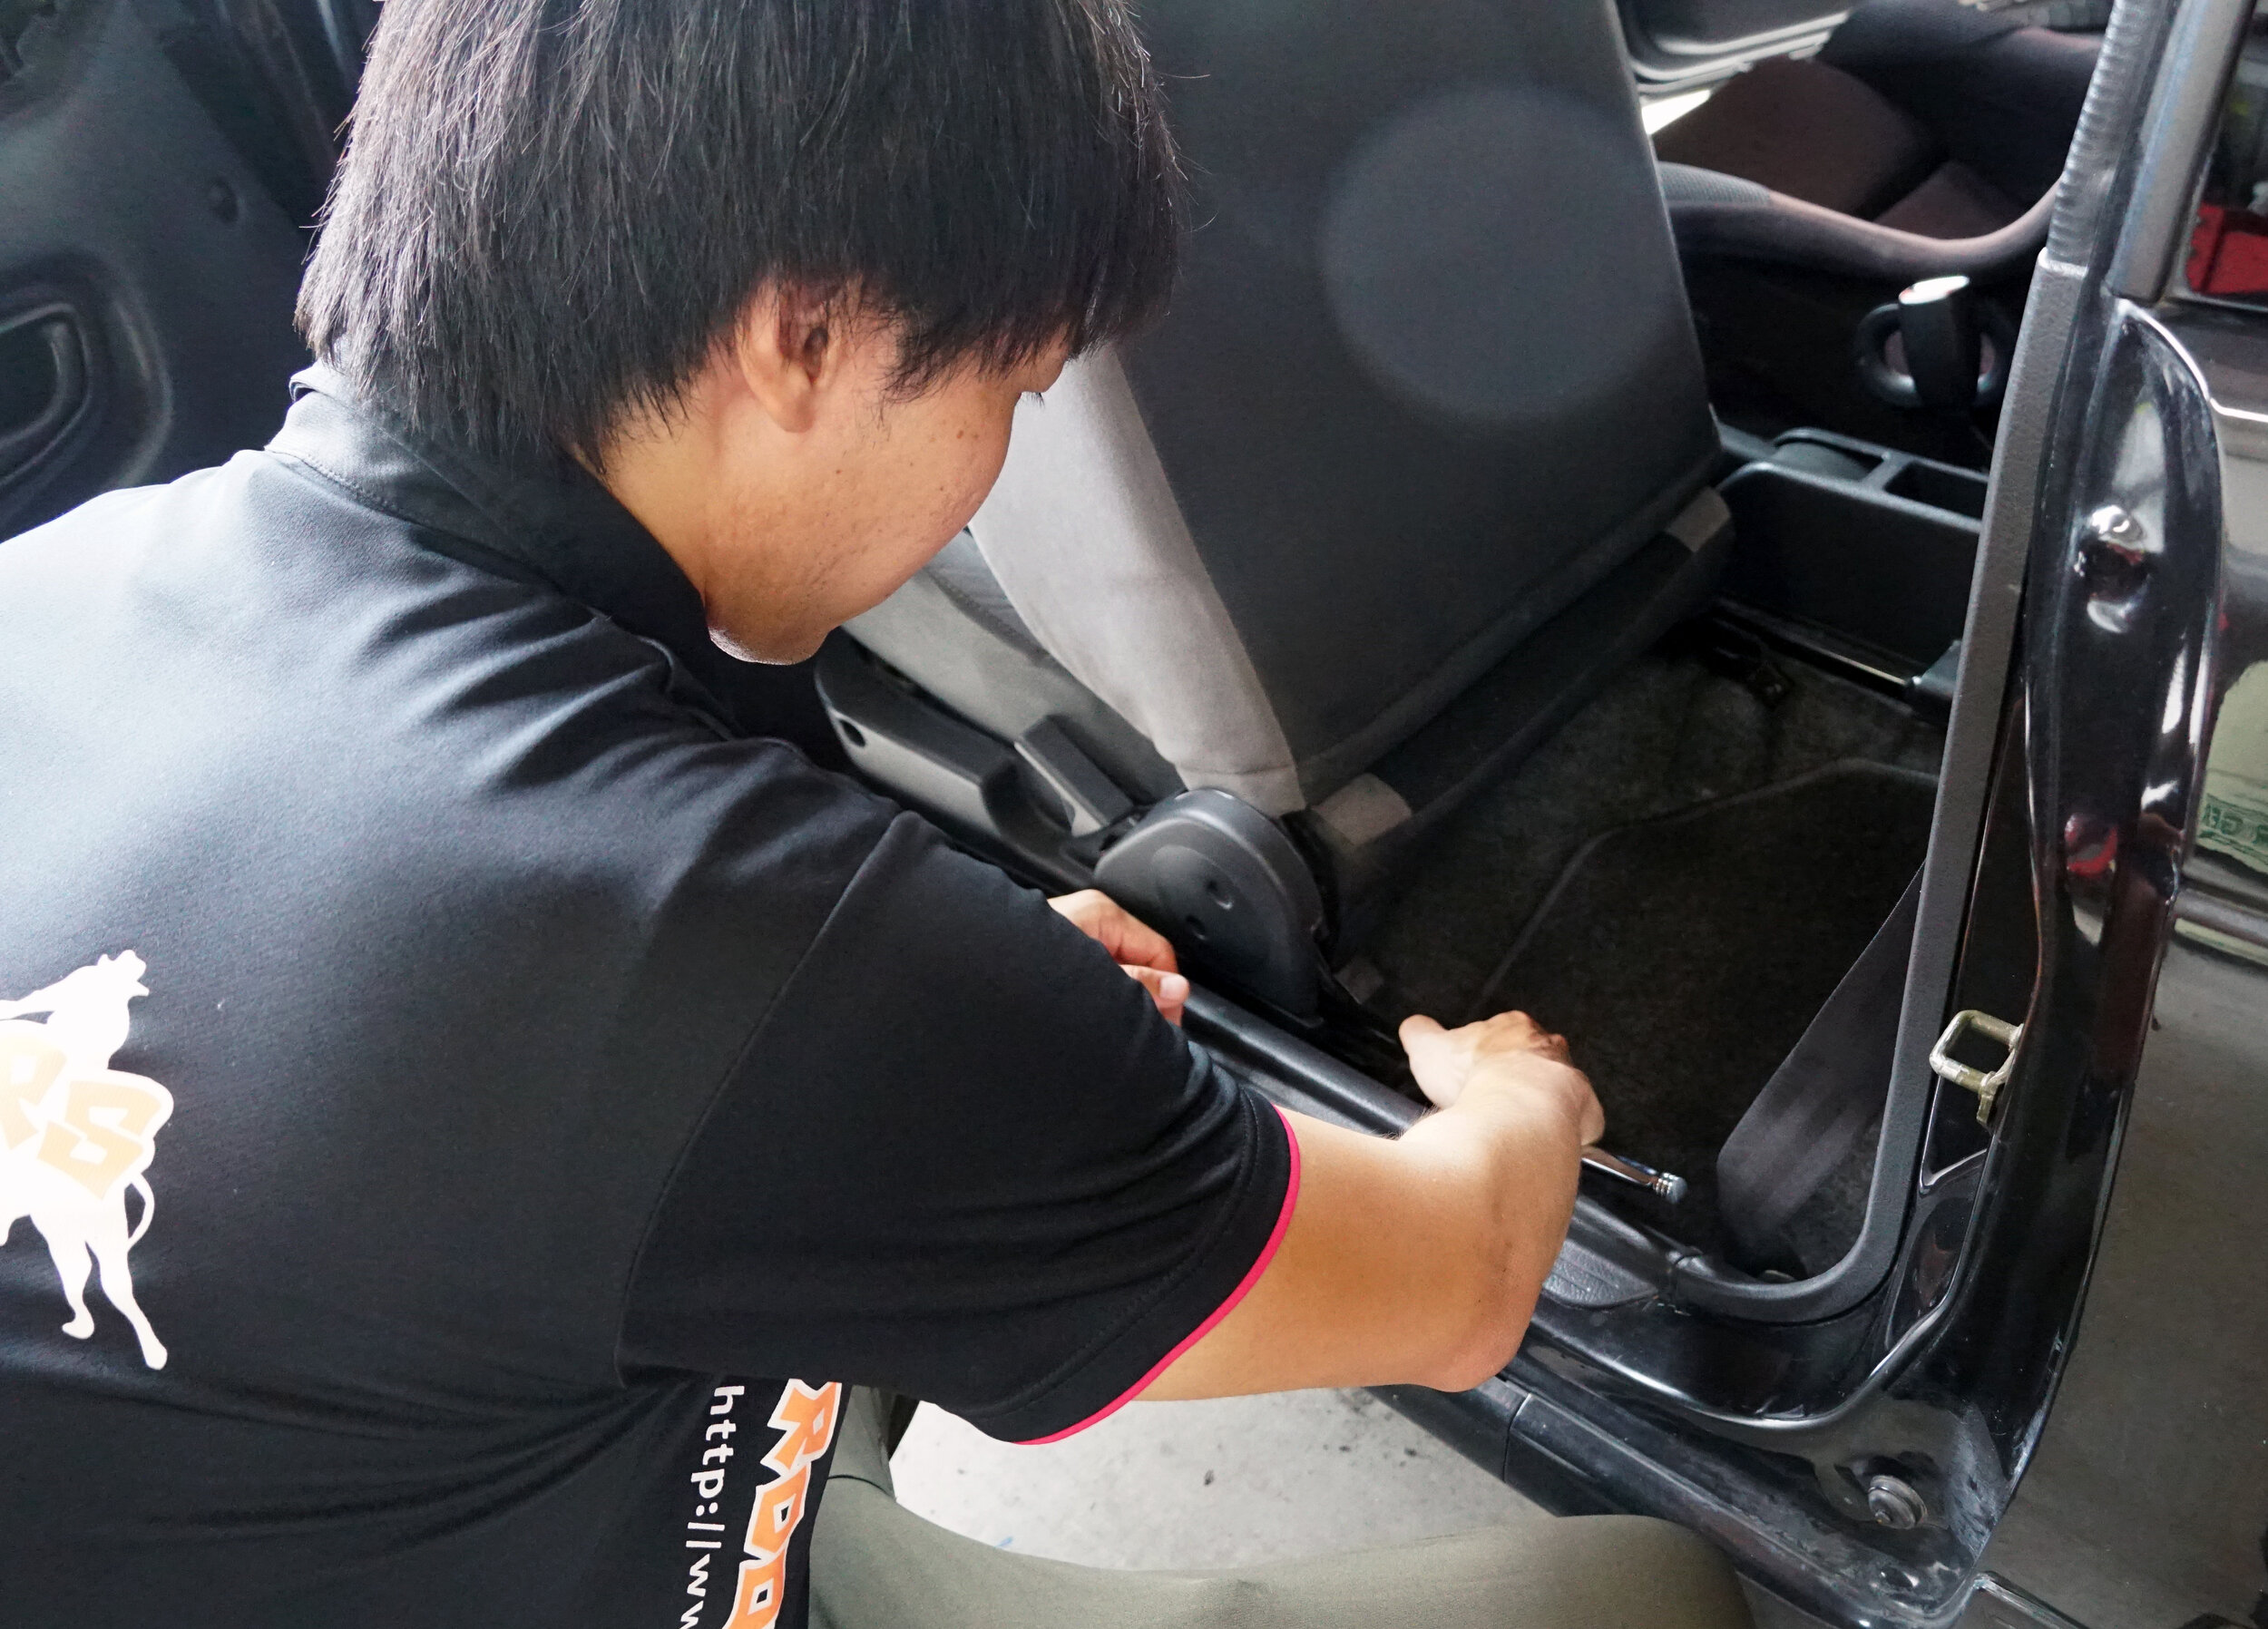
I finally found a free weekday to get them mounted with my winter tire set.

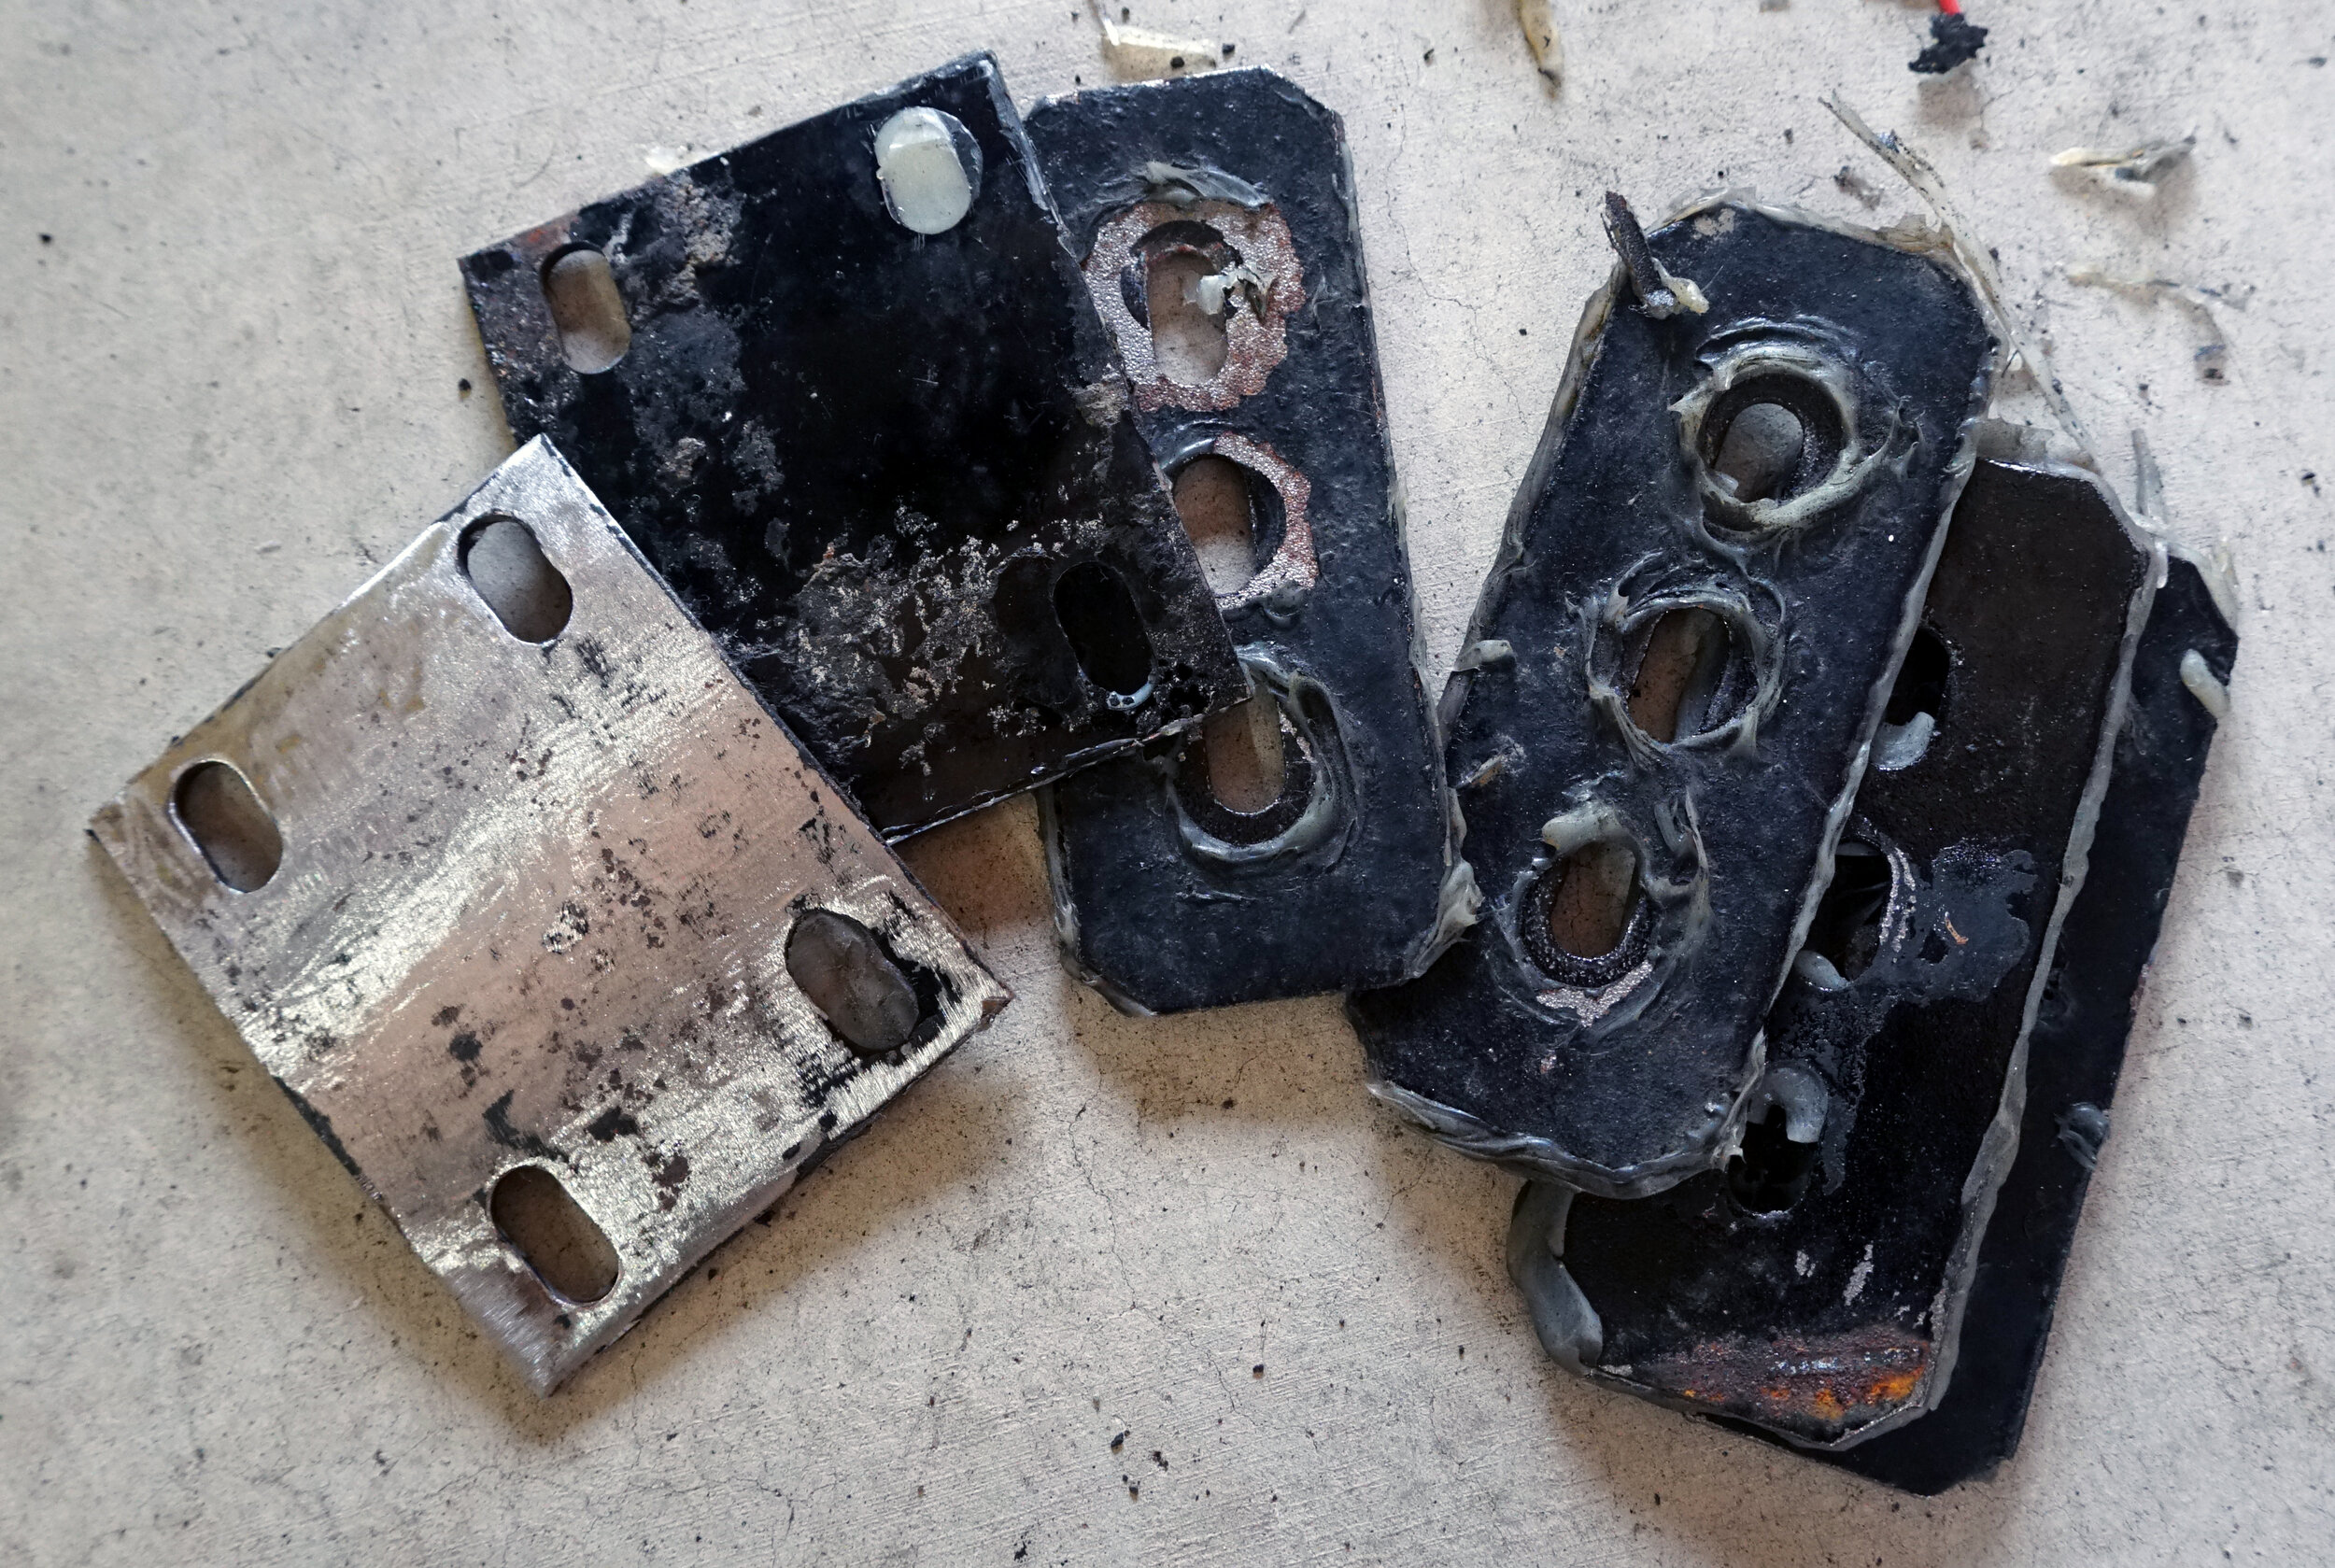
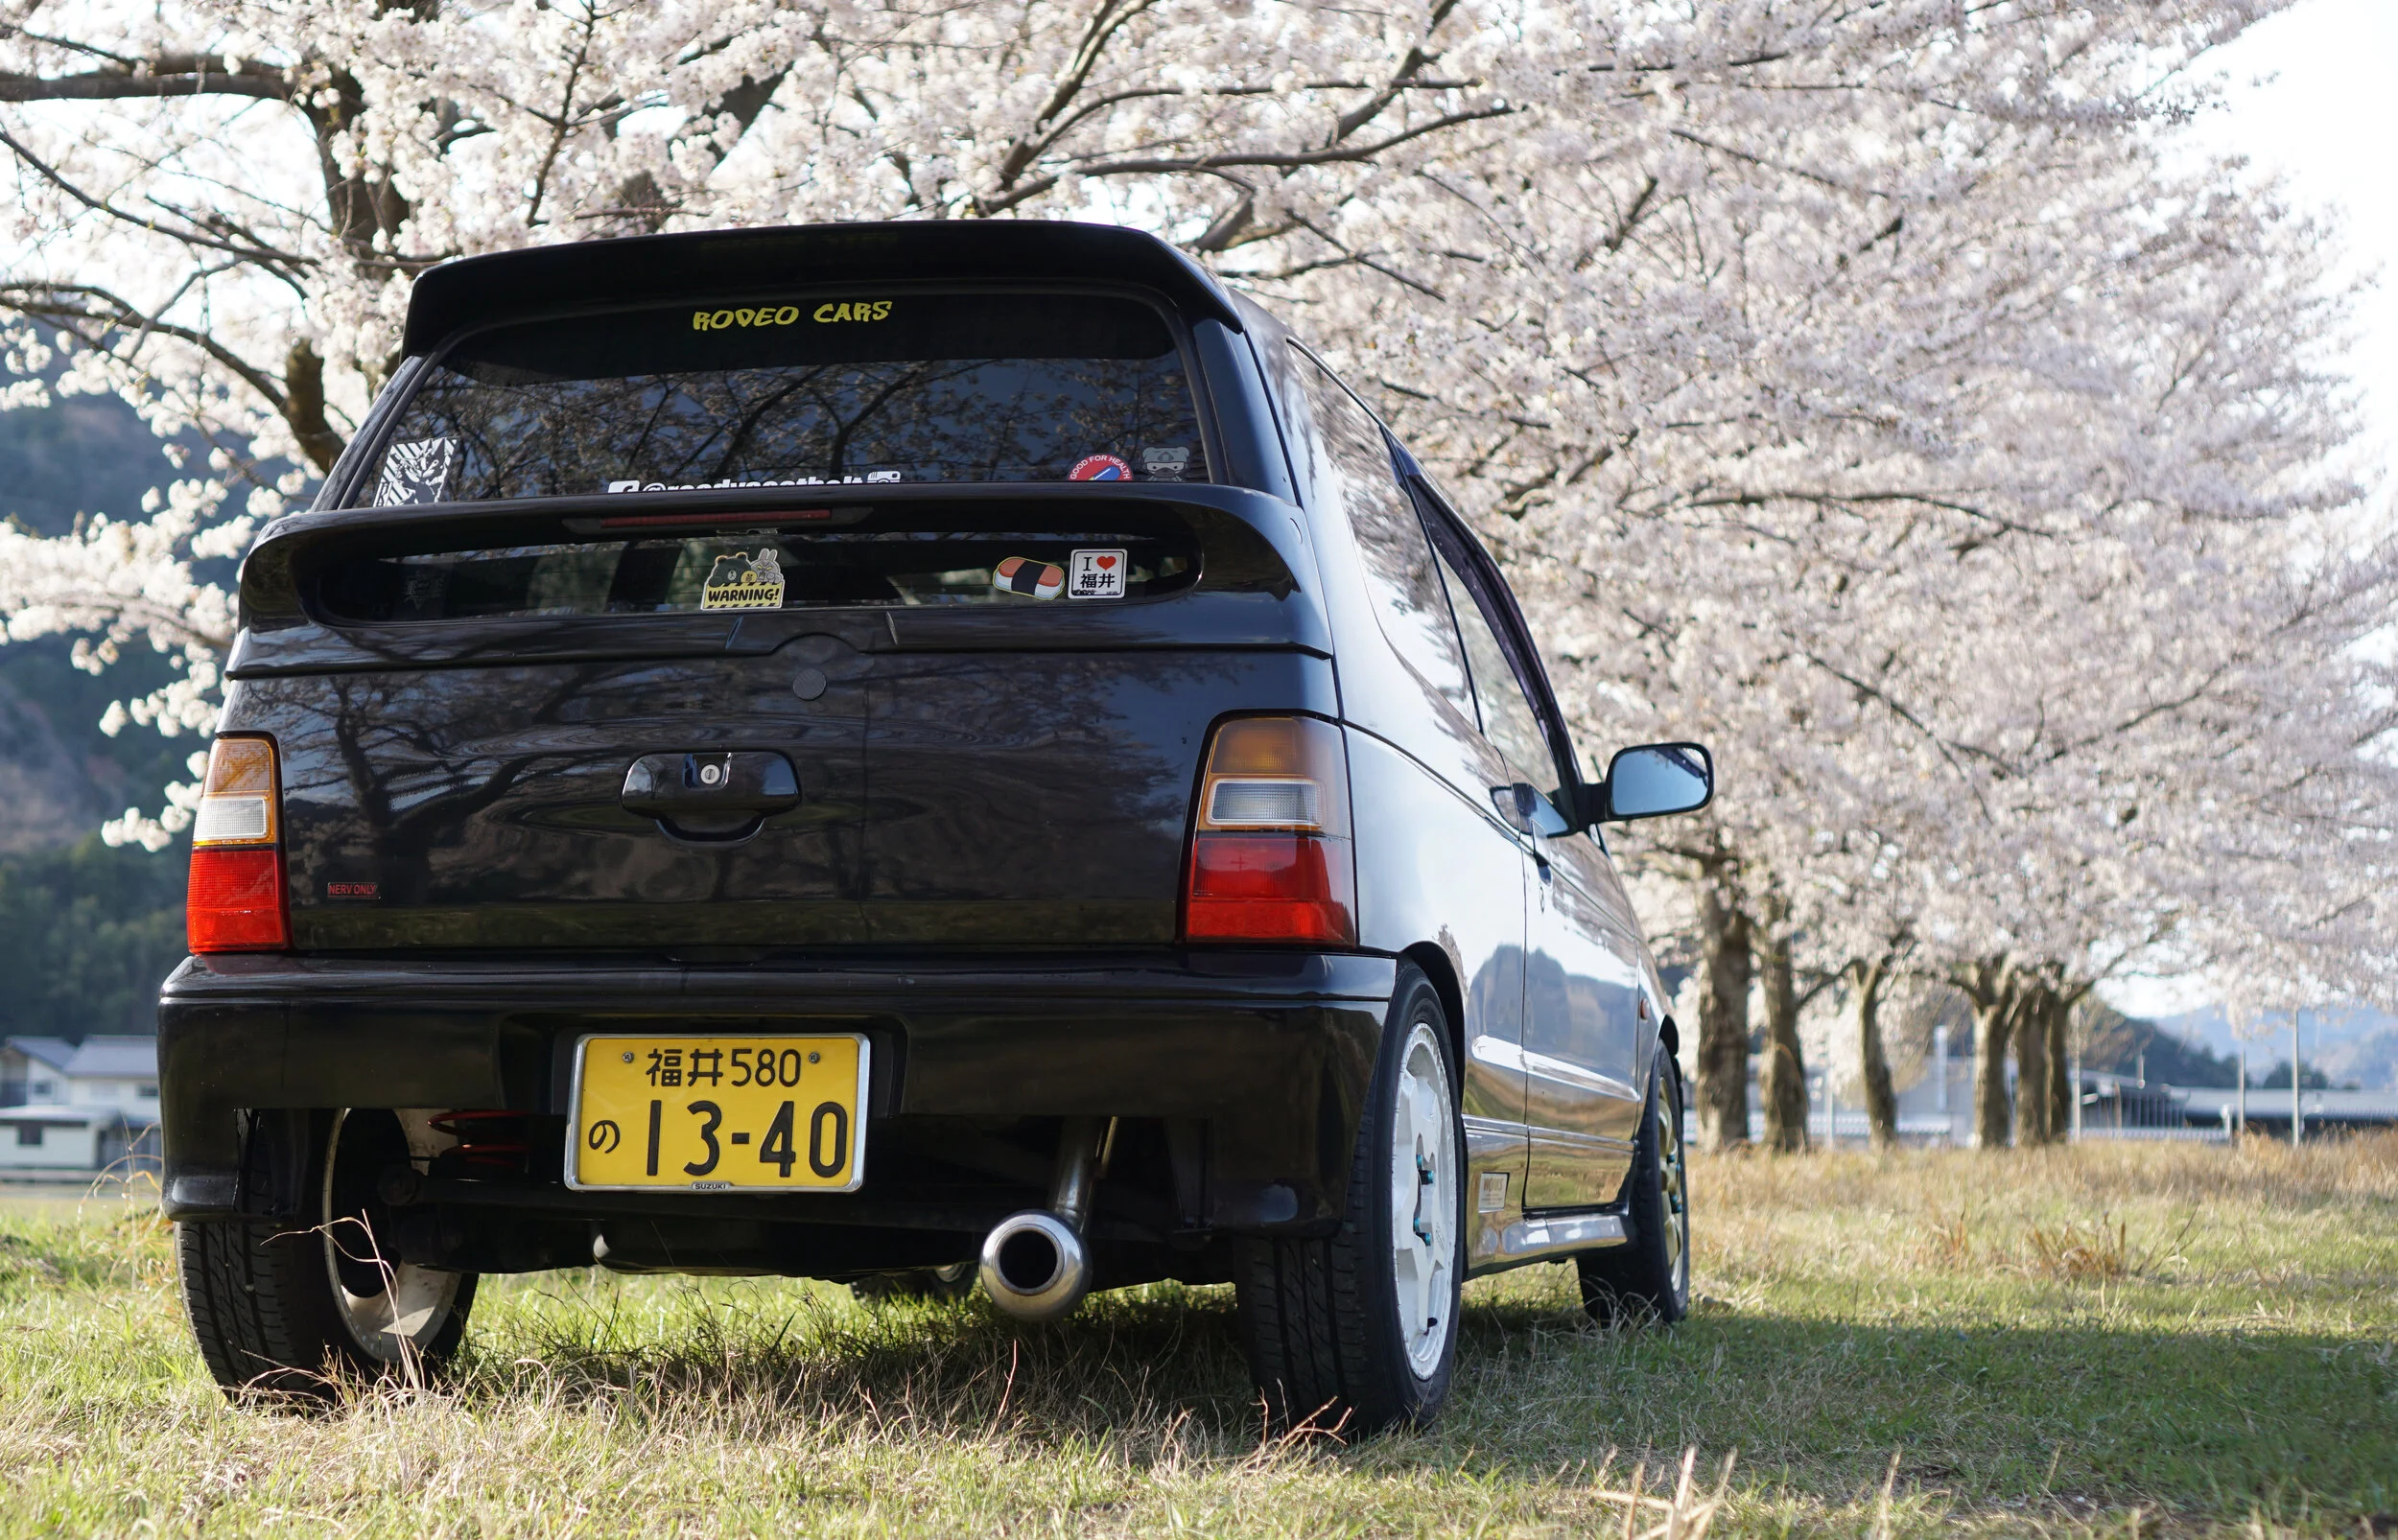
While they are very old-school appropriate with a very cool old-school tuner look, they have an incredibly boring offset at +45, essentially the same as the stock wheels. Therefore, I also picked up a set of two 40mm spacers, which are even wider than the +15 spacers I bought earlier. This will give them a nice push to +5.

Holy wow, even just the front two wheels spaced out look amazing. And they fit under the stock rolled fenders with the cambered Wagon R suspension just fine! So far, no rubs except under reasonably hard cornering, when the turned wheels rub the fender lip.

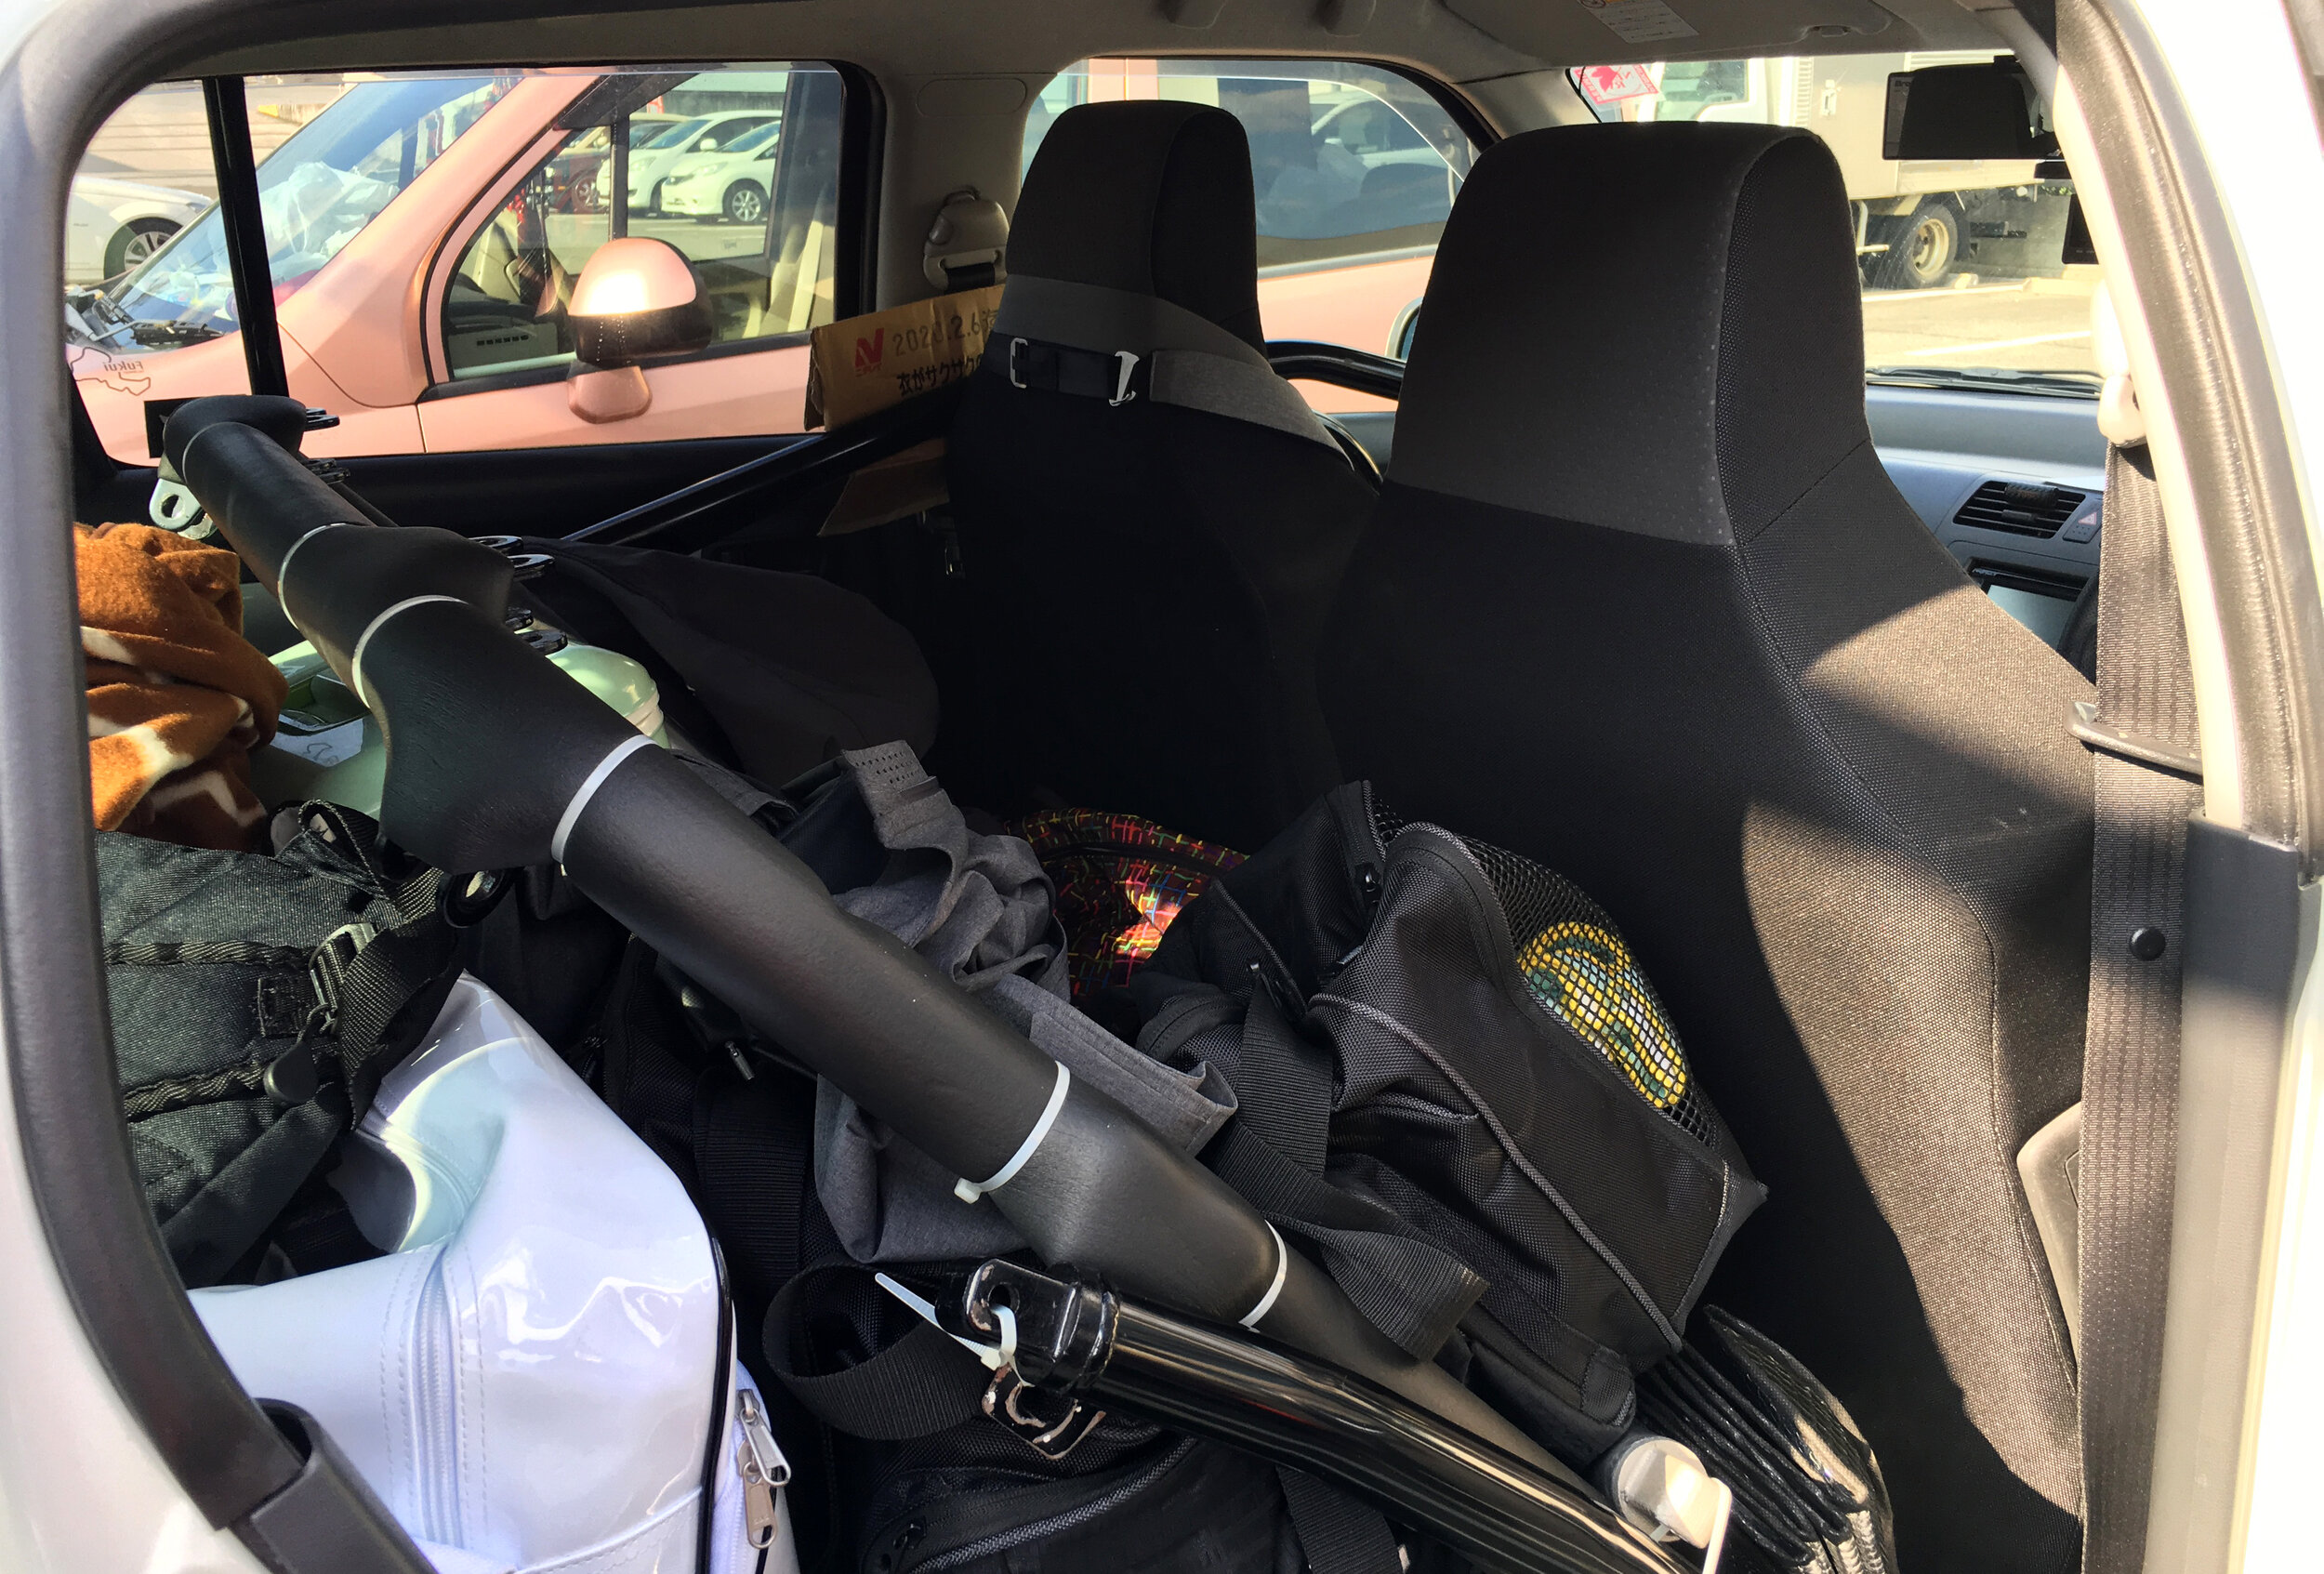
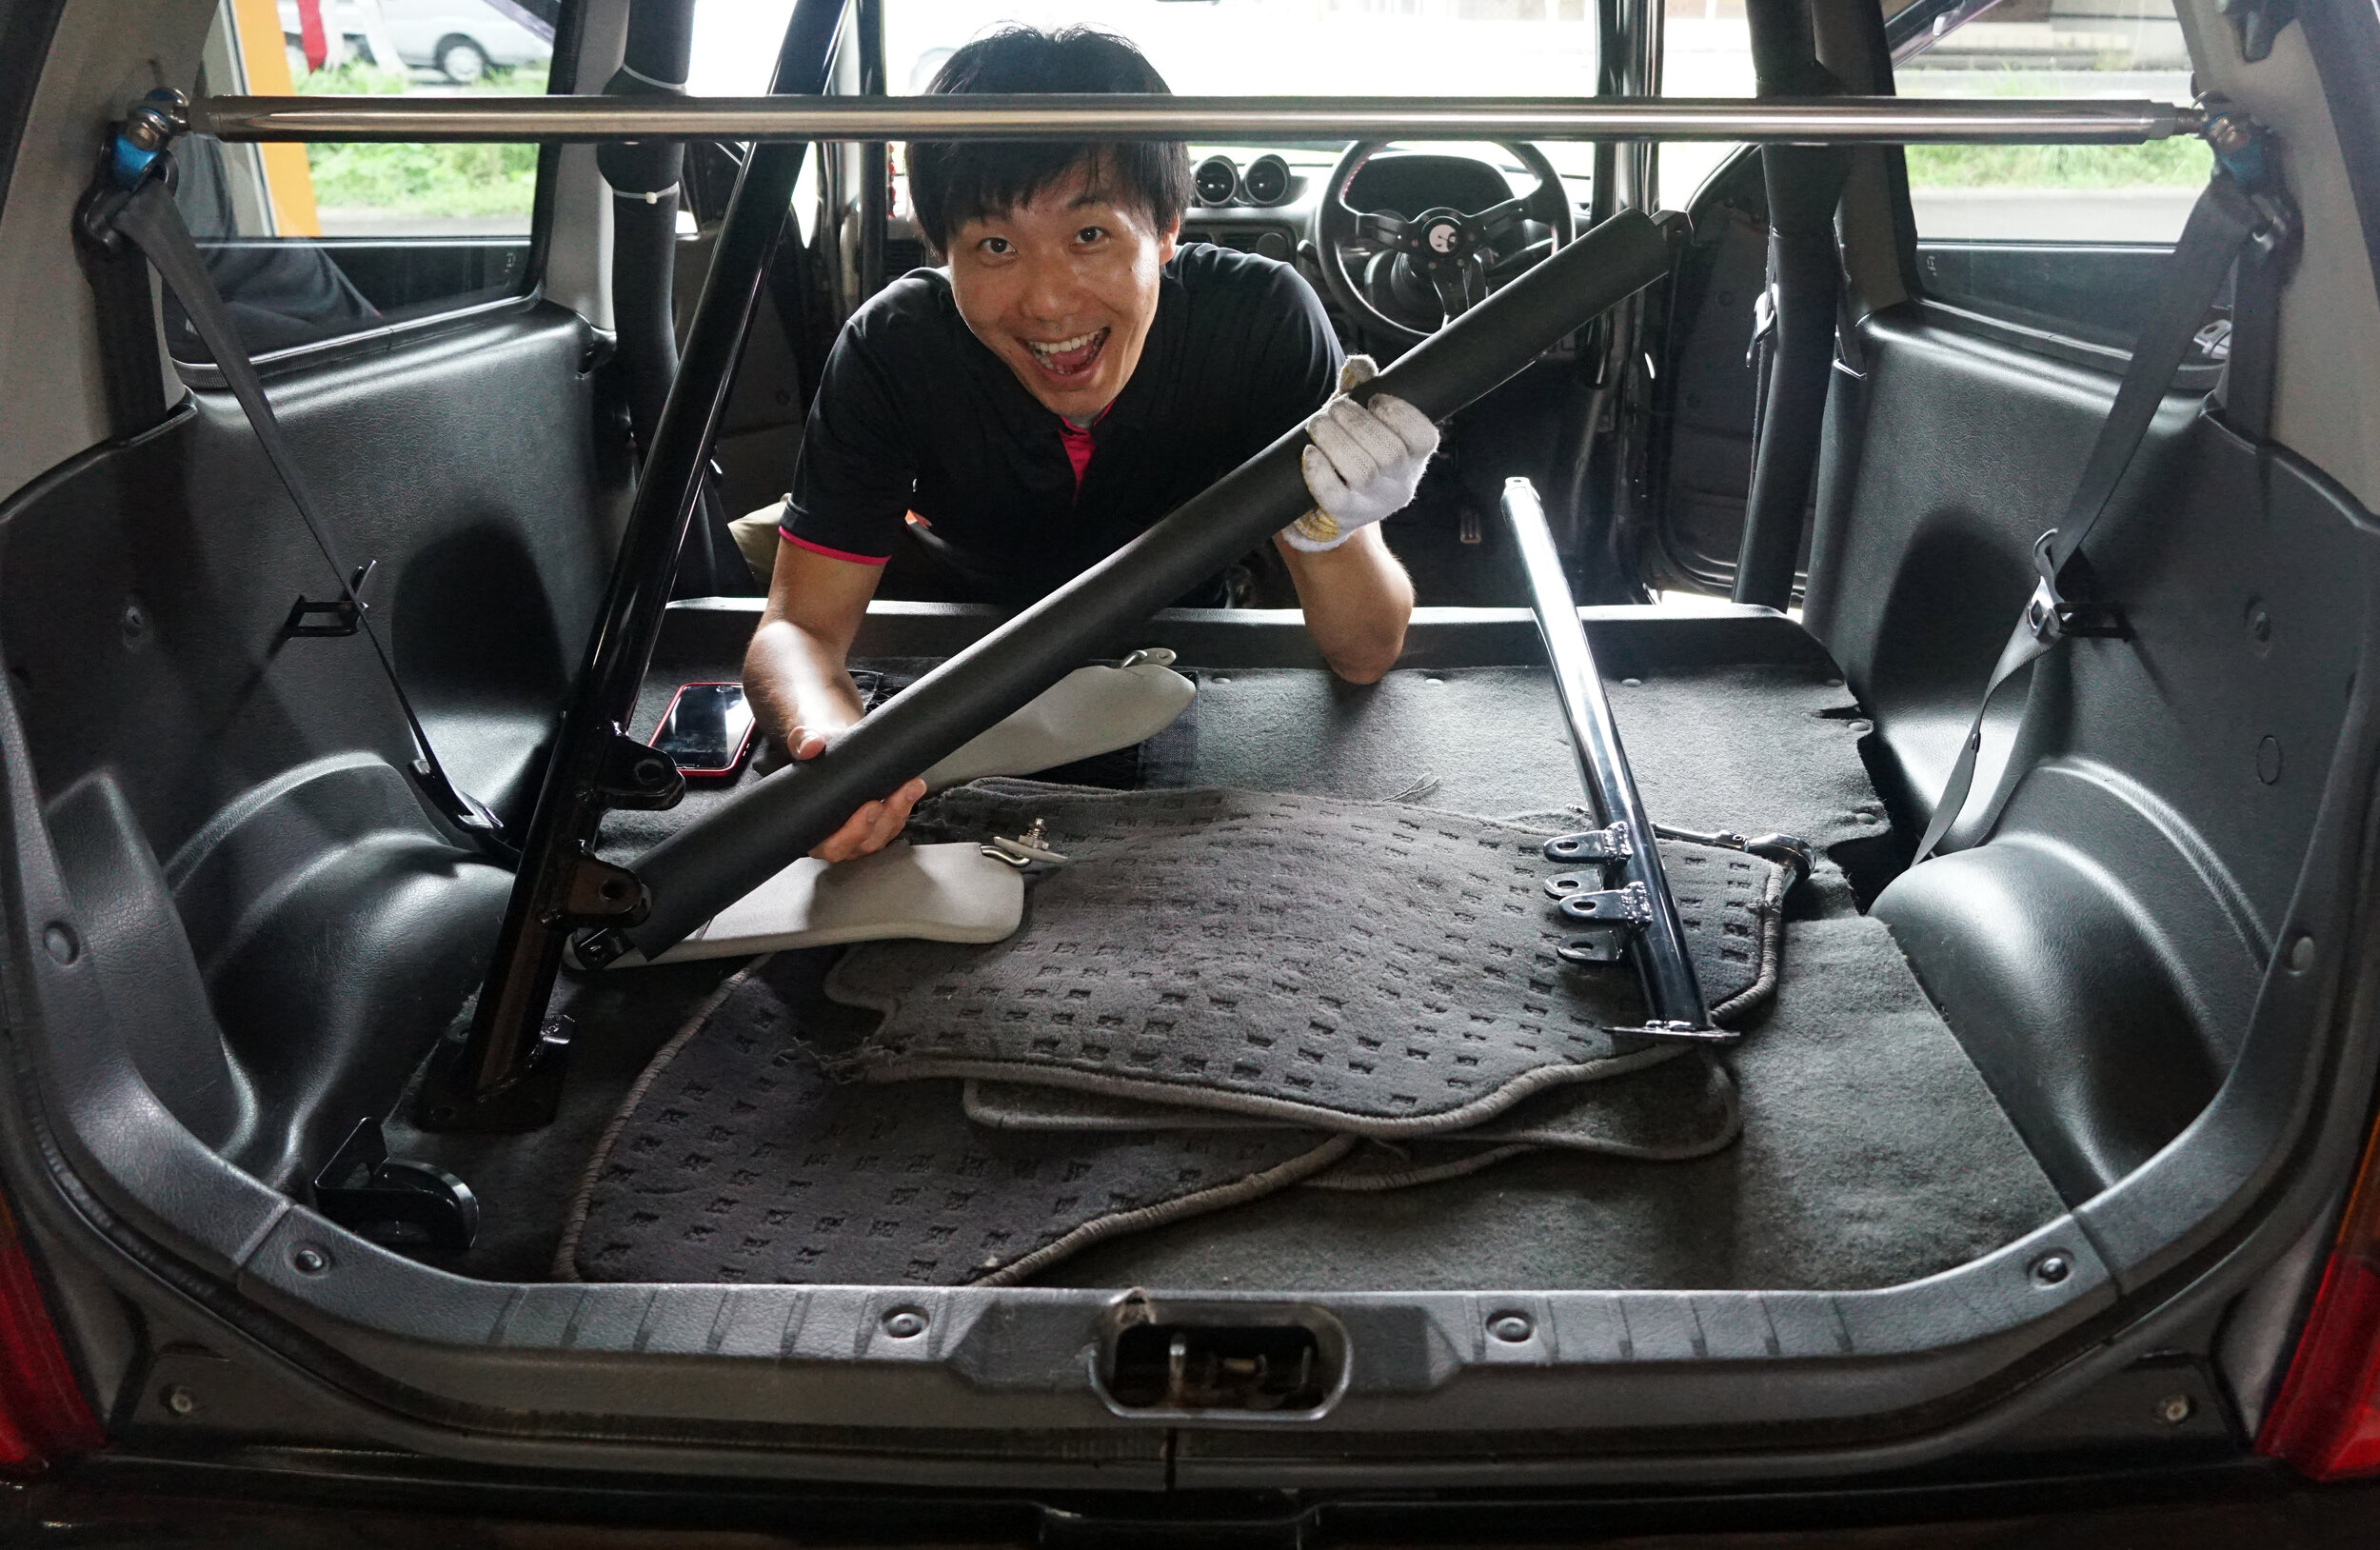
(Also pictured are a few other modifications I’ve made recently!)
Now what to do about those rear tires? How can we fit a set of wider spacers or wheels?