Ready Seat Belt

レディー・シート・ベルト

A look into the cool and bizarre, focusing on the Japanese import car culture and delicious ramen. Updated weekly.

  • Home
  • Blog
  • Food
  • Archive
    • Complete Archive
    • Ramen Archive & Map
    • Suzuki Alto Works HA11S
    • Suzuki Alto Works HA12S (Scrapped)
    • Suzuki Swift Sport ZC31S (Sold)
    • Suzuki Wagon R MC22 (Scrapped)
    • Newbie Guide
    • Photography
  • About
  • Facebook
  • Instagram
  • Twitter
DSC01984.JPG

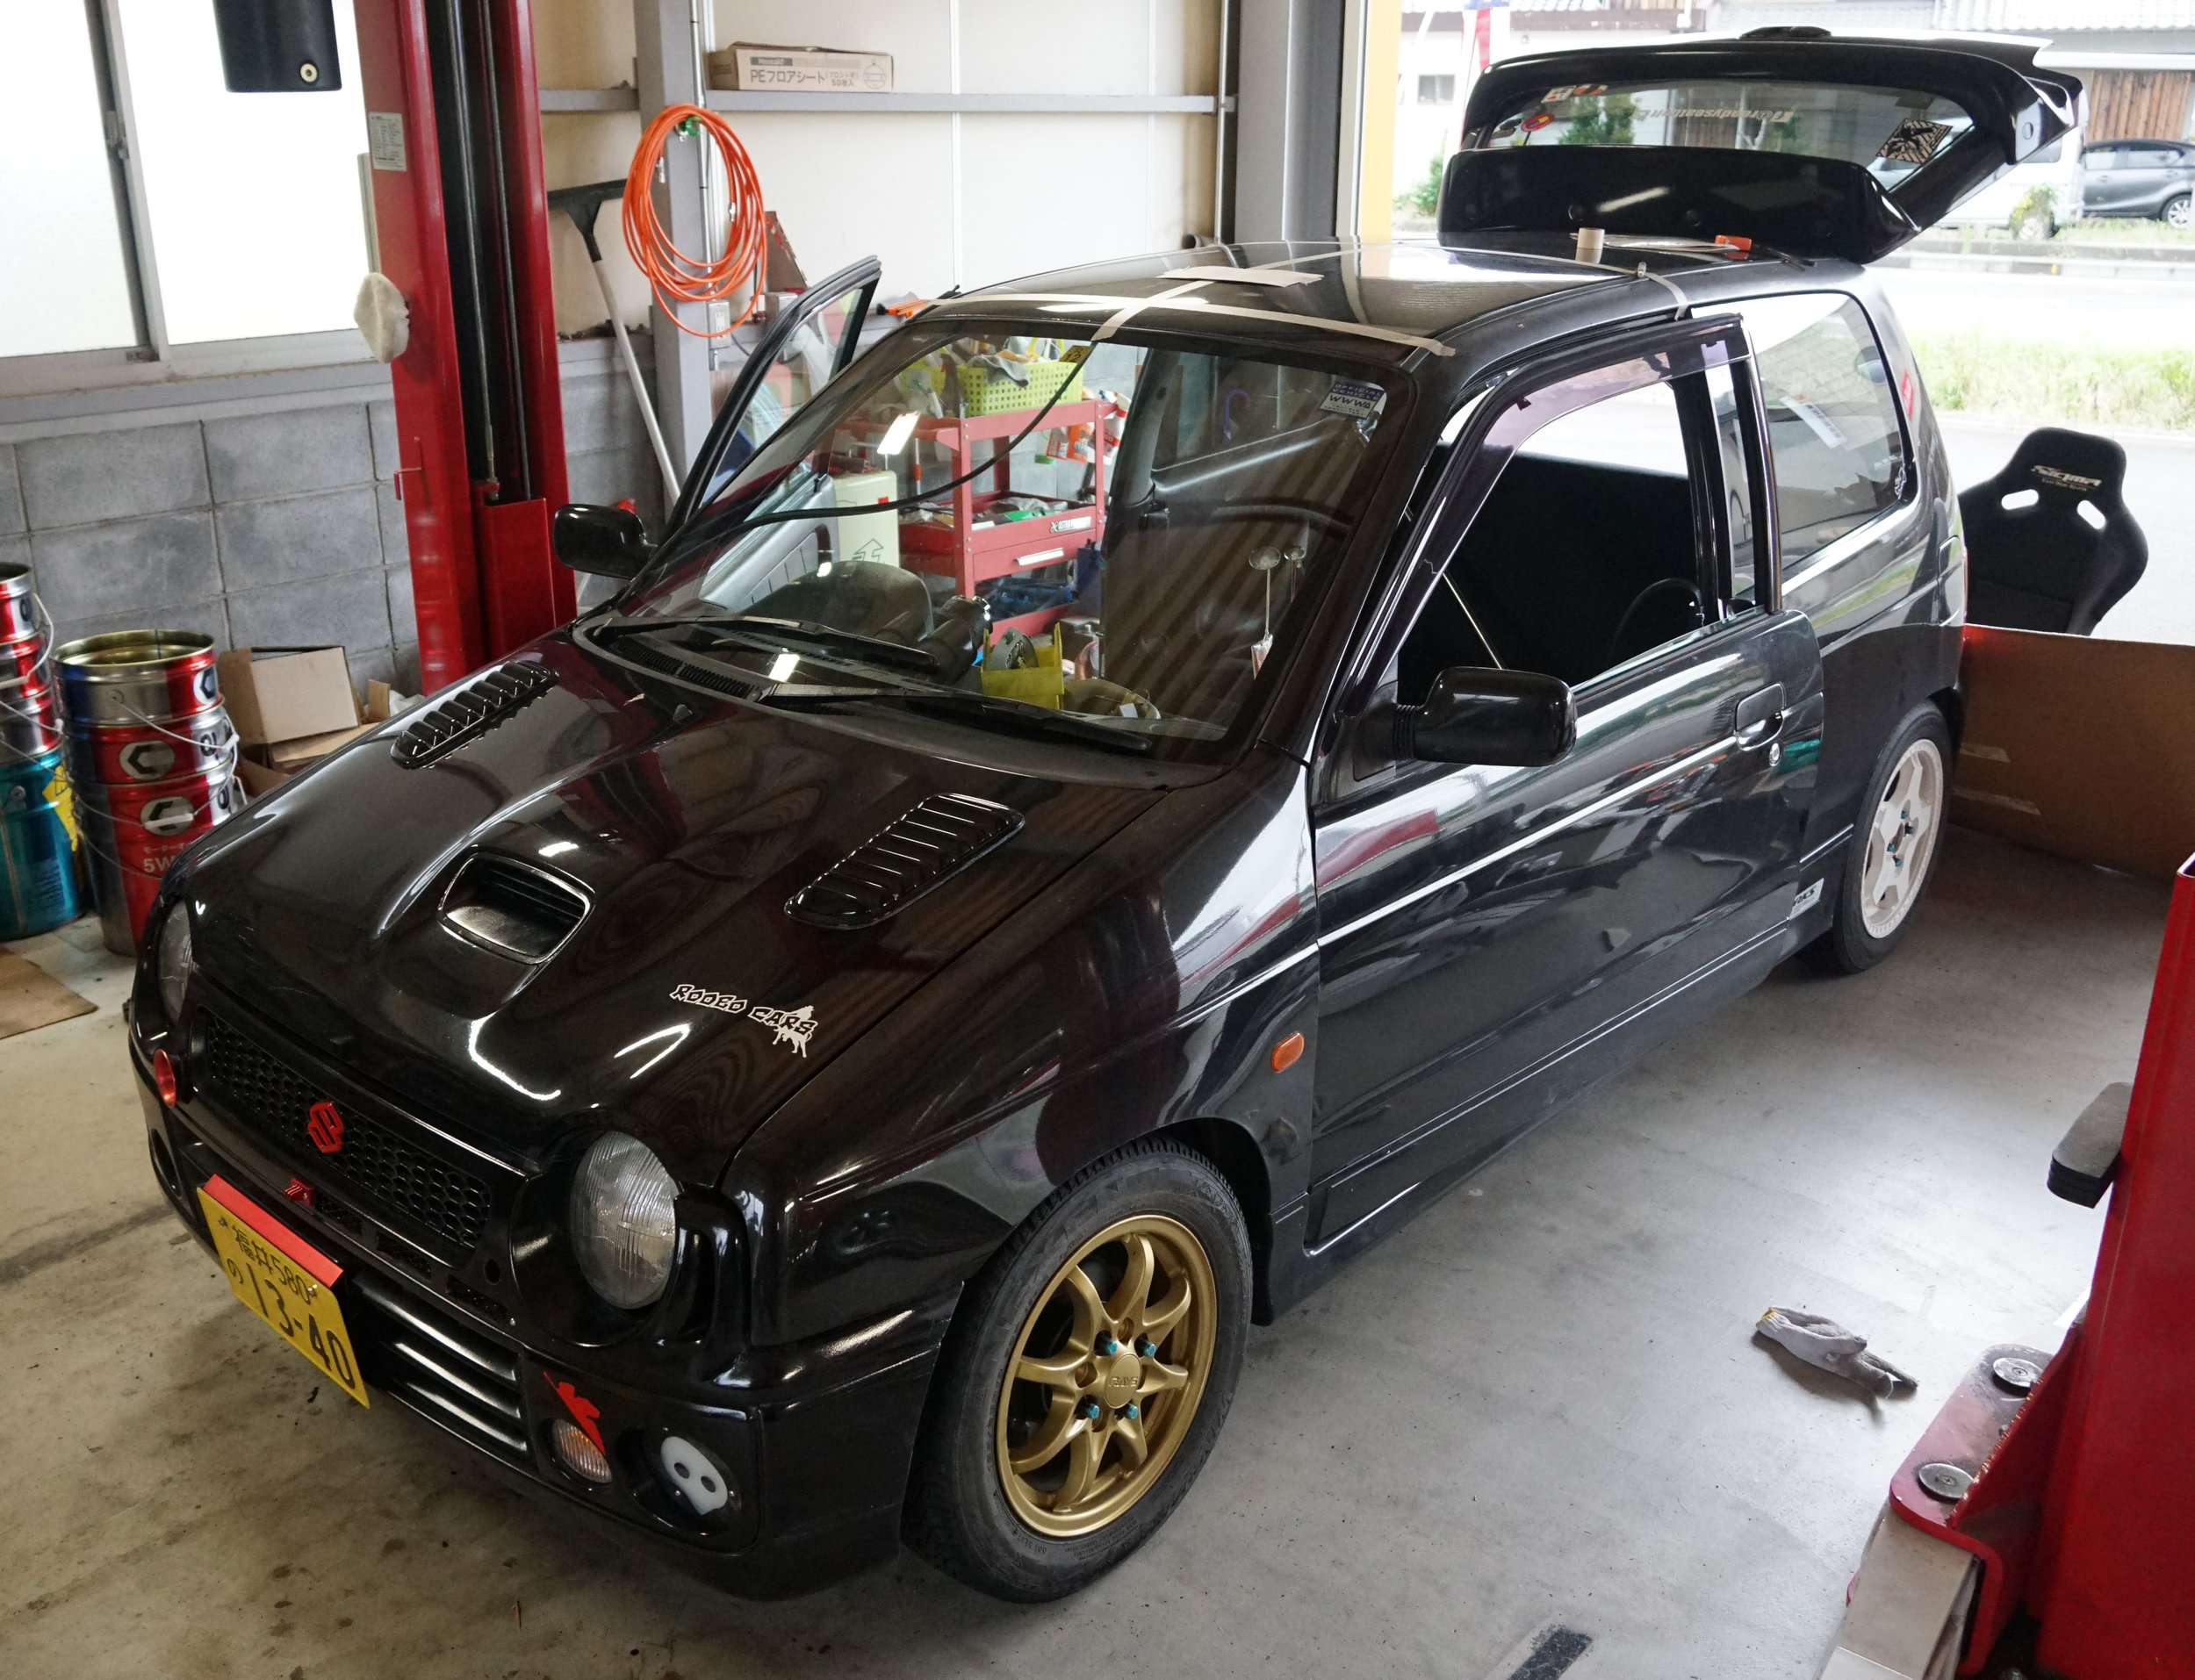
[ Alto Works ] Rally Roof Vent, Part 3

September 20, 2019 by William Tjipto in Cars, Japan, Ownership, Project Sachiel

I started early for the third and last day of my Rally Roof Vent project. I didn’t want to borrow my friend’s Wagon R for another day while my Alto sat in his garage. Now that the vent has been siliconed in place, it was time to put the final screws through. With a dab of silicon on each, I tightened some stainless M5x16 screws in place with nuts, washers, and rubber grommets. I initially planned on using 12mm-length, but I wanted the extra to poke through the roof lining and finish off clean with some stainless caps, as you’ll see shortly.

DSC01936.JPG

But I’m getting ahead of myself. Inside the car, I taped up all the edges of the vent with quality 3M water-resistant duct tape to ensure no water would seep through. The inner roof lining was roughly aligned in place, marked for size, and cut with a utility knife. As with the outer roof skin, I started off small and opened a hole just big enough for the bottom handle to pop through, then marking off little-by-little afterwards. While it took time, this ensured I wouldn’t cut more than I needed.

DSC01939.JPG

With the roof and roof opening in place, it was time to put everything back together.

2019-07-13 011.JPG

Cleanup
While I did everything I could to keep metal shavings out of my interior, a lot of metal dust made its way around. I’ll detail my cleanup process another time, but suffice to say for now, I had a lot of work on my hands to make sure the interior is clean and usable again.

DSC01987.JPG

As well as the outside. During the whole process, I kept wiping down the exterior of the car. This is especially important since the metal shavings rust quickly and can immediately start oxidizing metal. But once the last silicone in the screws dried, I made sure to wash the whole car again.

DSC01989.JPG

Ensuring no water dripped into the cabin, I could finally take it for a real spin. Opened rearward, the vent created negative cabin pressure, allowing air to flow out of the interior, with or without windows open. This keeps additional air flowing through quite comfortably, as essentially a low-cost sunroof. This is how I intend on using the vent most of the time, as I do not want potentially bugs or water flying into the cabin.

Opened forward, a significant amount of air blows straight into the cabin even at relatively low 40kph speeds. The positioning of the vent is absolutely perfect, blowing just forward of my face toward my upper arms and chest. (Keeping in mind my bucket seat leans me at a slight angle. If I had the stock seats in, it might be at my face.) This is probably the best position for a trackday to get airflow into the cabin, but not great for a mosquito-filled summer night.

When closed, there is virtually no additional noise below 60kph. However, right around 70kph and above, there is a bit of wind whistling under the cover, squealing like a tiny kazoo. I had considered this a possibility, so I’m hoping that I can fix it with a bit of foam.

DSC01993.JPG

Finishing touches
For the final bit of finishing, the M5x16 screws were poked through the felt and covered with cap nuts. This keeps the roof lining from moving around and flush against the roof of the car for a cleaner install.

I initially wanted to use rubber door edge trim to make clean edges in the interior roof liner, but sadly it refused to stick on the felt and cardboard backing. My Plan B was to use 5mm plastic cable cover to wrap around the edges and hide the ugly exposed cardboard. Hopefully this will also protect the cardboard from absorbing too much water and warping it. Surprisingly, this was a time-consuming process to get the wrap applied around much of the edges and as straight as possible.

DSC04829.JPG

This was temporary until I picked up some plastic window corner edging. This really cleaned up the look for the semi-professional touch.

To cut the wind noise, I experimented with a bit of rubber door edge trim inside the top lid of the roof vent. This might keep the airflow from creeping into the cabin when the lid is closed.

Problems
Not every project comes out perfect. Next time, I’ll smooth the edges of the silicone a bit before I let it dry and use black silicon for a cleaner finish, since particularly up-close, you can see it’s not quite perfect. Also in my haste to start the project, I had forgotten to properly cover the whole roof to prevent metal shavings lightly scraping the roof and the silicon sealant getting on the paint. (By the time I realized what I should’ve done, it was already halfway into the sanding process.) The cleanup of the metal powder and silicone residue took quite a bit of time to wipe off completely before and during the car wash. Scrutinizing the paint, there are a few fine scratches were there were none prior to this. Though for 20-year-old paint, it still isn’t bad at all when compared to the sides of the frame when the clear coat has long since faded.

2019-07-13 014.JPG

Conclusion
The vent certainly has a boxy “industrial” look to it, which is perfect for the whole DIY project of the car. The exposed stainless hardware also match the other exposed stainless hardware around the car with, perhaps, more to come. I do wish it ended a little more flush with the roof of the car, but it certainly does grab attention when it’s open! I have been getting plenty of looks whenever I’m parked around town.

To be honest, I currently have absolutely no need for a roof vent. I think I did this primarily because I wanted to experience the installation and process on a car that did not cost me very much to buy. Should I have damaged it or I made an irreparable mistake, the cost to fix or simply discard the whole car would not be excessive.

That being said, I am absolutely, unabashedly happy that I proceeded with the experiment. Like my oil cooler project and the hood vents before, I learned a lot from the labor and trying to do a bit of  “custom” work myself. The results may not have been as good as I hoped, though with pride I can definitely say that I did it myself and that maybe no other HA11S/HA21S series Alto Works in Japan has anything like it!

Maybe for a reason. I sure hope I can pass shaken in another year-and-a-half.

September 20, 2019 /William Tjipto
JAPAN, JDM, SUZUKI, ALTO, ALTO WORKS, HA11S, CAR, KEI CAR, CAR LIFE, F6A, RHD, スズキ, アルト, アルトワークス, 自動車, 軽自動車, 日本, 車, ラリー, RALLY, ROOFVENT, ルーフベンチレーター
Cars, Japan, Ownership, Project Sachiel
Comment
DSC01916.JPG

[ Alto Works ] Rally Roof Vent, Part 2

September 12, 2019 by William Tjipto in Cars, Japan, Ownership, Project Sachiel

Once again, Matsuda-san at Rodeo Cars has allowed me the generous use of his garage for my selfish projects like my hood vents, lowering, oil cooler, among others, though I try to do as much as I can in front of my apartment. This one, of course, is especially critical that the car be covered because of the gaping hole soon to be in my roof. Here are some of the tools I’ll be using.

2019-07-15 005.JPG

I read somewhere that they recommended a nibbler cutter, since the sheet metal is so thin that a jigsaw, angle grinder, or other reciprocating blade would potentially ripple or warp the roof. Supposedly this would make cleaner cuts as it essentially “punches out” the metal. Having never used one before, I experimented with other scrap material beforehand to make sure I was comfortable about how it works.

Holy crap it’s clean and doesn’t even make 0.5mm aluminum sheet too wavy.

DSC01905.JPG

First off, I did not want metal shavings on the front seats and I needed some room to work underneath, so the seats were pulled and plastic tarp laid out. In order for the interior roof lining to be removed, more of the interior needed to be taken out, as it is held in by clips, screws, and the plastic around the A and B/C pillars.

DSC01918.JPG

Excited to get started, I started masking off the lines where the vent will go, starting first with finding the center of the roof, then from there using a template to find the optimal position of the vent. If the vent is too far forward, the air will blow toward my legs and it may hinder an added roll bar in the future; far too back and the vent will blow toward the back of my head. With no way to necessarily test it, it was up to guesswork.

Once it was decided, I should’ve also rechecked the size of my template...

2019-07-12 006.JPG

At first, a center punch was used roughly in the center to start the drilling process. Pop... There is no turning back now.

2019-07-12 008.JPG

Once an adequately-sized hole was made, the nibbler cutter could be used. Being a complete newbie to the tool, I was slow with the cutter, moving the drill far from the edges in the off-chance I “slipped” and cut off too much material. As they say, you can cut material, but you can’t add it… easily, that is. I got a little confident towards the end and went only a few millimeters from the marked edge.

DSC01928.JPG

Using a portable belt sander, I shaved off the remaining metal until the edge of my template. It turns out, the template I made was about 6mm short, so the vent wouldn’t fit yet. I had to re-measure and shave off more material. But in the end, this was better than cutting too initially much, right?

2019-07-13 007.JPG

The vent could finally be pushed through and fitted. I drilled 10 holes around the vent so it could be bolted into place.

Before the end of the first evening, I cleaned up the edges the best I could and painted all cut holes with specifically rust-resistant enamel paint which takes a few hours to cure indoors. The last thing I would want would rust to form as a result of my cuts -- there are enough rust spots underneath the car as it is.

2019-07-13 006.JPG

Day 2
At the start of my second day of into the project, I added one more layer of fast-dry acrylic lacquer paint to ensure that the exposed surfaces would not rust for added insurance. Now it was time to put the silicone sealant on for as much water resistance as possible.

2019-07-13 016.JPG

This stuff is messy, but an absolutely necessary step to prevent water leakage into the cabin. First, a generous coat around the exposed, unpainted silicon edge.

Once done, we pushed the vent through and put a few screws to help hold everything in place while the silicone cures. This stuff takes several hours to dry to the touch and longer to fully harden, so our working time is quite comfortable.

2019-07-13 012.JPG

Unfortunately, this still leaves a bit of a “moat” around the lip of the vent and the roofline. Therefore, more generous coatings of silicone were needed all around the edges of the vent to prevent water from pooling. We liberally applied it in hopes of cleaning off the excess later.

This was a good idea, but I realized later removing this sticky stuff off is quite a pain.

September 12, 2019 /William Tjipto
JAPAN, JDM, SUZUKI, ALTO, ALTO WORKS, HA11S, CAR, KEI CAR, CAR LIFE, F6A, RHD, スズキ, アルト, アルトワークス, 自動車, 軽自動車, 日本, 車, ラリー, RALLY, ROOFVENT, ルーフベンチレーター
Cars, Japan, Ownership, Project Sachiel
Comment
DSC_2489.JPG

[ Alto Works ] Rally Roof Vent, Part 1

September 06, 2019 by William Tjipto in Cars, Japan, Ownership, Project Sachiel

There really is nothing glamorous about driving on a track on a hot day with the air conditioner off, baking in a double-layered, Nomex, fire-retardant suit under a bright midday sun. Depending on rules at the track, some require the window(s) to be up, possibly to prevent the driver’s extremities from flying out of the car in a crash. (For example, at Takasu Circuit in Fukui, the driver’s side window has to be fully up, although the passenger-side window can be left down.) This only makes things hotter and just… terrible.

Obviously running air conditioning would be nice, but when you’re chasing the last tenth-of-a-second for lap times, the approximate 5 HP drain from a compressor is not ideal. Proper race cars, in a bid to lighten the last ounce of weight, remove the whole heavy air conditioning assembly, saving potentially 15-20 kg (30+ pounds).

DSC_2479.JPG

This forces drivers to get creative with airflow through the car to cool down. As with the aforementioned track day, many cars had air duct piping directed toward the driver.

DSC_4963.JPG

Rally cars also often adhere to windows-up safety rules, often forcing them to use bulky “cool suits” that pipe-in ice water and roof ventilation which rams air down toward the driver (and passenger).

DSC_5201.JPG

I think roof vents would be a cool addition to my project car, allowing me to keep cooler and flow additional air through the cabin. I know my car isn’t a “rally car,” but this would be especially useful during the spring and fall months, when the weather is just cool enough to not run AC, but hot enough that windows down just doesn’t provide enough cooling.

However, there is a huge potential drawback to a roof vent: shaken. As the biannual inspection is quite strict, they may not allow such an aftermarket modification to be made, citing some arbitrary safety or height guidelines. And the fact that cutting a huge hole in my roof could lead to rust and cabin leaks during the frequent rainstorms in Japan. That is, if I don’t install it correctly.

Overview
Roof vents can be simple panels that open when needed to huge, fixed FRP scoops that have elaborate water channels to prevent rain leakage into the cabin. Probably the most common one I’ve found over the years is the Subaru STI Spec C roof vent that some street drivers install on their own Imprezas to give their cars a cool rally look. Honestly, it is pretty nice looking and when installed, like it came straight from the factory with the underside finish panel. Not to mention when closed, it is barely noticable.

DSC_5194.JPG

Looking around online, I sadly could not find this piece for under 30,000¥ ($300 USD) and the new units are about $500. There is no way I could justify spending that much on an albeit slick vent. I scoured the internet over for cheaper alternatives, some being cheap, repurposed Chinese stick-on “hood scoops,” to $800 OEM rally-spec Evo scoops.

Throughout the wide variety of “rally vents” on the market,  I finally came across a vent from Australia, a PMD Race Products alloy vent. The price was fair and looked pretty good. I was close to ordering it when I came across some forums which used repurposed vents from RVs. 

2019-07-13 005.JPG

This is the one I found off Mill Supply. Cheap, simple, but the biggest reason I chose this over the aforementioned vent was this could two-way open and closing… as it could be used both as a ram air intake and cabin exhaust flow, not to mention that it could be opened or closed incrementally, so it needn’t always be fully open or closed. Other forum users have used this with good experience… so I figured I’d give it a try as well.

I placed an order for it when I was visiting stateside and brought it back with me from Japan. In my haste to get it ready, I didn’t take a photo of the bare aluminum finish before painting. As I wanted the finish to be somewhat stealth when closed, I only painted the top panel that would be exposed to the outside, leaving the flange of aluminum bare for proper silicon sealing when installing later.

After an agonizing few weeks waiting for some free project time, I finally found a 3-day weekend where I was free from work-related duties or other obligations. Time to get cutting!

September 06, 2019 /William Tjipto
JAPAN, JDM, SUZUKI, ALTO, ALTO WORKS, HA11S, CAR, KEI CAR, CAR LIFE, F6A, RHD, スズキ, アルト, アルトワークス, 自動車, 軽自動車, 日本, 車, ラリー, RALLY, ROOFVENT, ルーフベンチレーター
Cars, Japan, Ownership, Project Sachiel
Comment

Powered by Squarespace