[ Alto Works ] Oil Cooler Project, Part 5: Epilogue
Now that my Oil Cooler Project has mostly come to a close, I don’t feel quite finished yet as there are some minor things I’d like to address. Though, in all fairness, when is a project car ever really “finished”?

Looking from the wheel well, we can see a bit of the rear of the intercooler is still exposed to rock chips. The tires constantly kick up debris, so protecting the radiator from excessive strikes is important. I fashioned a simple bracket holding a .5mm aluminum plate to block off the areas where rocks might strike directly. I might redo this later for a wider plate to also limit airflow around the space between the radiator and bumper, but for now it’ll do.

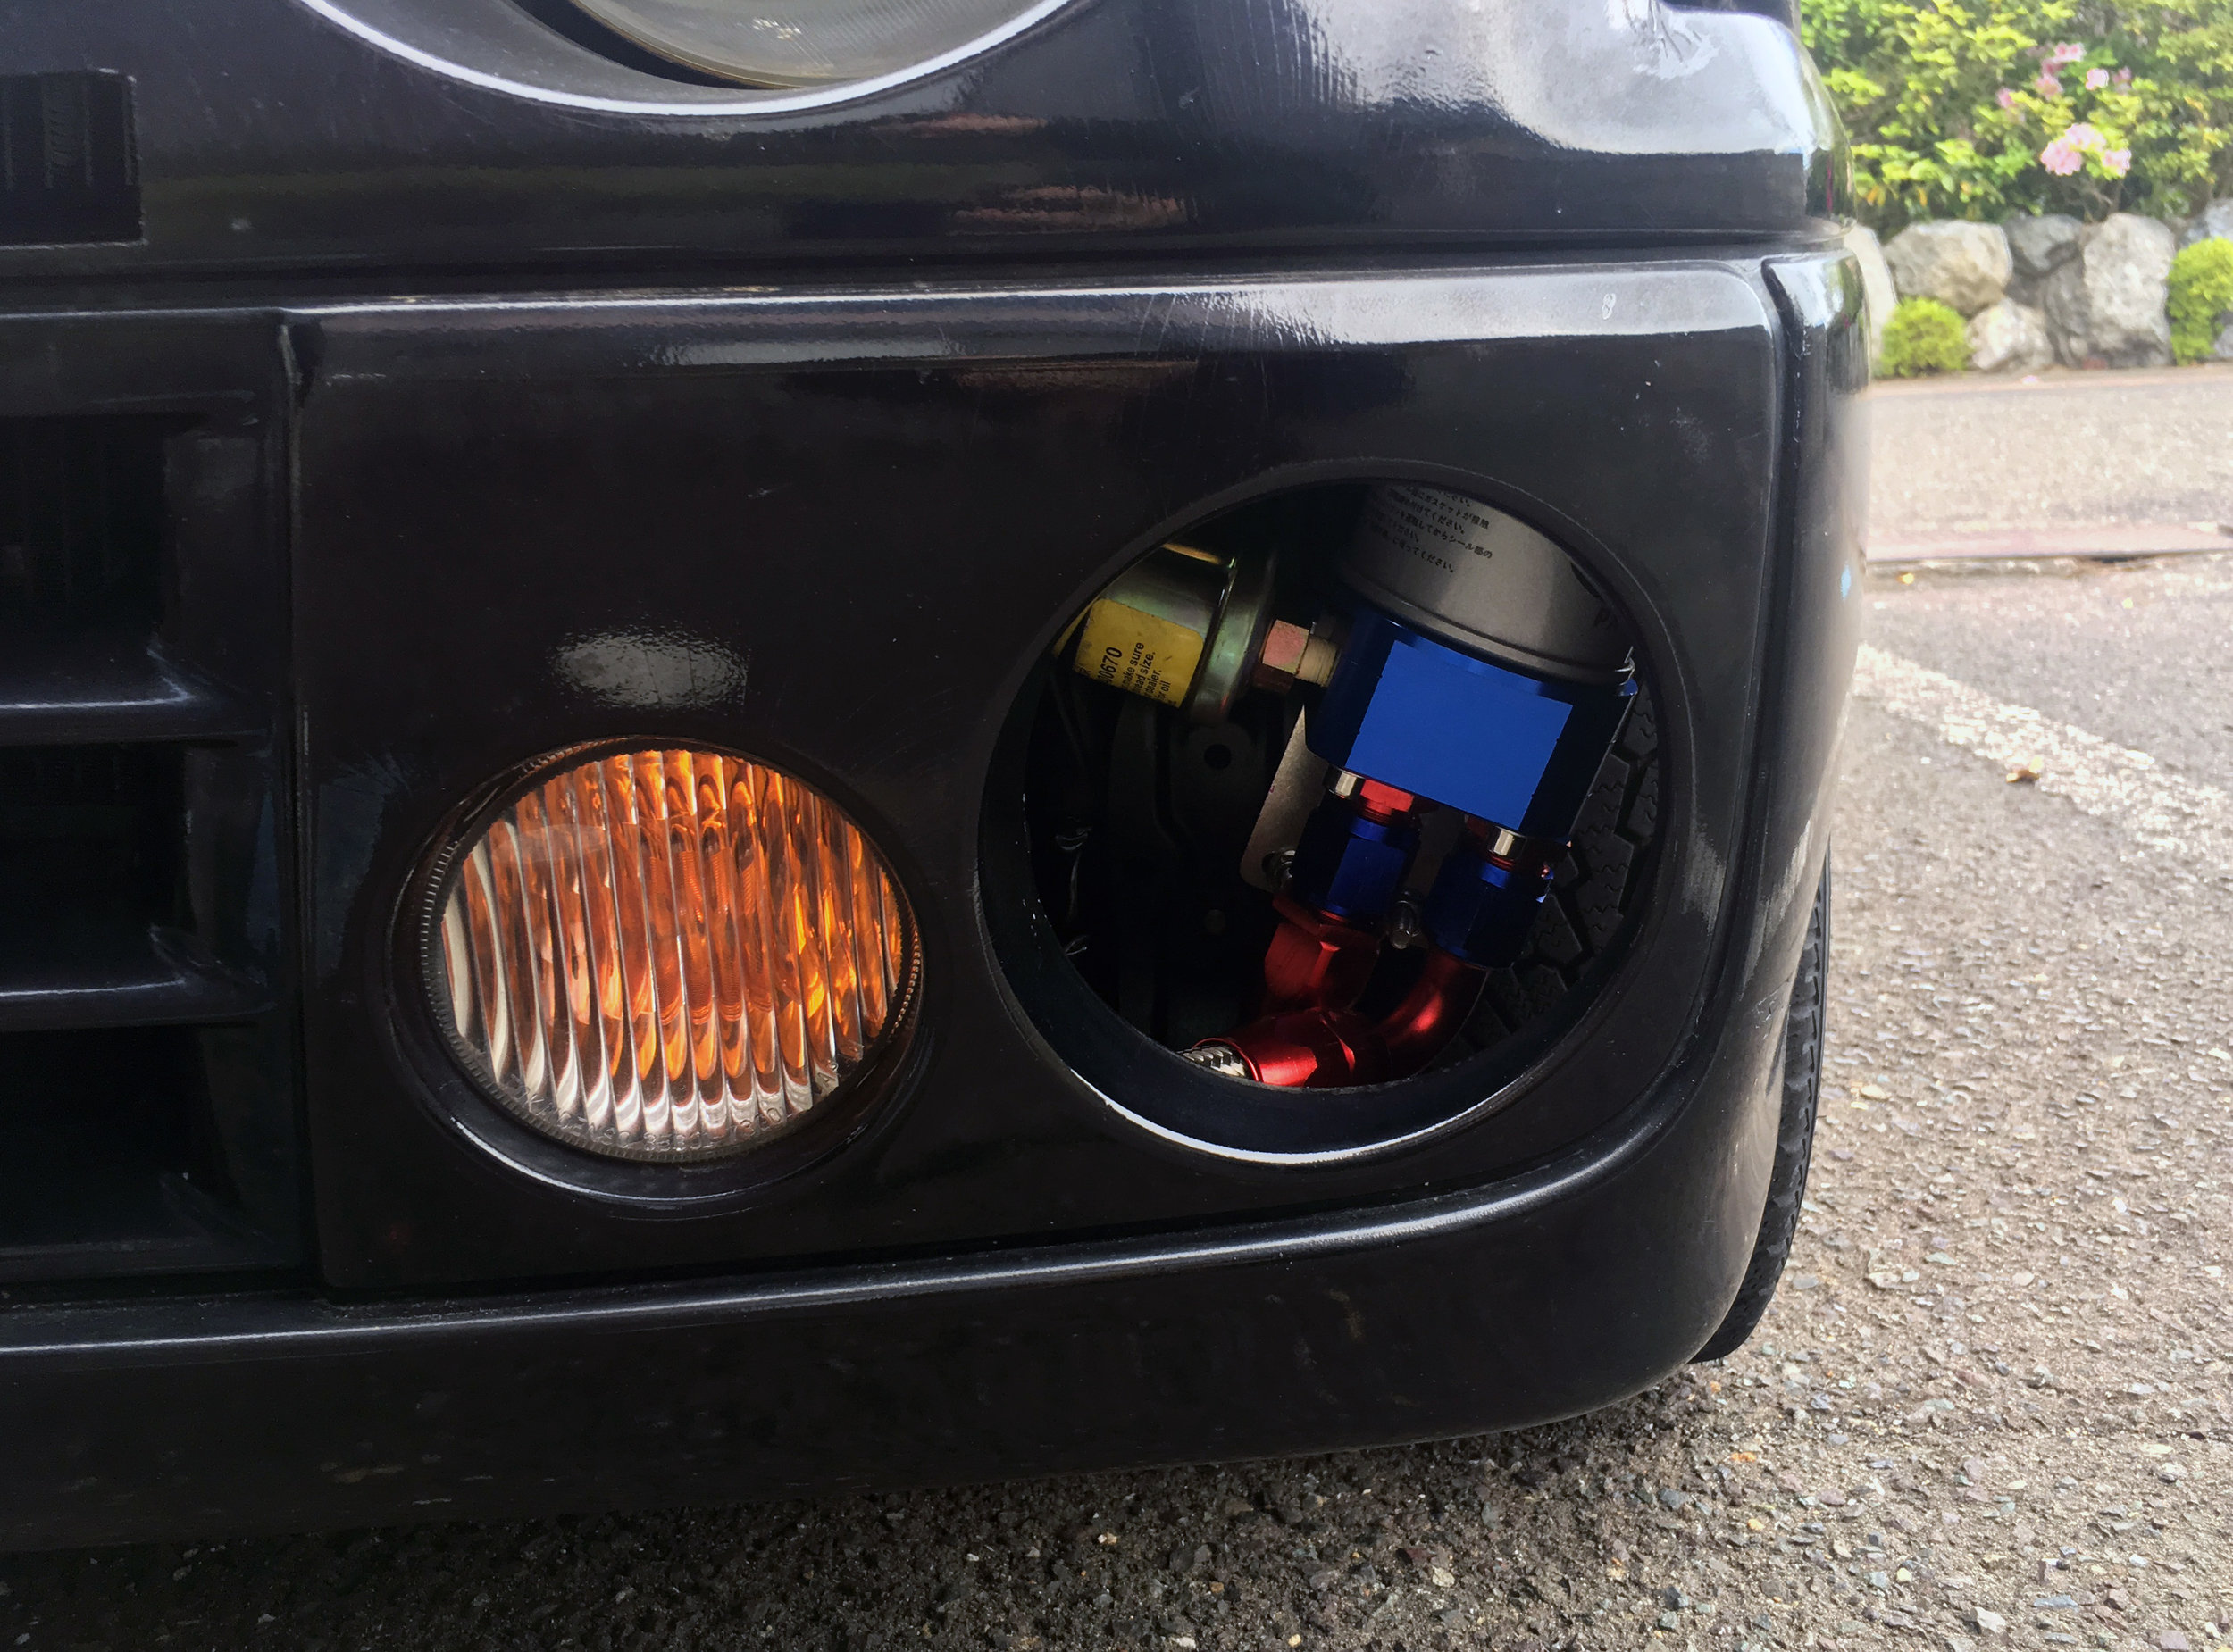
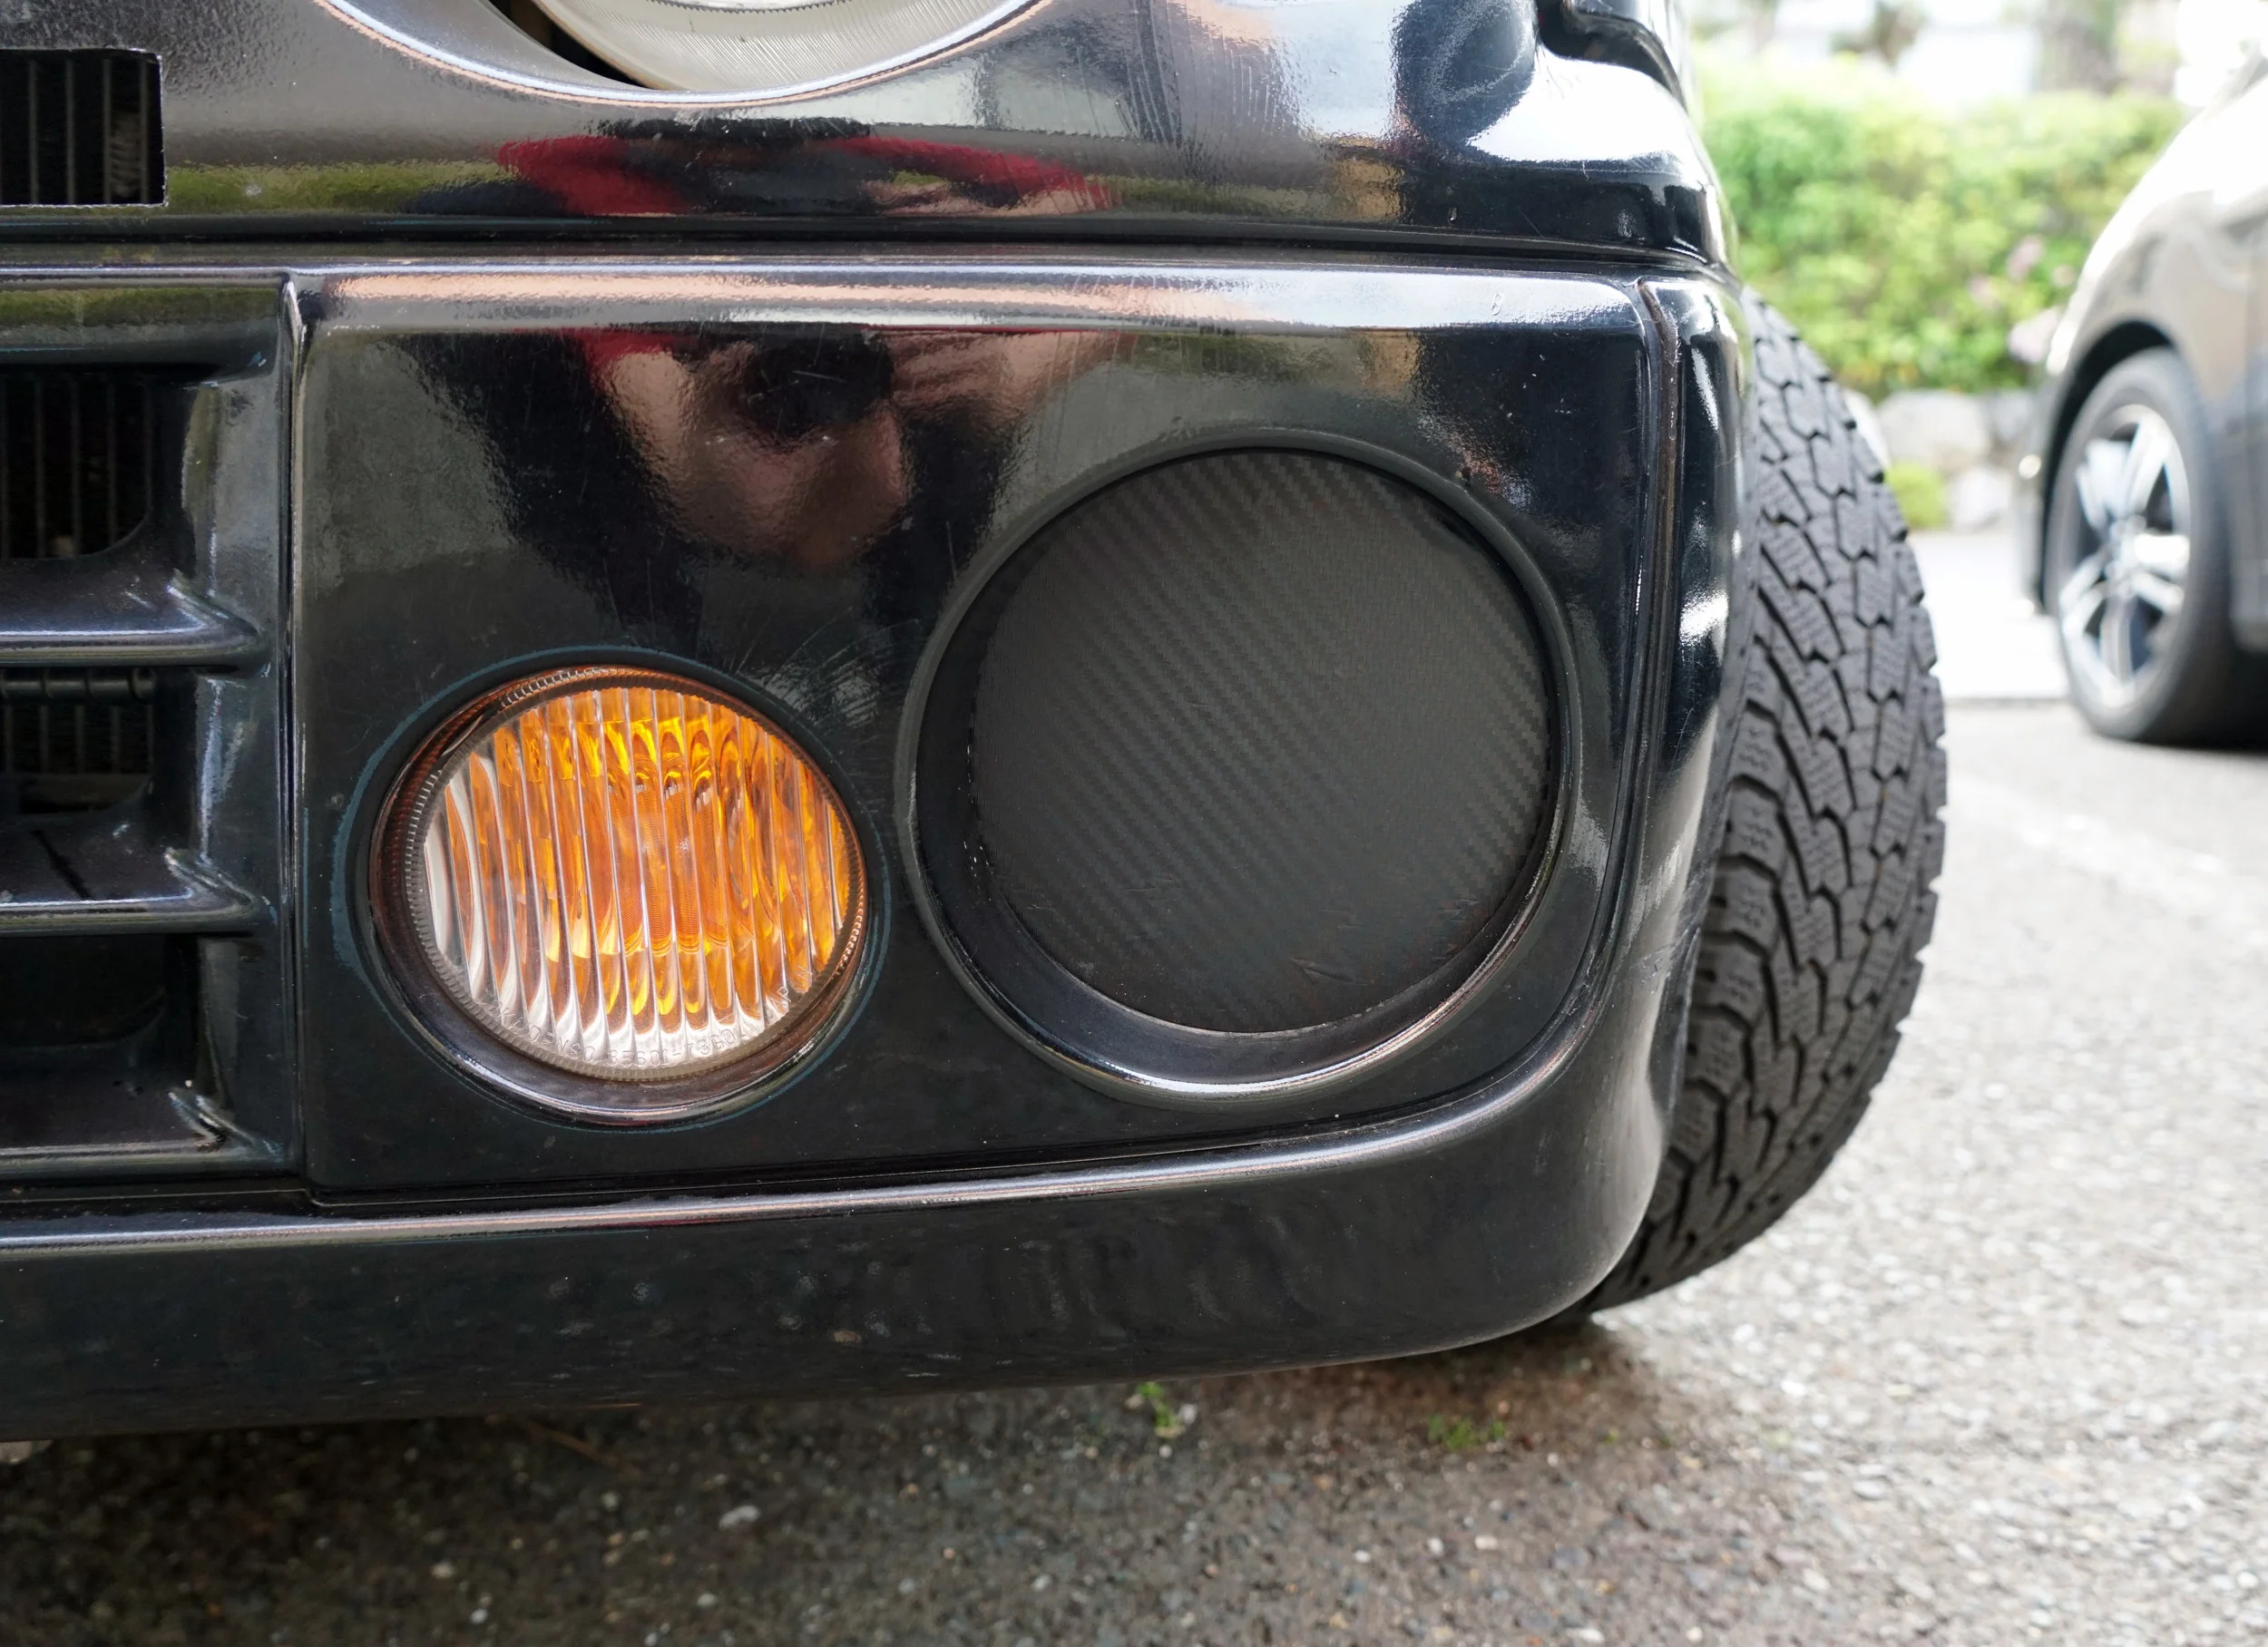
Let’s go back to the right side where the IC is. More than half of the 12.5mm diameter round opening is the radiator, but the remainder is exposed radiator brackets and hoses. It looks a little bit haphazard and not professional, so I considered blocking it off for a “clean” look. Out comes my polypropylene sheet again.
This time, I’m using the sheet to partially redirect airflow toward to the radiator and block off those hoses and mounting brackets. This is how I plan on doing it: a simple curved piece mounted here.
I also considered adding a bracket to hold it in place, but why bother when some zip ties will do just the same and are easier to remove for maintenance. To keep it looking good, I added a bit of carbon fiber vinyl to the sheet. The additional volume of redirected air should be more than adequate to cool the radiator and look great doing it.

But wait, I’m not done yet. While I know these angel eye halos aren’t super bright, they might provide me with a bit of lighting to supplement the parking lights and won’t require significant modification, nor block off too much airflow to the radiator.

I reused the existing fog light connectors, so they will be controlled by the OEM fog light switch in the center console. The right halo is easily attached onto the mesh. Not too bad, if I say so myself.

I have something else in mind for the left side. Take a look at my process and see if you can guess what I’m doing with this.

If you can recognize this, you might be a bit of an anime nerd, just like me.
Maybe you’ve previously noticed my car’s project name. This little Alto Works beater is named after an early antagonist in Neon Genesis Evangelion, my favorite anime of all time. (If you have no idea what it is, I highly recommend giving it a watch now on Netflix. It’s essentially a fresh take on the boy-in-a-robot show… but that would be an over-simplification.)
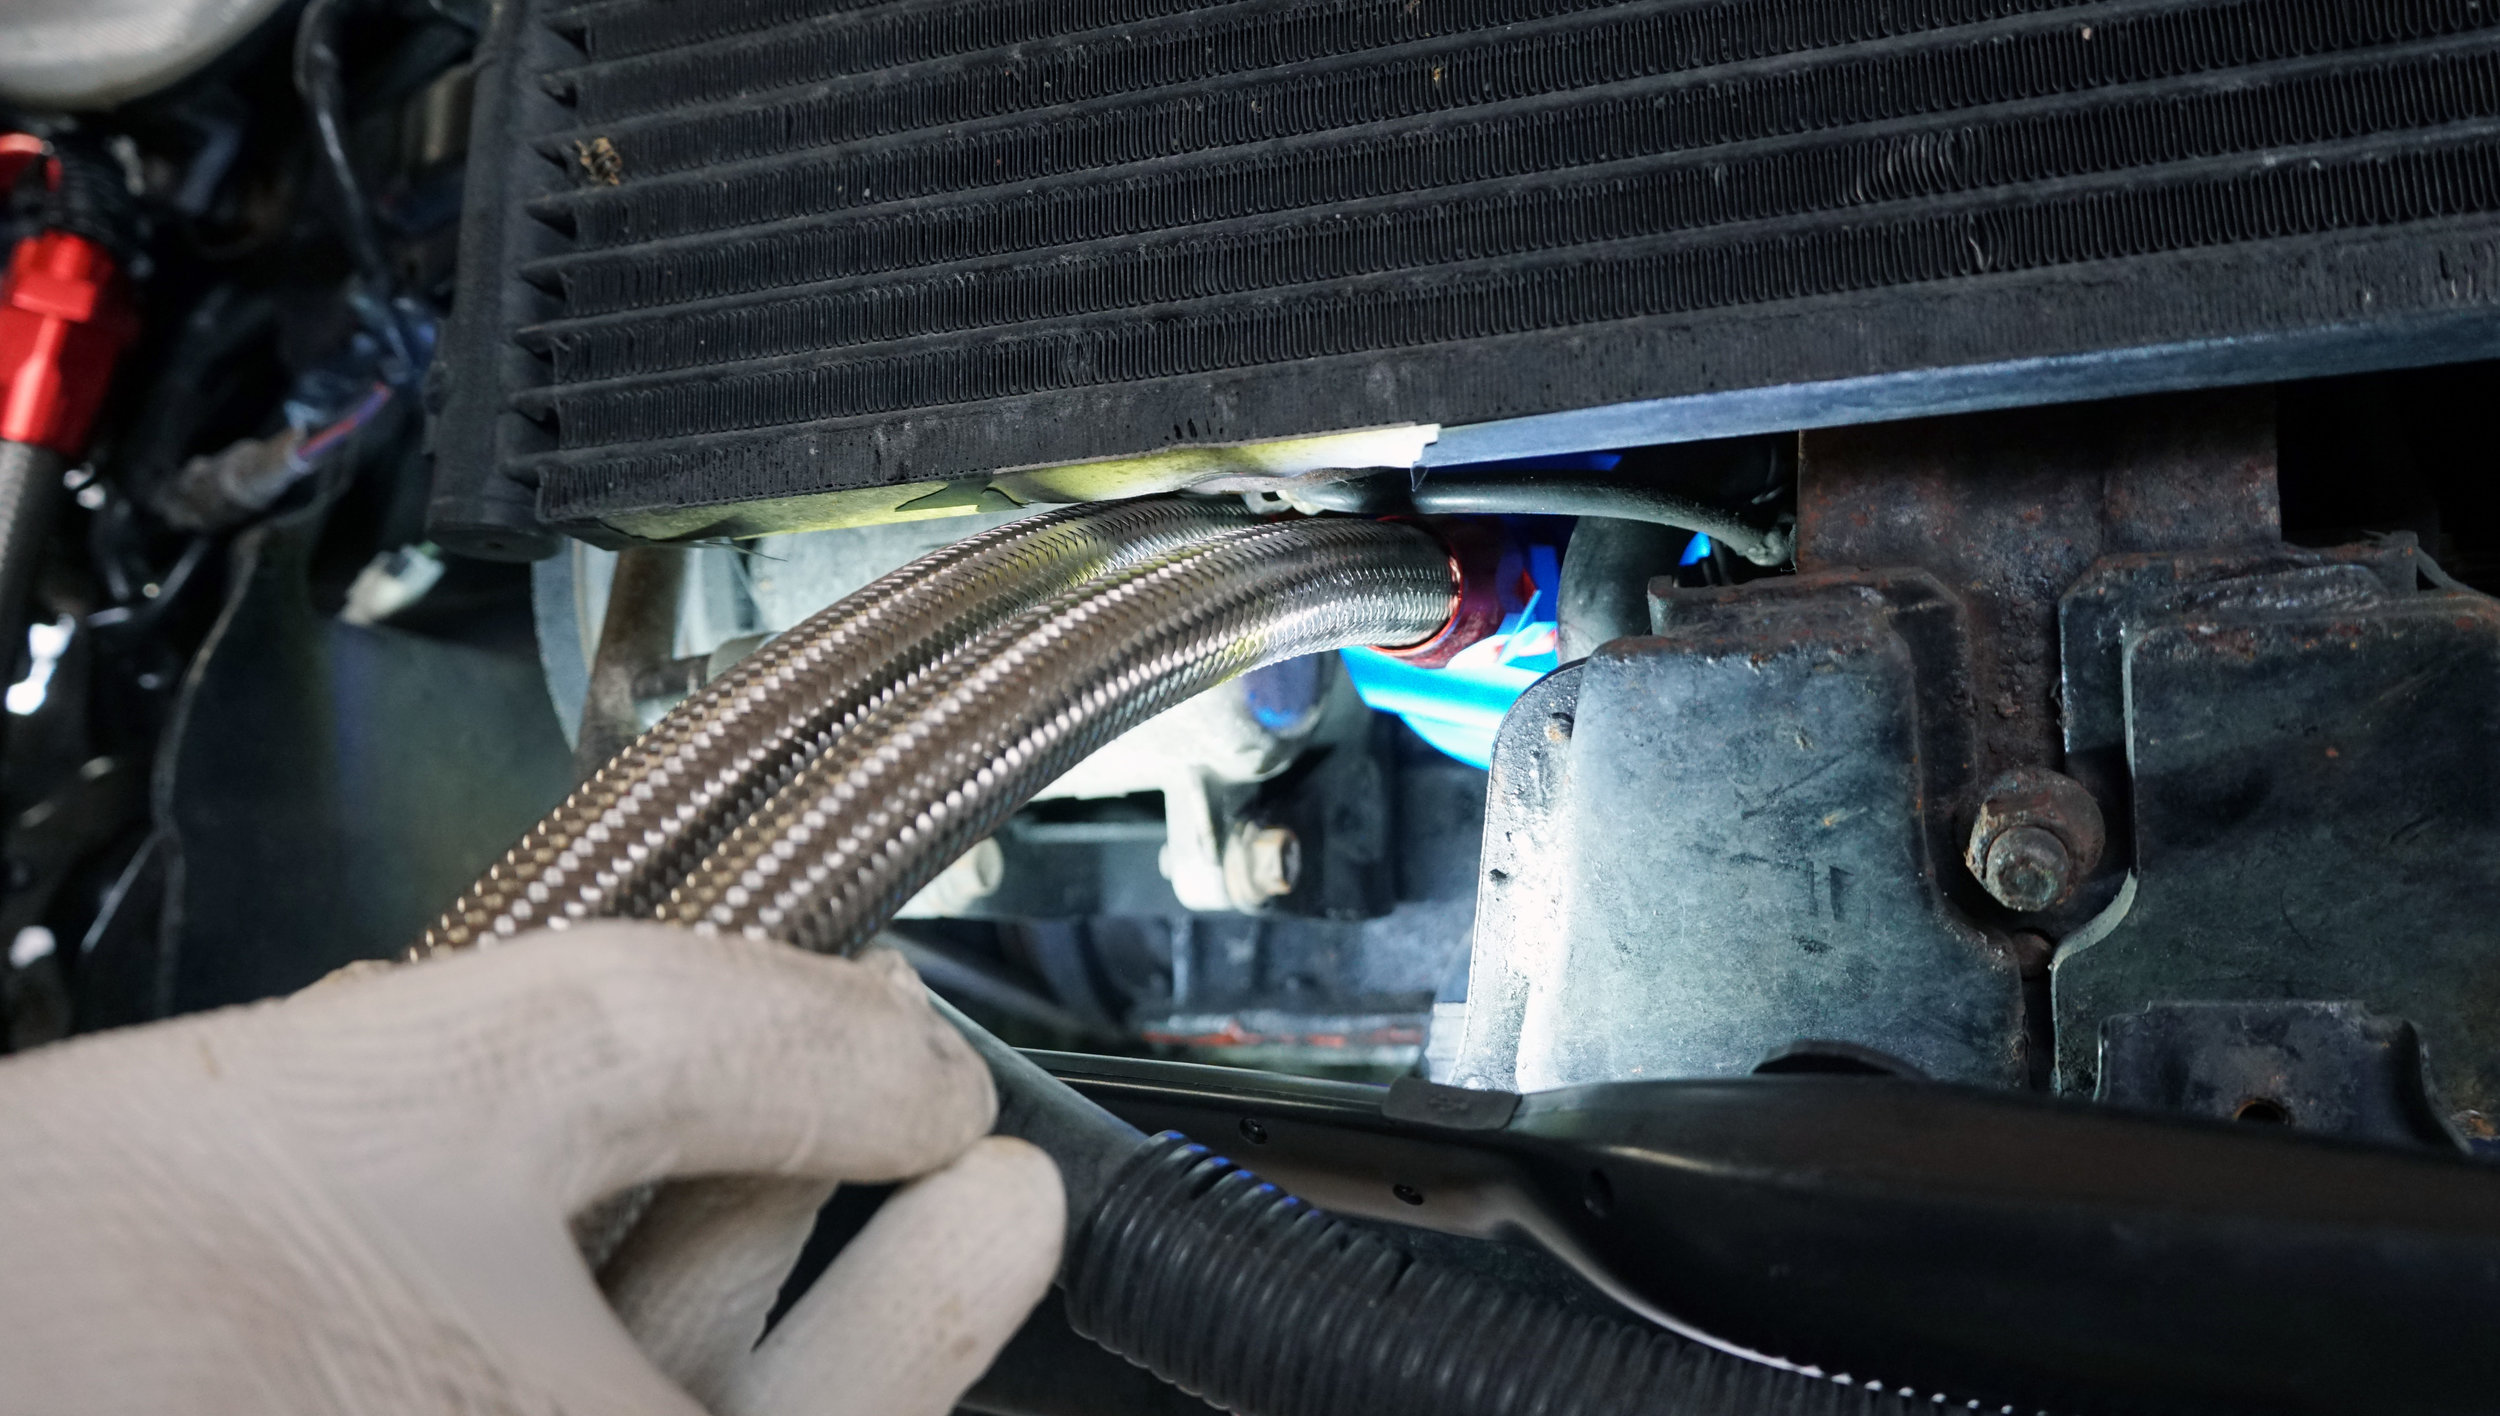
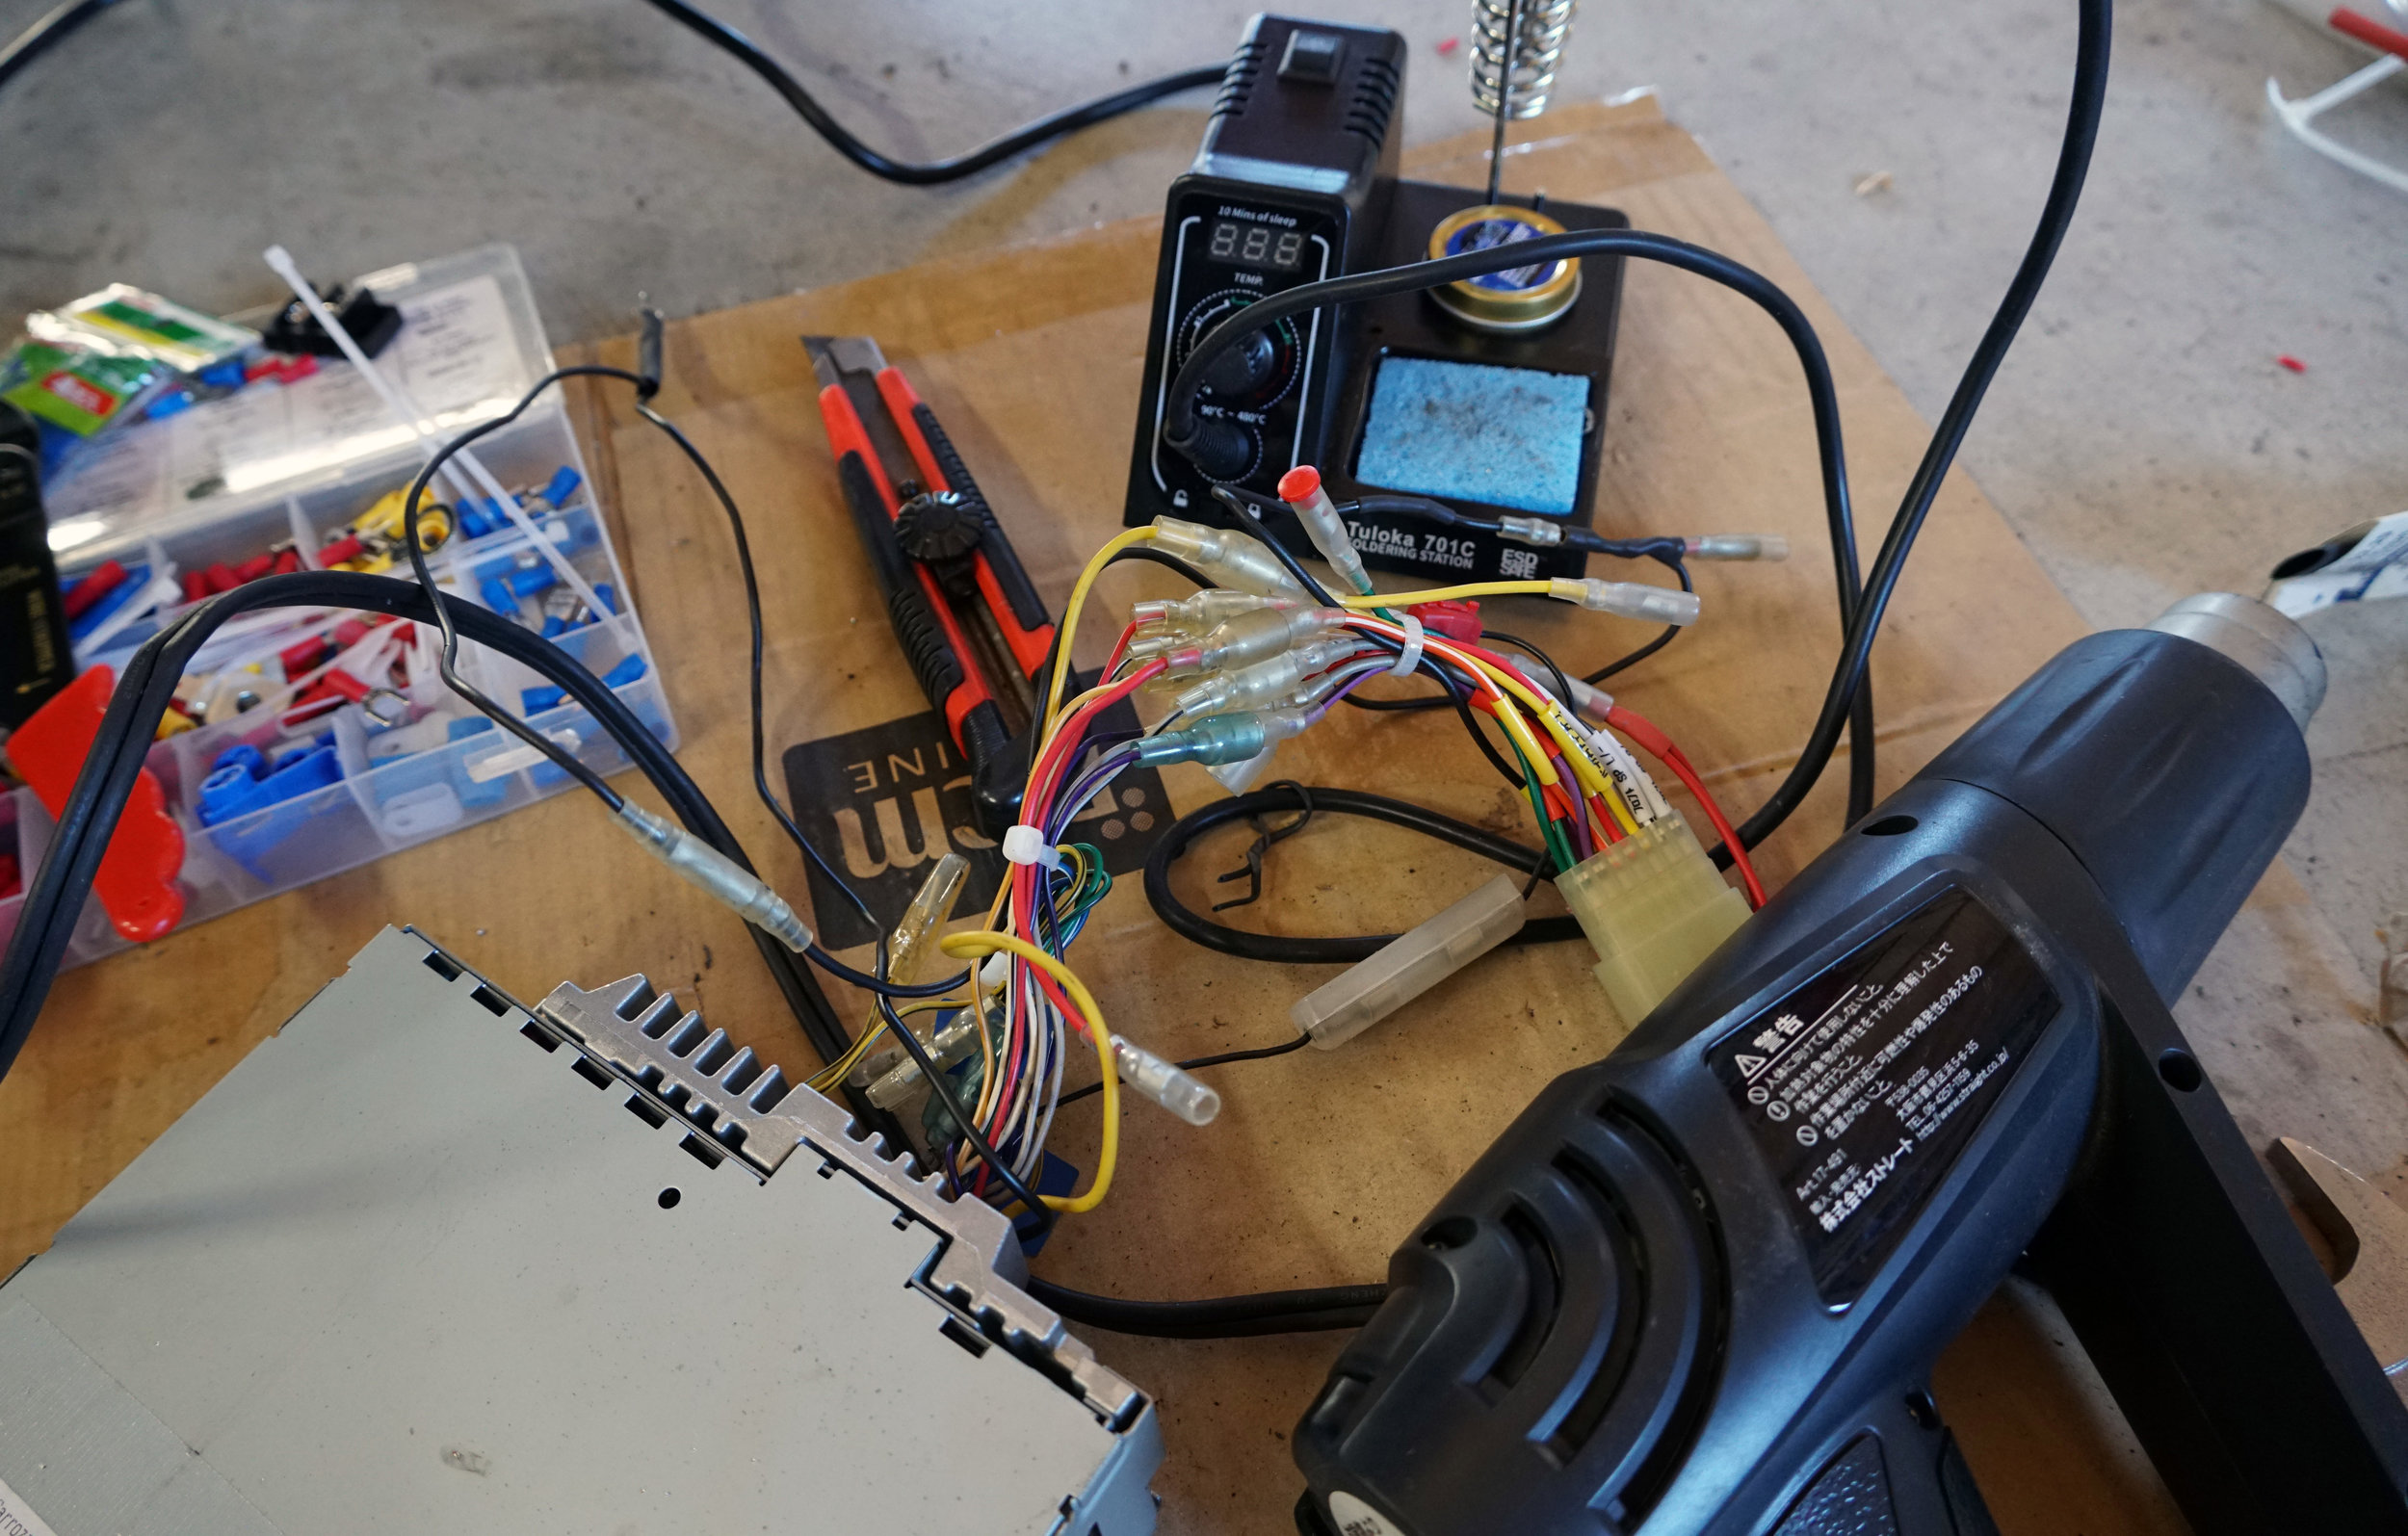
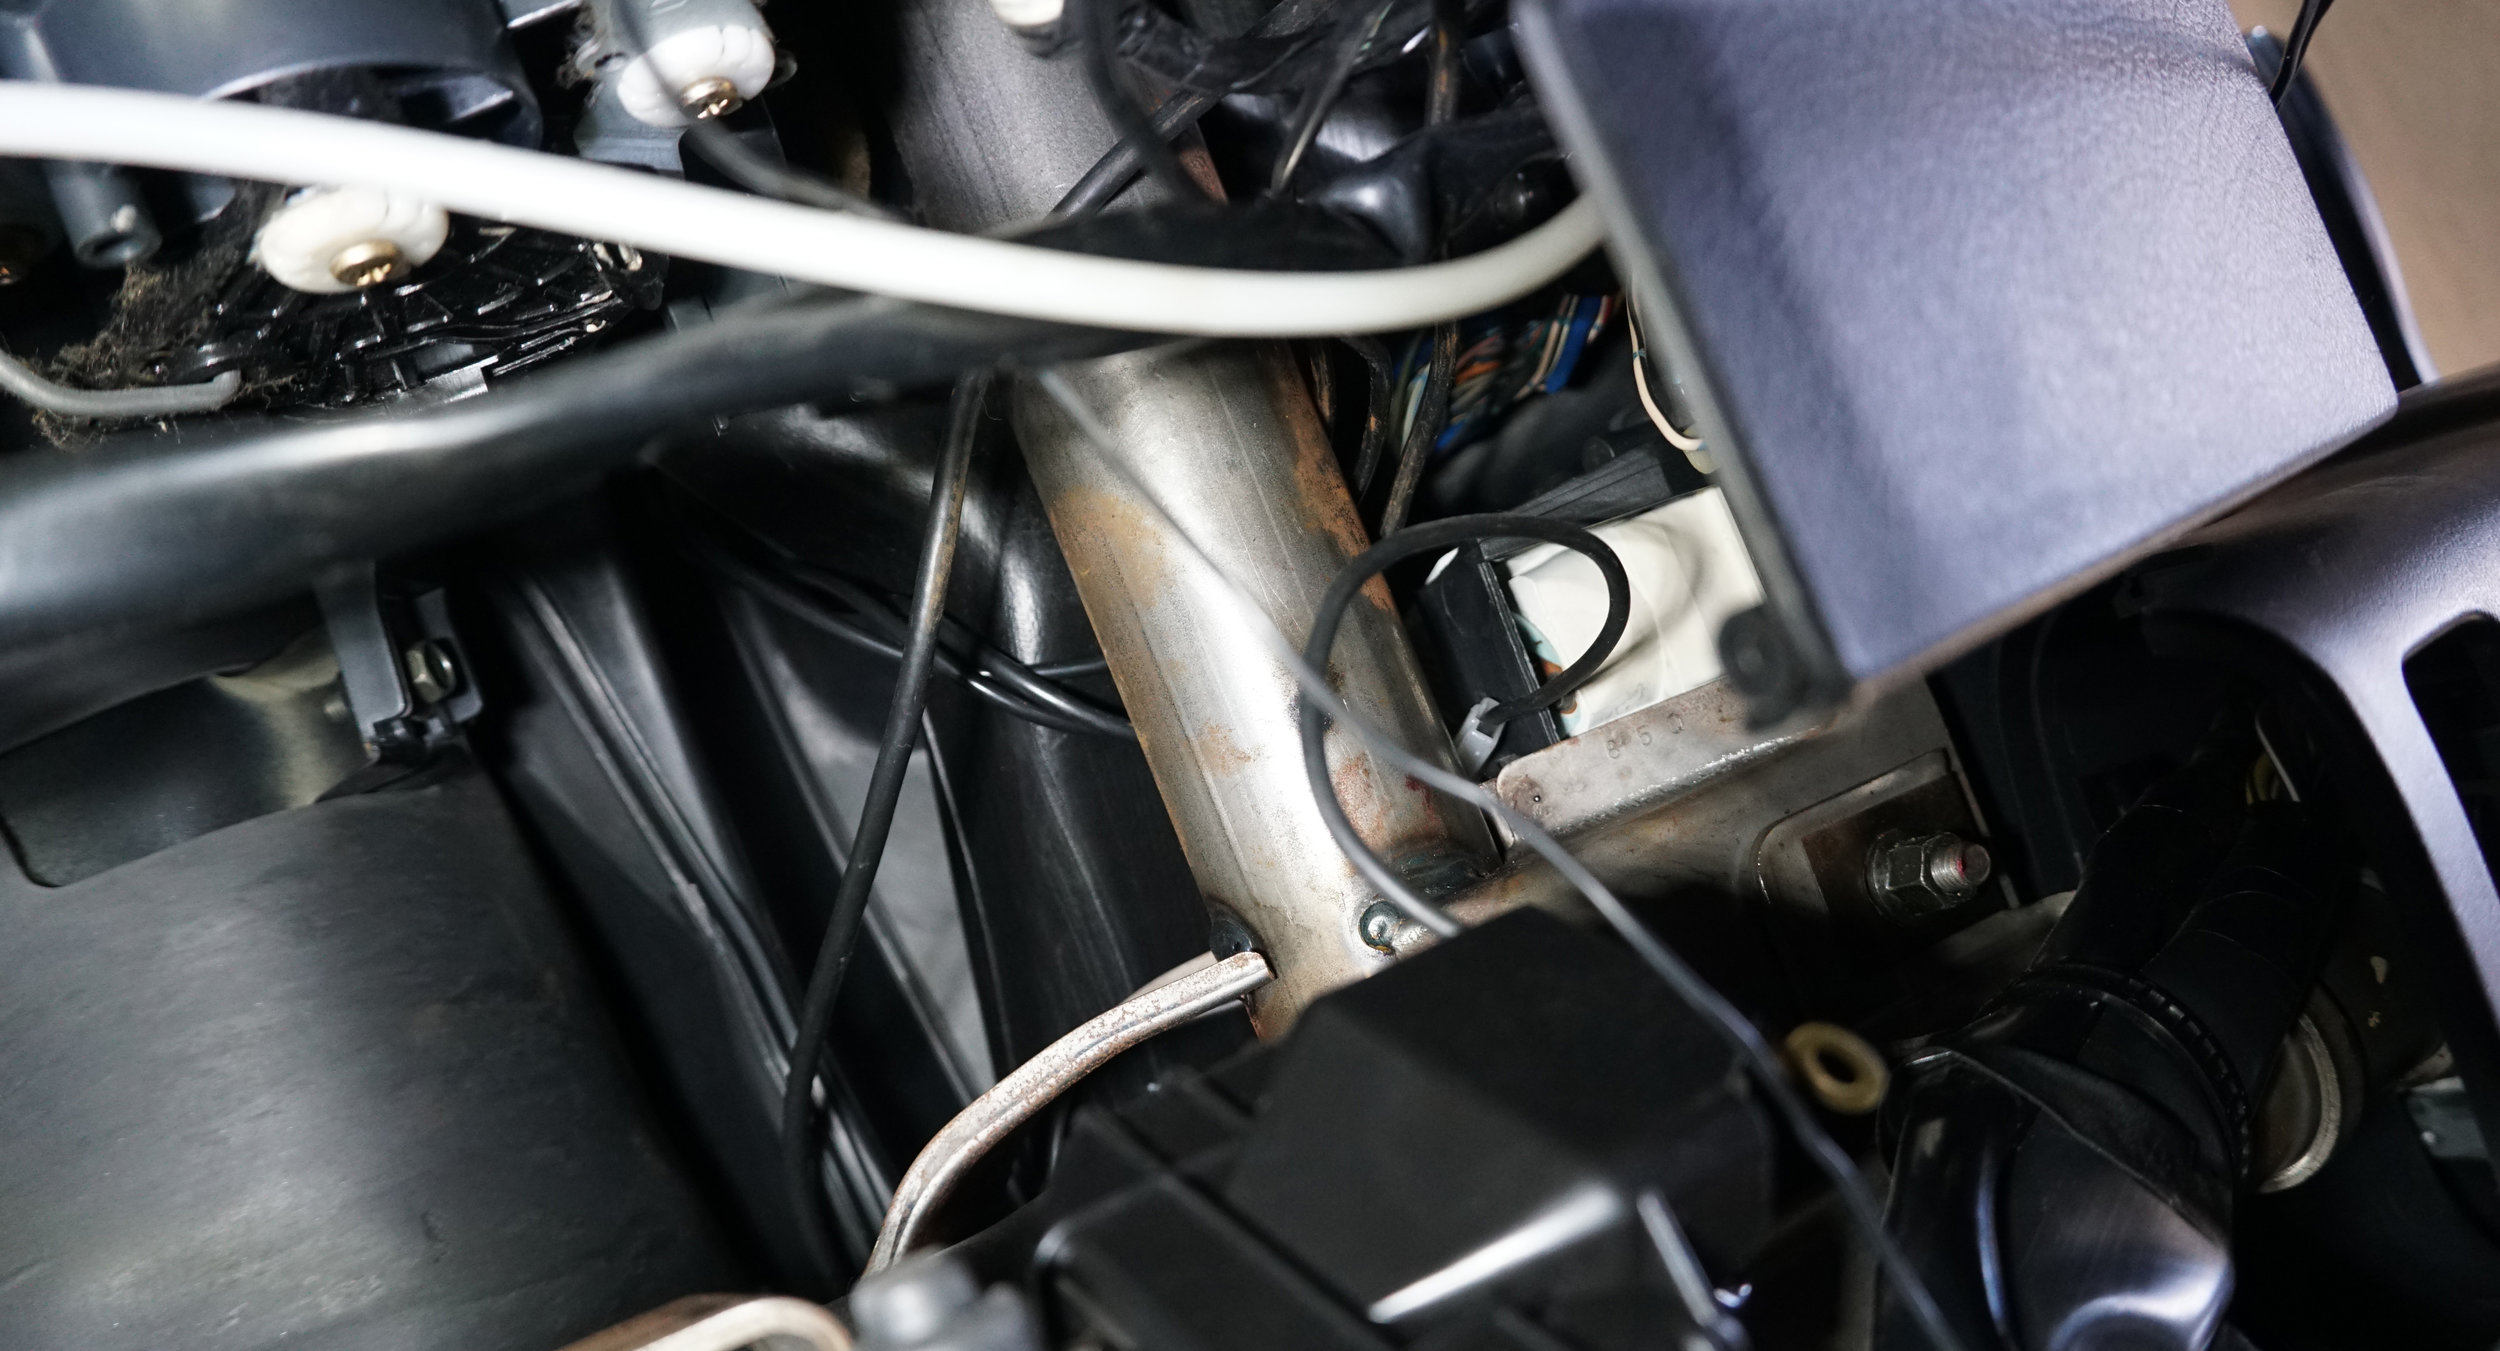
Everything seems to be running well over the past few weeks, having taking a few short jaunts around to Kyoto. There is a very tiny minor leak where the oil filter adapter attaches to the engine, but I don’t think I’ve lost more than a few drops over this time that I could tell. This is probably not a fault of the adapter itself, rather the limited space we had to fully tighten it properly.
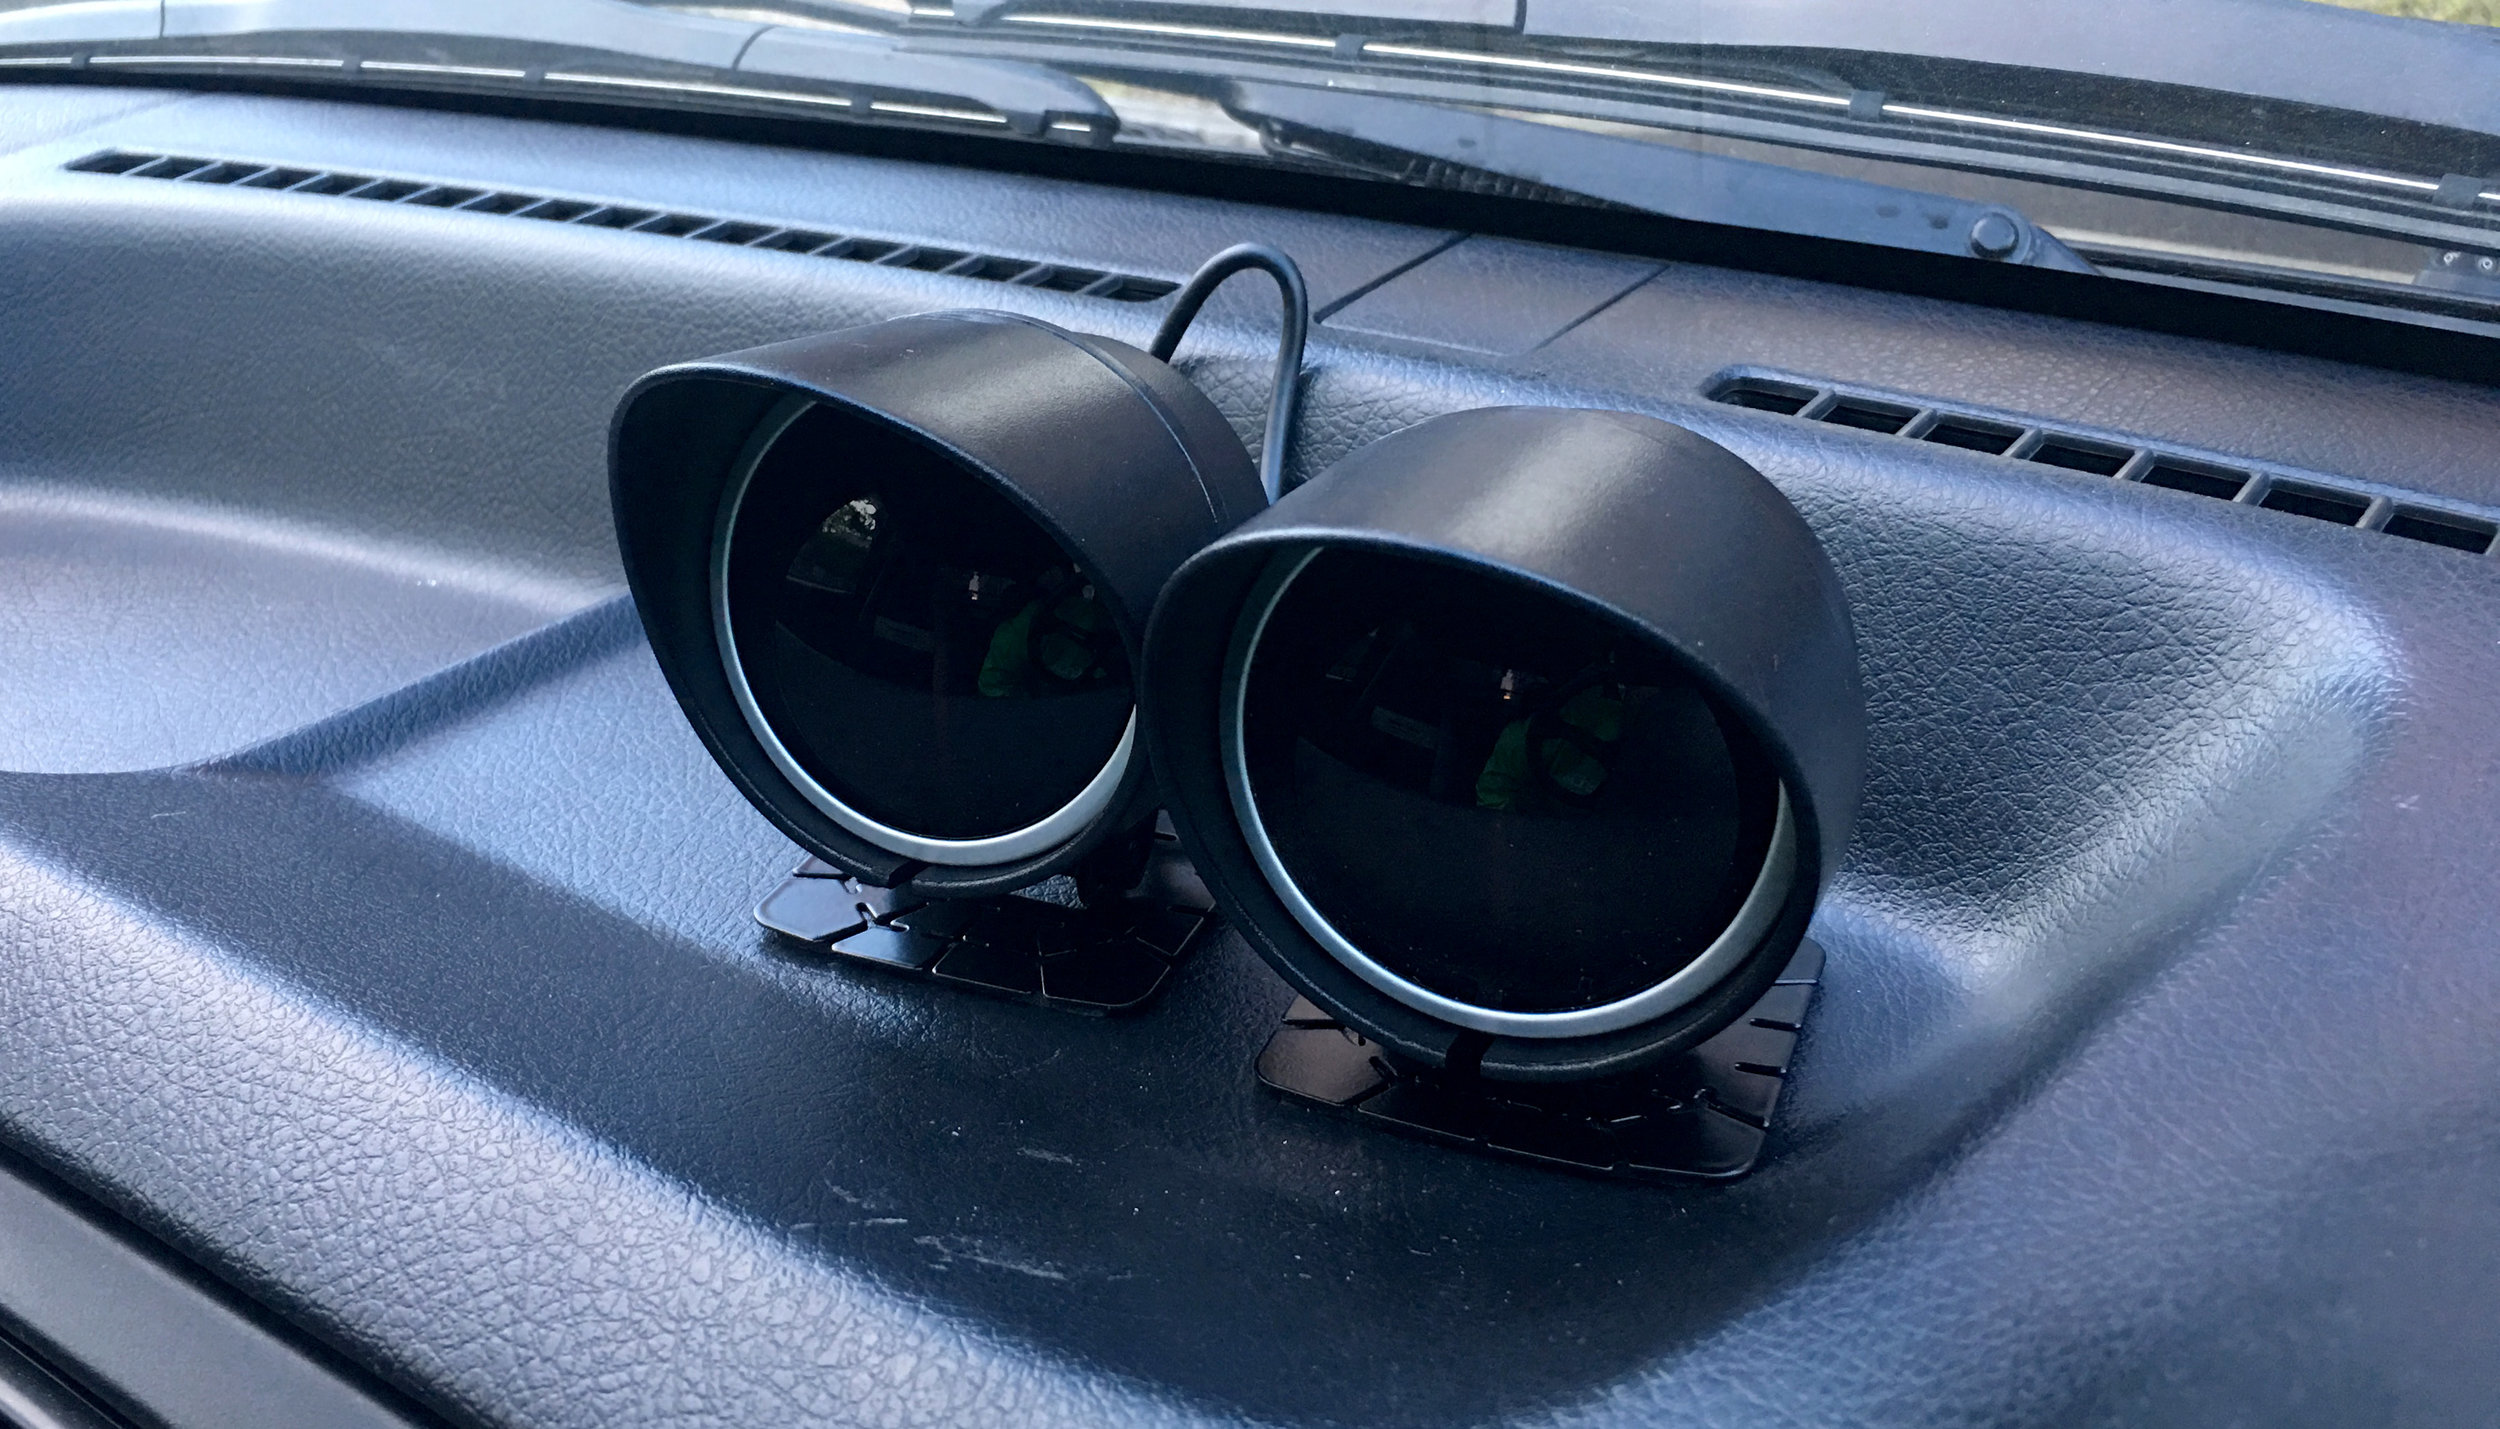
I could find no change in oil pressure nor oil levels, so the loss is probably at a few drops every hundred kilometers. I’m glad I installed an oil pressure gauge so I can generally assure myself that there is no notable drop in pressure. As always, I’ll keep an eye out for any issues should they develop.

Conclusion
In the end, did I need this modification that took so much of my effort? Nope, certainly not at this time! But it sure was fun to give it a shot, having never done this previously. And in the future, should I ever run gymkhana, auto-cross, or on a racetrack, it will definitely prove useful to protect the longevity of this poor, little, old engine.
As for value… The price difference is huge between this universal oil cooler kit and a legitimate model-specific product made by a proven manufacturer. For some, paying the difference for a better kit and prefabricated mounts are worth the price. For me, the effort and hassle was fun in its own way. You really do get what you pay for in terms of quality. I spent $100 USD for the cooler kit and more than $20 in assorted brackets and screws, plus a ton of labor and the unknown, very huge risk of not fitting right. There were quite a few times where I could just barely make it work.
In terms of the time spent, granted, I wasn’t quick and it took awhile to think things through to get them the way I wanted. In hindsight, I would’ve also preferred mounting the radiator on the left side for weight distribution. But overall, I am more than happy with how everything came out.

And now I have a cool little external logo to finally mark my project car. Ain’t it cute?
I look forward to doing this all over again on one of my other cars!