[ Alto Works ] Oil Cooler Project, Part 2
After deliberating on the positioning of my oil cooler for a bit, I reluctantly decided on the stealth option. While I find the idea of having hoses and the radiator hanging off the bumper pretty awesome in the purely yanki sense, I don’t need any negative attention drawn to me from law enforcement.
Initially I was worried that I would have to do some major surgery or cutting, but I probably spent the first few hours finding the optimum position for fit and function. There were a few things I had to watch out for where I placed the radiator: not to extend too far below the body work or frame, not to hit the headlight or fender, and to be fairly straight and vertical (for visual appearance). I roughly zip-tied it into place and checked with bumper fitment probably a dozen times to verify positioning. I finally found the best, or should I say least compromised, position to be right about here...

Of course, some cutting is still needed. Here the 90° pipe fitting touches the headlight assembly, but just barely. I figured if I cut a bit of this bottom plate of the headlight, I could offer just enough clearance not to affect headlight adjustment, nor rub against and damage the pipe.

Of course, once air flows into the radiator from the front, the air needs to escape out the back. But where will the air go with this splash guard blocking airflow? Out comes the drill and cutter to make the openings needed for air to pass through.

A splash of black paint will prevent rust to the now exposed metal.
As my car is on the lift, I borrowed my mechanic’s car to go home to pick up a few things as well as a trip to the “home center” (ie. DIY or hardware store) to pick up a few assorted stainless and aluminum brackets and M6-sized threaded hardware.

I drilled one more hole near the headlight housing to accommodate a bracket. It was getting pretty late by this point, so this looks about all I can end up doing today.
I had a late afternoon start on Project Day 2 because we went to a classic car meet in Fukui City in the morning. (Look forward to a blog post about that later!) The first thing I did was to securely mount all the brackets and tighten all the nuts and bolts as much as possible. The last thing I would want is for all the brackets to start undoing themselves, shifting the radiator or dropping it off entirely. To that end, I used all split-ring lock washers or flanged nuts on either end. (Idiotically, I forgot my Loctite. Next time whenever I redo the whole setup, I’ll be sure to use a drop.)
Altogether, there are one zip tie and four stainless or aluminum mounts holding the radiator in place. With this, I think it is mounted as firmly as I could hope. I attempted to shift or put pressure as much as I could on the radiator and the whole car wanted to move with it, so this seems good for now. Of course, the next time I service my car, I’ll reassess all my mounts.
After cutting those gaping holes out the back of the radiator, now gravel and rocks could strike the back of the radiator. Whoops, I forgot to install a rear net to protect against damage…

I’m not undoing all those bolts so I squeezed my hands behind the IC to fit a mesh net. The net I used is an outdoor plastic screen net which seems adequately durable enough. I’ll see how this goes for a few thousand kilometers. If it gets severely damaged or worn by the next service interval I’ll move on to higher-quality or metal mesh.
Once again, I test fitted the bumper and found that I had quite a bit on the bottom to cut out.
Finally, I’m done with the radiator mount! The bottom of radiator is just a few centimeters above the lowest points of the car: the tow hook, the front sway bar, and the frame. Hopefully, this means it will not affect the overall clearance of my car, although since this oil cooler is far in front, anything that scrapes the bumper will undoubtedly scrape it as well. I’ll just have to be cautious, especially since I have another exterior project coming up...

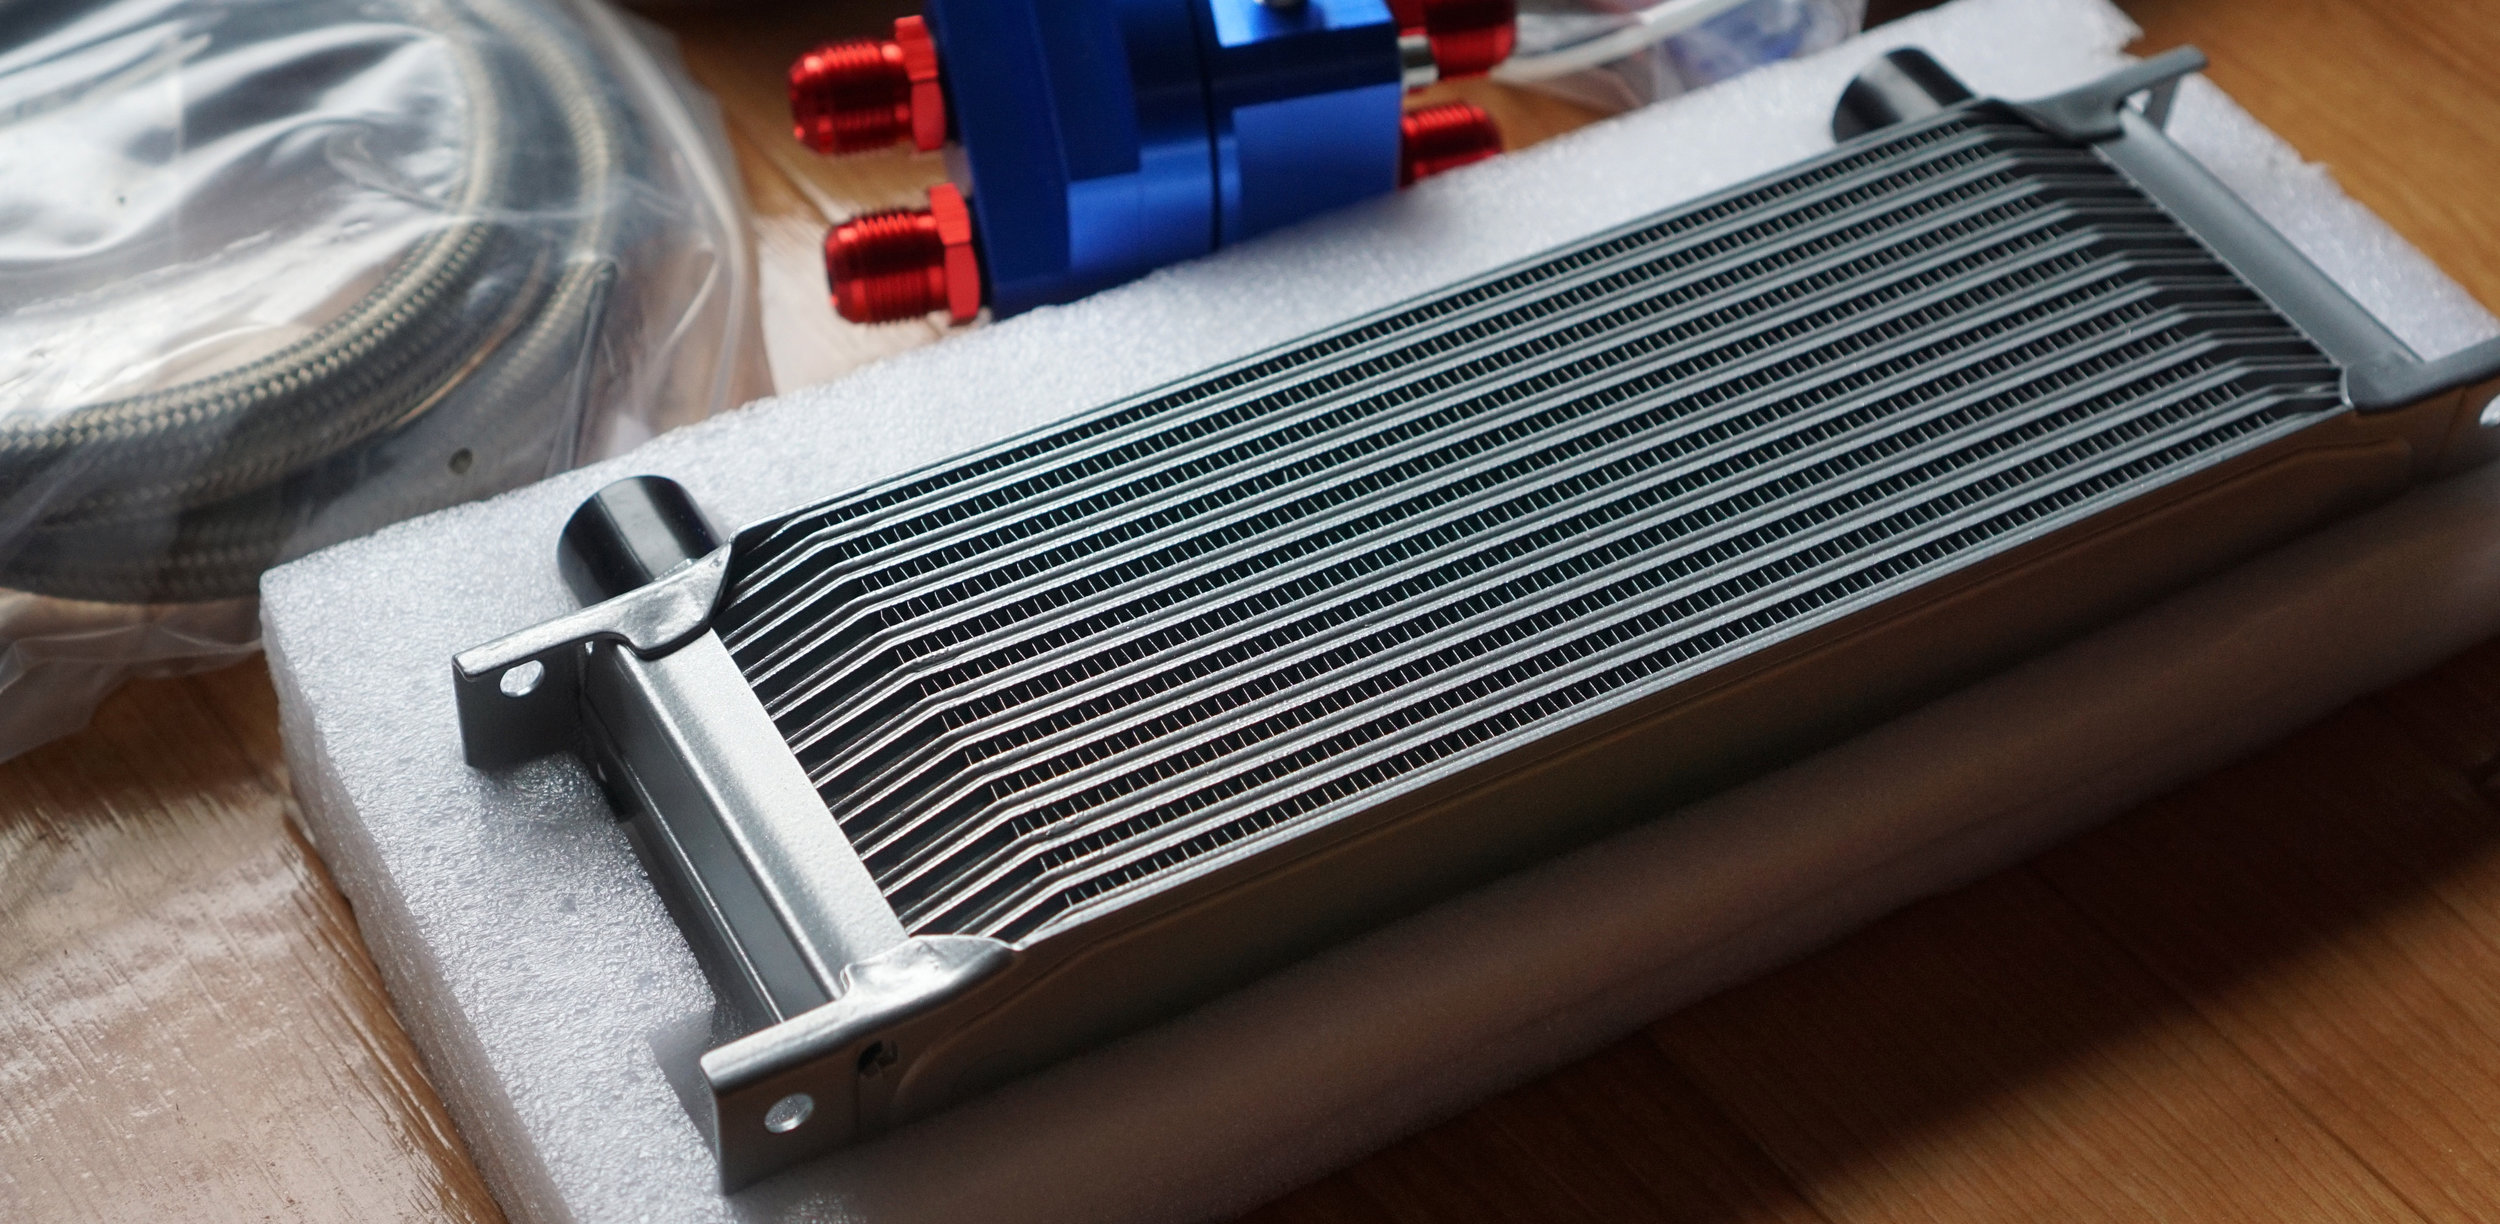
Now I hit a bit of a roadblock. I had initially intended the oil cooler to be shorter, *perhaps* (naively) allowing the remote oil filter to mount above or behind the radiator. Unfortunately, the mount is far larger than I mentally calculated, so there is no chance of that happening.
In a crowded kei car engine bay, I could find no possibility of mounting it anywhere in the engine bay, even assuming I removed my rather large oil catch can. Disappointingly, this means there is only one possible place I can mount the remote oil filter…

The left side of the bumper. This placement offers more than enough space to mount the remote line and an oil pressure sensor.
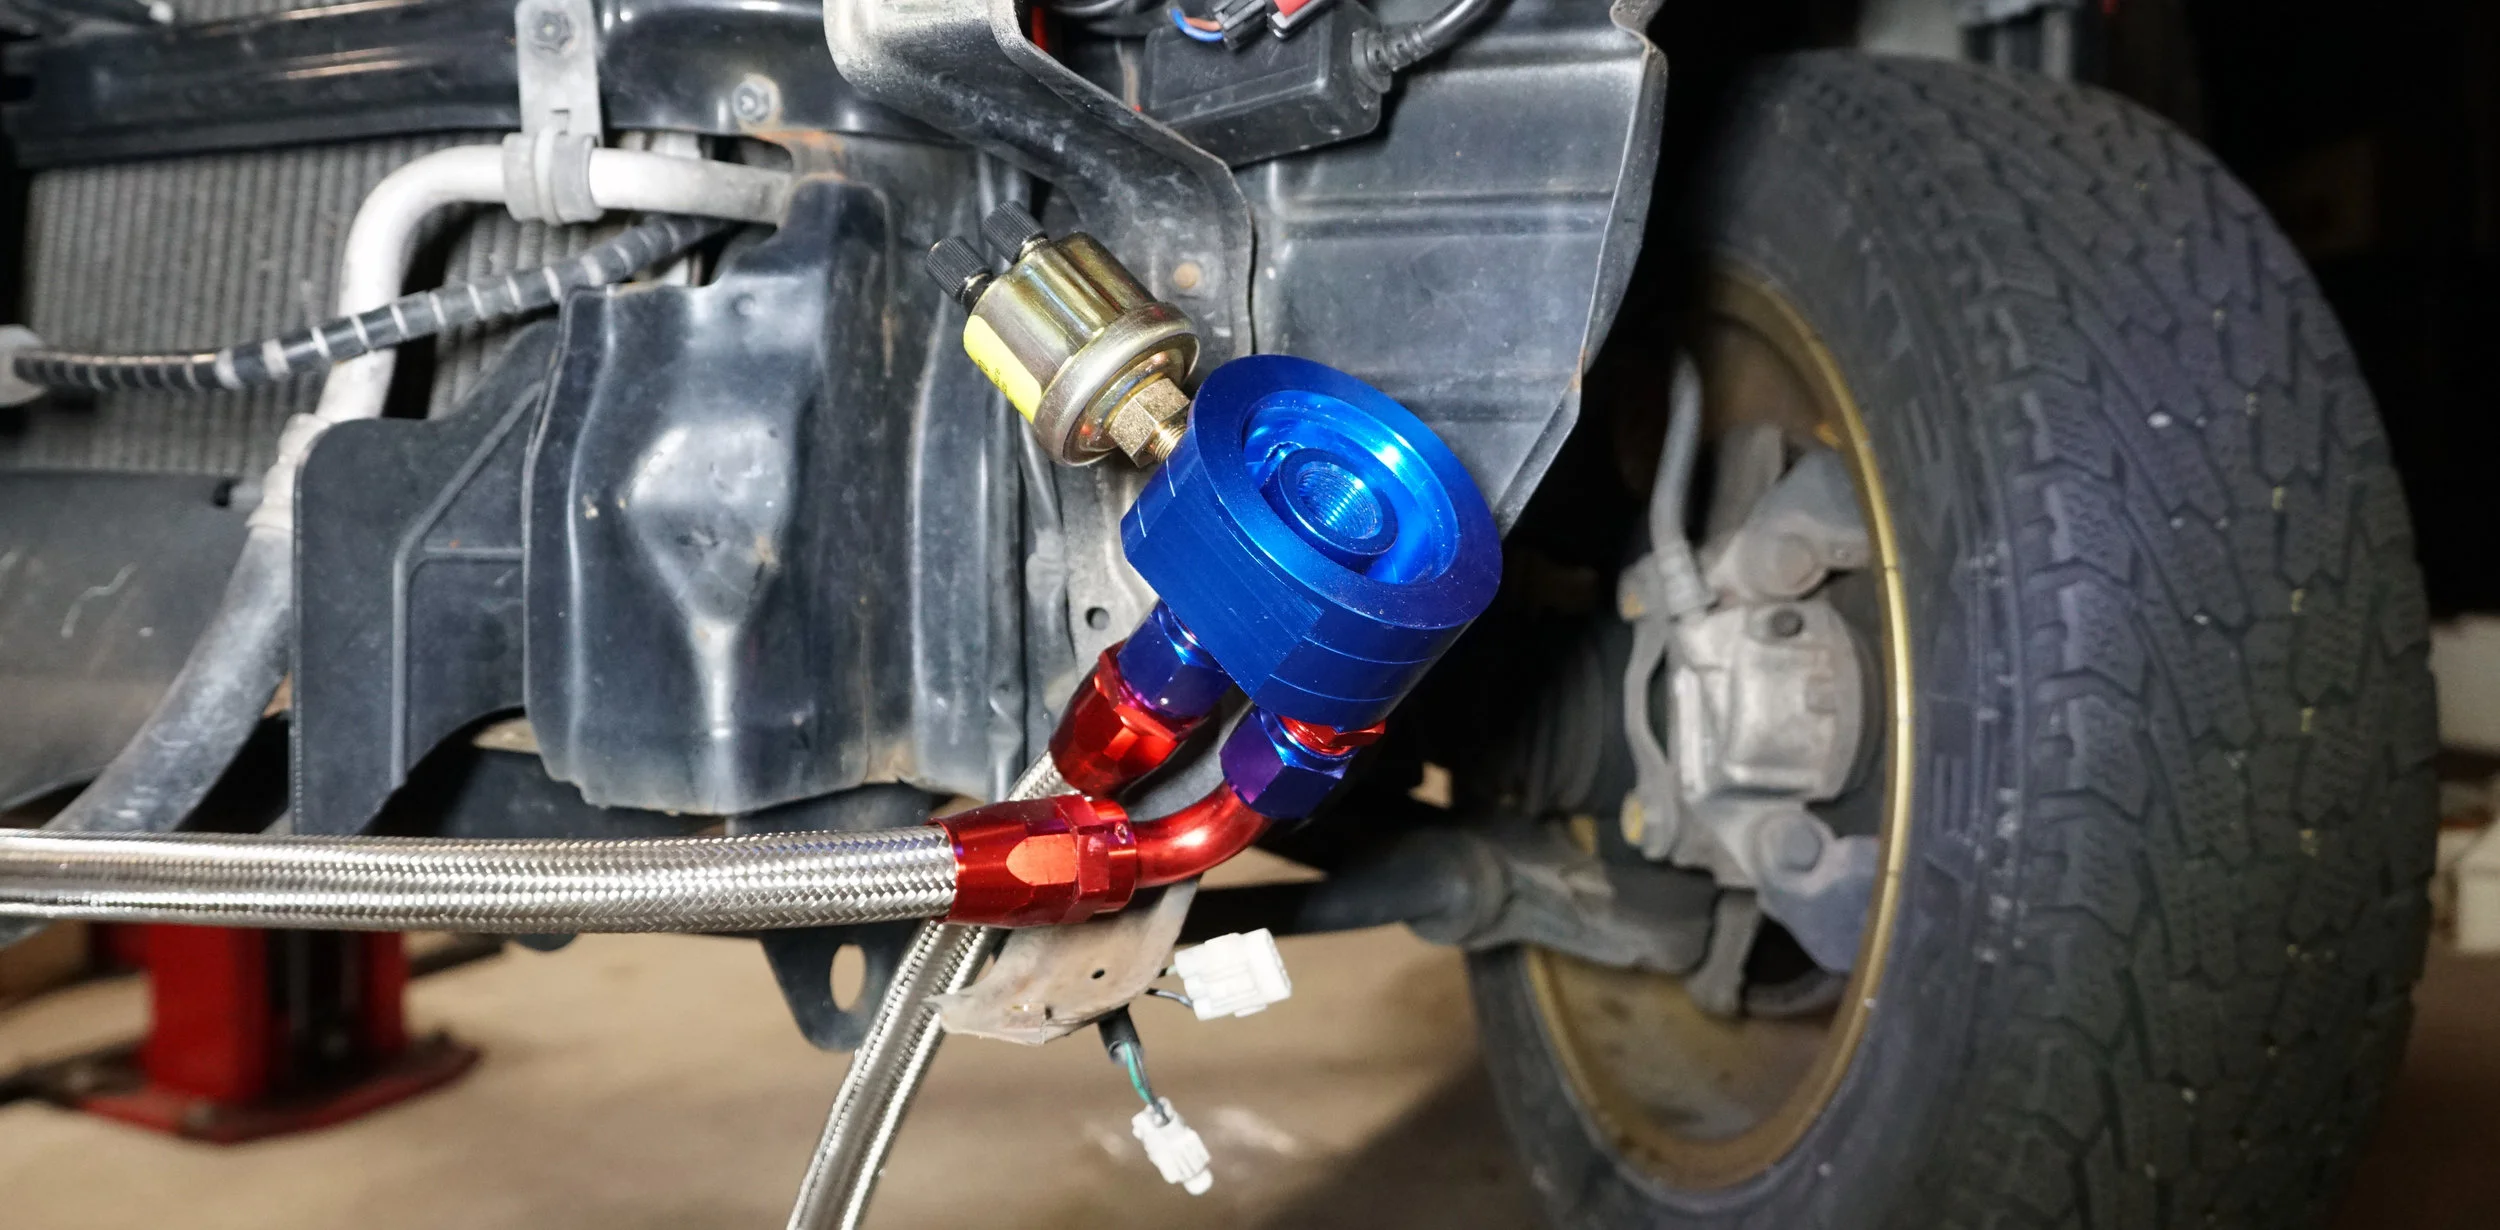
Mounting it on the opposite side of the oil cooler radiator also means I have to remove the left fog lamp. And I really wanted to have at least one, too. However, this really got me thinking about what I can do, instead. Maybe there is just enough space to place another, shallower light there.

But back to the harsh reality of the project here. Remember when I mentioned how awesome the quality seems so far? I definitely spoke too soon. The ¾-16 thread adapter needed for use with Suzuki filters doesn’t quite fit. The threading upon close inspection is very poorly cut out when compared to the other included M20x1.5 thread adapter. Thanks, China.
Unfortunately, despite a large selection of thread cutters, my mechanic doesn’t have that size thread die tap, we couldn’t cut new threads the proper way and since the blocks are made of soft aluminum, there is no way I’m simply going to “crank down” on the adapter without risking severe damage.

So I had to go back on the internet to find another remote oil filter adapter on the internet from a different supplier and in a different color. (I know many of these parts are from the same general manufacturer, but I’m hoping a different batch might be alright.) If this separate thread adapter works for the current one I have, I’ll still end up with an extra remote oil filter in M20x1.5 threading… in gold! Any idea where this one will go later?
With that, it was the end of Day 2 for this project. The hardest is yet to come…