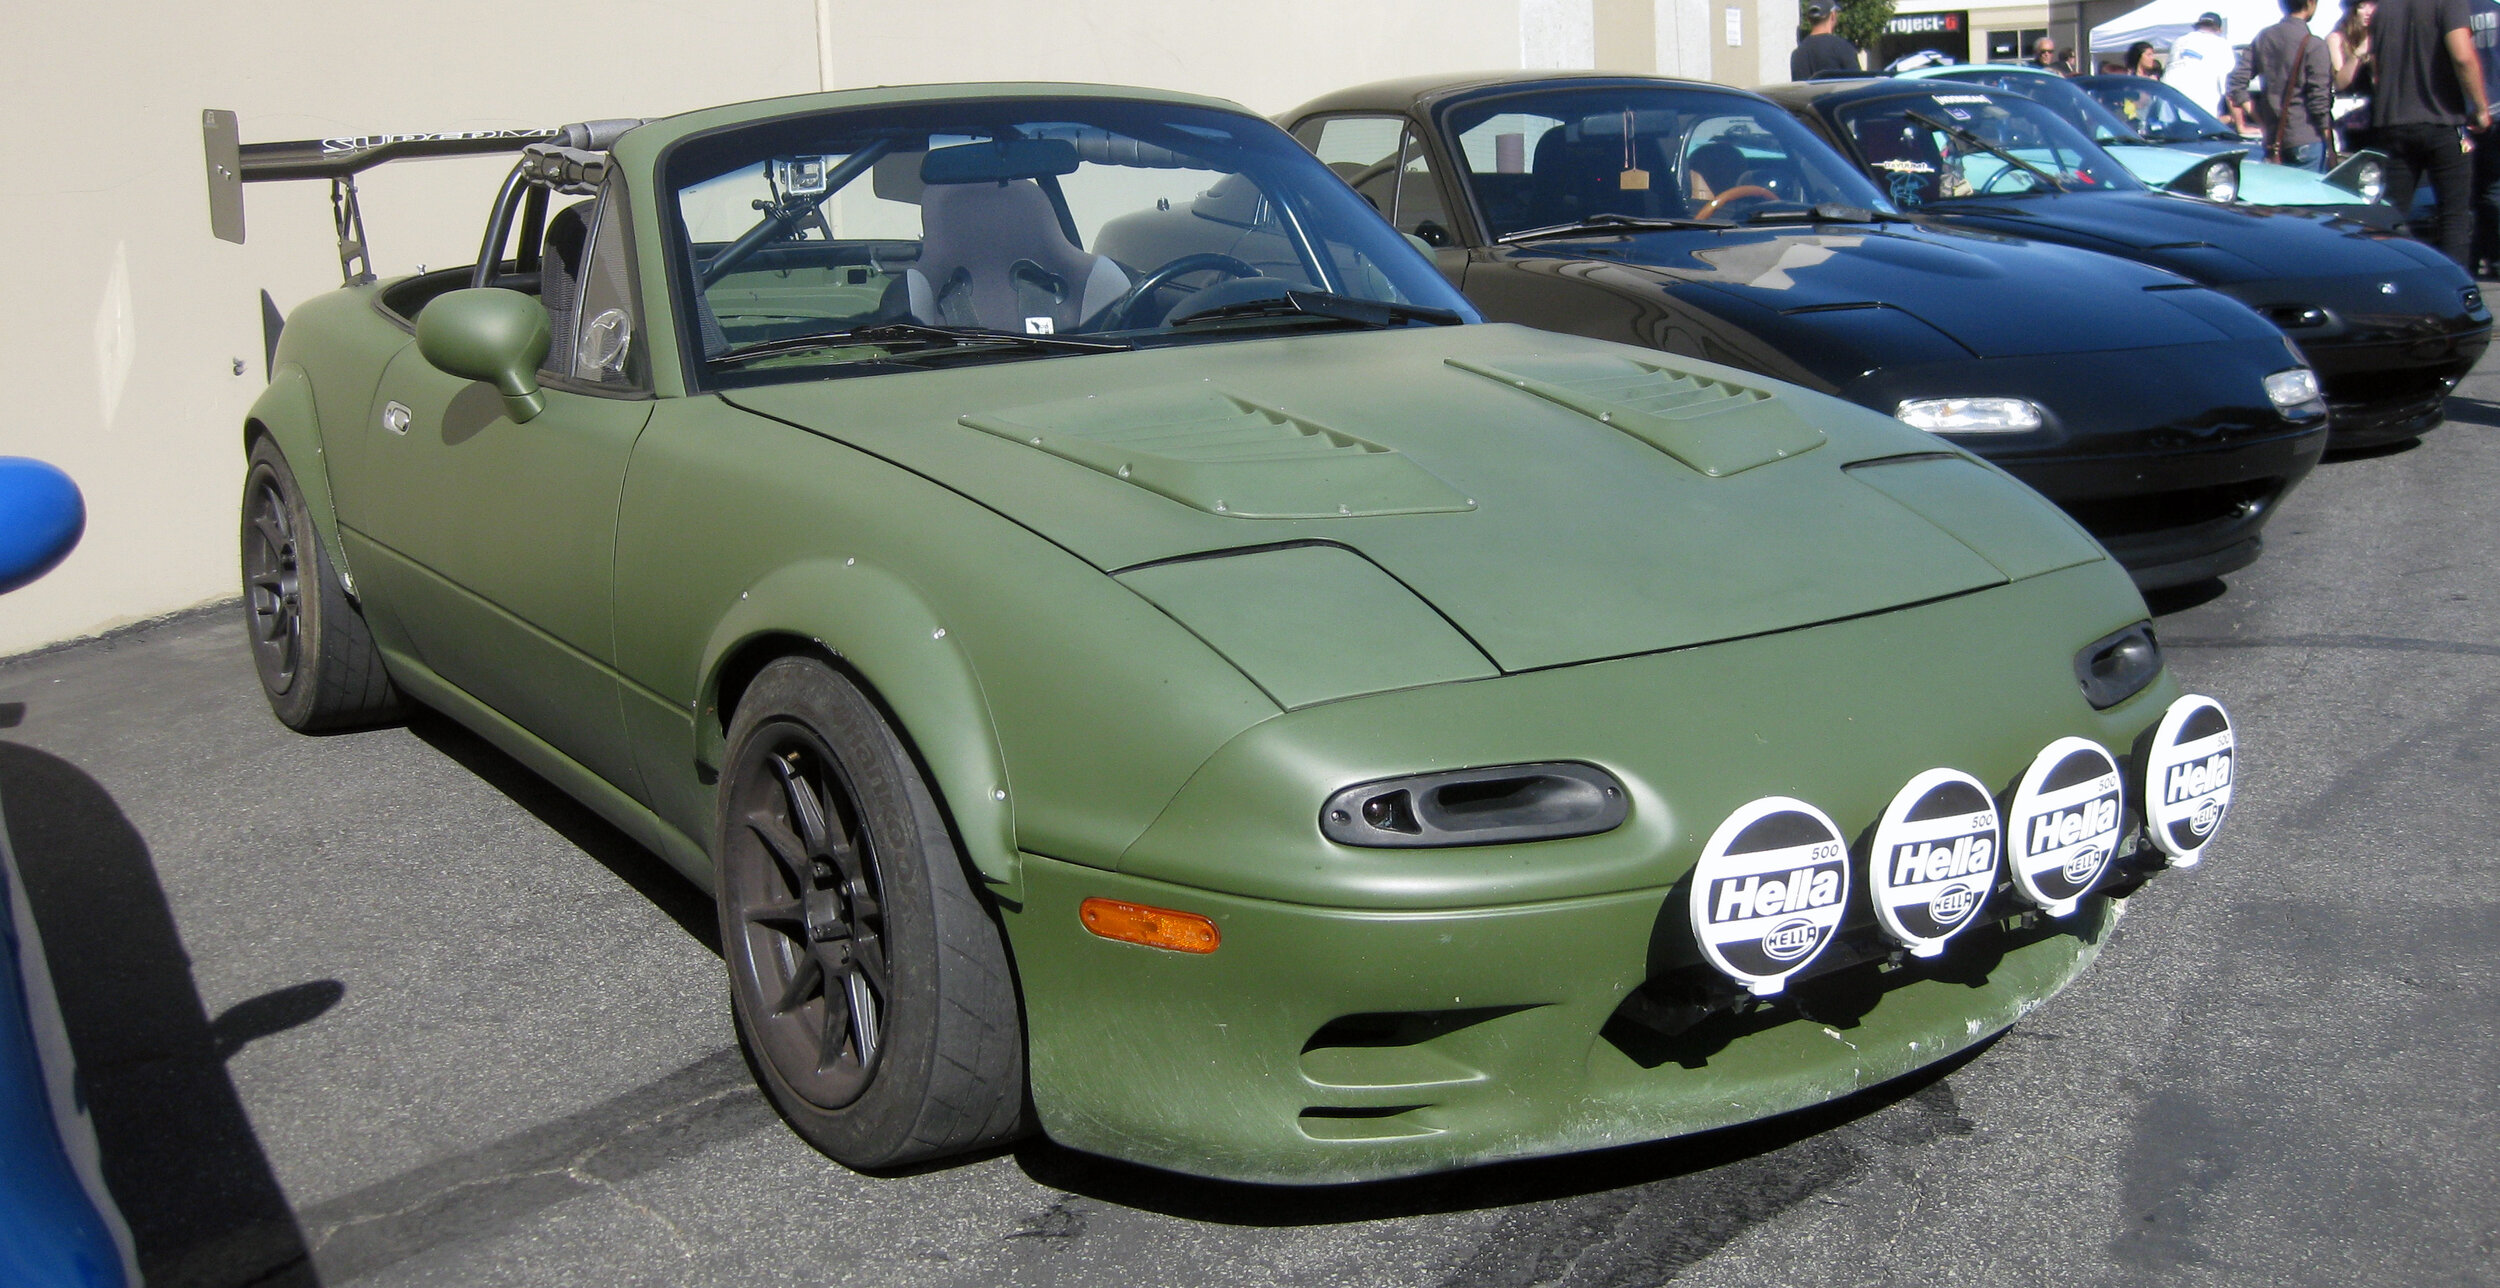
[ Alto Works ] Fender Flares, Part 2
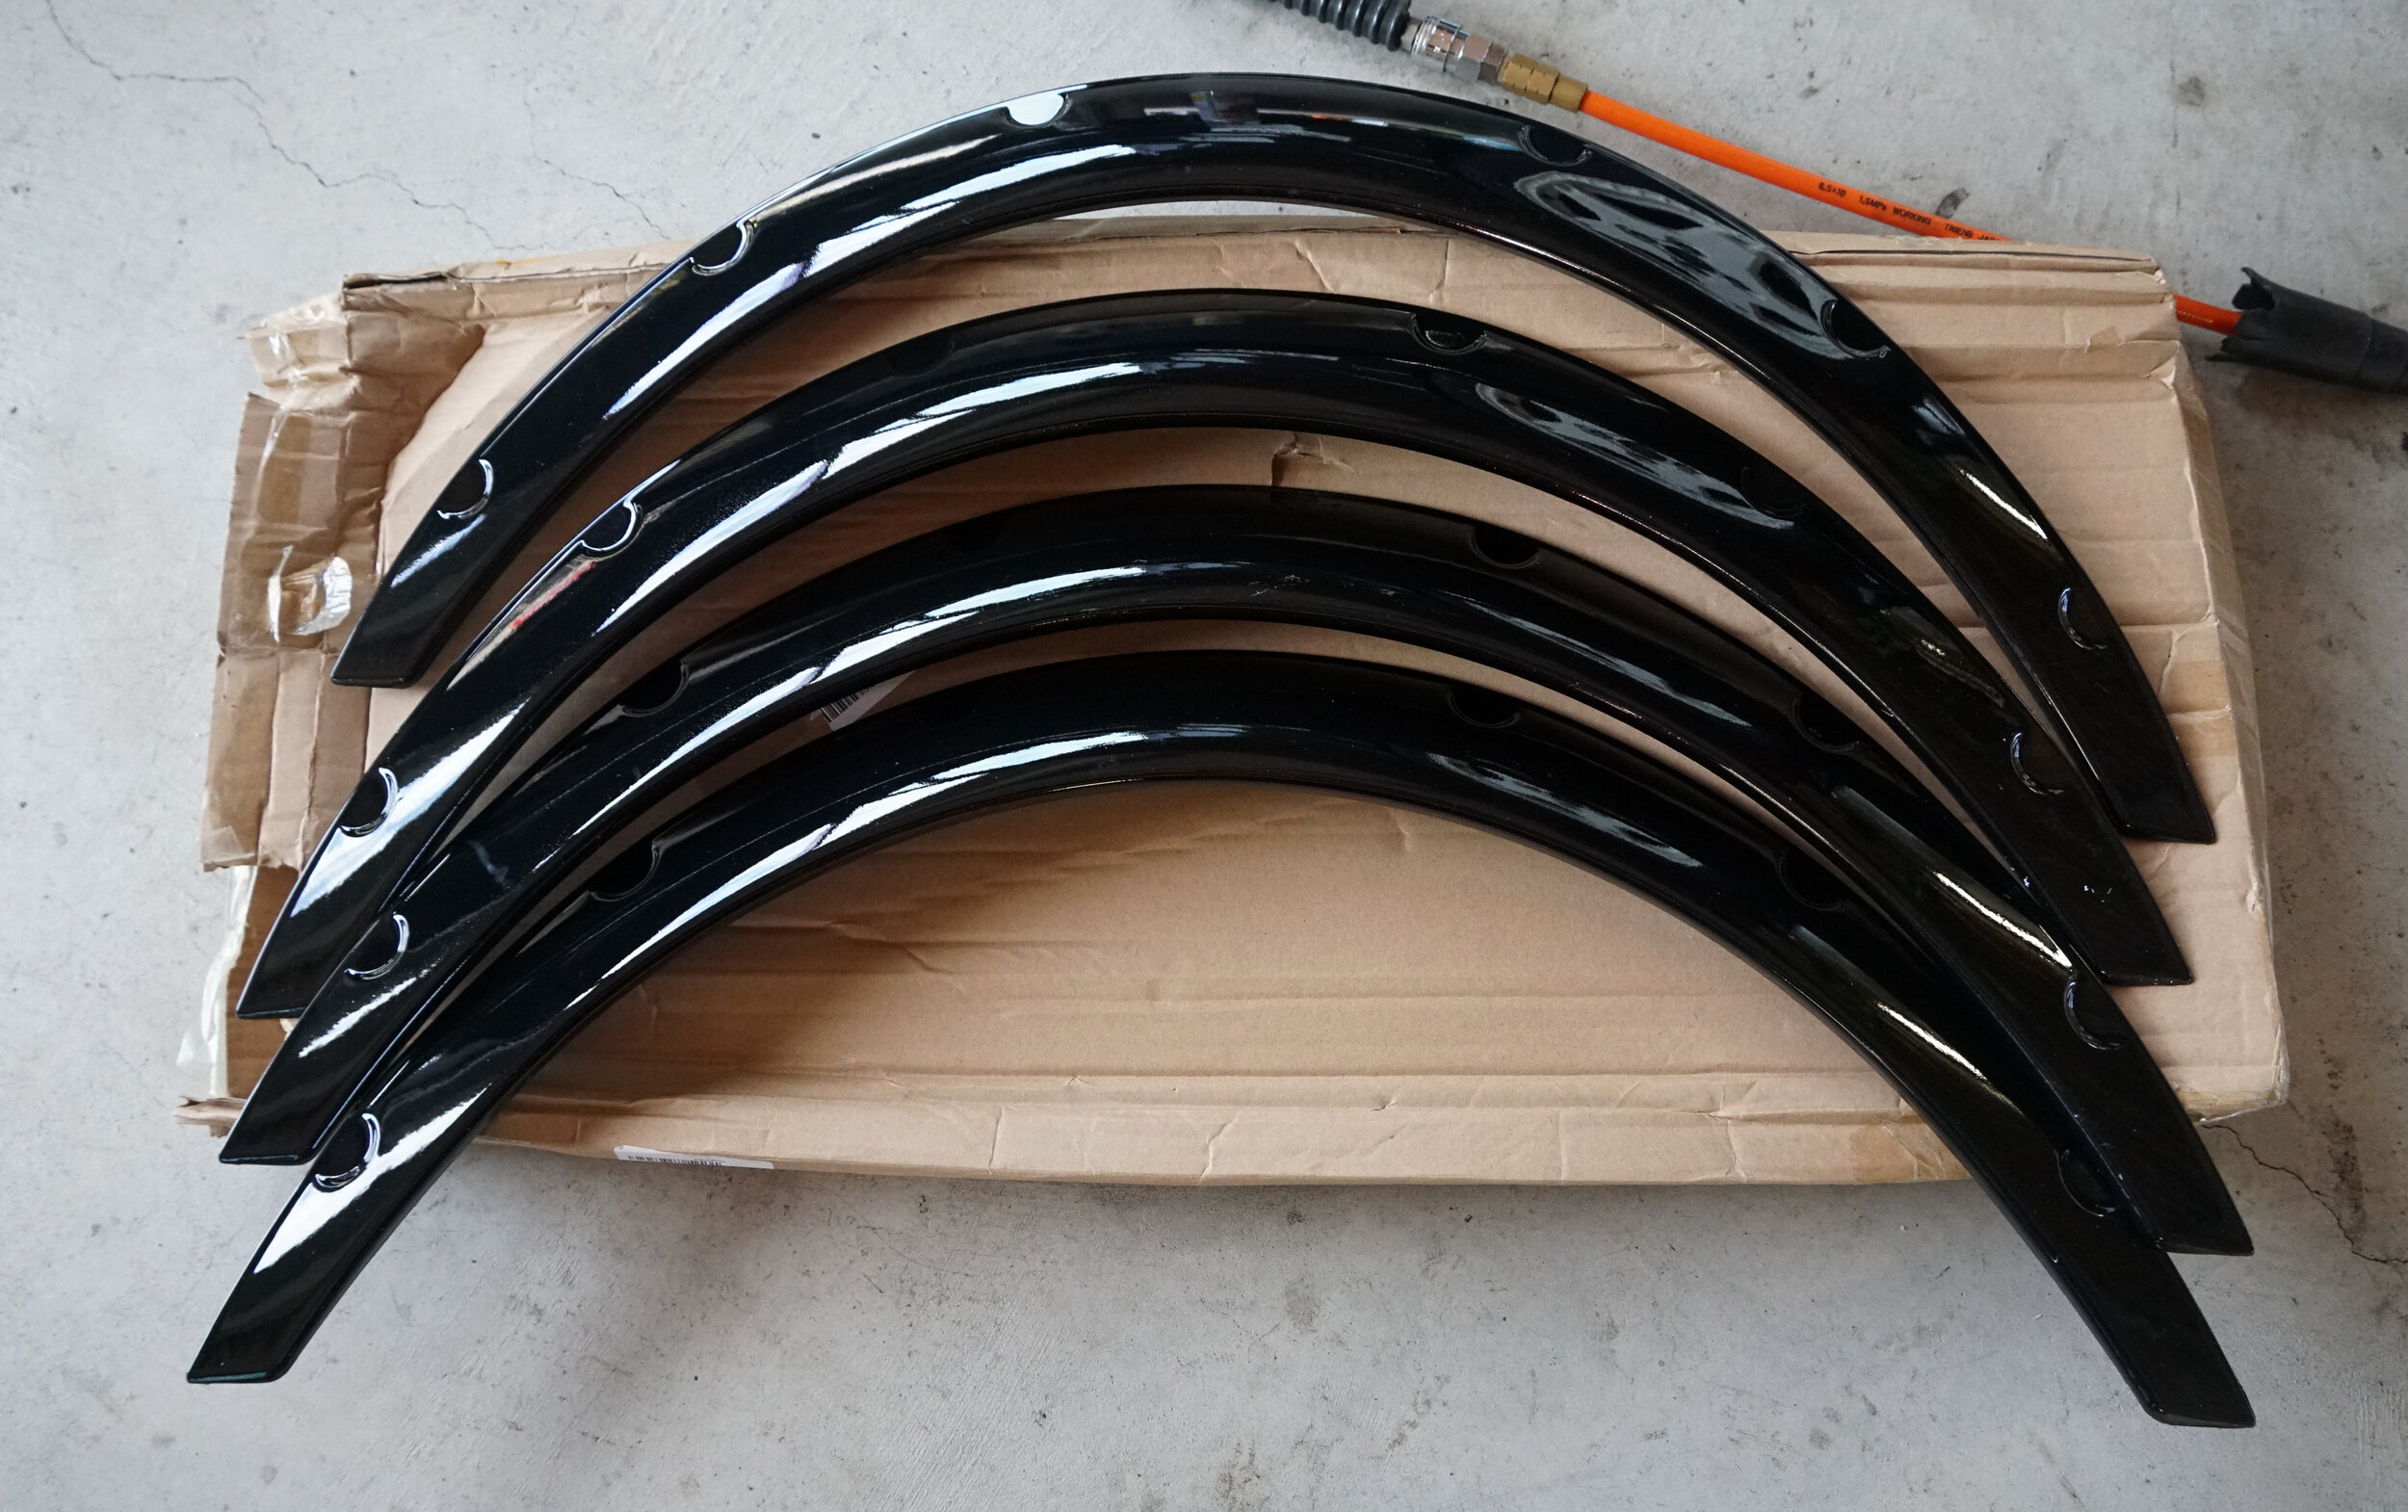
Having fender envy from all those wide cars I see, I ended up picking up a set of cheap, universal overfenders. The quality seems pretty good, but now it came down to the hardest part of installing them on my Alto Works. As with my oil cooler project, I expected it will take quite a bit of time to get right. I am by no means an expert, especially given that I have never done this before. Along with the fenders, I ordered some M6 stainless steel rivnuts and a rivnut tool. I also bought some rust-preventative paint and M6 button head stainless screws from the local hardware shop.
Initially, I thought I would forego using rivnuts because I had not planned on removing the fenders easily, simply using nuts on the backside of the screws. However, given the positioning over the rear fenders, I realized that two of the nuts would not be easily accessible. So, I simply decided to order rivnuts for sake of removing the fenders should I ever need to… which I will.
First up, I started off with drilling holes through the 6 potential points. I went with M6 screws because they are a bit bigger, will hold better, and certainly look better than M5s.
The next step of fitting, aligning, and measuring took a ridiculous amount of time because I was paranoid I would mess the whole thing up from the get-go. Since these overfenders are “universal” they are not sized or curved perfectly for smaller wheels (and smaller wheel wells) like these. There are a lot of other considerations to make when doing something like this. One big consideration is that the Alto has rather squared-off fender cuts which do not flow around the curve of the wheel. This leads to a few questions dancing in my head: How much do I go about curving around the fender openings? Where should I position the screws? How much fender would I need to cut later? Should I attach the fenders over the bumpers or cut them short?
I literally spent way too much time pondering the real questions, so I eventually gave up and just dove in. Let’s see how the work goes.

The fronts were fairly easy. With the camber of the front suspension even fairly aggressively spaced out, the wheels fit under the stock fender as it is now. I recently picked up Durax +40 spacers, pushing out the wheels to as far out as the stock fenders can handle. I can maybe squeeze out +5 more, but I opted not to at this time.

With the first front screw in, I went about slowly drilling one hole at a time, removing the fender, deburring the hole, painting the anti-rust paint, installing the rivnuts, and installing the overfender back on before proceeding to the next hole. This process took probably nearly an hour per fender.

As carefully as possible, I tried to make sure the rivnuts were installed with a tight fit. Unfortunately, a few of them are a bit looser than I wanted, but they still work to hold the overfender in place.

I also cut a bit away at the ends of the fender for a cleaner look, going with the body lines as much as possible. The fronts are done and they look amazing, but after driving like this for a few days, I realized that the car was too low, so in aggressive corners, the overfenders rub the wheels. Problem number 1. This means I have to jack up the car again and raise the front suspension later...

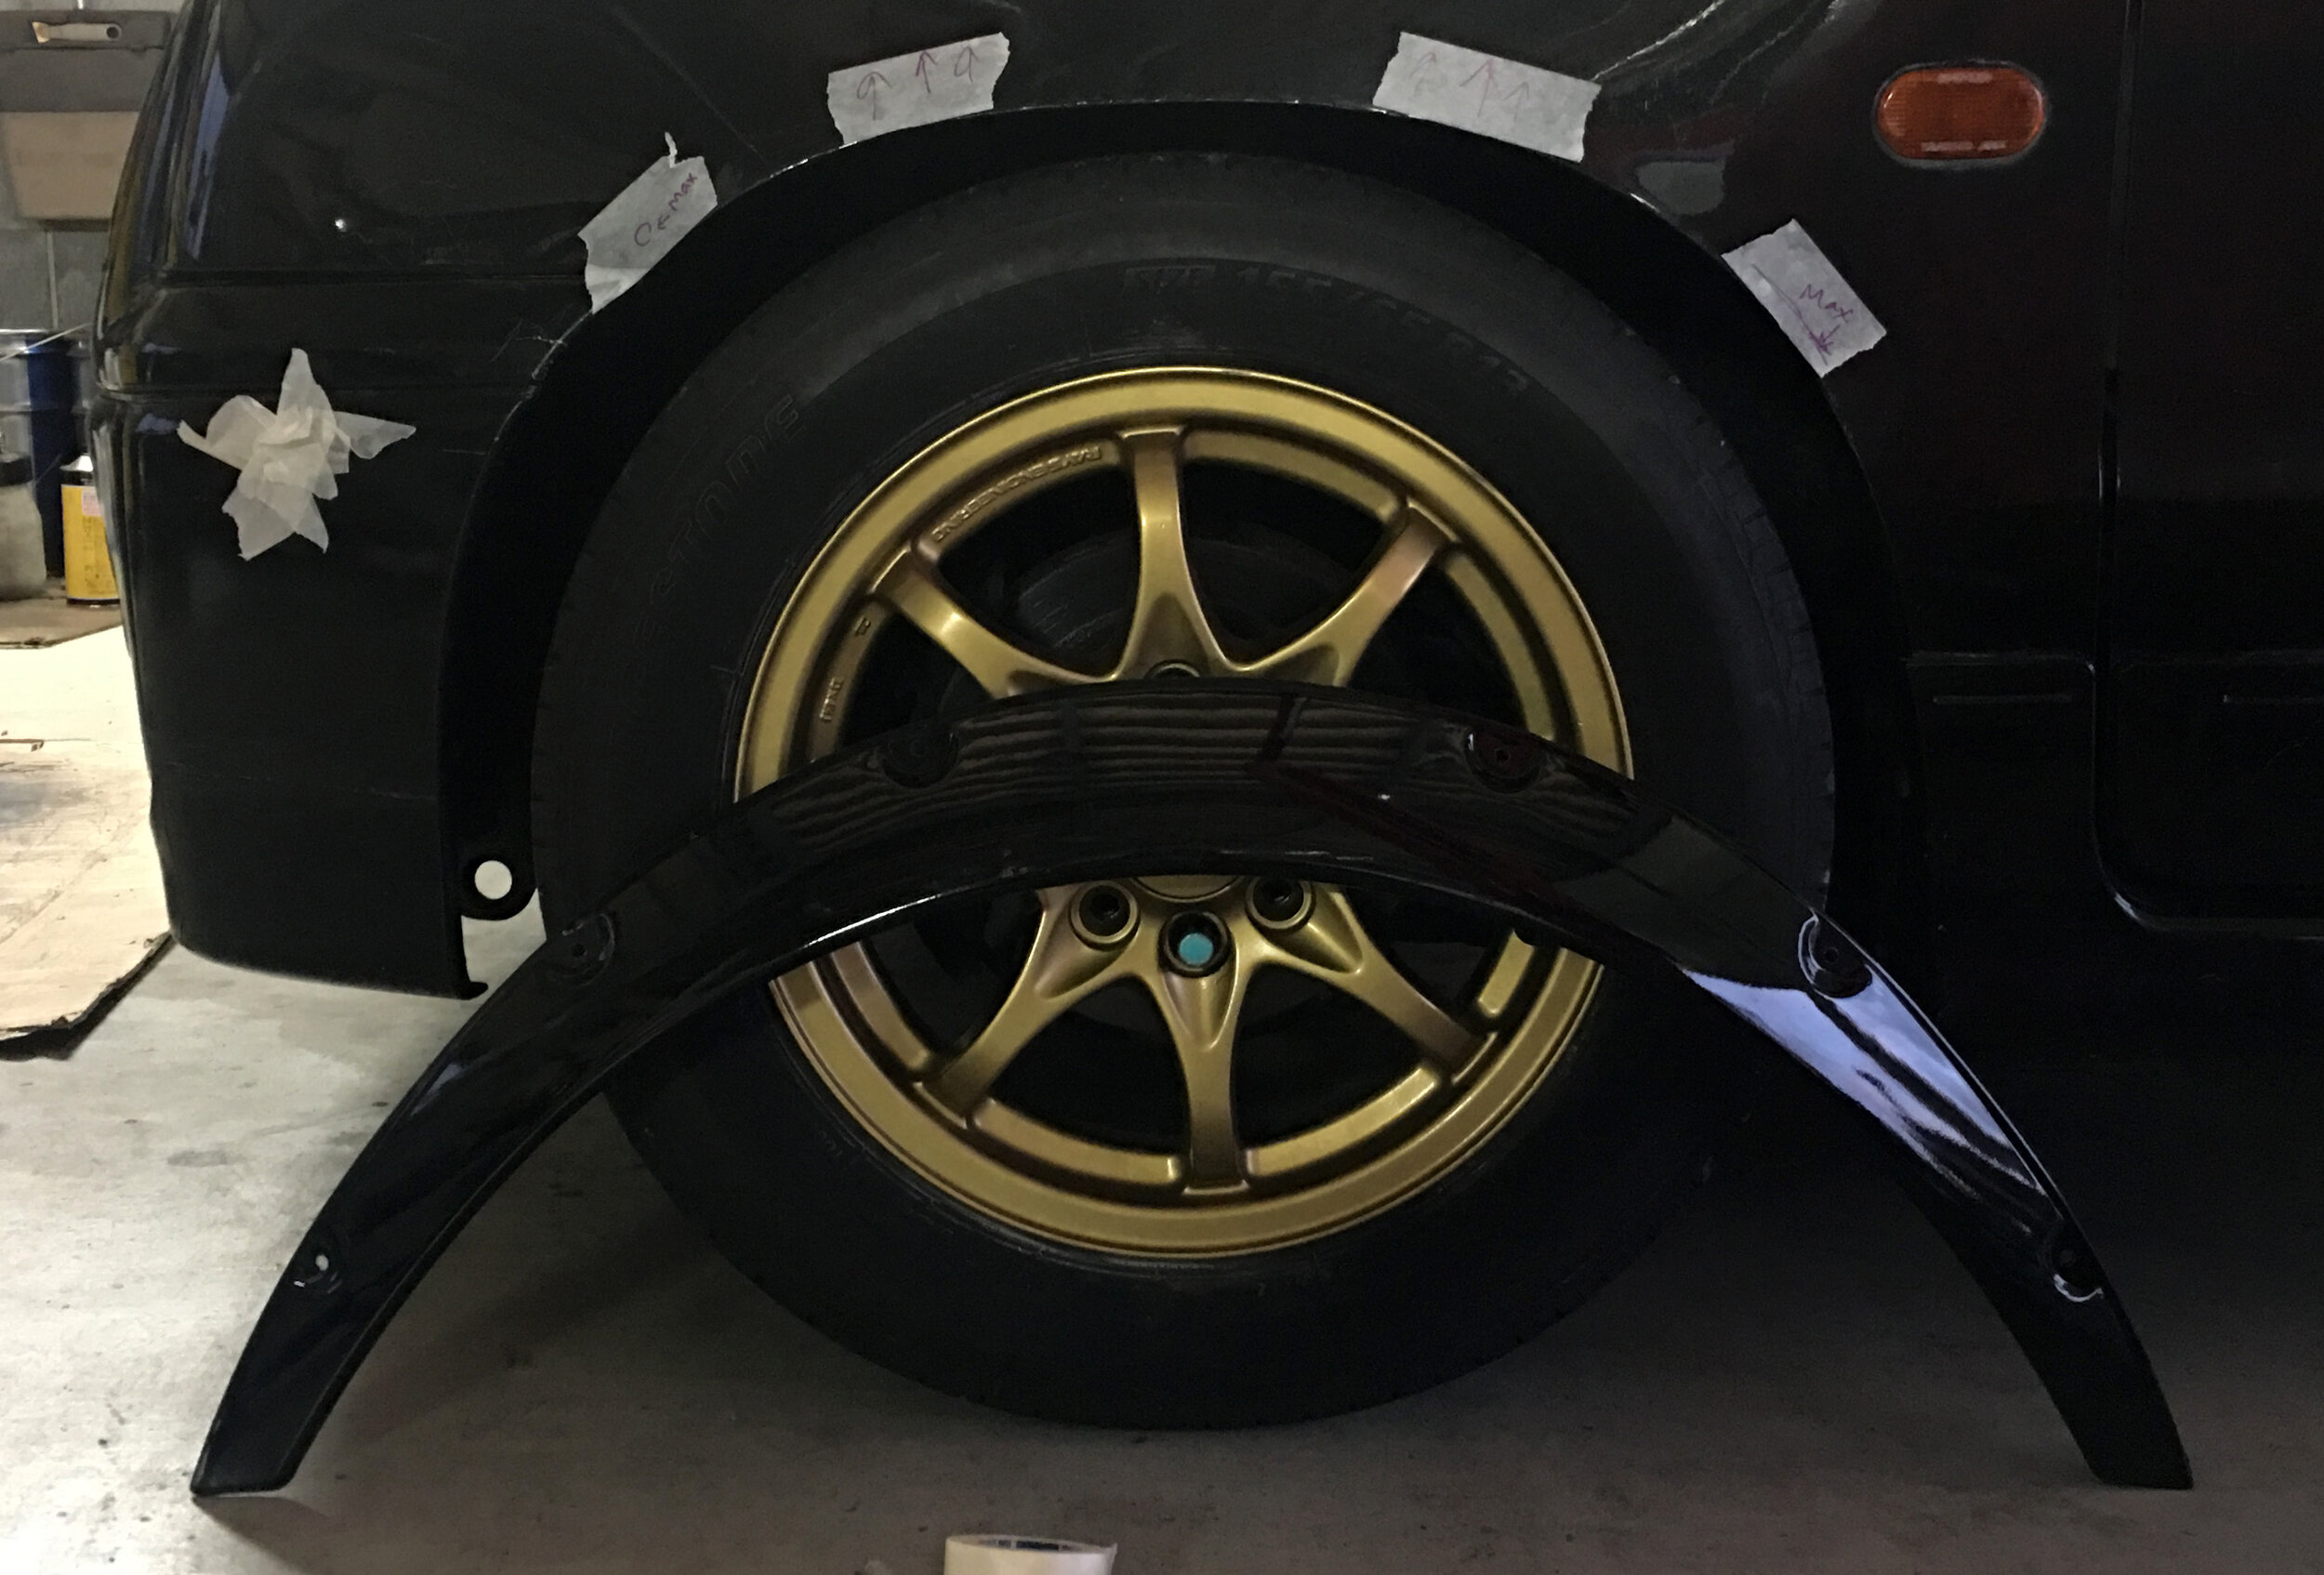
Now onto the rears. The rears were a huge problem, to say the least. The rear of the car looks amazing now at this ride height and wheel width with 20mm spacers.

As the rears will be sunk in a bit more with wide fenders, I purchased a set of +50 spacers, pushing out the wheels far outside the body as reasonably possible. However, with the addition of these 50mm wheel spacers, the tires will certainly hit the fenders with any amount of compression and the Sport-Service RSR adjustable suspension is near the maximum height. This means I need to go with a new set of stock-height springs to raise it back up further. Problem number 2.

Since my stock springs were cut, I had to buy a new setup. After scouring the internet, I came across only two basic options. Stock or replacement rear springs at around 5000¥ ($45 USD) or used whole replacement sets at 10000¥ ($90 USD). I found an awesome deal off Yahoo! Auctions, so I settled on buying a whole set for 9500¥ ($88 USD), shipped. Problem number 2… resolved?
While this means I paid quite a bit more, I will have a (second) spare set of front shocks and now adjustable rear shocks. Since my front sets are already quite good with the RSR set I installed awhile back, I might as well put in the adjustable Suzuki Sport rear shocks in now, right?
These adjustable Suzuki Sport shocks are amazingly beautiful. However, the replacement springs alone do not safely clear the fenders at full compression. I also needed to use the RSR perch which raises it so high these replacement Suzuki shocks no longer fit at that height… essentially, this made most of my purchase of these Suzuki items a moot point since I only used the springs from the set.

Problem number 3 now appeared: well, this is actually just a personal problem to me, since it is completely a visual thing. The car sits way too high for me right now. There is a whole handful of space which actually means the car is riding even higher than stock. I am certainly not interested in driving a crossover.
Now I ran into a problem using these 50mm spacers. The studs are so long that my Suzuki Sport lug nuts no longer fit, as they go a few millimeters too deep into the thread so they no longer safely tighten down. I had to order a set of replacement steel lugs and wait for that from production-hit China. Problem number 4. In the meantime, I had to drive around with open short nuts on the rear wheels.

This simple project to install wider fenders has cost me much more money and time that I had initially anticipated… and I still have 4 unresolved issues so far.
But damned if I don’t say it’s starting to look really nice.