Ready Seat Belt

レディー・シート・ベルト

A look into the cool and bizarre, focusing on the Japanese import car culture and delicious ramen. Updated weekly.

  • Home
  • Blog
  • Food
  • Archive
    • Complete Archive
    • Ramen Archive & Map
    • Suzuki Alto Works HA11S
    • Suzuki Alto Works HA12S (Scrapped)
    • Suzuki Swift Sport ZC31S (Sold)
    • Suzuki Wagon R MC22 (Scrapped)
    • Newbie Guide
    • Photography
  • About
  • Facebook
  • Instagram
  • Twitter
DSC06650.JPG

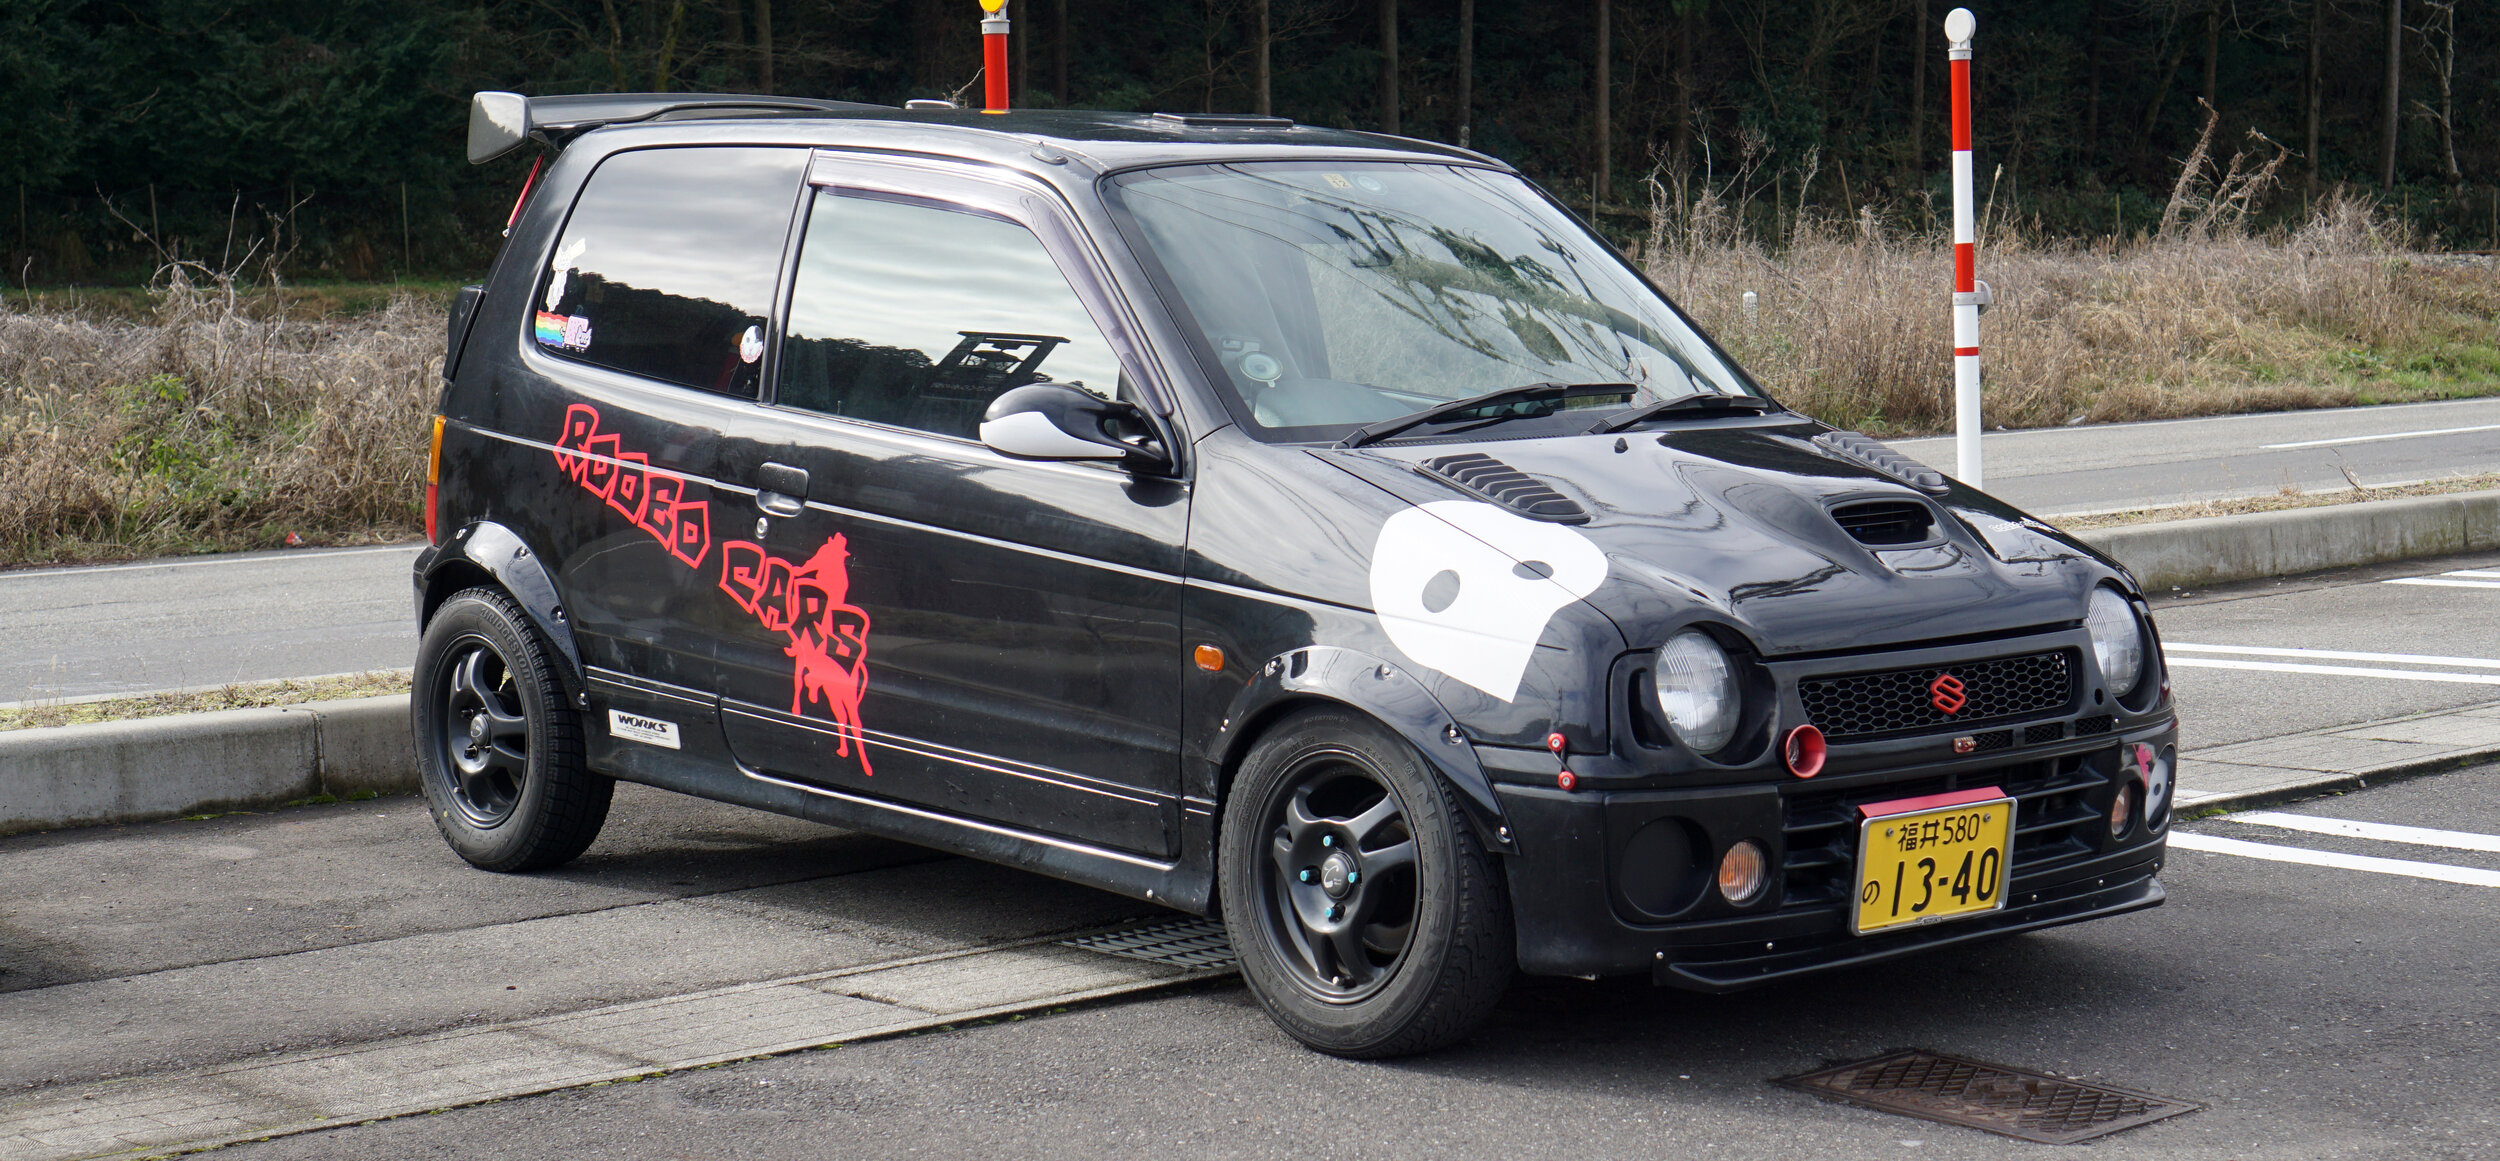
[ Alto Works ] Fender Flares, Part 3

July 02, 2020 by William Tjipto in Cars, Japan, Ownership, Project Sachiel

My Alto Works finally has the wider fenders installed and its looking pretty good so far. However, to recap, I still have 3 unresolved issues:

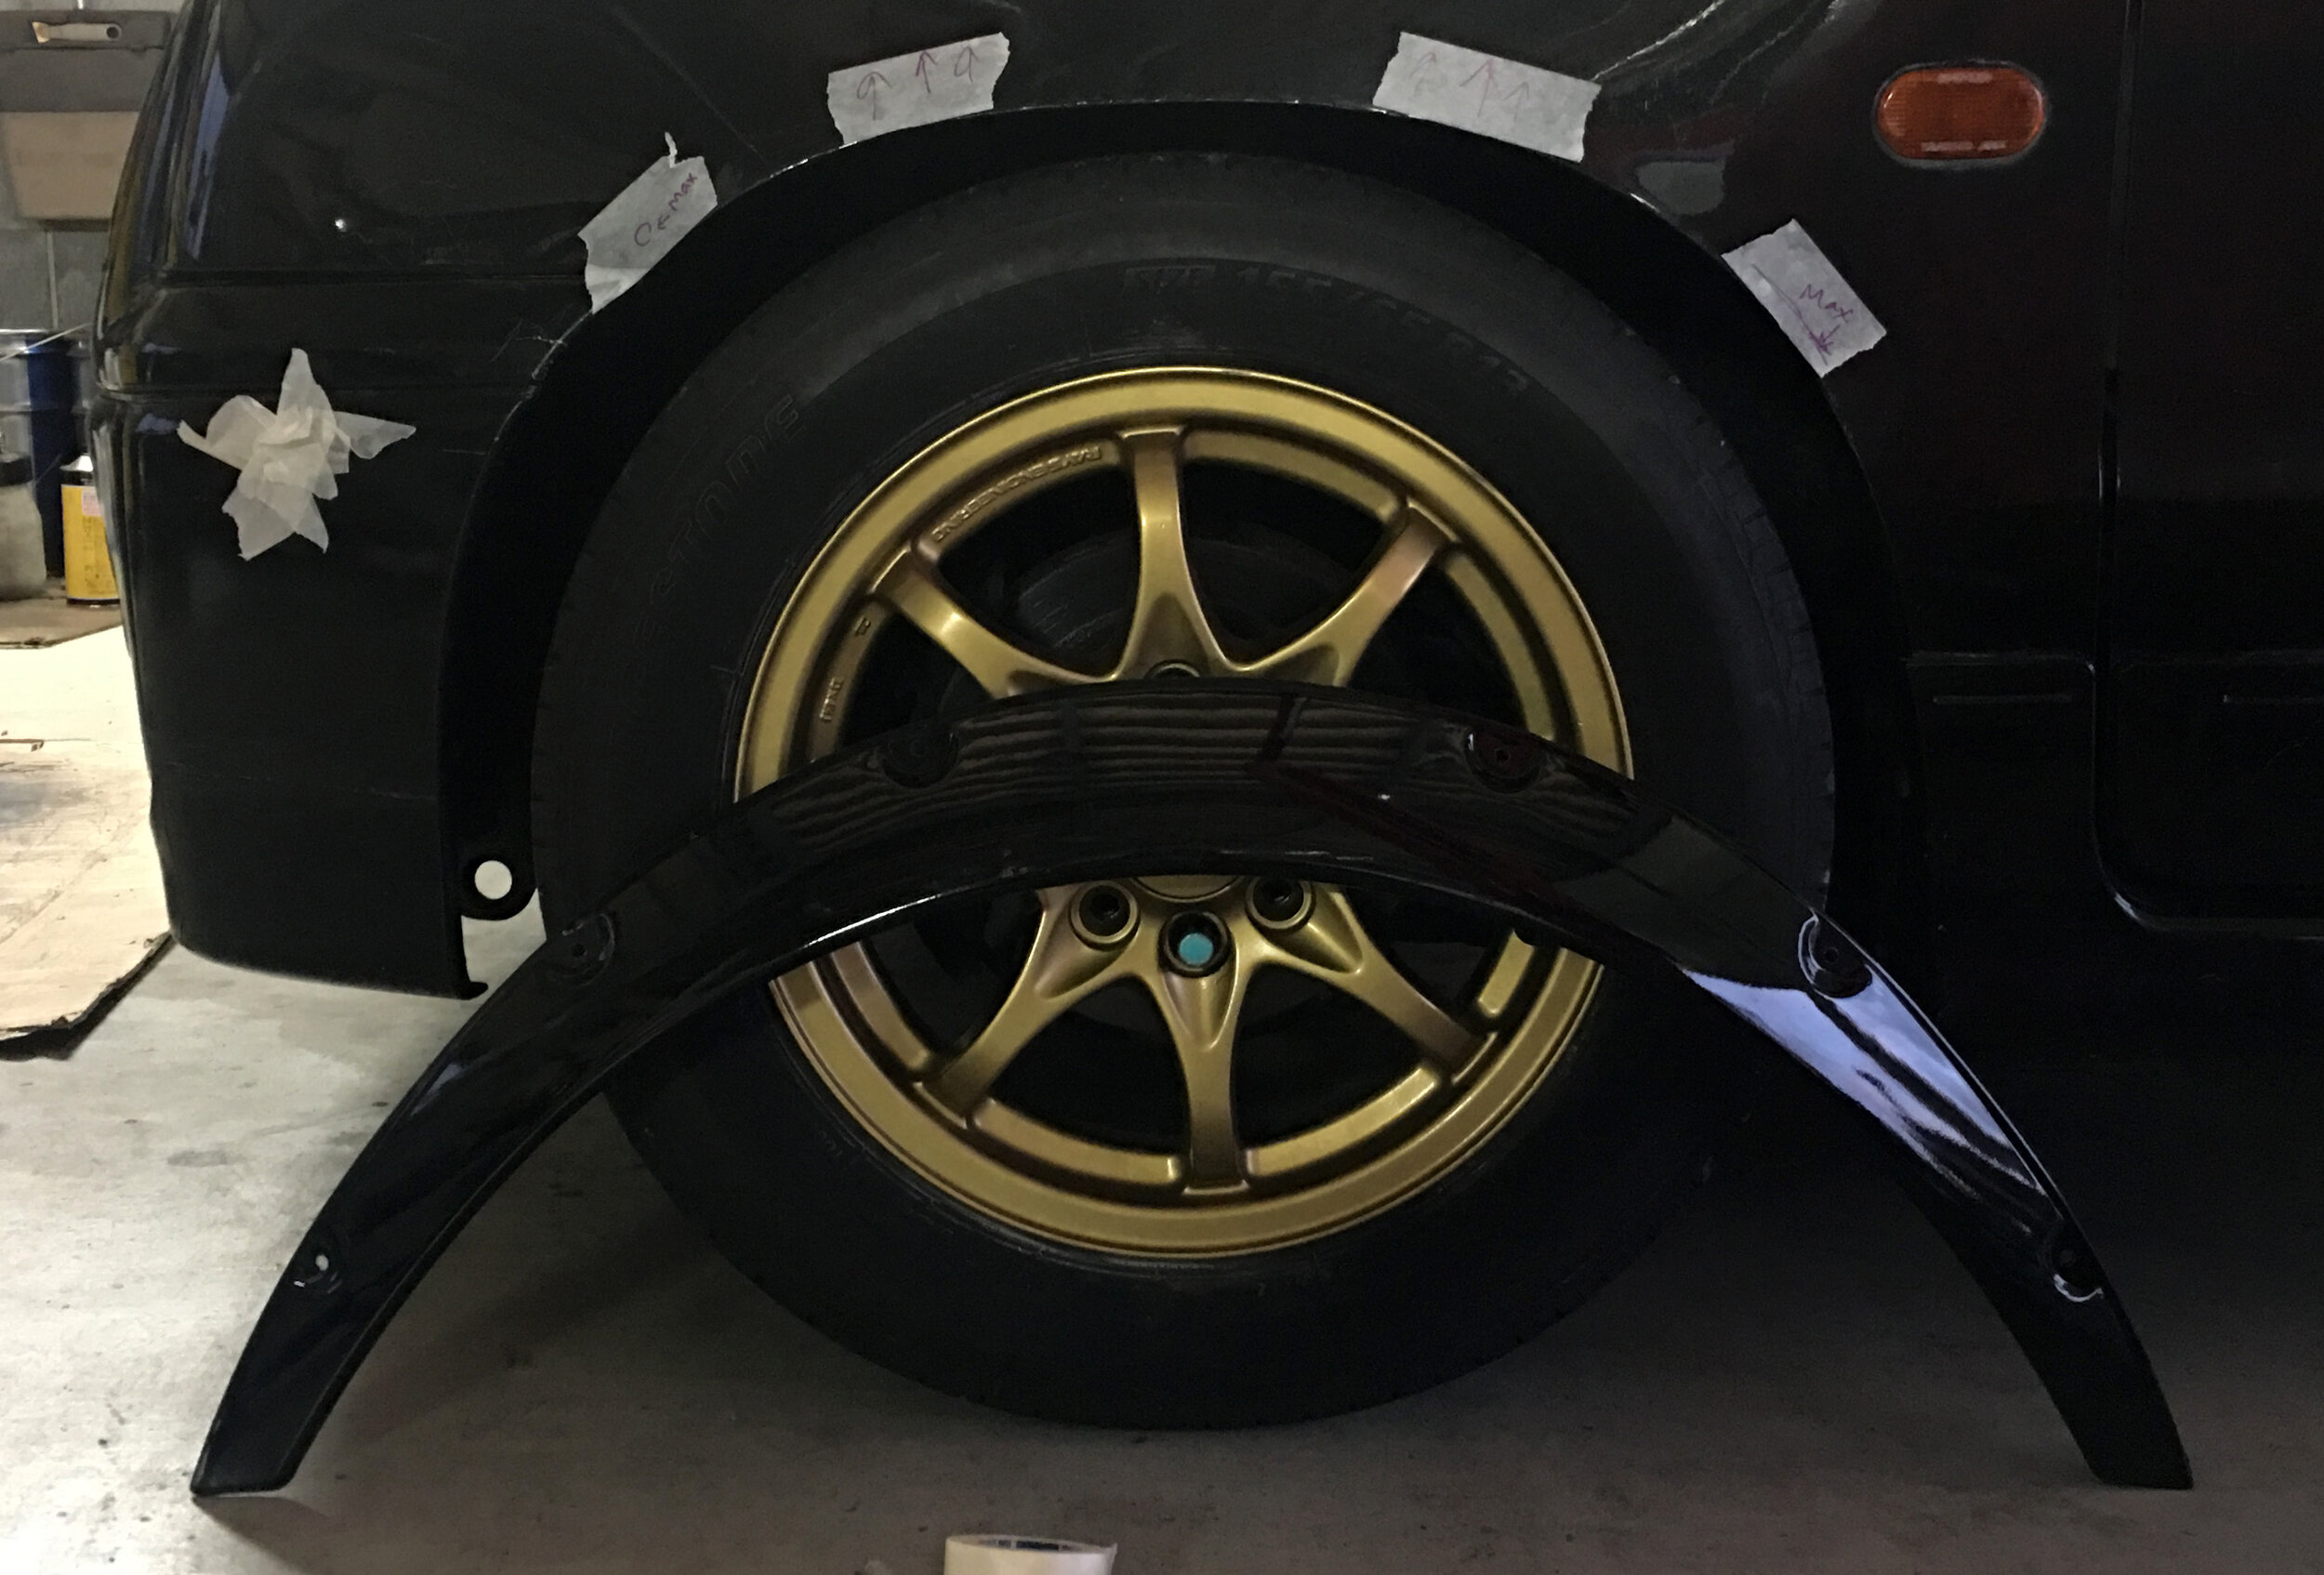
1. The front tires rub the wider fenders at full lock and under compression.
2. Clearing the rear fenders. This was temporarily resolved, but… spoiler alert… this problem comes back this post.
3. The ride height is way too high and sits like a crossover right now.
4. Waiting on new replacement steel lugs from production-hit China.

DSC00603.JPG

In a bid to resolve problem number 3, I came up with what I thought was an ingenious idea: compress the rear springs as far as possible and install the Suzuki Sport shocks. My line of thinking goes that since the shock will be at its maximum, it will keep the car down lower and the compressed springs will keep the car from hitting the fender. The install required a bit of… ingenuity. I used manual spring clamps to tighten the springs, using a whole ton of zip ties to keep the springs compressed while I completed the install. I’ll admit it was a bit hairy for a minute since some of these… cheap Daiso (dollar-store) ties failed while installing. Who needs safety?

It surprisingly took a lot longer than I had anticipated, but finally I was able to get the springs and Suzuki shocks installed, giving me a perfect ride height and clearing the fenders! Problem number 2 does not come back… yet.

2020-03-05 002.JPG

At this point, how do you think it worked out? If you guessed that these compressed springs would give me terrible ride quality, you’d be right! The car feels absolutely horrid around my countryside town, bouncing up and down, jarring the body at every bump. It feels almost as bad as some of the slammed Miatas I’ve had the (unfortunate) pleasure of riding in. I don’t think I’ve ever been car sick, but the car in this state makes me come pretty close.

Someone close to me finds this already-ride-compromised car completely unacceptable. Suffice to say, I had to fix this new problem number 5 ASAP.

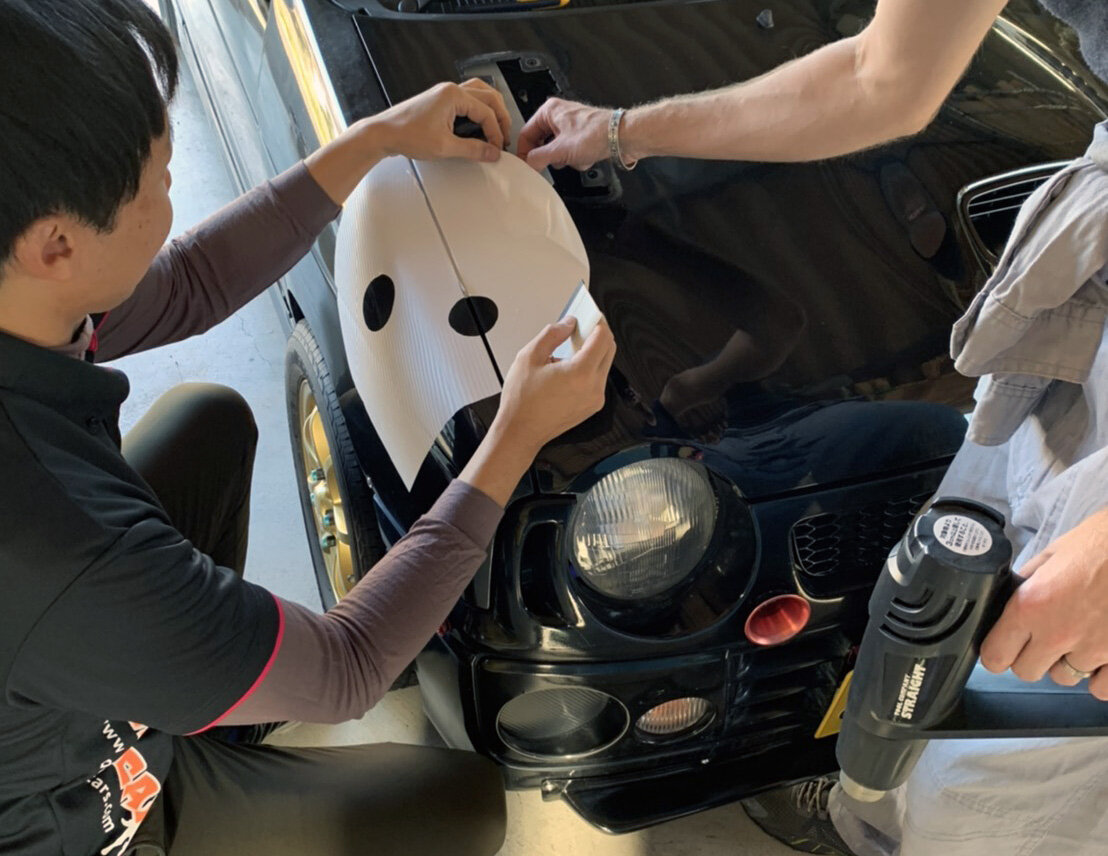
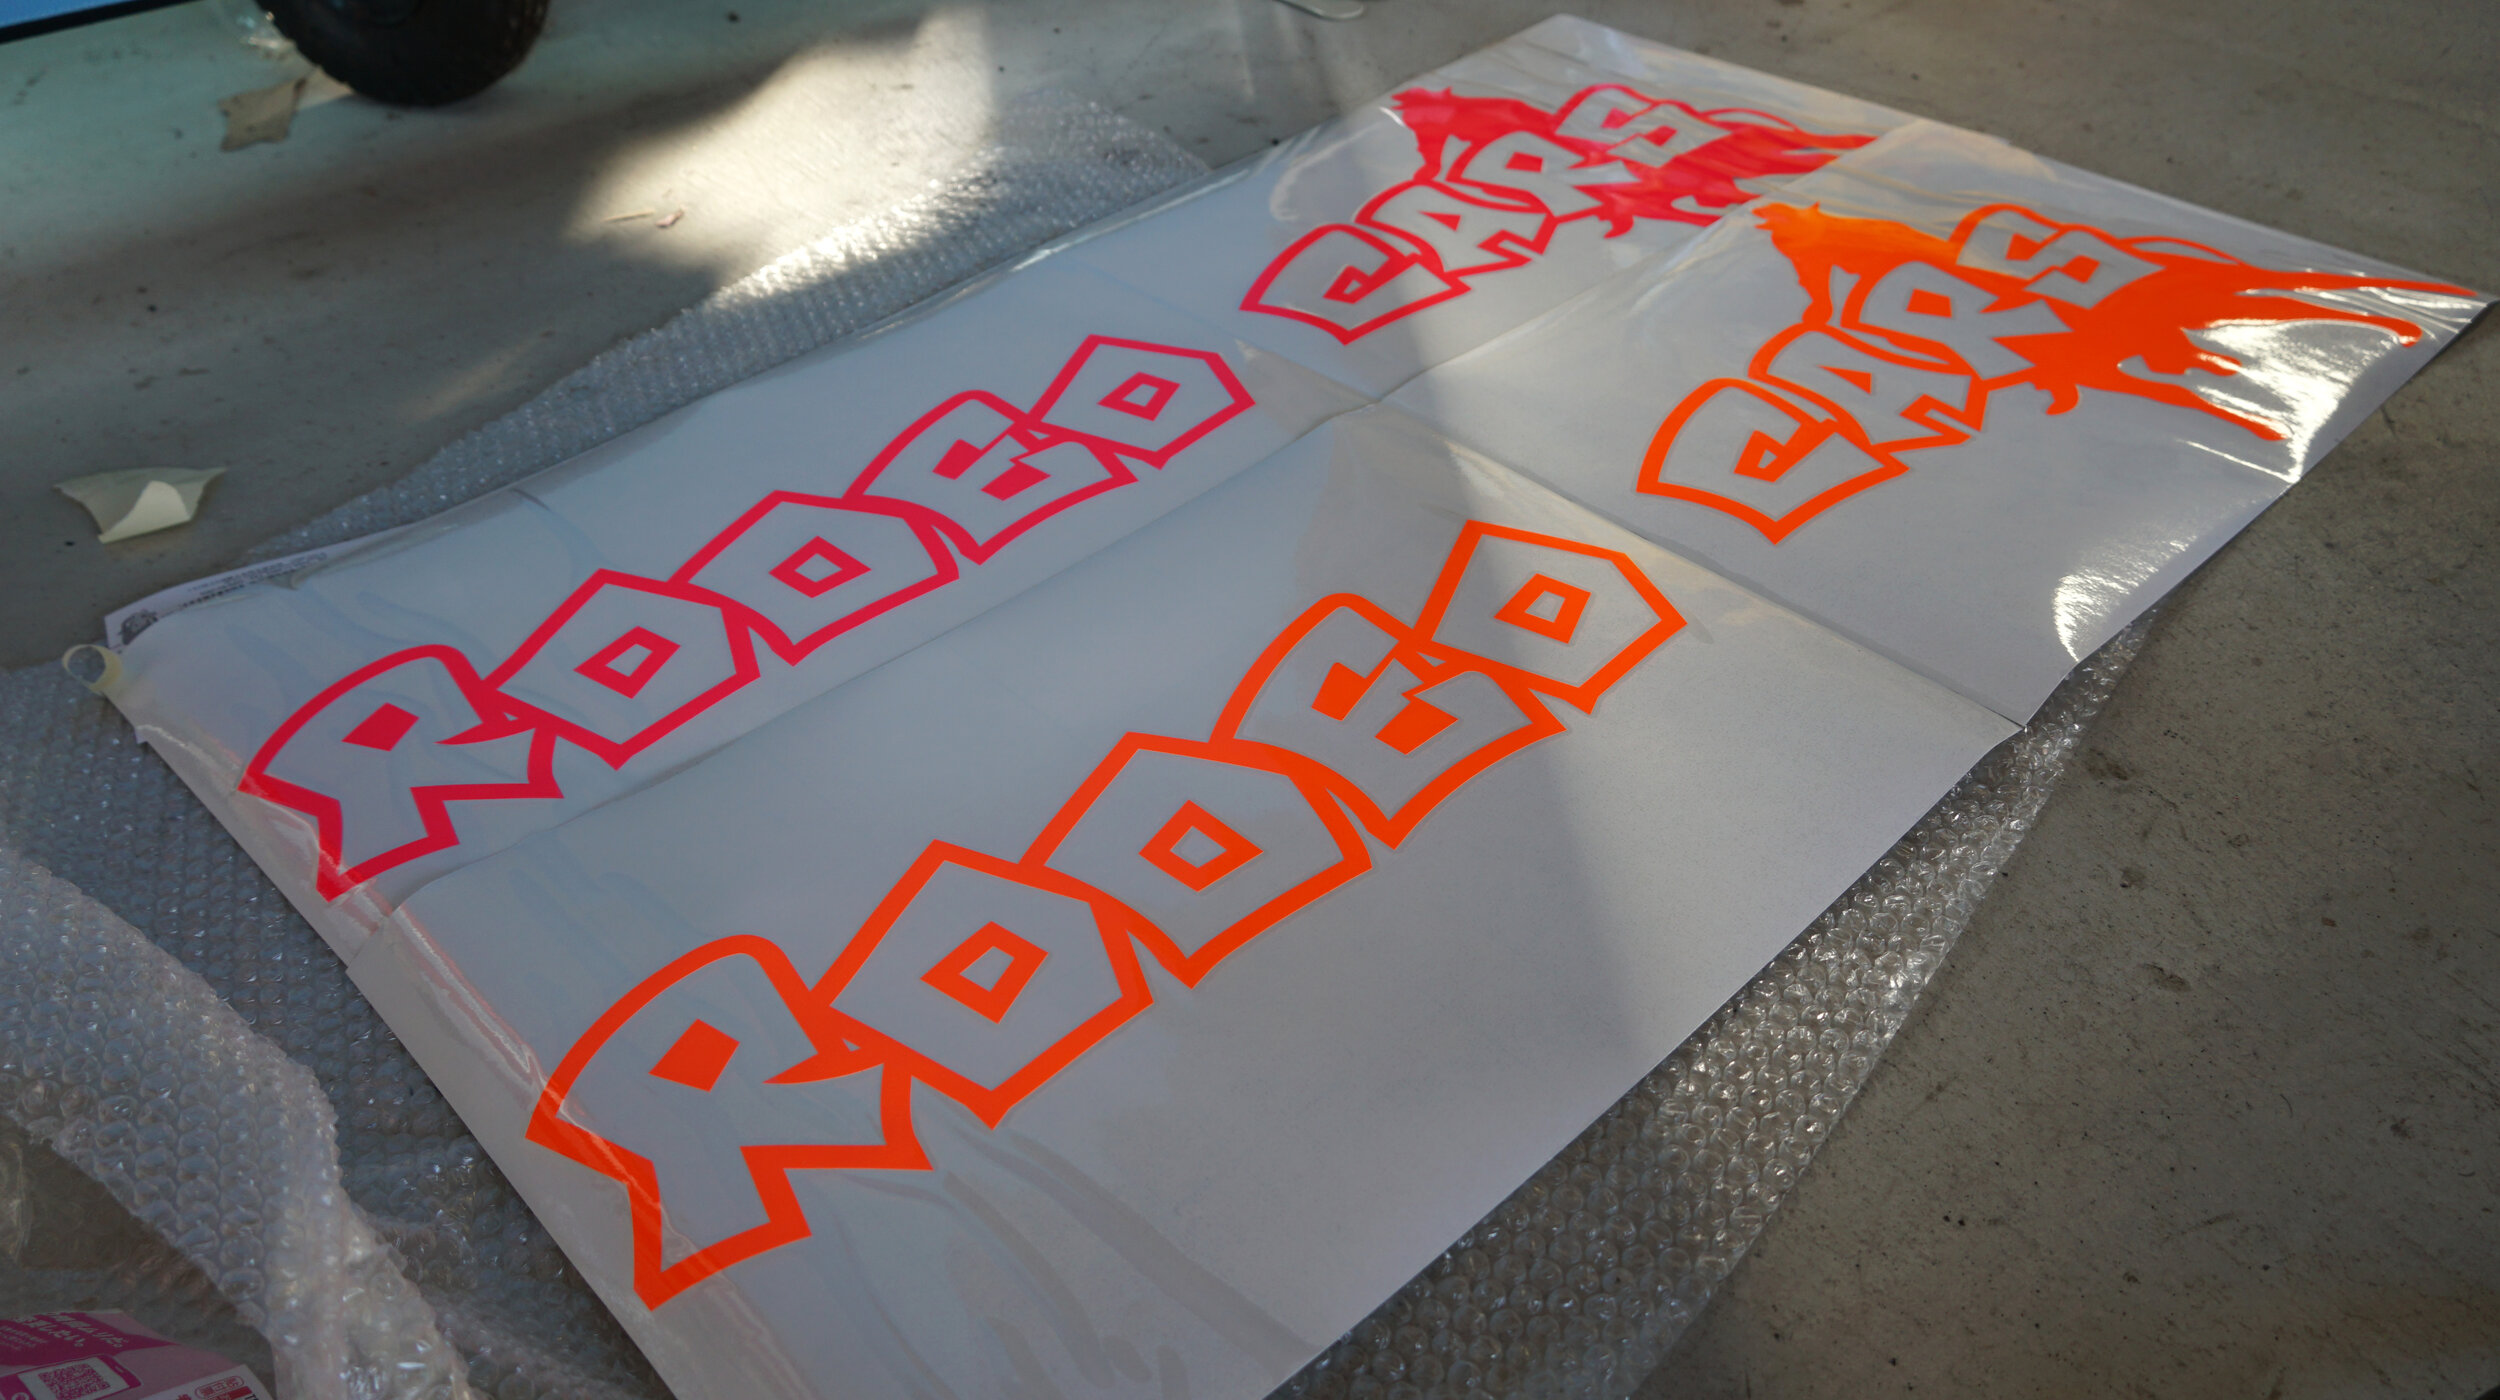
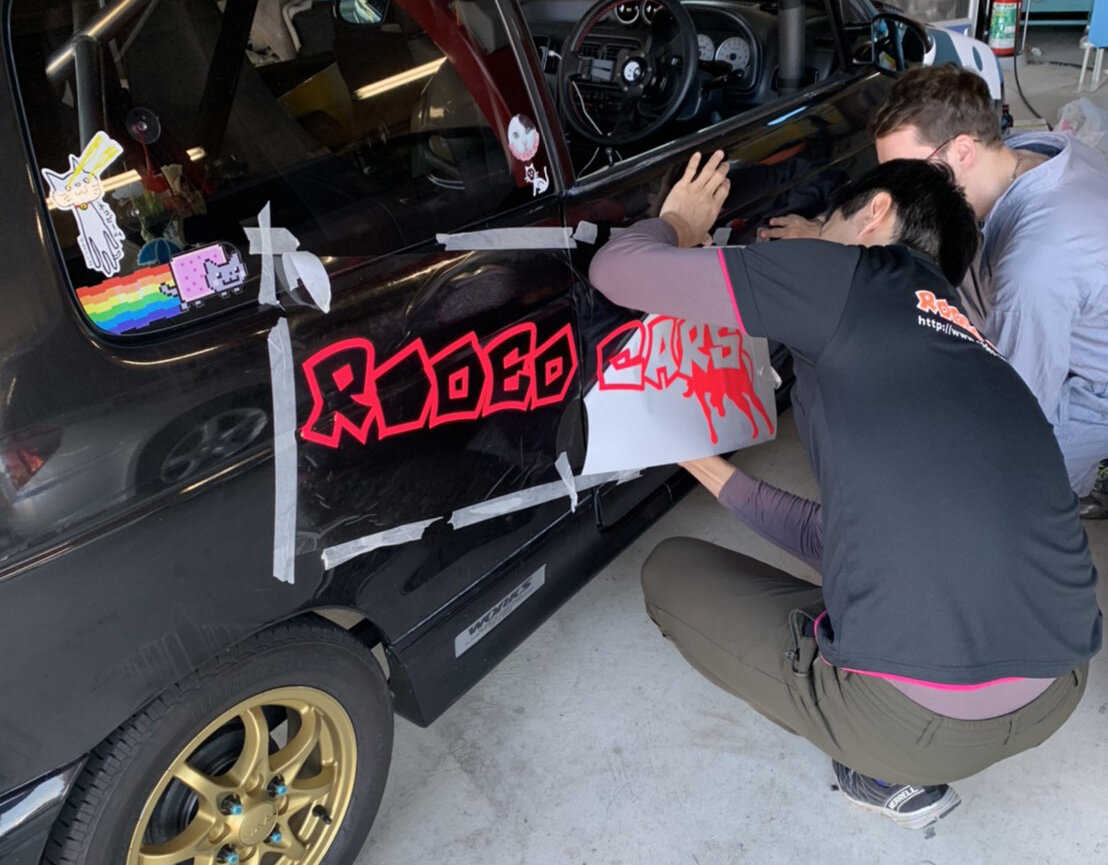
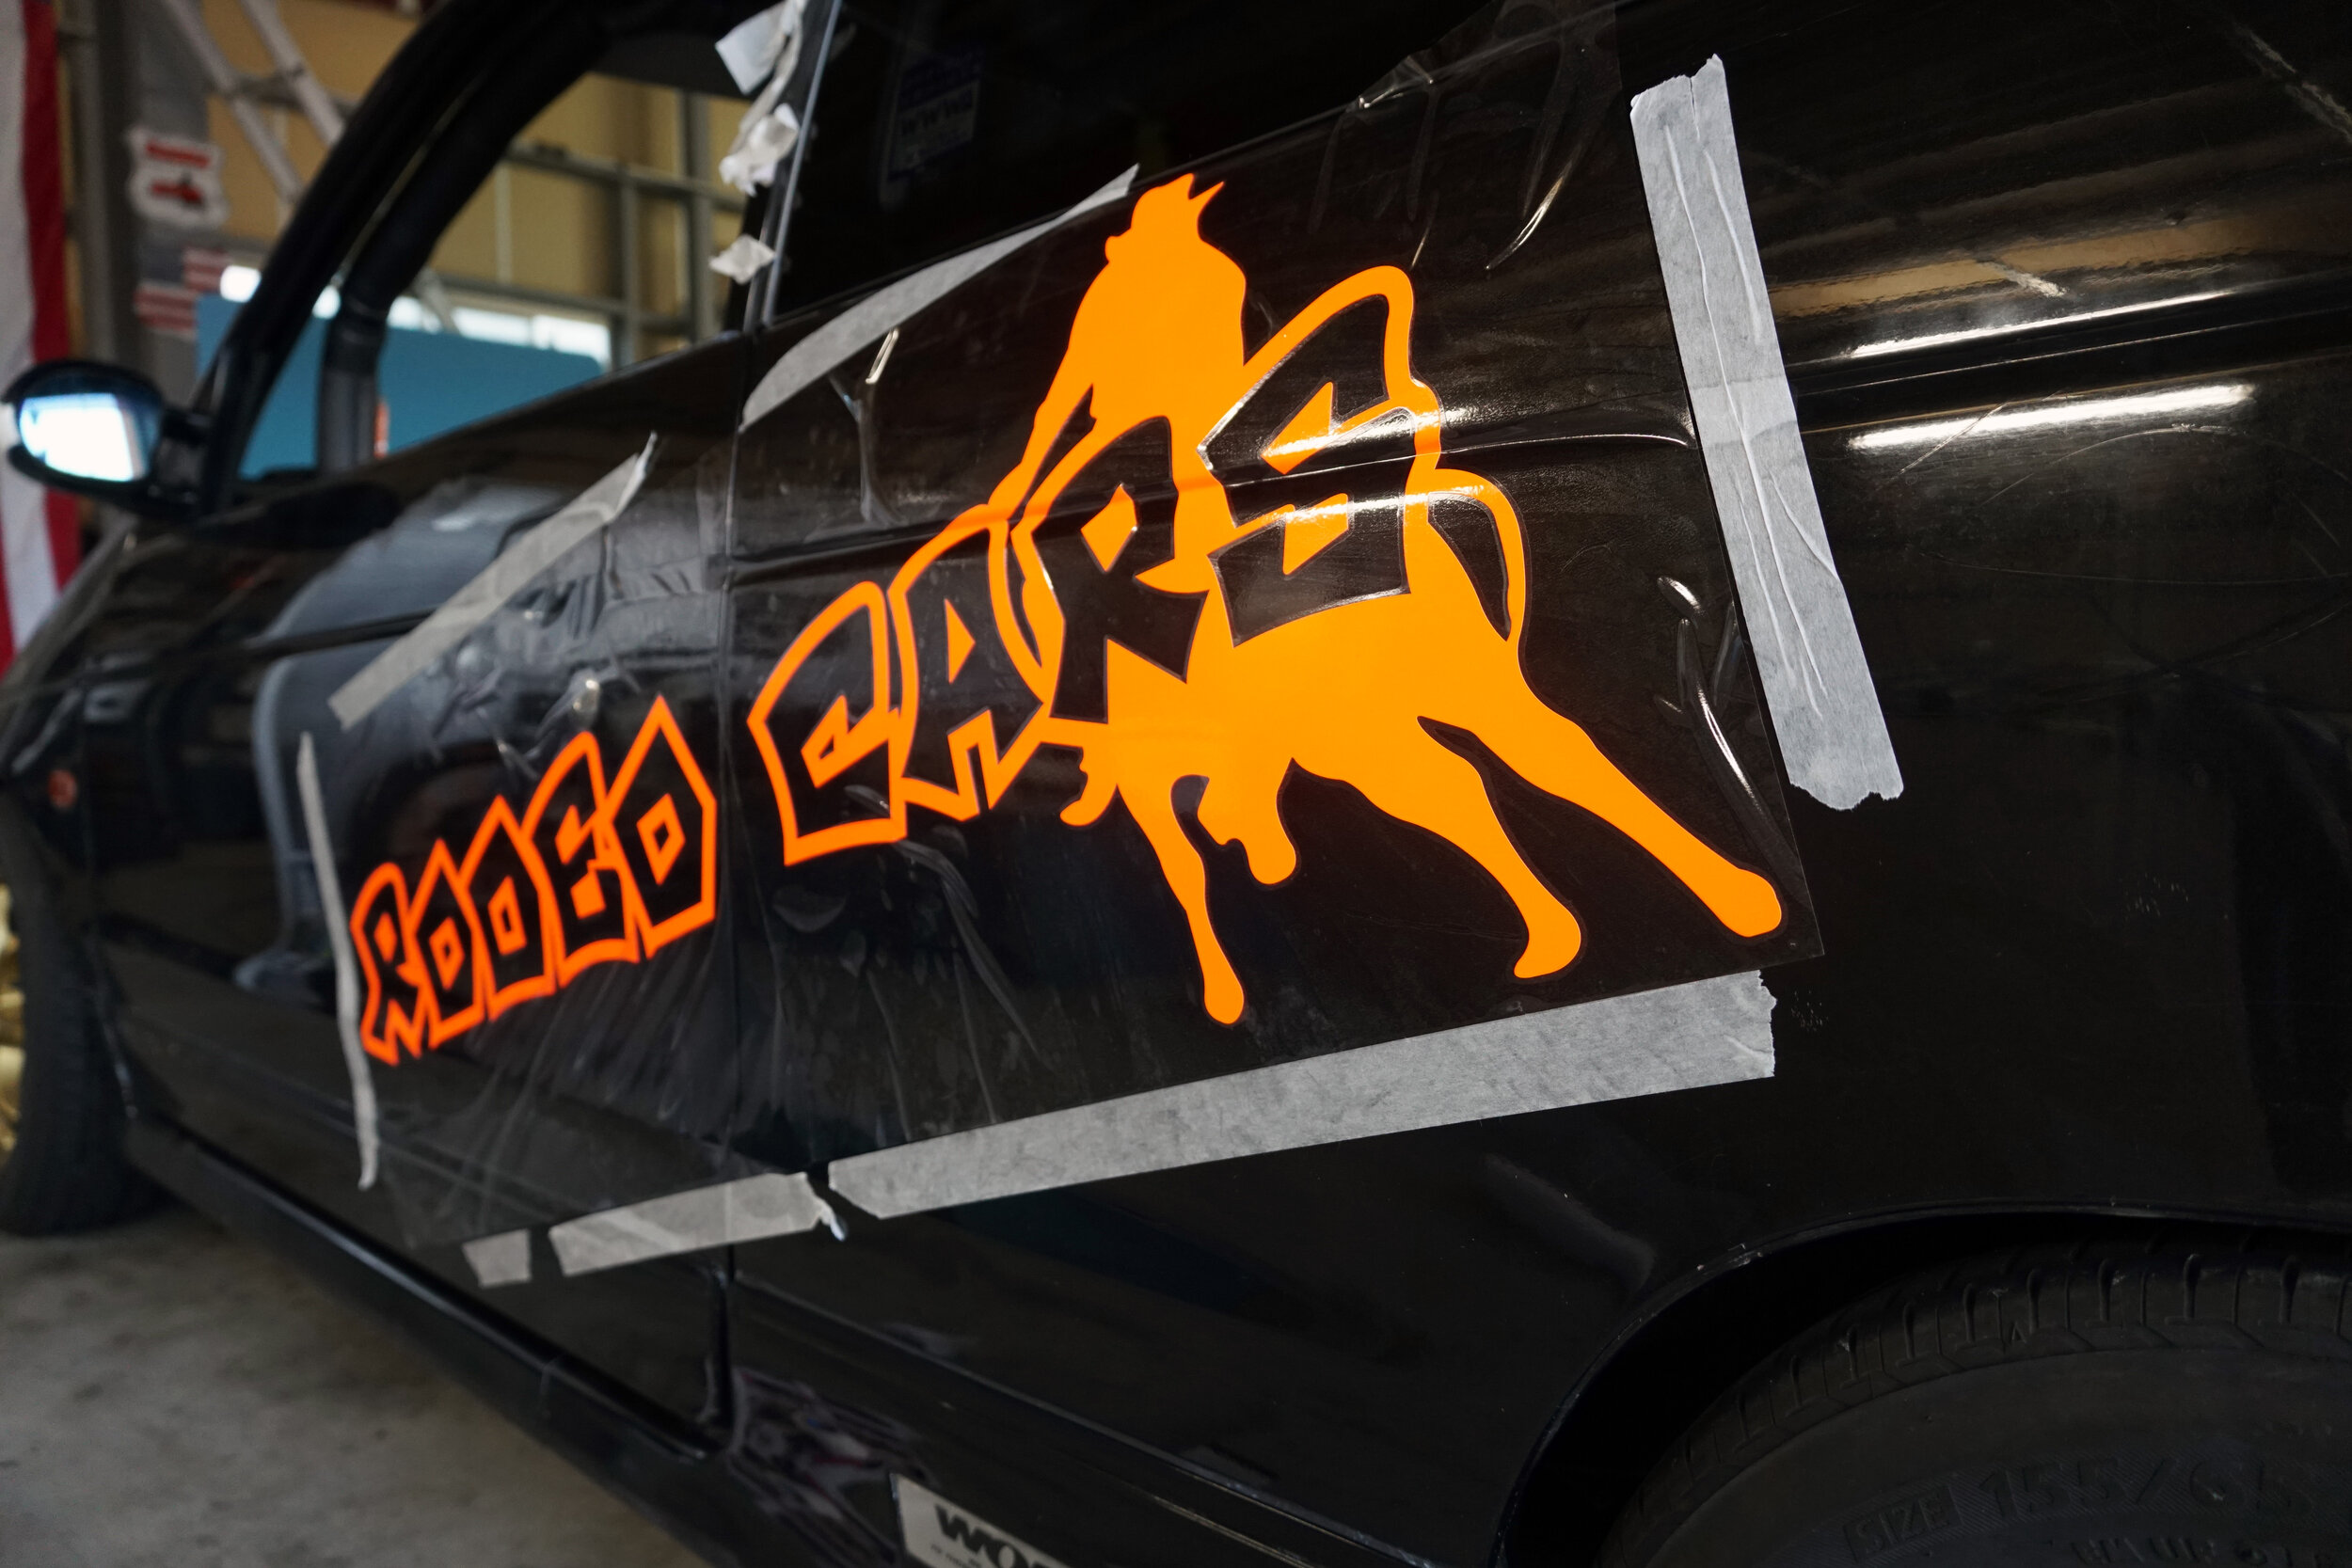
I finally got the new replacement steel lug nuts I ordered online. There were a few options online, but for now I went with this reasonably-priced open-ended set. I also wanted red nuts because… red is cool? I figured it’d match the look better with the rest of the car’s red touches.

So I had a decision to make at this point. My options:

1. Revert everything back to before the installation of my wide fenders. This would leave me with some bolts along the fender because of the drilled and installed rivnuts.
2. Install the stock shocks and raise the car back up to the crossover ride height.
3. Cut the rear fenders so that I can remove the rear ? perch, lowering the car back to an acceptable ride height, allowing me to use the Suzuki struts as well. However, doing this is a permanent modification and ultimately completely prevents me from renewing the shaken ever again.

What would you do? What do you think I did?

DSC01003.JPG

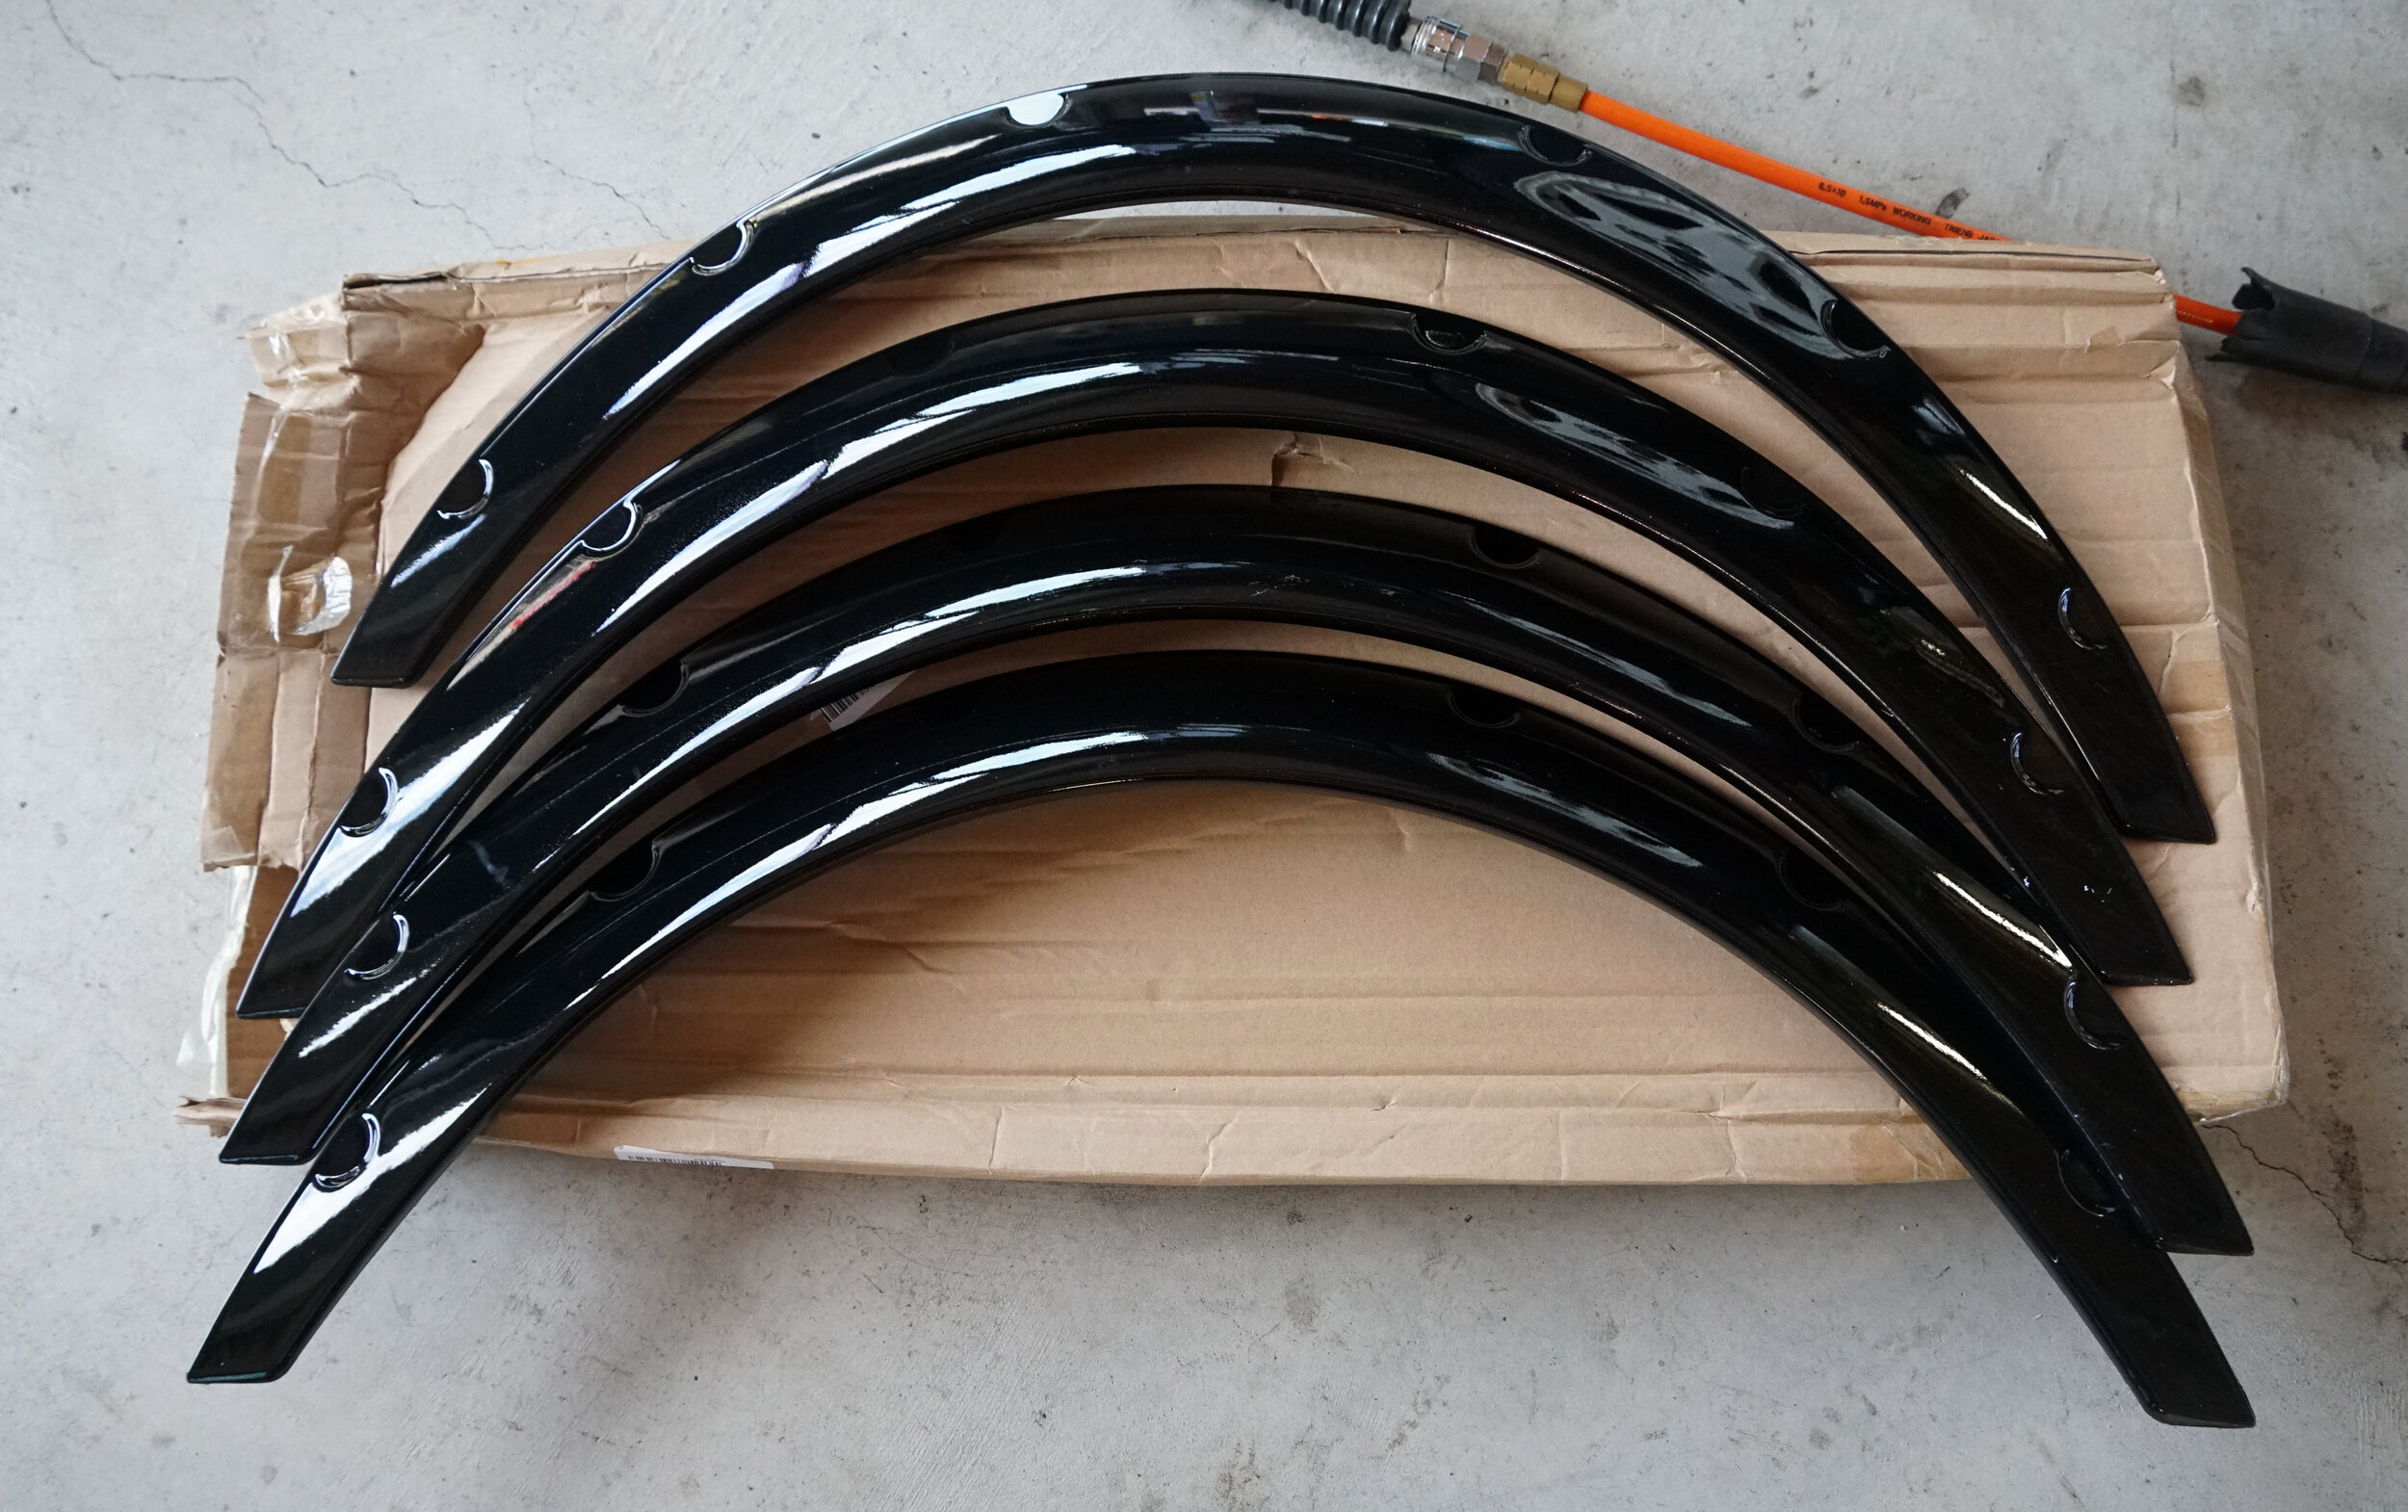
Of course, as this is a project car, I did the least reasonable option, number 3. There was no way I could go back to stock and random bolts along the body would just remind me of my failed attempts at wider fenders. And the ride height of option 2 really ruined the sporty image of the car. So it was time to cut the fenders.

DSC01004.JPG

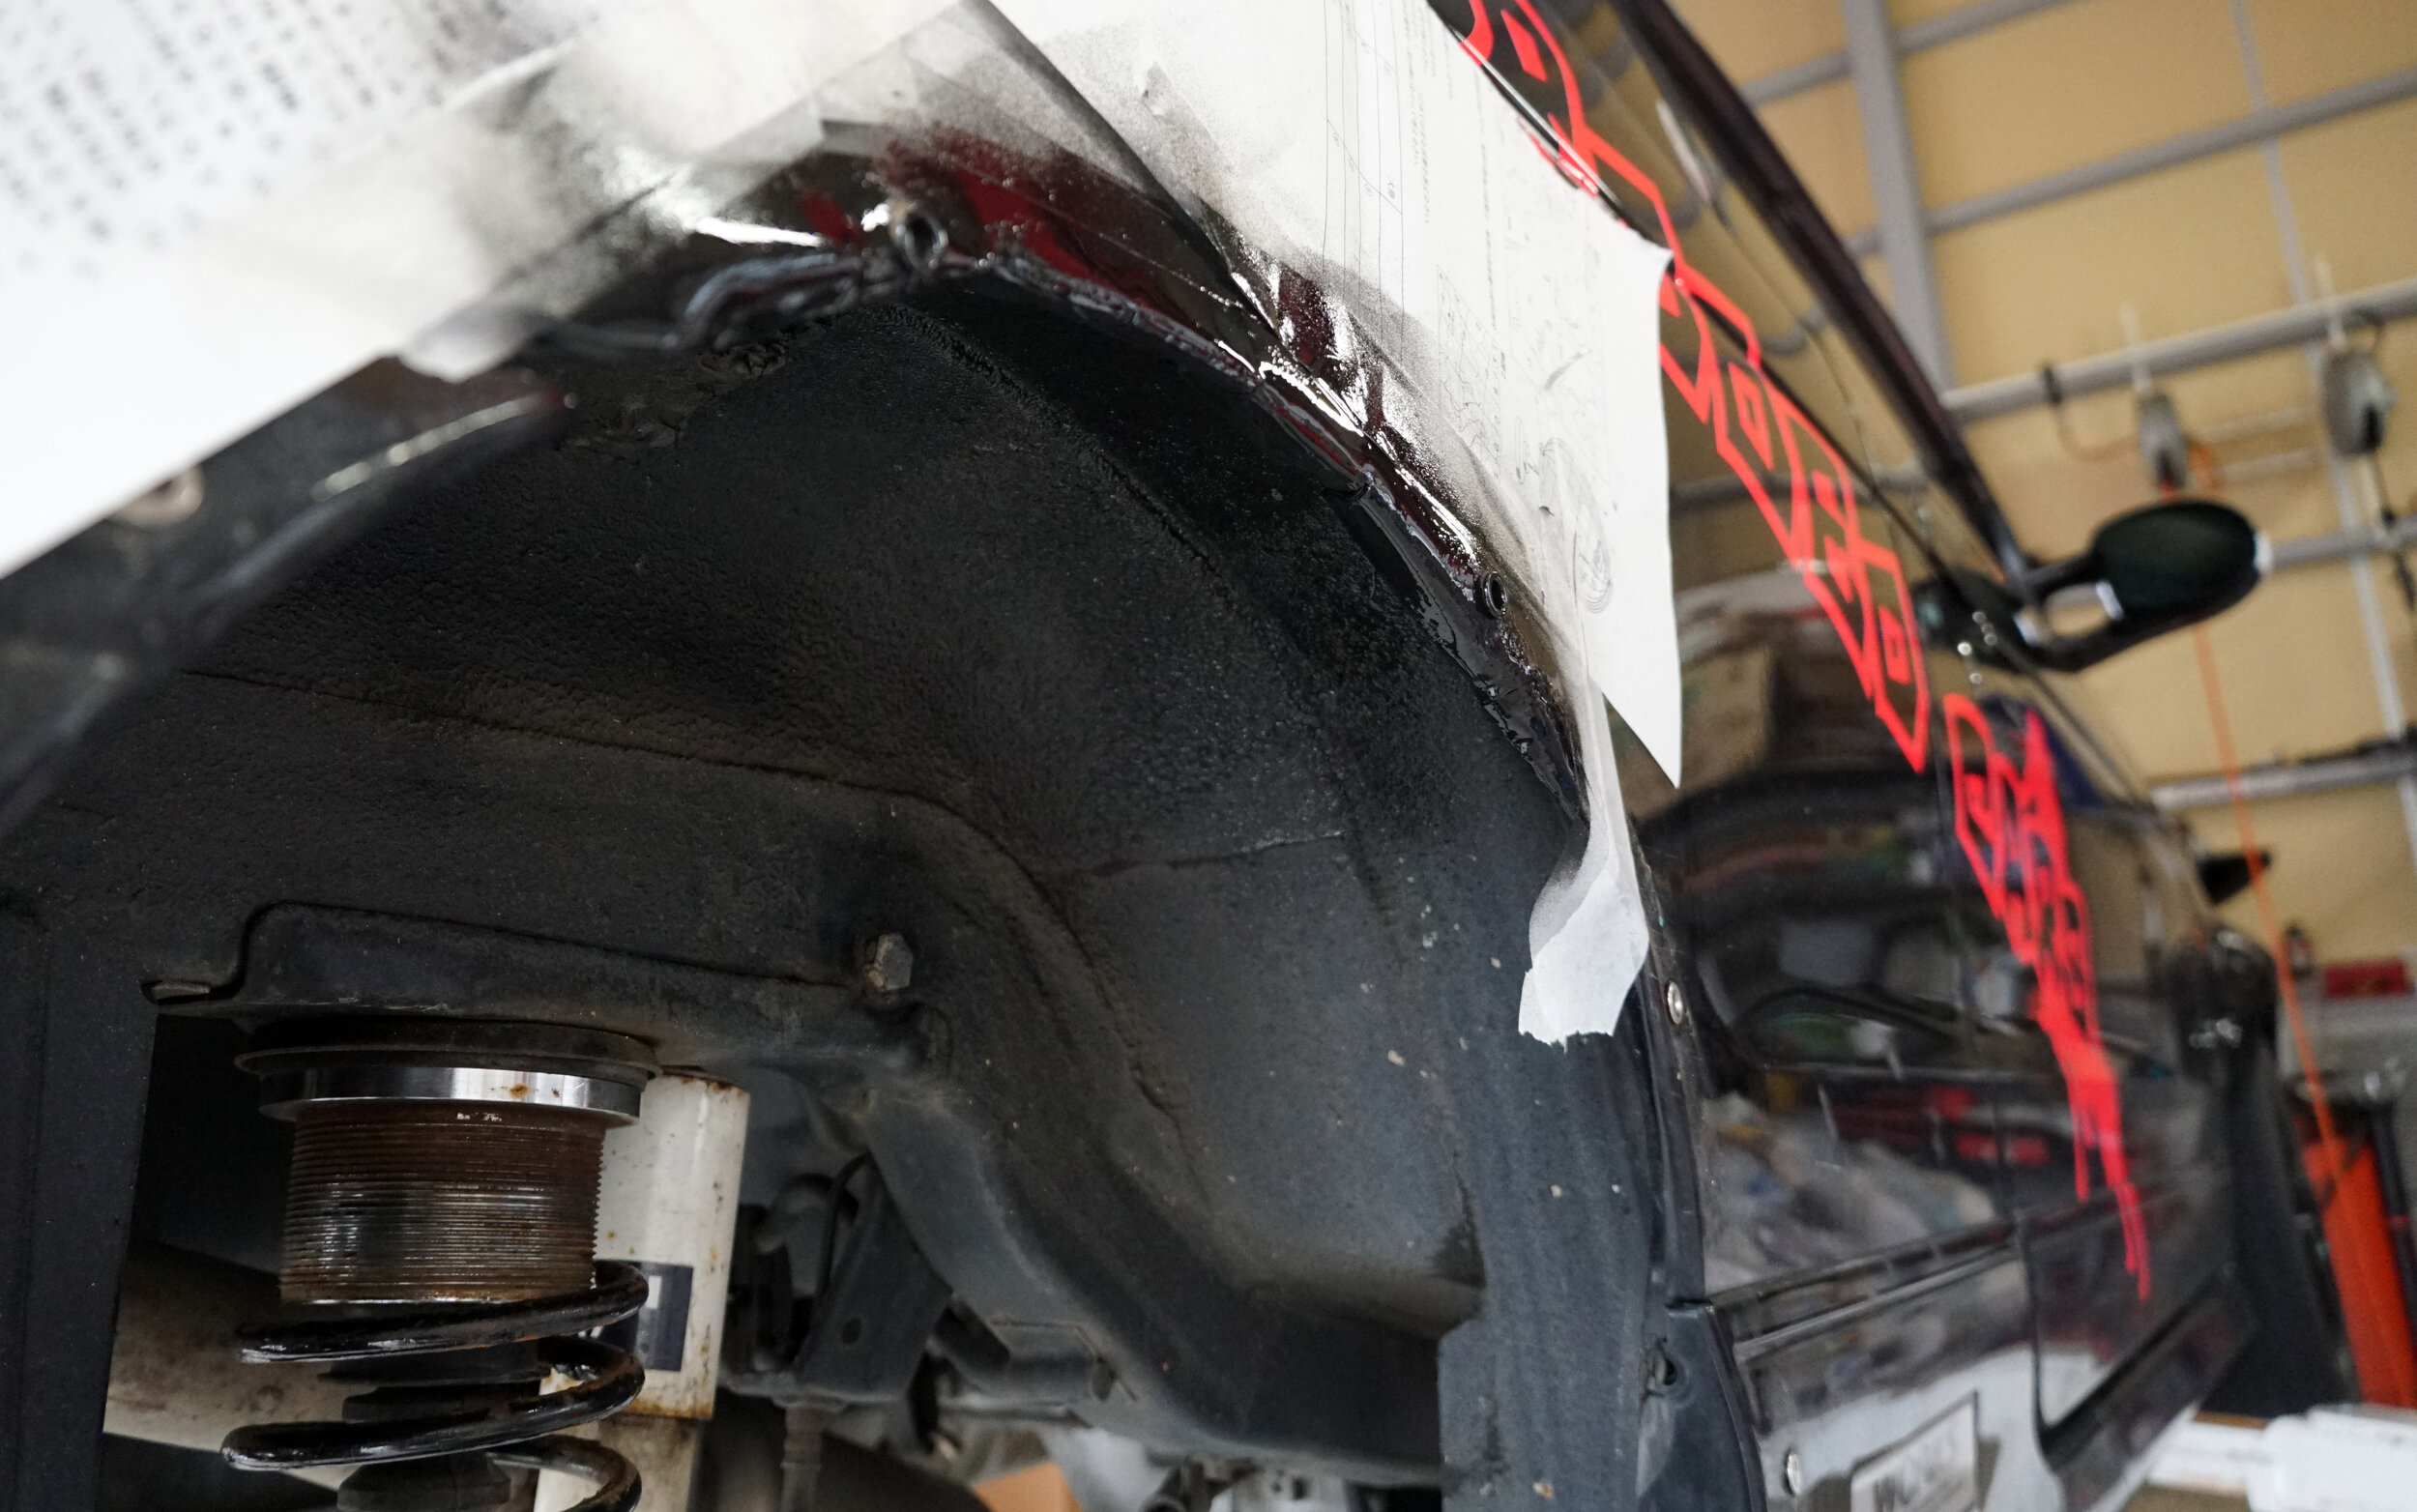
Did I worry about it? You can absolutely bet I died a little inside the second I put the blade to the fender… I put a few cuts in and the deed was done. Using a pair of tongue-and-groove pliers, I folded the material back.

At this point, I just went all in and used a hammer to smooth out the edges as much as possible. A final coat of black paint to minimize rust and it was finished. I hoped the additional clearance of 20mm would be enough to prevent fender rubbing.

DSC01011.JPG

I put the fenders back on and took off the adjustable RSR collar. Once the car was back on the ground, the stance was amazing. It had a really nice look that was a bit lower than when the collar was on… which means it looks great, but now I am worried that it will rub.

Sadly, when I hit rather sharp dips, the tires do kiss the overfender. While it isn’t frequent, it does occur with enough frequency that I am not 100% satisfied… just 95% happy, but like everything, it is a compromise. I love the look, but to increase the stiffness of the rear shocks anymore would likely be unacceptable to someone else. Set at a 3 firmness level, it is fine for almost all daily driving situations.

DSC01029.JPG

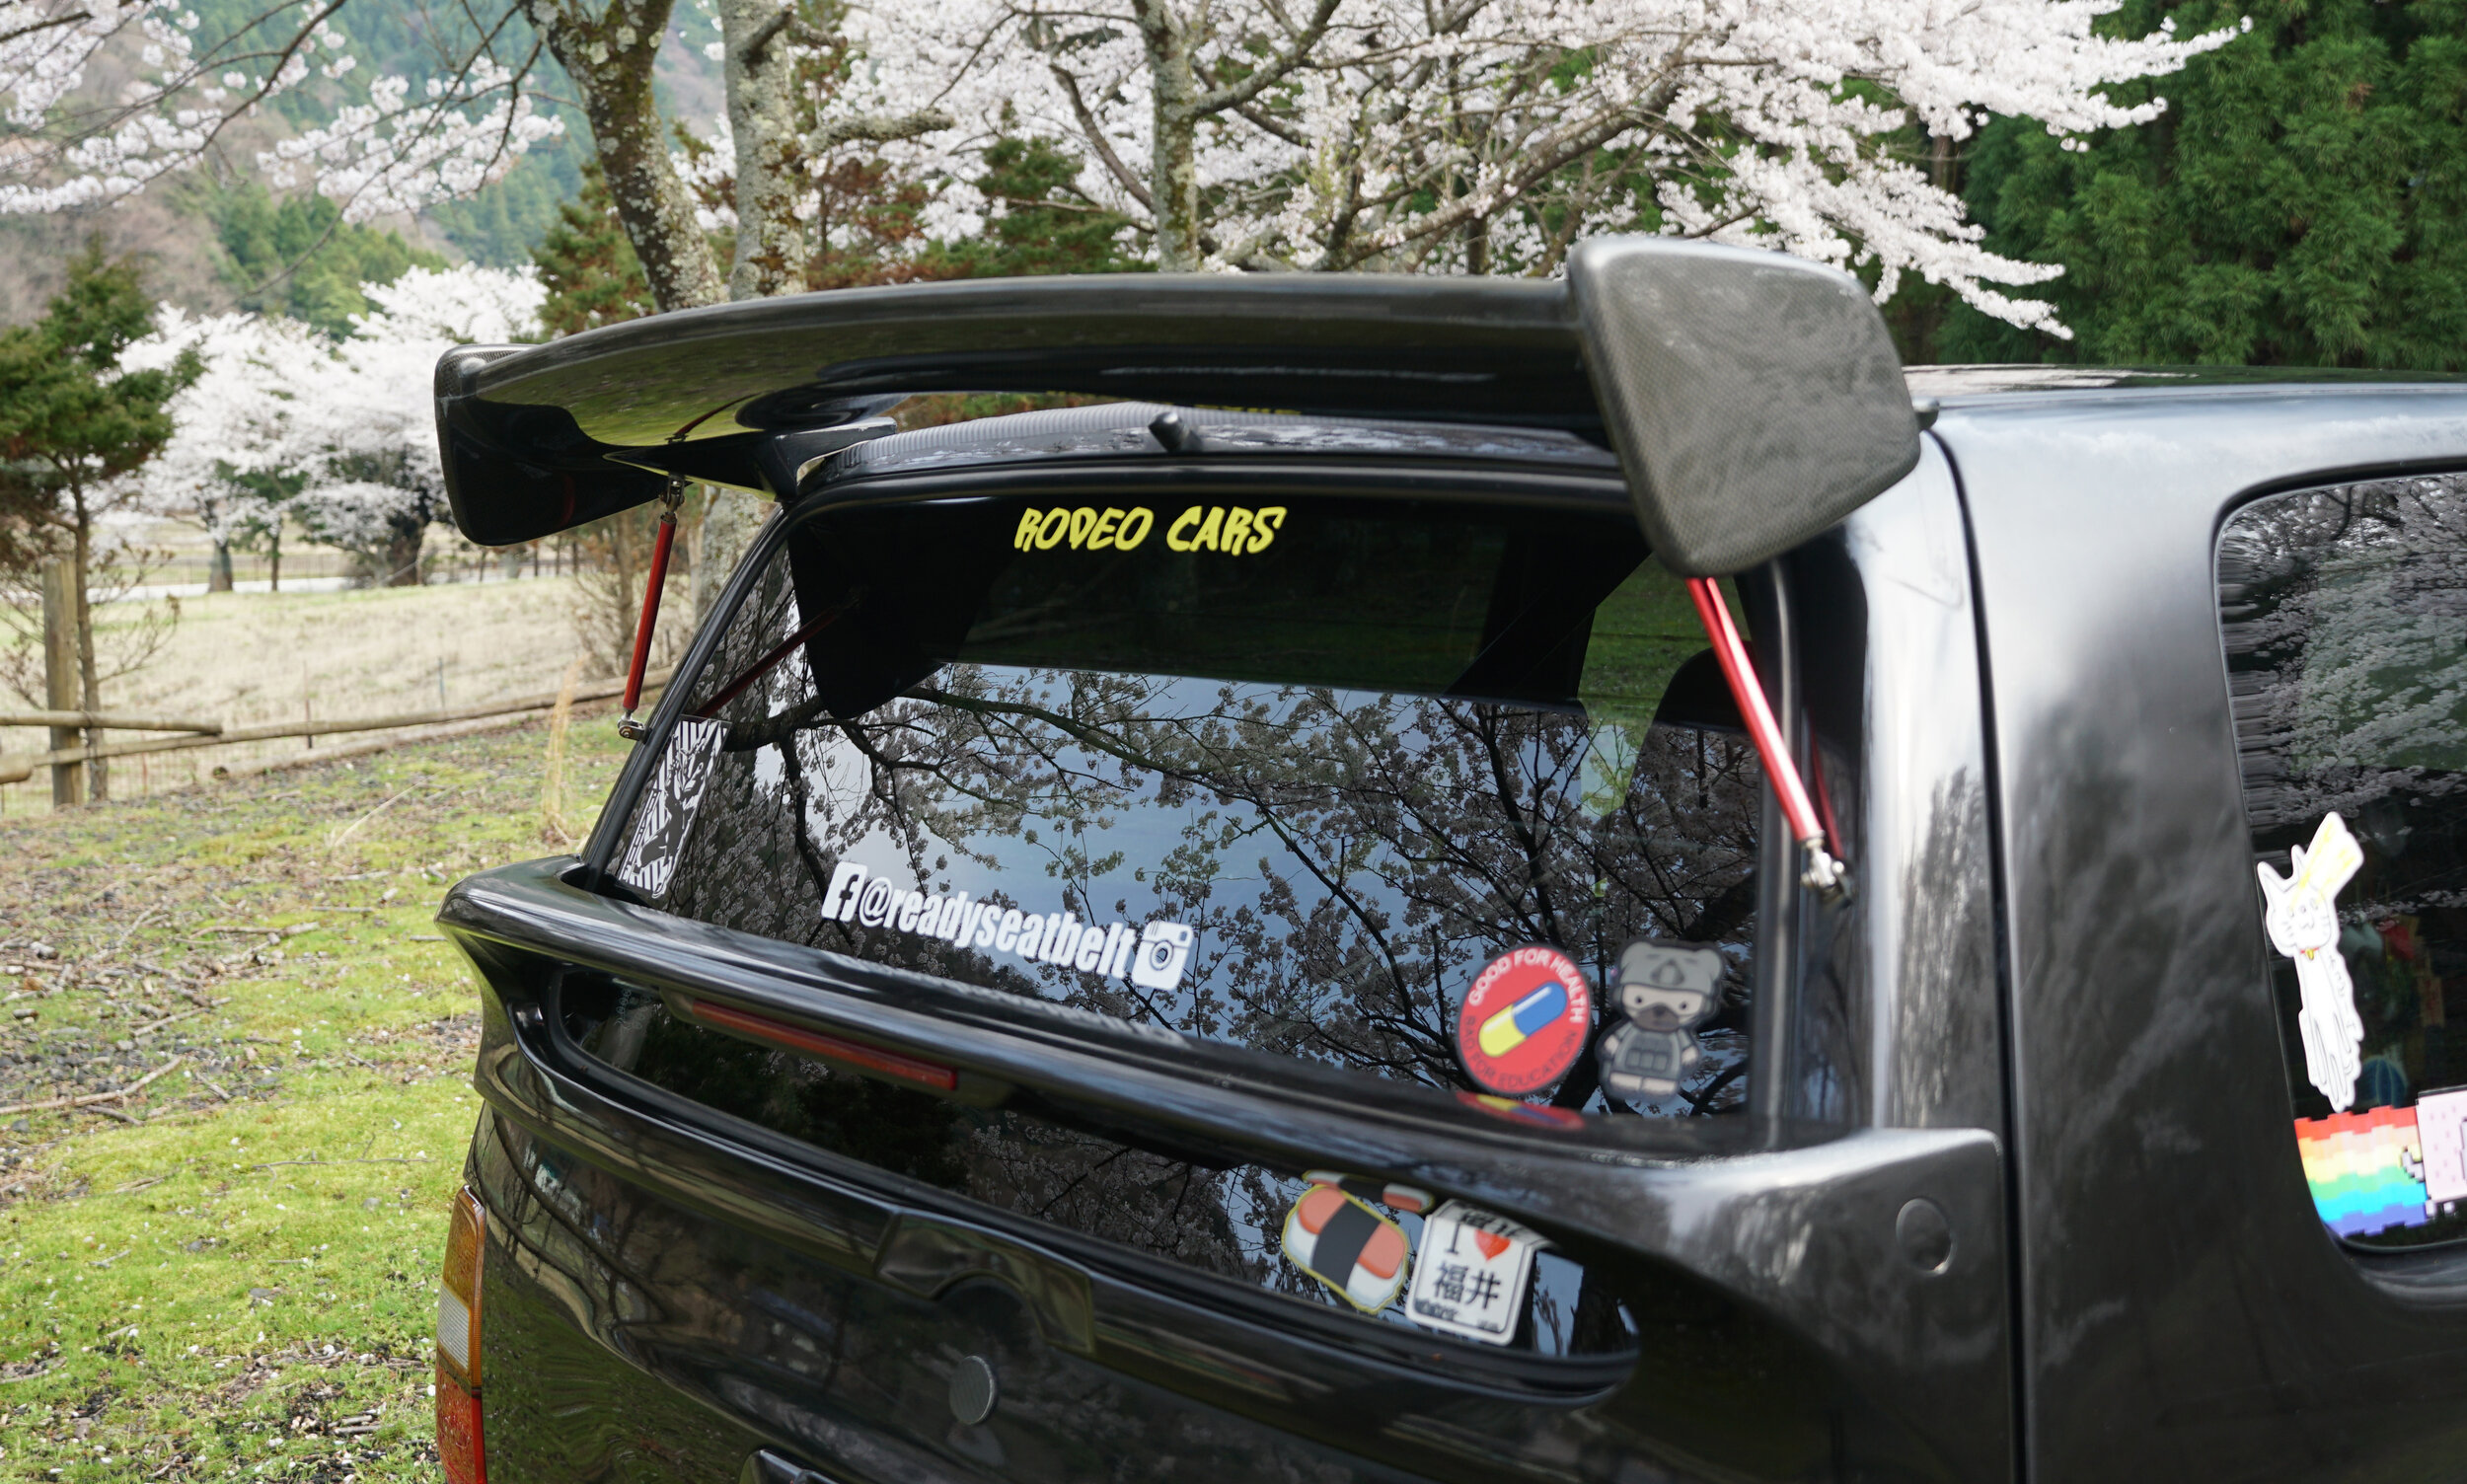
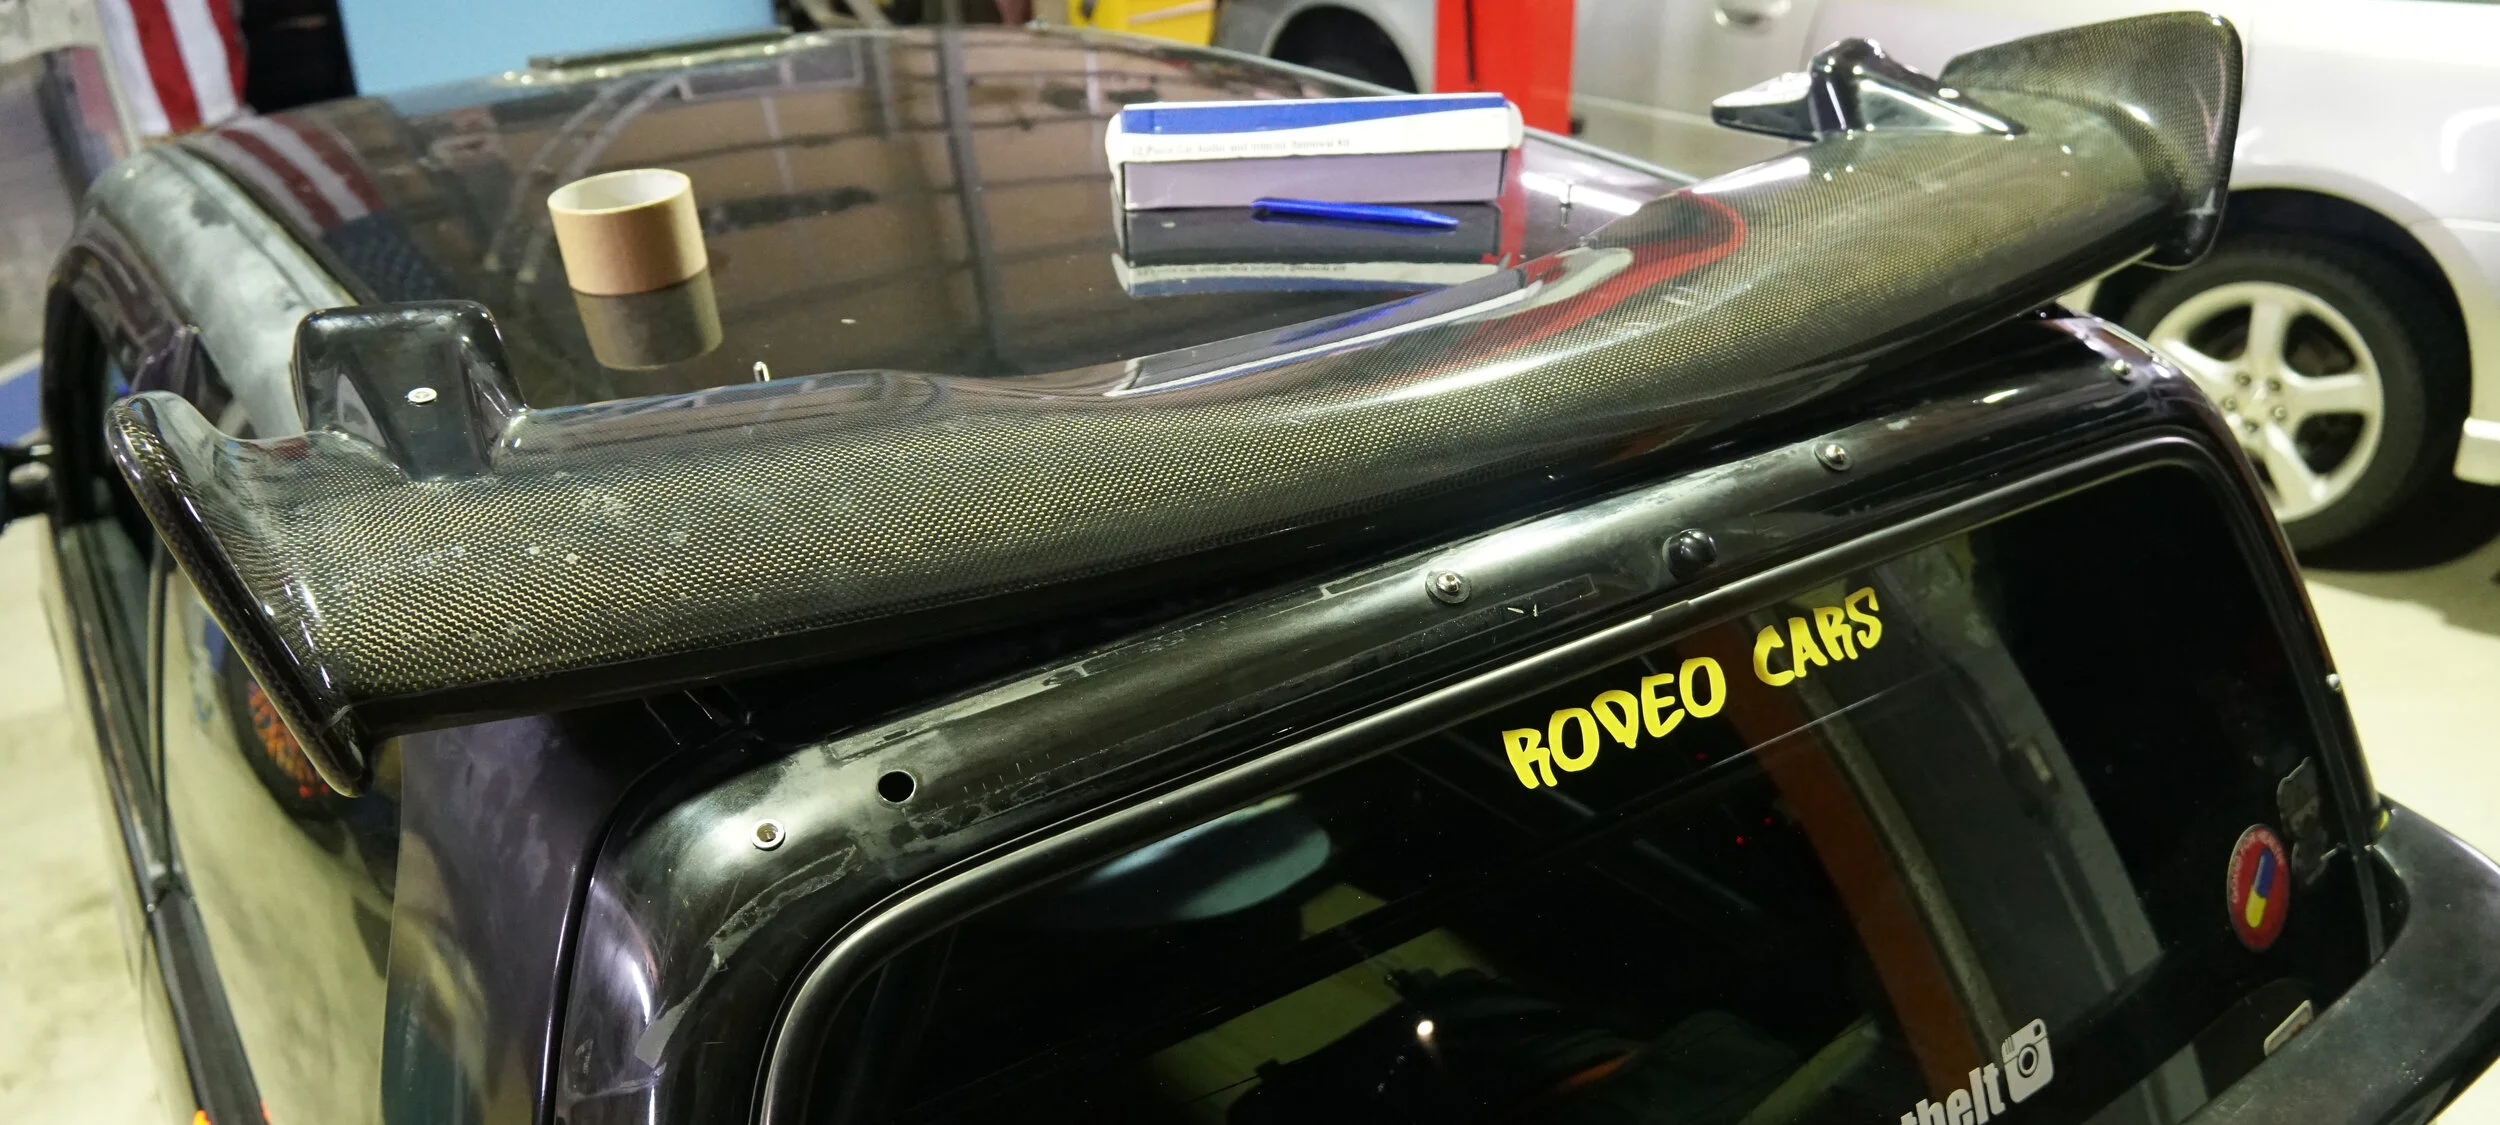
Despite all the trouble with readjusting the suspension and difficulty getting the fenders to fit just right, the look is absolutely worth every bit of sweat and toil. Look at how beautiful this stands now.

I think now would be a great time to reflect and analyze this whole project from start to finish. Don’t mind me, this is just the reflections of a guy who has worked on this little thing for far too long.At first, I was interested in installing fenders for the looks. Functionally, they really offer no benefits. It’s not as if my car needed maintenance work. This desire for customization led me to spend countless hours and several hundred dollars on the whole project, but the results, to me, look amazing. Almost everyone else doesn’t even notice them at all.

For something so little that admittedly caused some frustrations, why would any reasonable person essentially waste their efforts on these… or car modifications in general? I recently talked to a friend of Rodeo Cars. He understood that this stress, but he emphasized a lot of the fun, for him, was in the process and figuring out a way to reach your goal. The methods used, the different steps, the considerations, the thinking process, the physical toil… there is a certain satisfaction there.

DSC01849.JPG

For me, the fun is the finished result. The fact that my car may not look like much, but it stands out to those who know. To know all the work I put in was successful and see a beautifully finished product.

DSC02314.JPG

(And before you ask, yes, shaken will be a problem. The dimensions of a car are set in the paperwork. You can infer from that statement everything else...)

July 02, 2020 /William Tjipto
Cars, Japan, Ownership, Project Sachiel
Comment
2020-03-05 001.JPG

[ Alto Works ] Fender Flares, Part 2

June 19, 2020 by William Tjipto in Cars, Japan, Ownership, Project Sachiel

Having fender envy from all those wide cars I see, I ended up picking up a set of cheap, universal overfenders. The quality seems pretty good, but now it came down to the hardest part of installing them on my Alto Works. As with my oil cooler project, I expected it will take quite a bit of time to get right. I am by no means an expert, especially given that I have never done this before. Along with the fenders, I ordered some M6 stainless steel rivnuts and a rivnut tool. I also bought some rust-preventative paint and M6 button head stainless screws from the local hardware shop.

Initially, I thought I would forego using rivnuts because I had not planned on removing the fenders easily, simply using nuts on the backside of the screws. However, given the positioning over the rear fenders, I realized that two of the nuts would not be easily accessible. So, I simply decided to order rivnuts for sake of removing the fenders should I ever need to… which I will.

First up, I started off with drilling holes through the 6 potential points. I went with M6 screws because they are a bit bigger, will hold better, and certainly look better than M5s.

The next step of fitting, aligning, and measuring took a ridiculous amount of time because I was paranoid I would mess the whole thing up from the get-go. Since these overfenders are “universal” they are not sized or curved perfectly for smaller wheels (and smaller wheel wells)  like these. There are a lot of other considerations to make when doing something like this. One big consideration is that the Alto has rather squared-off fender cuts which do not flow around the curve of the wheel. This leads to a few questions dancing in my head: How much do I go about curving around the fender openings? Where should I position the screws? How much fender would I need to cut later? Should I attach the fenders over the bumpers or cut them short?

I literally spent way too much time pondering the real questions, so I eventually gave up and just dove in. Let’s see how the work goes.

DSC00273.JPG

The fronts were fairly easy. With the camber of the front suspension even fairly aggressively spaced out, the wheels fit under the stock fender as it is now. I recently picked up Durax +40 spacers, pushing out the wheels to as far out as the stock fenders can handle. I can maybe squeeze out +5 more, but I opted not to at this time.

DSC00294.JPG

With the first front screw in, I went about slowly drilling one hole at a time, removing the fender, deburring the hole, painting the anti-rust paint, installing the rivnuts, and installing the overfender back on before proceeding to the next hole. This process took probably nearly an hour per fender.

DSC00563.JPG

As carefully as possible, I tried to make sure the rivnuts were installed with a tight fit. Unfortunately, a few of them are a bit looser than I wanted, but they still work to hold the overfender in place.

DSC00569.JPG

I also cut a bit away at the ends of the fender for a cleaner look, going with the body lines as much as possible. The fronts are done and they look amazing, but after driving like this for a few days, I realized that the car was too low, so in aggressive corners, the overfenders rub the wheels. Problem number 1. This means I have to jack up the car again and raise the front suspension later... 

DSC00591.JPG

Now onto the rears. The rears were a huge problem, to say the least. The rear of the car looks amazing now at this ride height and wheel width with 20mm spacers.

DSC00595.JPG

As the rears will be sunk in a bit more with wide fenders, I purchased a set of +50 spacers, pushing out the wheels far outside the body as reasonably possible. However, with the addition of these 50mm wheel spacers, the tires will certainly hit the fenders with any amount of compression and the Sport-Service RSR adjustable suspension is near the maximum height. This means I need to go with a new set of stock-height springs to raise it back up further. Problem number 2.

DSC00597.JPG

Since my stock springs were cut, I had to buy a new setup. After scouring the internet, I came across only two basic options. Stock or replacement rear springs at around 5000¥ ($45 USD) or used whole replacement sets at 10000¥ ($90 USD). I found an awesome deal off Yahoo! Auctions, so I settled on buying a whole set for 9500¥ ($88 USD), shipped. Problem number 2… resolved?

While this means I paid quite a bit more, I will have a (second) spare set of front shocks and now adjustable rear shocks. Since my front sets are already quite good with the RSR set I installed awhile back, I might as well put in the adjustable Suzuki Sport rear shocks in now, right?

These adjustable Suzuki Sport shocks are amazingly beautiful. However, the replacement springs alone do not safely clear the fenders at full compression. I also needed to use the RSR perch which raises it so high these replacement Suzuki shocks no longer fit at that height… essentially, this made most of my purchase of these Suzuki items a moot point since I only used the springs from the set.

2020-02-08 001.JPG

Problem number 3 now appeared: well, this is actually just a personal problem to me, since it is completely a visual thing. The car sits way too high for me right now. There is a whole handful of space which actually means the car is riding even higher than stock. I am certainly not interested in driving a crossover.

Now I ran into a problem using these 50mm spacers. The studs are so long that my Suzuki Sport lug nuts no longer fit, as they go a few millimeters too deep into the thread so they no longer safely tighten down. I had to order a set of replacement steel lugs and wait for that from production-hit China. Problem number 4. In the meantime, I had to drive around with open short nuts on the rear wheels.

DSC06450.JPG

This simple project to install wider fenders has cost me much more money and time that I had initially anticipated… and I still have 4 unresolved issues so far.

But damned if I don’t say it’s starting to look really nice.

June 19, 2020 /William Tjipto
Cars, Japan, Ownership, Project Sachiel
Comment
DSC_9956.JPG

[ Alto Works ] Fender Flares, Part 1

June 10, 2020 by William Tjipto in Project Sachiel, Ownership, Japan, Cars
DSC_1214.JPG

Just when I thought I was close to “finished,” I came to the sad (yet, fun...) realization that no project car ever can be truly complete. I’ve always liked the look of simple overfenders on older cars, probably starting with the beautifully gorgeous look of modified early Fairlady Zs (240Z in the US). I wanted to install a set on my Miata back home, but never had the chance to put a set on.

IMG_4312.JPG

Unfortunately, I’d say that the boxy look of the Alto Works doesn’t necessarily go completely well with the look of rounded overfenders when compared to the sleeker look of the Z or Miata. Besides looks, wider fenders provide a few other benefits, chief among those is the ability to install wider or spaced-out wheels. Wider wheels can provide better traction, grip, and potentially better handling…

DSC_1444.JPG

Though more often than not, the drawbacks far outweigh the advantages. Cars are often designed and engineered properly from the factory, by engineers. Garage “engineers” try to improve upon essentially perfectly functioning cars, but I’ll be honest… we often do more harm than not to a car’s performance, reliability, or even looks. Cars are originally designed with a particular set of springs, dampers, and rough wheel size and weights in mind, not with the larger unsprung mass of wider / bigger wheels that we love the look of. On my Alto Works, for example, the wheel bearings, already stressed from spacers, will have significantly more premature wear over the coming months / years with wider-set wheels. How do we ruin the car as a daily driver? Add some potential for rubbing wheels on fenders. And how do we screw ourselves in Japan? Fail shaken is probably the main way...

DSC09108.JPG

All that aside, I still really wanted to try a set of overfenders out. I figured, worst case scenario, it would ruin a car that I could no longer perform shaken on next time. Best case scenario? Well, the car could look darn wicked with a widened track and some custom fenders. Weighing these options, I ordered a set of four overfenders for a super cheap price of about $50? USD, shipped. These are made as universal “front” fenders at ?mm long, about ?mm wide. Of course, given the price, I expected little in terms of quality. I even considered that it wouldn’t even fit the car. Though who cares if it won’t be a perfect fit? At this price, the experiment is worth a shot…

2019-10-06 003.JPG

It turns out the fender quality seems to be pretty good. They are flexible under pressure, yet very stiff. I had no issues subjecting them to strong bends in an attempt to see if they would crack or shatter. The black shine also was fairly decent, though out of the box there were a few scrapes. If I had worried about them more, I’d refinish them, though since the car itself has bad paint, I didn’t bother.

2019-10-06 005.JPG

Time to get them installed next time!

June 10, 2020 /William Tjipto
SUZUKI, ALTO, ALTOWORKS, WORKS, HA11S, HA21S, JAPANESECARS, JDM, CAR, JAPAN, CARLIFE, READYSEATBELT, WING, AERO, SPOILER, スズキ, アルト, アルトワークス, ワークス, 軽自動車, 日本, 愛車, 自動車, 車, ウィング, スポイラー, エアロ, エアロパーツ, TRUST, GREDDY, オーバーフェンダー, オバフェン, OVERFENDERS, FENDERS
Project Sachiel, Ownership, Japan, Cars
Comment
DSC02283.JPG

[ Alto Works ] Vinyl Stickers

April 17, 2020 by William Tjipto in Cars, Japan, Ownership, Project Sachiel

If you look carefully, you might have seen some new stickers appear and disappear on my car from time to time. Thanks to RKADE and ORCA for all the sticker sponsorship so far! These gorgeous designs are absolutely badass!

DSC03212.JPG

There are two basic ways to put on vinyl, wet or dry. For most folk and for most stickers, the wet method is the easiest to lay down. The use of slightly soapy water allows infinite repositioning of the vinyl (unless it sticks onto itself), so mistakes can be easily fixed before drying. This also makes removal of those tricky, tiny air bubbles quite easy if done properly. However, this works extremely poorly for complex shapes and complex curves, as the benefits of easy removal make conforming vinyl over these surfaces hard to do; the wet stickers won’t stick easily and don’t work with a heat gun. (Of course, I’m not saying it isn’t a possibility, but in my limited experience it isn’t very easy to do.)

The other method is to apply the vinyl dry, in which case it is extremely useful to have a heat gun. Heating the vinyl allows it to stretch and shrink to some degree, conforming to curves and body shapes of car panels. For large sheets of vinyl, having two sets of hands to prevent vinyl from sticking on itself and help to push out the bubbles is a huge boon.

2019-11-23 005.JPG

As I might have mentioned before, I wanted to adorn my car with an Evangelion theme. So I enlisted my friend Aleks to help me apply a decent size cut of vinyl of Sachiel for my front hood and right fender. This is actually my second attempt, as the first time I tried this, I failed to apply it cleanly. I had considered trying the wet method this time around since the curves aren’t that “complex,” but I thought it would be worth one more try.

DSC00476.JPG

With the extra set of hands and a heat gun, we proceed to lay it out, moving carefully a little bit at a time. The result was actually pretty good from a few feet away. There were a few air bubbles I failed to poke out, though, as this sheet of vinyl doesn’t have those “air release” holes or channels. No matter, as it isn’t anything a pin or razor couldn’t alleviate at a later time.

DSC00481.JPG

Now these next two are just for fun. As some of you may know, I am friends with Rodeo Cars and Matsuda-san. He has generously lent me the use of his garage and occasionally his expertise to work on my crap can… I mean, Alto Works project… So in a manner of speaking, I’m here to represent my “sponsorship” with him now that the car is at a point where I am proud of it’s looks. (Or less embarrassed?)

2019-11-23 006.JPG

This was the initial plan, but I ended up ordering stickers a bit smaller due to the exponential cost increase with any larger sheets. In the end, the stickers still weren’t cheap. I won’t say how much… what do you think it costs?

DSC00492.JPG

Like the Sachiel decal, I will do this dry to allow it to go over the necessary surfaces.If you look super carefully, you might see the mistake I made with the pink side of the sticker. Otherwise, from a few feet away it is otherwise not so noticeable. Not to mention the colors are so bright and contrasting, most won’t be staring that close...

DSC00484.JPG

...but I notice it...

DSC00545.JPG
April 17, 2020 /William Tjipto
SUZUKI, ALTO, ALTOWORKS, WORKS, HA11S, HA21S, JAPANESECARS, JDM, CAR, JAPAN, CARLIFE, READYSEATBELT, WING, AERO, SPOILER, スズキ, アルト, アルトワークス, ワークス, 軽自動車, 日本, 愛車, 自動車, 車, ウィング, スポイラー, エアロ, エアロパーツ, TRUST, GREDDY, VINYL, STICKER, ステッカー
Cars, Japan, Ownership, Project Sachiel
Comment
DSC00497.JPG

[ Alto Works ] TRUST / GReddy Produce Carbon Fiber Rear Wing Spoiler, Part 2

March 31, 2020 by William Tjipto in Cars, Japan, Ownership, Project Sachiel

With all the overall benefits and drawbacks of a wing considered, I decided to put a bigger, sportier wing on my Alto Works. There were a few existing ones from some manufacturers like Jaws Yamamoto and TAKE OFF, but I came across this gorgeous TRUST / GReddy carbon fiber wing. While it wasn’t in perfect condition, as it came used, it still is absolutely beautiful and it would really go well with the rest of my modifications.

Wait, you might be asking, “Does GReddy make a CF rear wing for the Alto Works?” (Okay, maybe you’re not asking that.)

You better darn bet they don’t! This wing comes courtesy of my Suzuki Swift Sport, which was removed in preparation to sell the car. I know well the lack of value aftermarket parts have on cars, if not devaluing a used car even more due to the sign that the car was modified. Further, the GReddy spoiler, while quite beautiful in these photos, have long since succumbed to outdoor weather in the years it was installed on the car with the clear coat faded and some discoloration present. With a professional clear coat, it might be once again worth a bit of money, but in its present state it would have only ruined the Swift’s otherwise beautiful appearance.

Hence, the wing was removed before I decided to sell the Swift. On the second hand market, the spoiler, even in its current state, might fetch 5000¥ or more, given that it is a model-specific, full CF piece no longer in production, made by a reputable manufacturer. What would be even better would be to give it life on my Alto since the aforementioned hatchback spoilers go for around the same cost and they are nowhere near as fancy.

I’ll admit a drawback, however. Since it is not model-specific, I’ll have a few issues. First, the fit. It may not even work right or it could be loose. Secondly, it was not tested and designed for this car, so the aero benefit may be minimal, if at all. It may even cause unnecessary drag or unbalance the car.

But this is a project car, after all. Why don’t we give it a shot?

DSC00241.JPG

Spoiler on a spoiler so you can spoiler. This is a joke… though I was half-serious about doing this.

DSC00267.JPG

The original spoiler came off with four screws and a lot of old, dried, rotted double-sided tape. Sadly, due to the 3 decades since, it has become semi-permanently attached to the back of the car.

DSC00254.JPG

Before the other spoiler goes on, it was time to try to get the old stubborn tape off using the rubber decal remover I used on my ugly side decals awhile back. After that failed to get the desired results, I resorted to a heat gun and pointy, sharp objects. I know it won’t be perfect and I’ll likely damage the paint, but as you can see, the paint isn’t that great to begin with.

DSC00496.JPG

This is probably as good as it’s gonna get without resorting to sandpaper or something harsher. The edges where the double-sided tape were created a little area where rust formed, so there are now tiny little bubbling paint spots. For now, it is all primarily surface rust. Hopefully a little touch-up is adequate for now.

DSC01032.JPG

And with the removal of the four screws, there are now four rubber mounting points which I cannot easily plug without a lot of filler… Well, there were 4 rubber mounts. One rubber grommet fell apart and into the roof. (No matter, I managed to fetch that out later.) Since there is no easy way to plug up the holes without going through a lot of trouble, I decided to remove the remaining rubber mounts and cover up the remainder with some CF vinyl. This will clear up the look a bit in the rear and not only hide the holes, but cover up the ruined paint back there.

DSC00262.JPG

There are 4 total screws holding the spoiler in place on the Swift, but due to the width of the car, in reality only two can only be used due to the mounting surface. To mount the two screws, I drilled some holes and used some blind M6 rivnuts.

DSC00287.JPG

Surprisingly, it was super secure with only two points of mounting. But leaving it like this would be a half-baked job.

DSC00276.JPG

I drilled and installed some rivnuts to my car and the spoiler to install support rods. These support rods are commonly added for extra support on the backside of spoilers and wings or in front wind splitters. They are simple threaded stainless steel or aluminum bits. Since the purpose of these supports here are to help hold the spoiler in place and the fact the spoiler isn’t designed for significant downforce, they should be more than enough to help secure it.

The wing is bolted on and super secure! You can literally shake the whole car by the wing and rods.

DSC00552.JPG

Overall, this project was a simple one that really enhances the look of the car. Although upon closer inspection, one can tell this wing was not made for this car, but even then it still gives off a very custom, racing aura. Definitely one of my best appearance modifications so far.

But I have more to do yet!

March 31, 2020 /William Tjipto
SUZUKI, ALTO, ALTOWORKS, WORKS, HA11S, HA21S, JAPANESECARS, JDM, CAR, JAPAN, CARLIFE, READYSEATBELT, WING, AERO, SPOILER, スズキ, アルト, アルトワークス, ワークス, 軽自動車, 日本, 愛車, 自動車, 車, ウィング, スポイラー, エアロ, エアロパーツ, TRUST, GREDDY
Cars, Japan, Ownership, Project Sachiel
Comment
  • Newer
  • Older

Powered by Squarespace