Ready Seat Belt

レディー・シート・ベルト

A look into the cool and bizarre, focusing on the Japanese import car culture and delicious ramen. Updated weekly.

  • Home
  • Blog
  • Food
  • Archive
    • Complete Archive
    • Ramen Archive & Map
    • Suzuki Alto Works HA11S
    • Suzuki Alto Works HA12S (Scrapped)
    • Suzuki Swift Sport ZC31S (Sold)
    • Suzuki Wagon R MC22 (Scrapped)
    • Newbie Guide
    • Photography
  • About
  • Facebook
  • Instagram
  • Twitter
DSC_6092.JPG

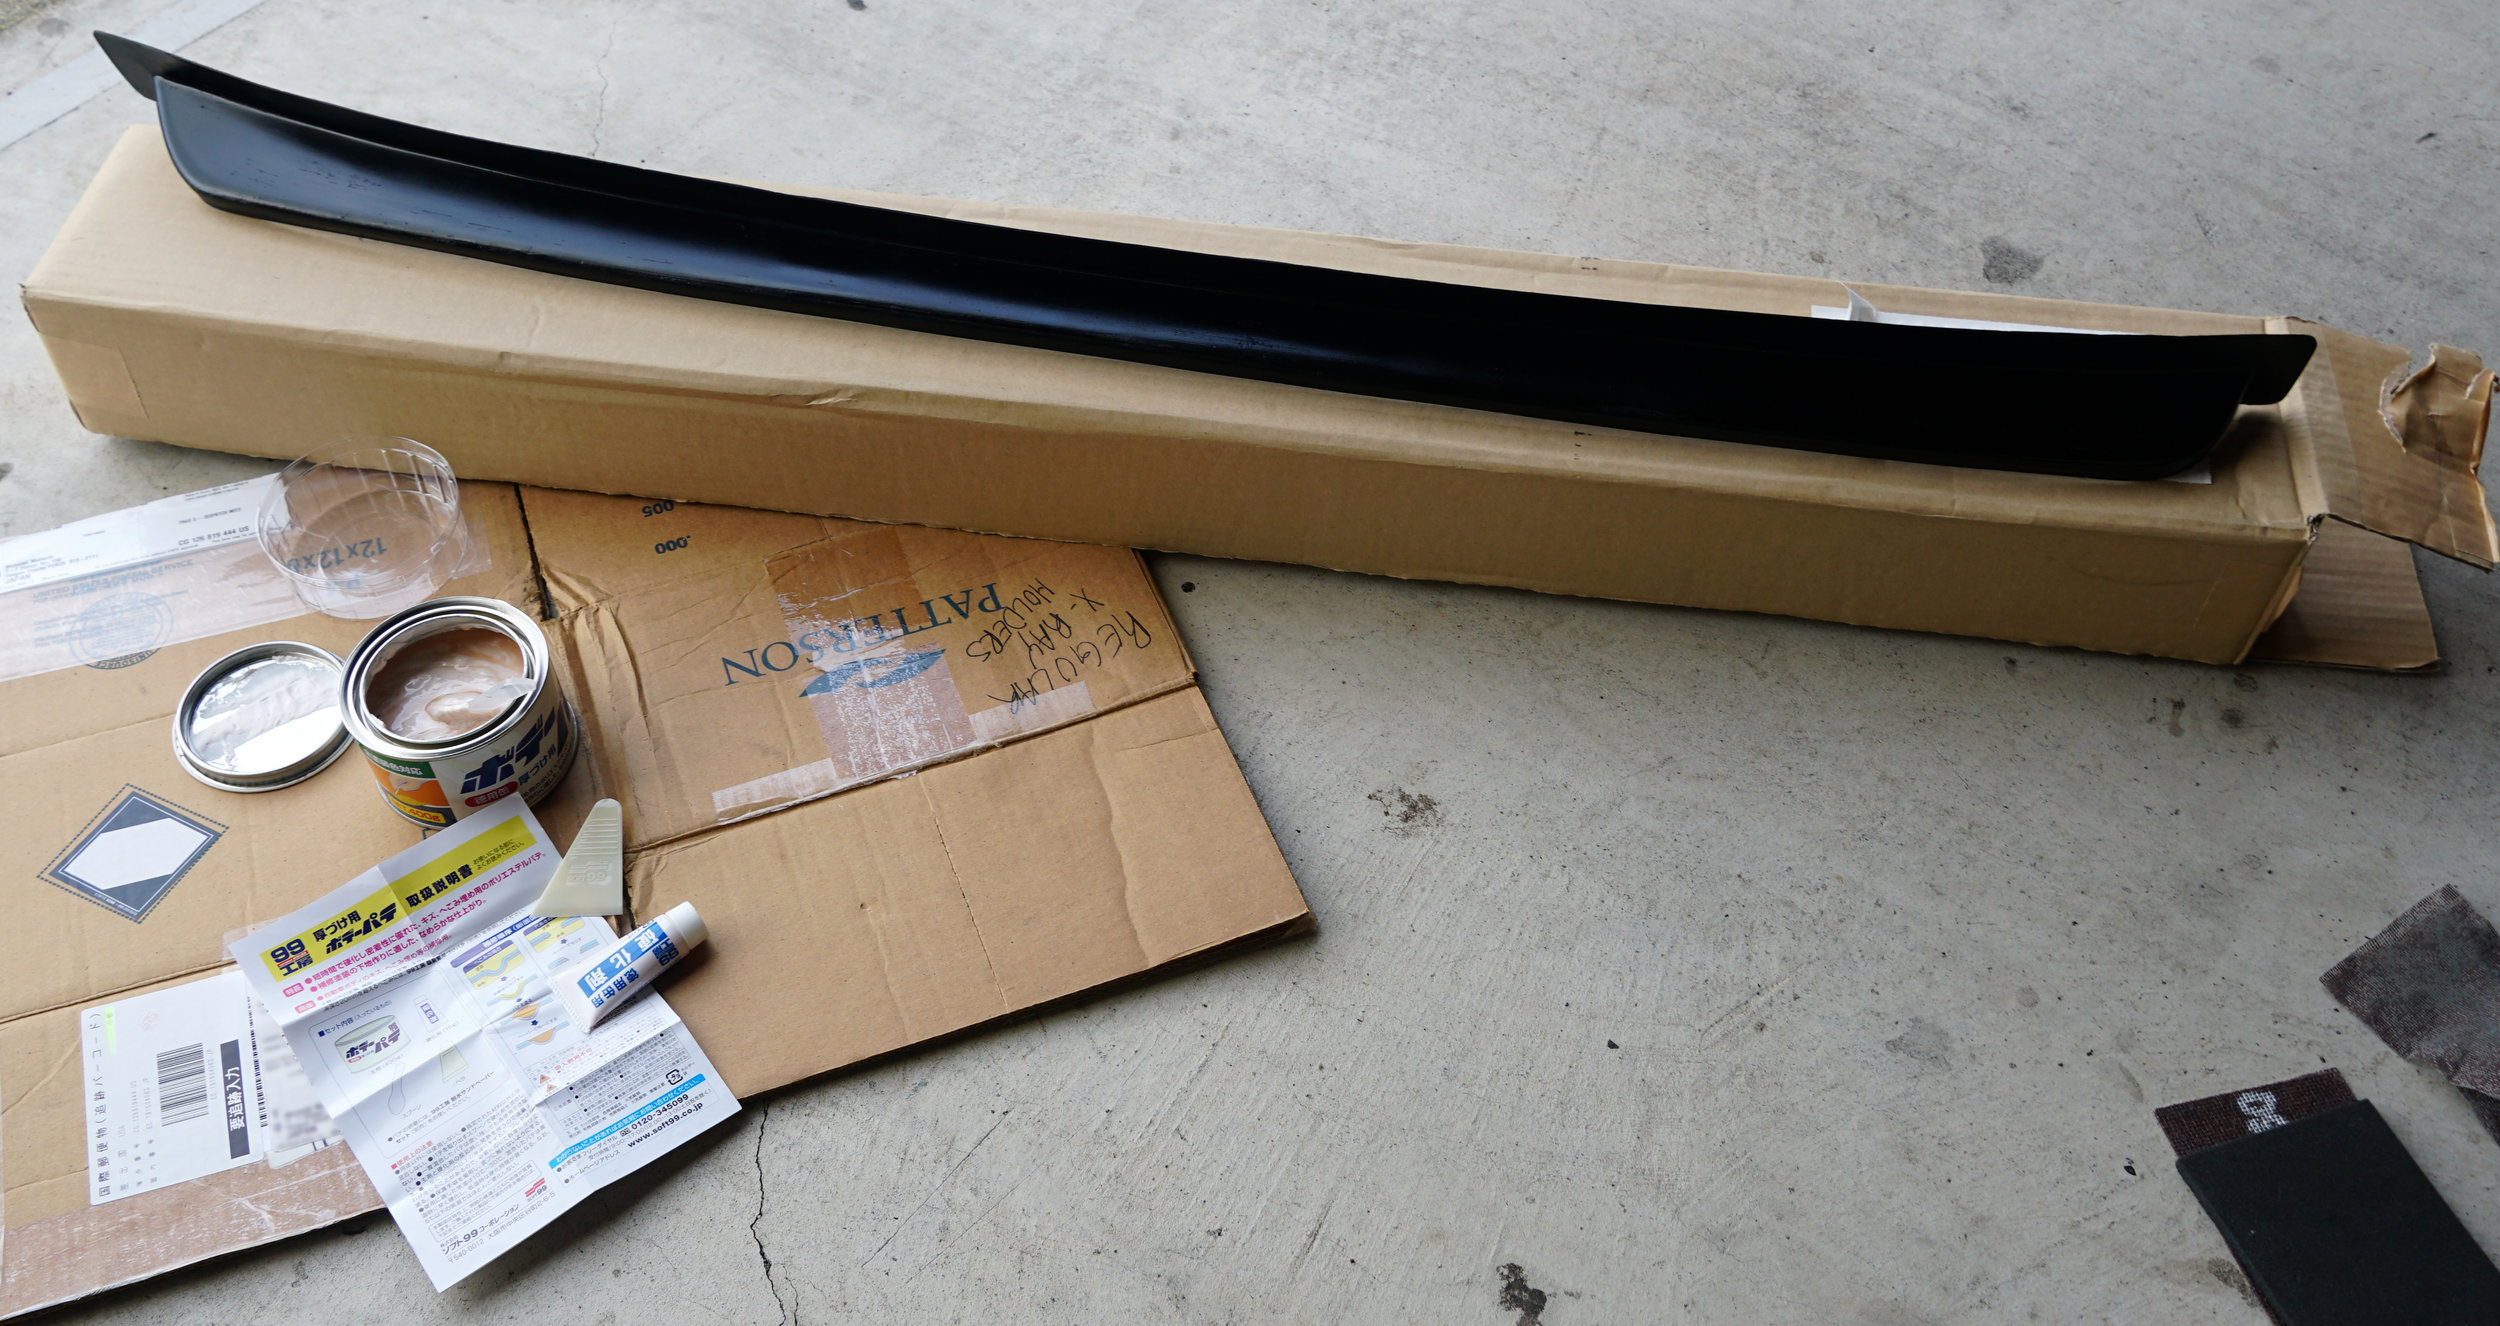
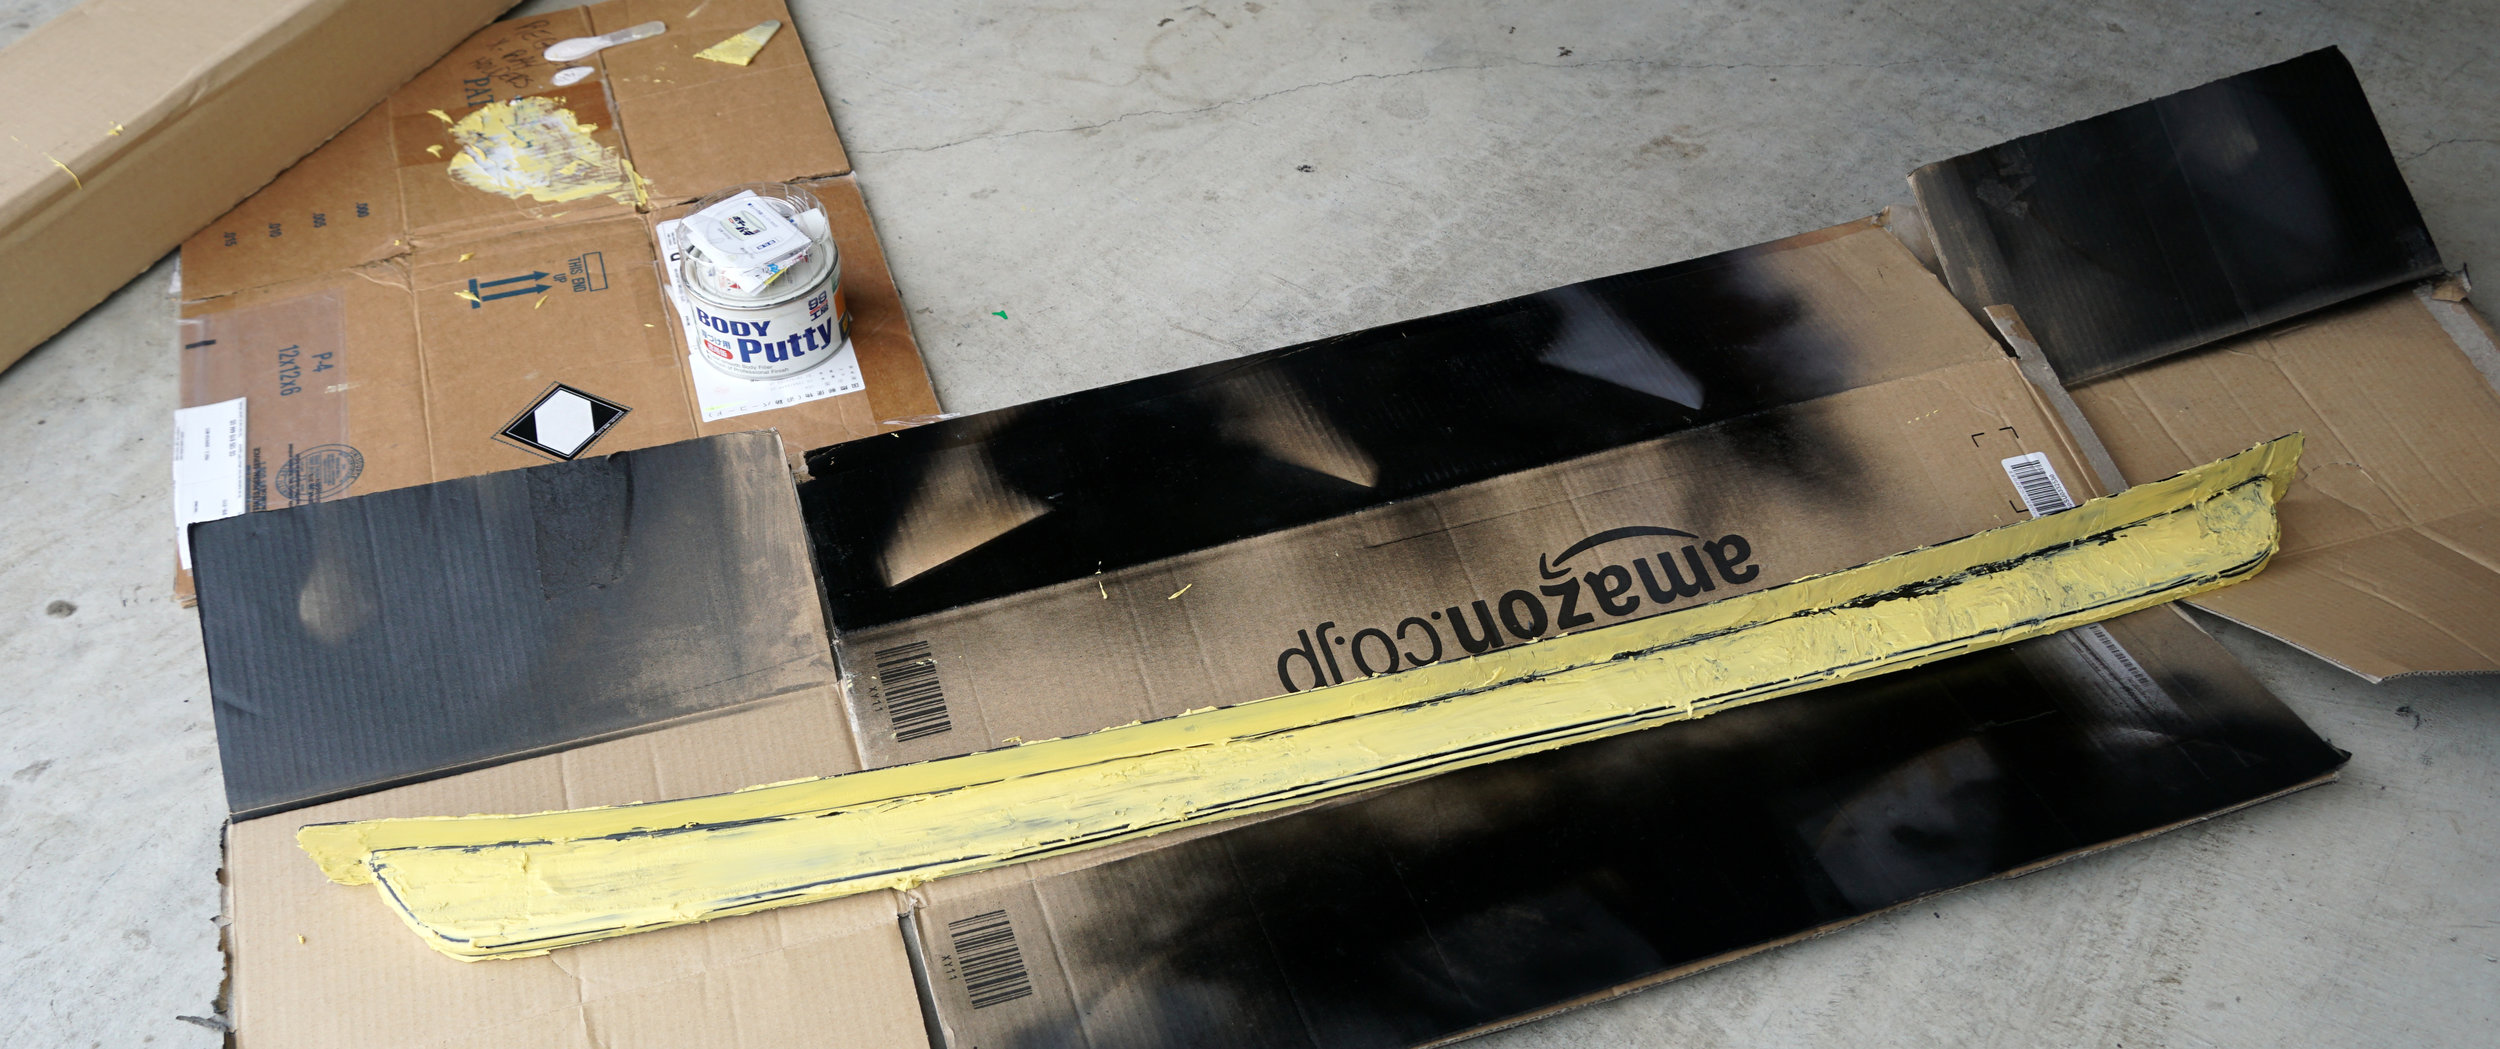
[ Alto Works ] TRUST / GReddy Produce Carbon Fiber Rear Wing Spoiler, Part 1

March 27, 2020 by William Tjipto in Cars, Japan, Ownership, Project Sachiel

I’ve previously touched on aero enhancement as one reason to add front lip spoilers, adding downforce and separating upper air from underbody aero. I left out one, precious part of the aero equation, the rear. More specifically, I’m going to talk about spoilers and wings.

DSC_0025.JPG

Sure they look racing and sporty, but why do people add them?

DSC_6288.JPG

Let’s be clear: wings are not spoilers and spoilers are not wings. While people may colloquially call spoilers wings and vice-versa, those are misnomers. Spoilers are meant to do just as the name implies; spoil the airflow passing over it, often with the sole purpose of decreasing drag. Wings are meant to add lift on an airplane, but on a car, wings add downforce, essentially multiplying the weight as air pushes down on them.

2018-07-29 096.JPG

Spoilers
As mentioned, spoilers act on the airflow passing around and over it. There are a multitude of reasons why you’d want to do this, but let’s start off with a simple, daily-driven car like a Prius. In an effort to be more fuel-efficient, the car needs to cut through the wind and create less turbulence in its wake which would add drag to the car. The back of the car is much like a box, so it would potentially create drag as the air swirls behind it. To combat this, a little lip is added to the back which forces the air to separate cleanly further behind the car where it won’t affect it. In fact, most hatchback-styled cars have some such lip for aerodynamic efficiency. This may be only one example, but it’s quite commonly seen.

DSC_0386.JPG

For well-designed spoilers, there are almost no drawbacks to having them on. Aftermarket stick-on spoilers not designed by the OEM or aero-tested by a third-party may potentially provide no benefit or at worst case, can negatively affect the airflow as engineered by the manufacturer.
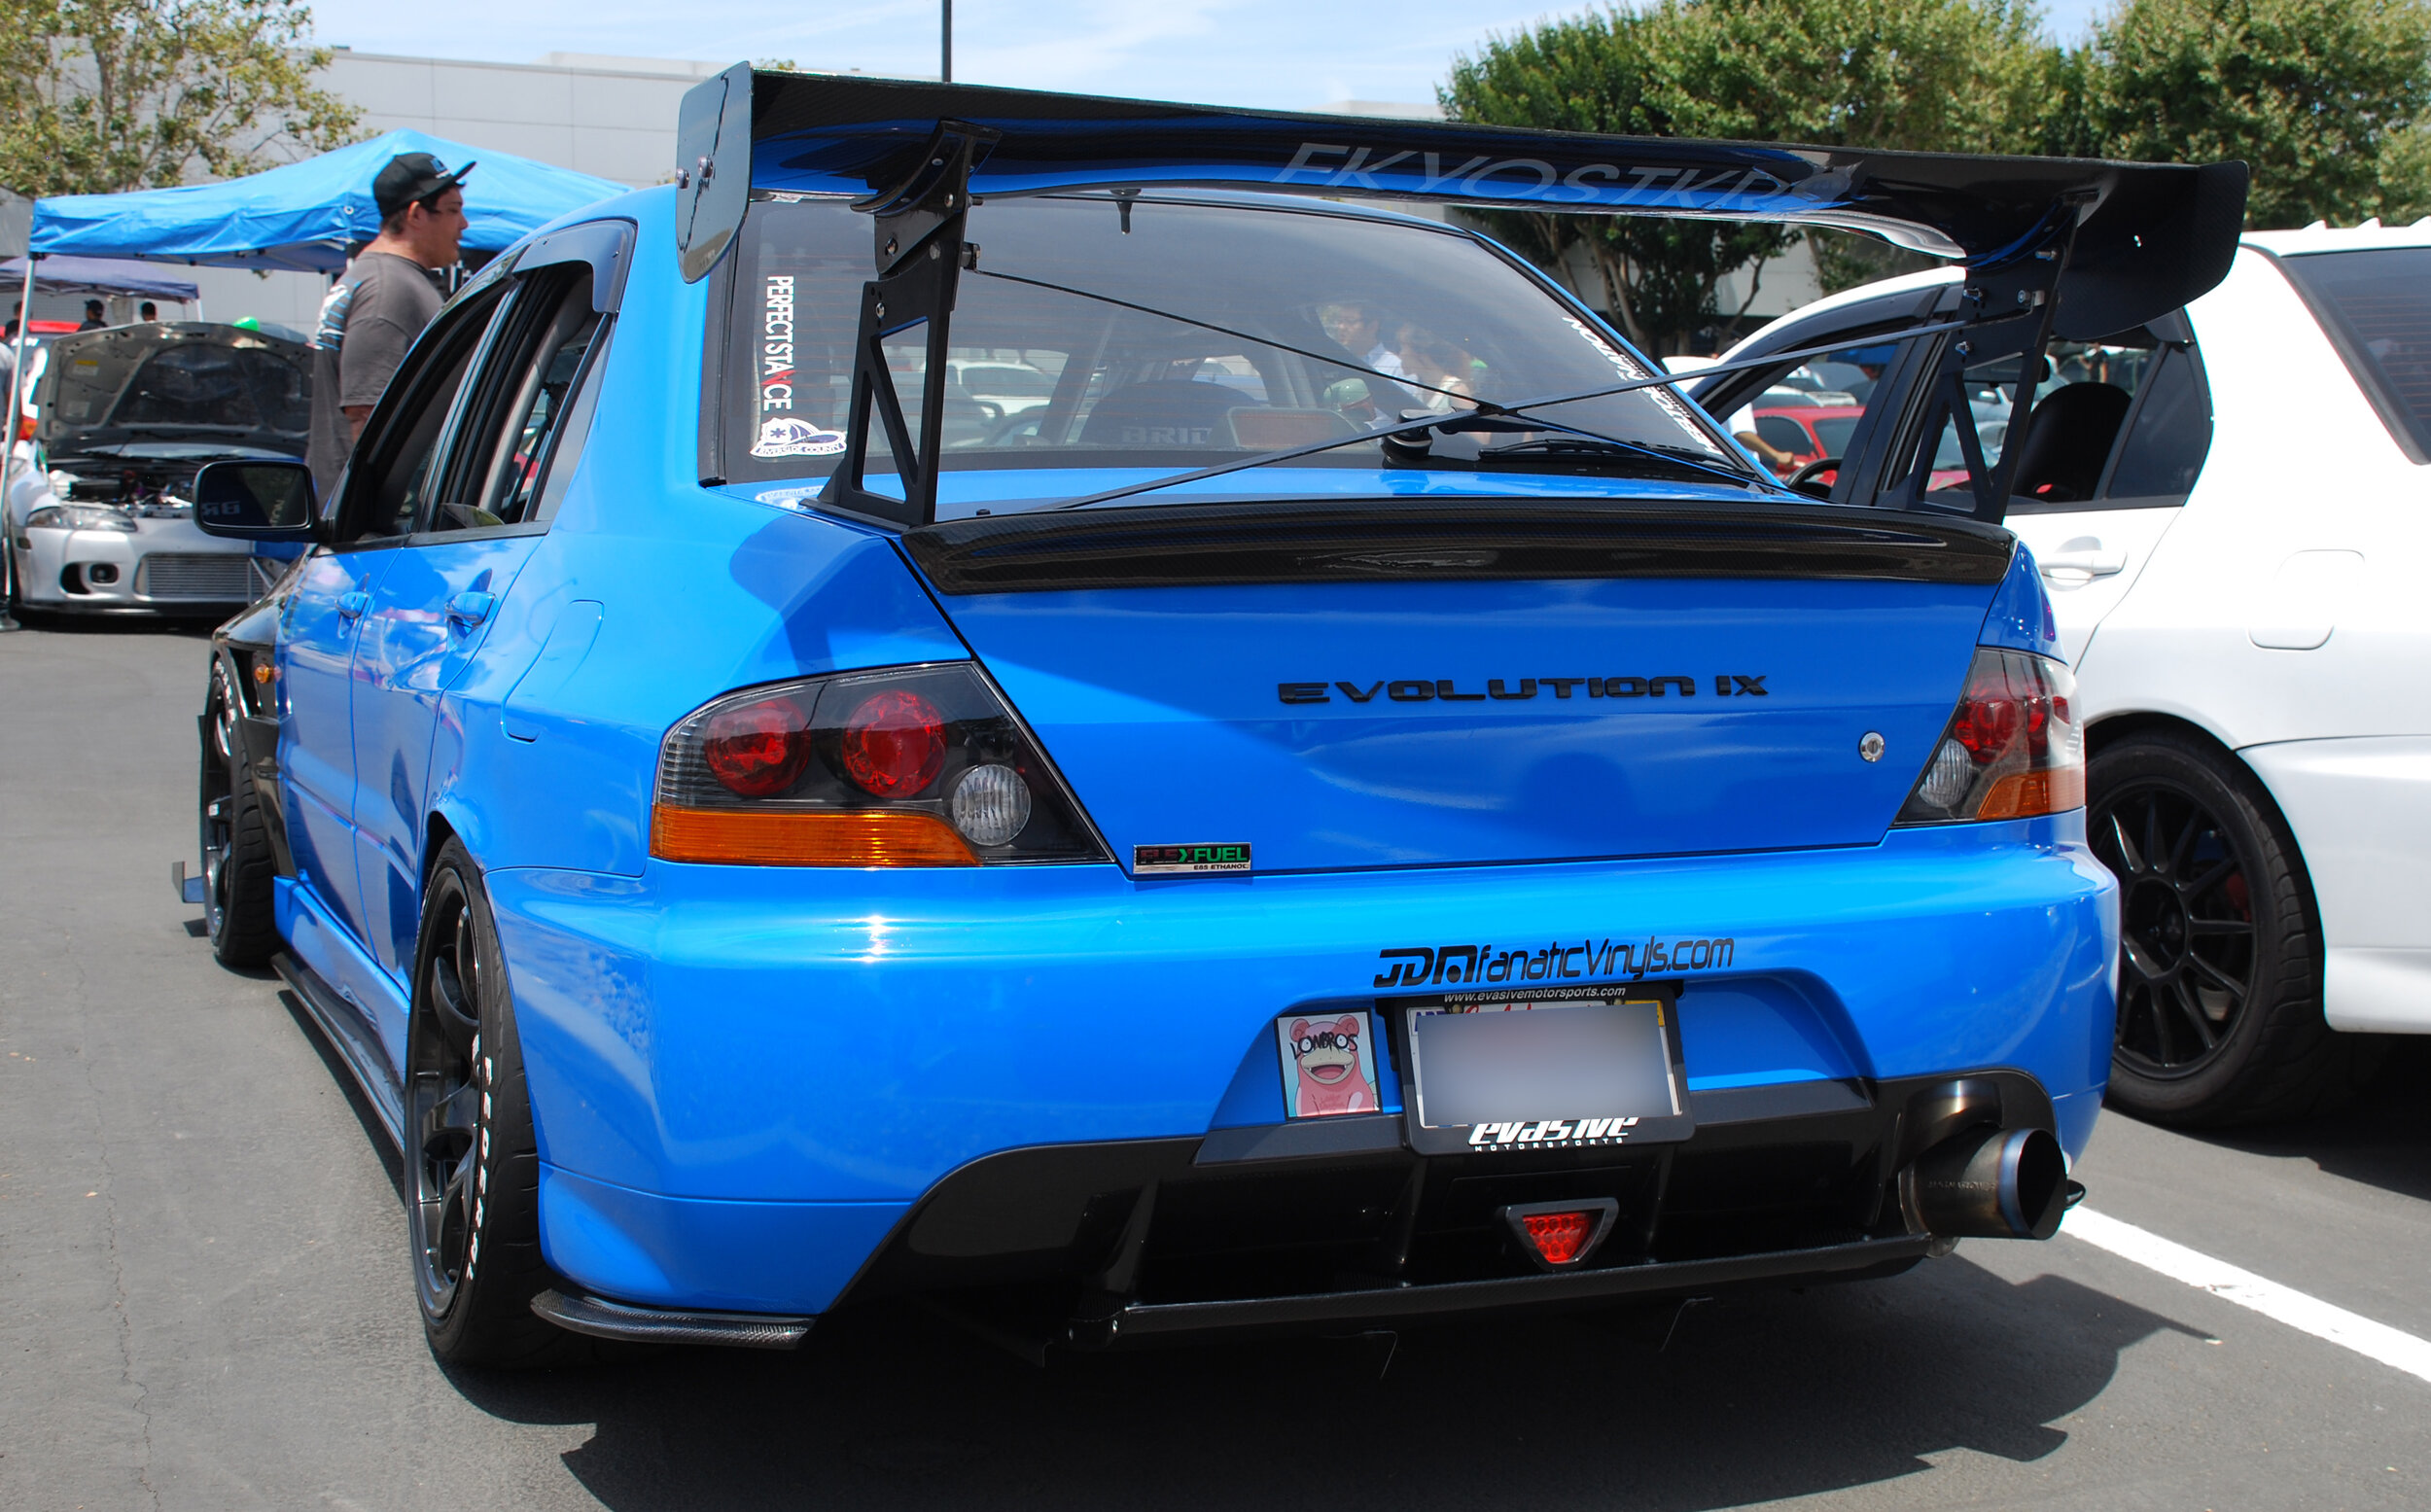
DSC_0862.JPG

Wings
The difference between spoilers are wings are small but very important. They also act  on airflow, but are purposely angled so wind passing over them actually push down on the car, increasing weight where the wing is. The angle and design of the wing is just as important as the location of the wing; properly tested ones will add downforce on the car when “weight” at high-speeds is critical. Model-specific or proper wings need to be placed in the path of airflow which is often high up on the car. As strange as it may look driving around the street, tall uprights and large wings can be important on the track. 

2014-11-10 003.JPG

Of course, wings also have to be designed and placed at a proper location to work. Cheap ebay “universal” wings are definitely not designed for the airflow of any particular car, but can be made to work if properly mounted and tested. Low “wings” on typical sedans work more as spoilers than wings though they might have the shape.

DSC06053.JPG

Moreover, the location and manner of mounting is also important: much like roll bars, they need to be installed on structural or stronger weight-bearing parts like trunk edges, fenders, or better yet, directly to the frame. Likewise, a wing in the middle of the trunk (A90 Supra excluded) is probably not the best place. Mounts can vary widely, but frail, adjustable arms like some cheap universal-types are probably not going to cut it.

DSC_0783.JPG

But the drawback of even the best-designed wings is that they add drag, limiting top speed and reducing efficiency. Unless they are active wings or spoilers, adjusting based on speed, they all work best at a certain set speed; this means the sharpest racers tune their spoilers based on the track. At low speeds, wings are simply a drag since downforce is usually not needed below 60 or so miles per hour. (around 100 km/h).

2018-11-17 089.JPG

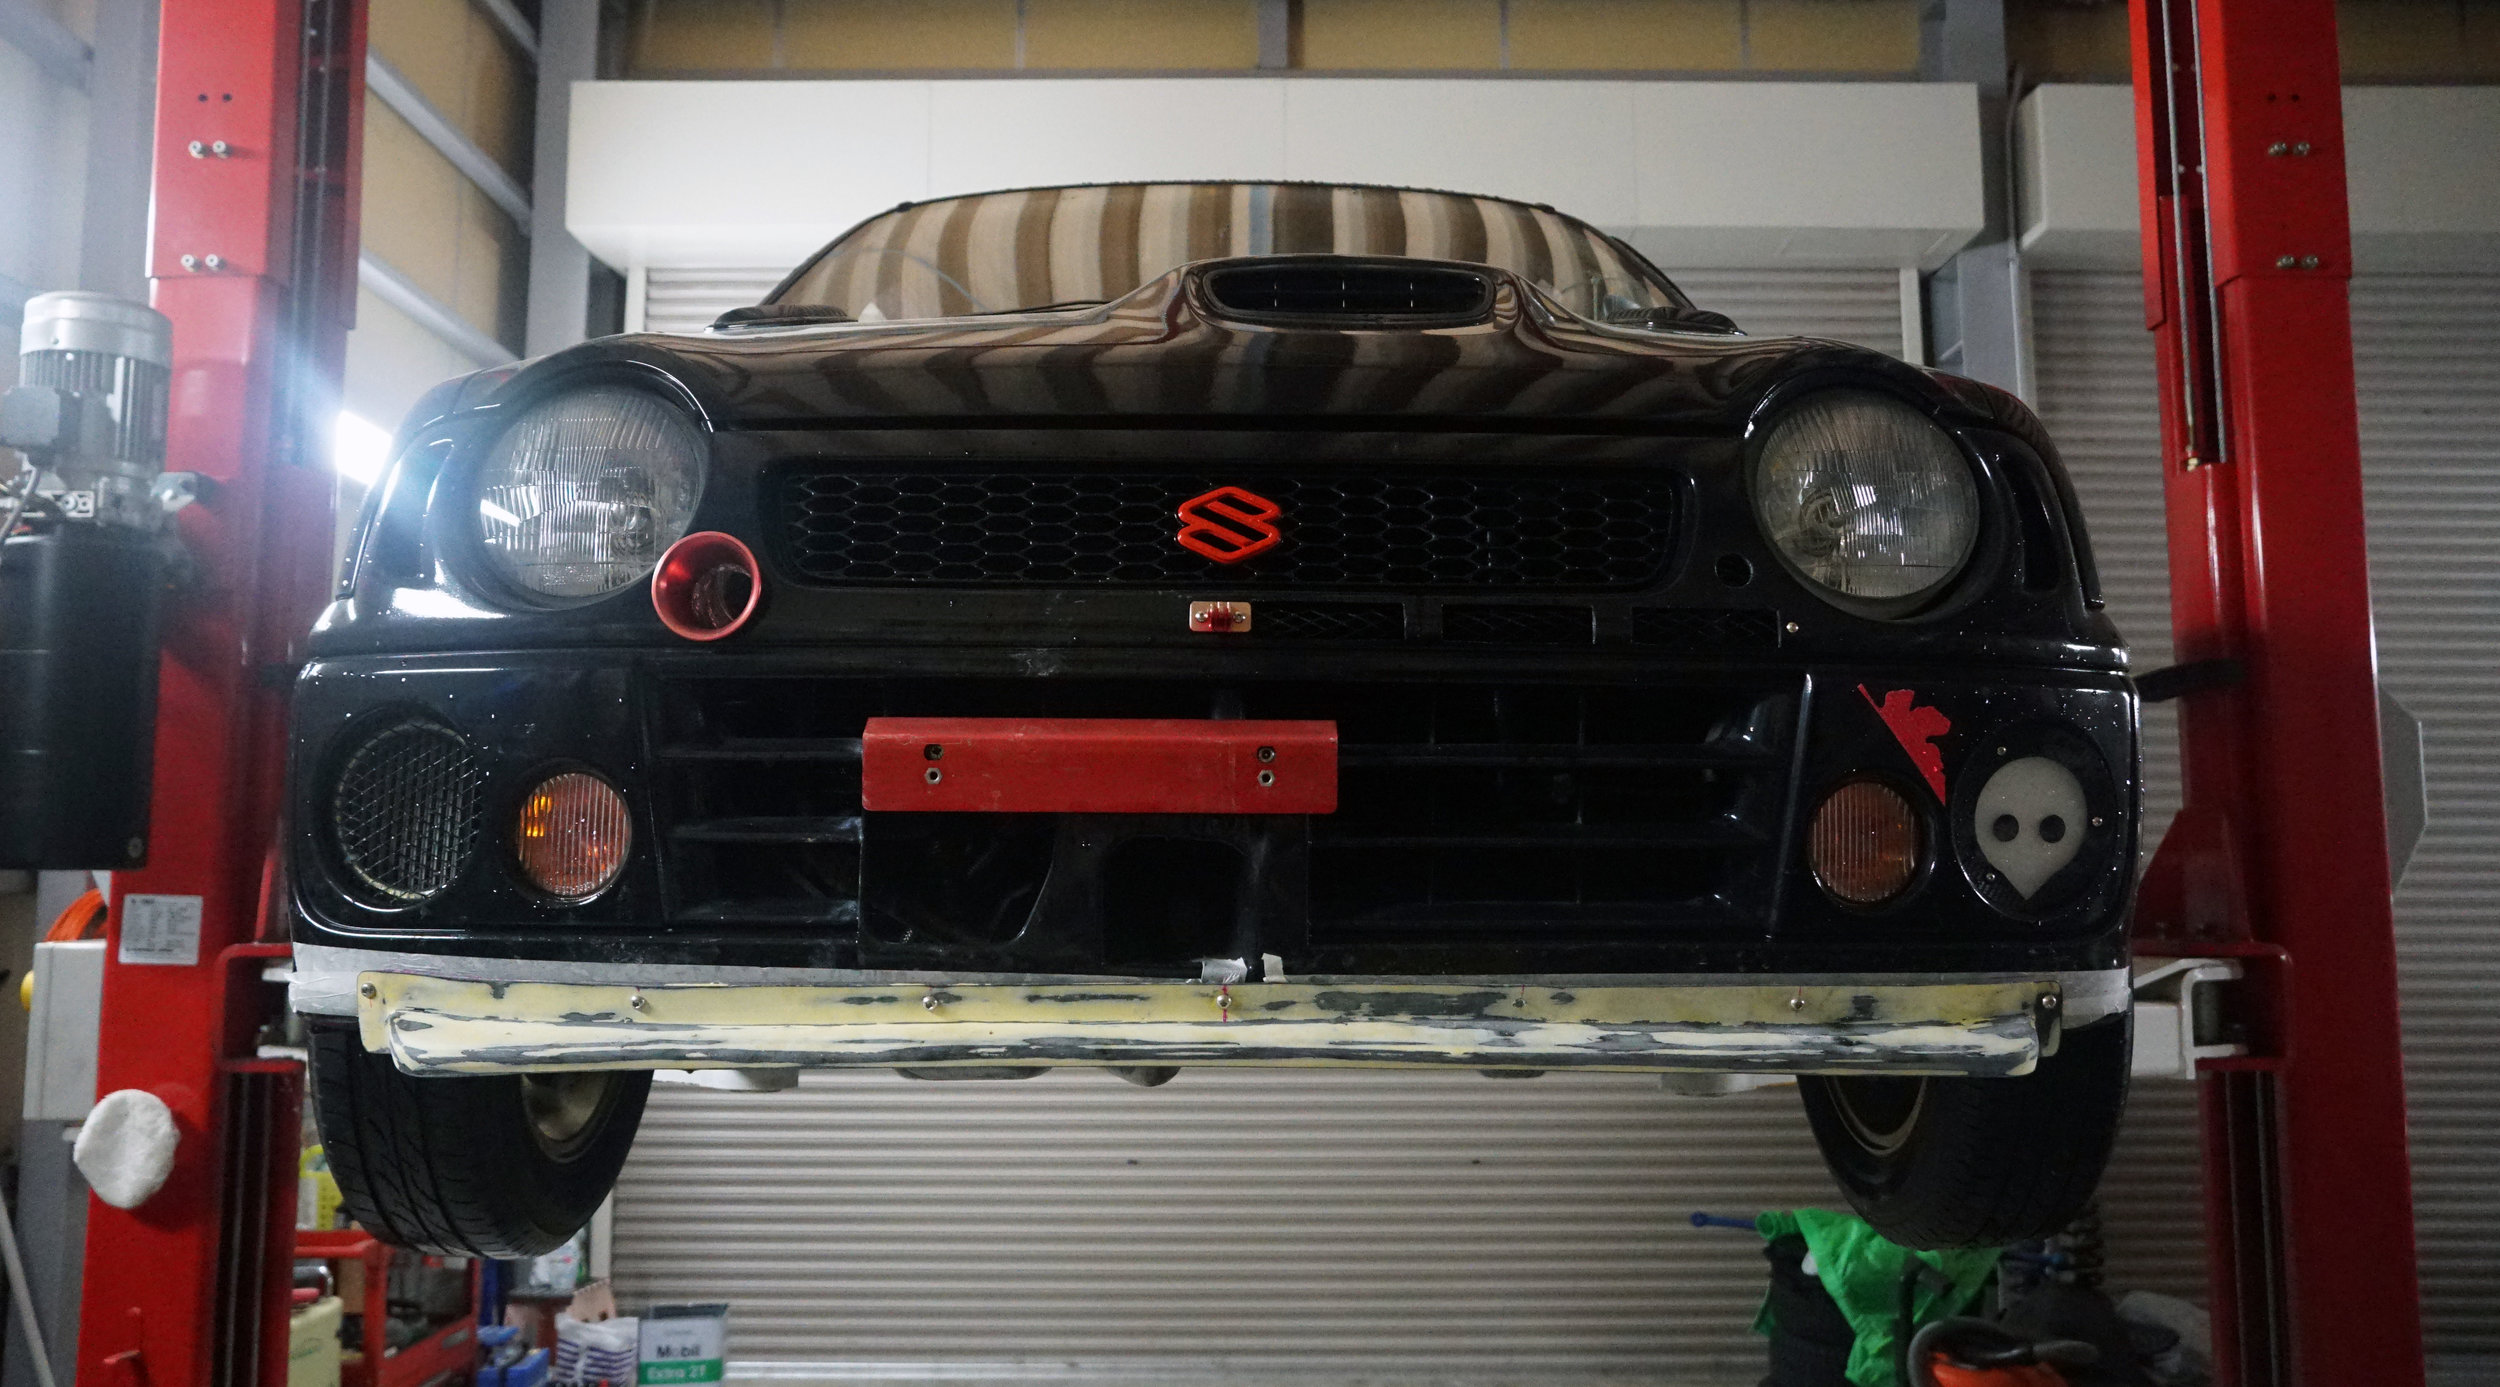
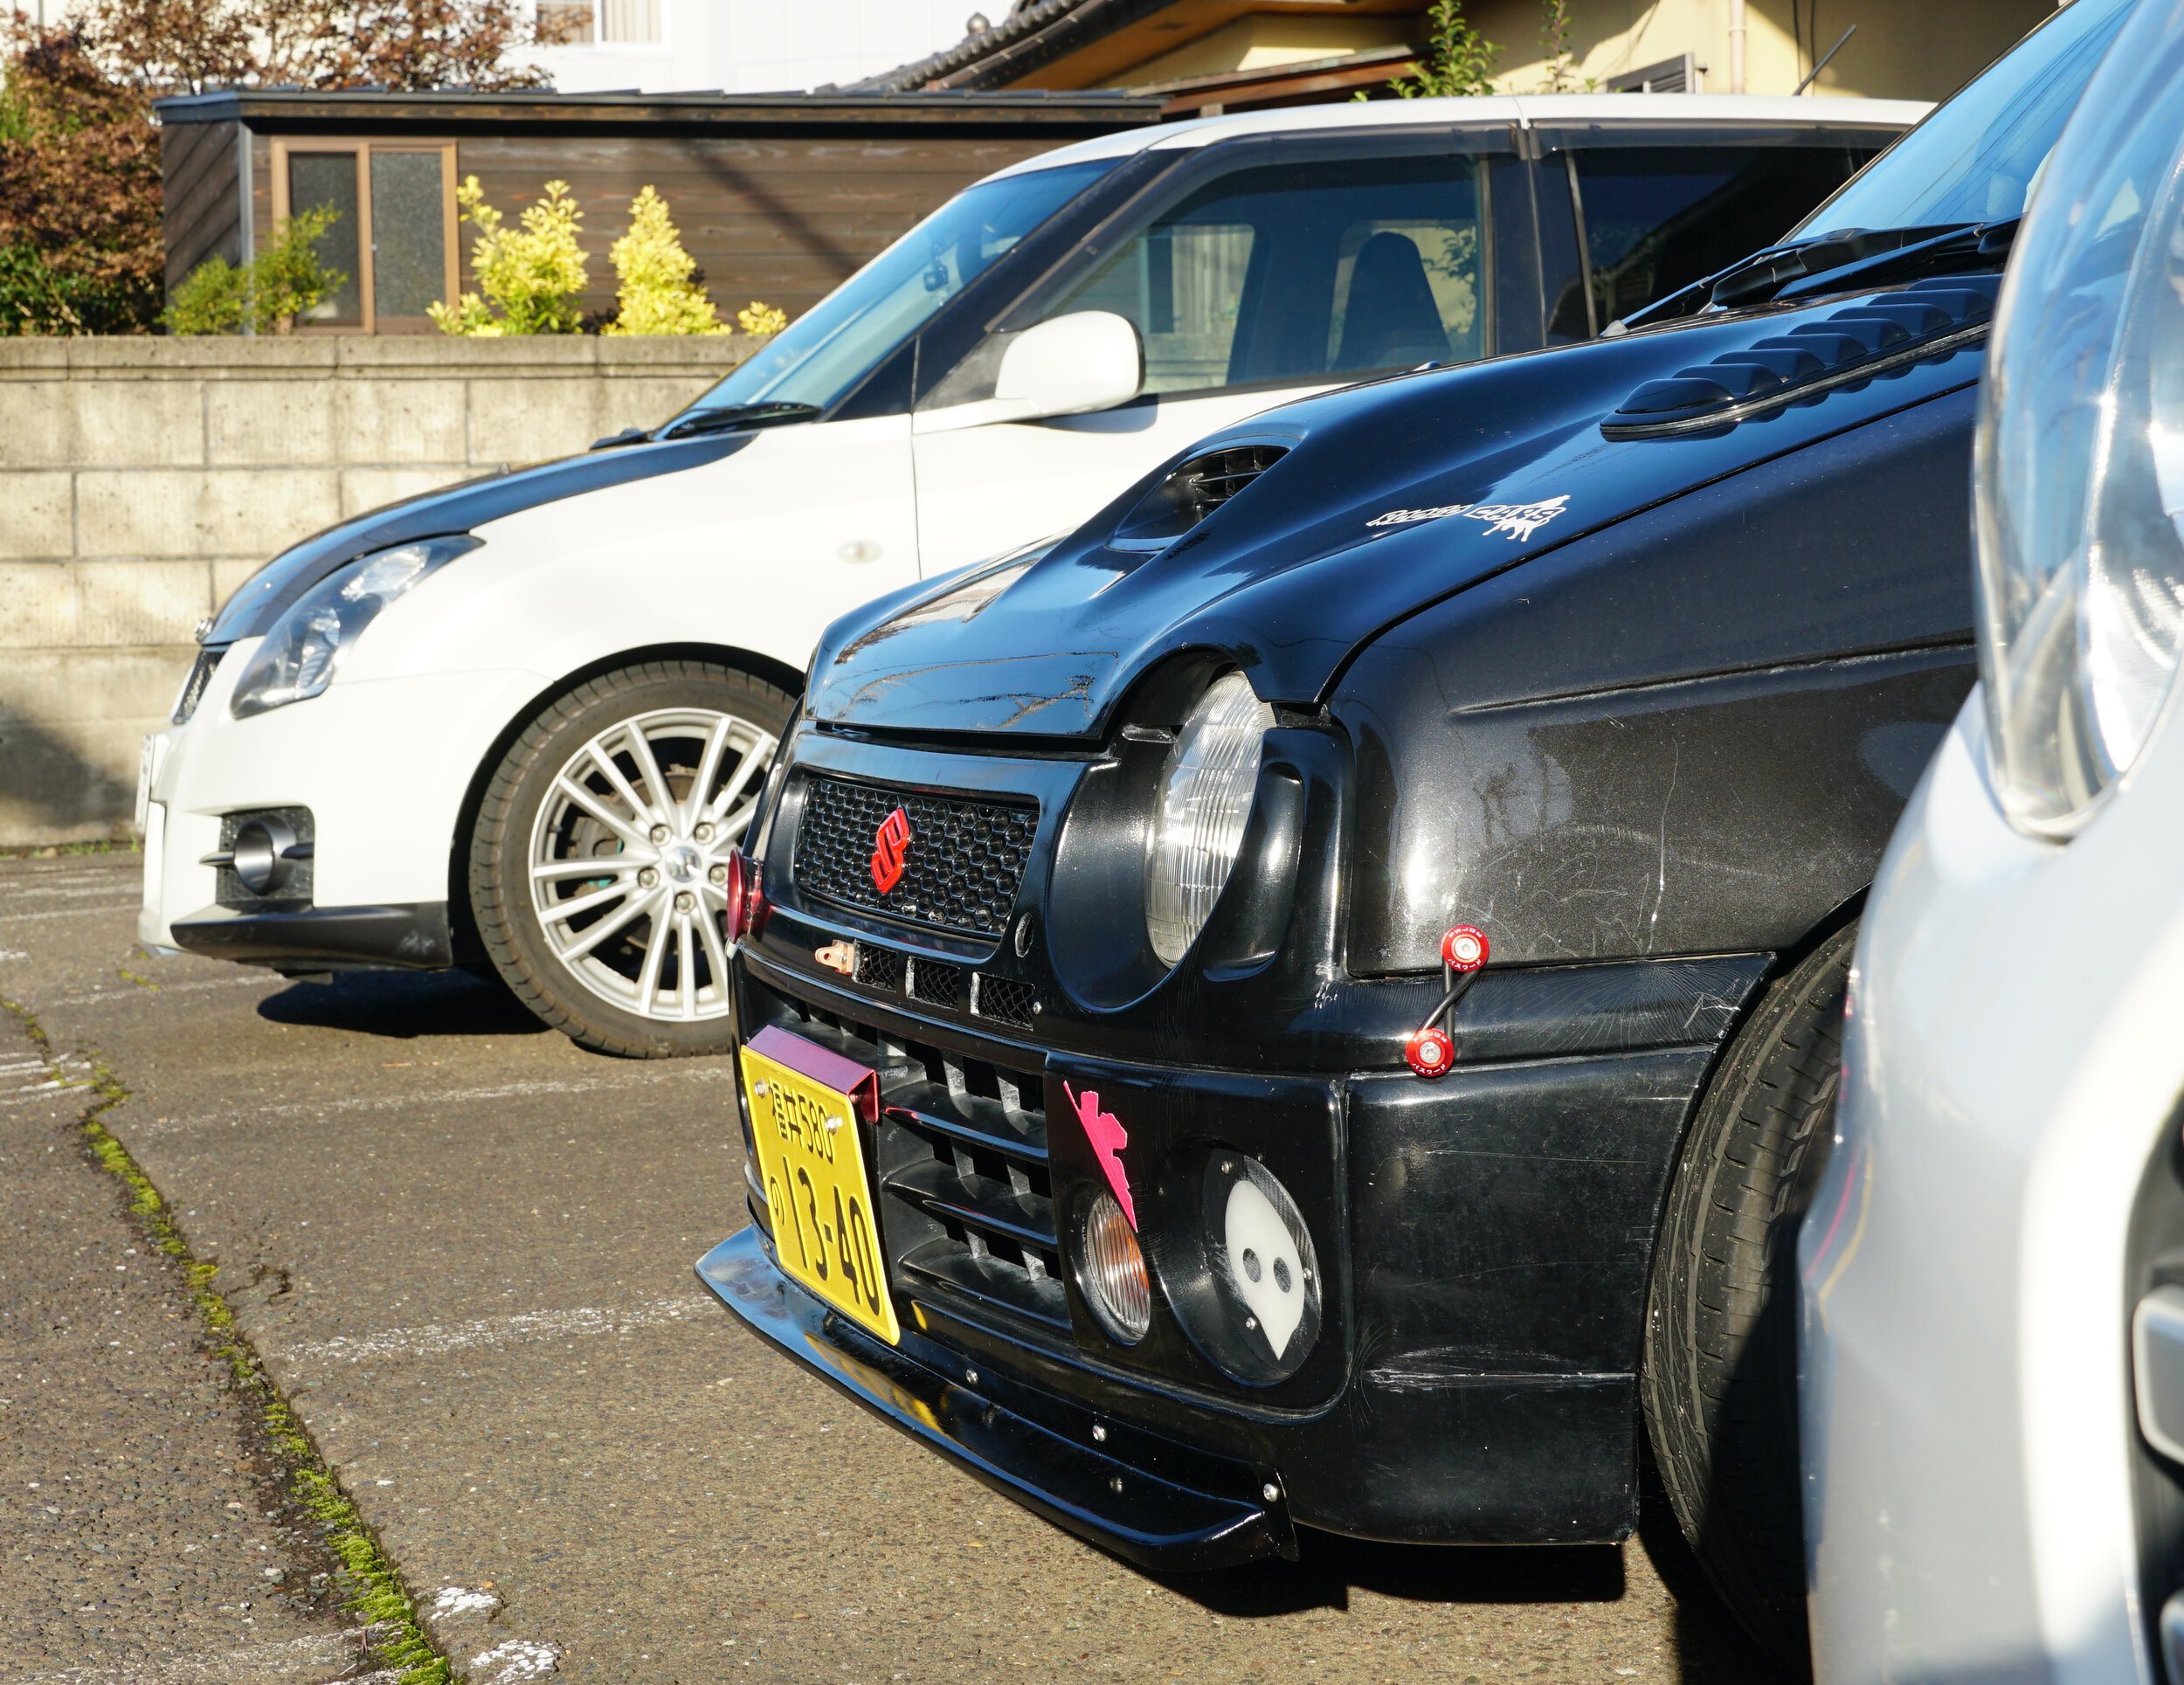
Simply put, on a car with sportier intentions, wings are amust. By that I mean they are a must for people who want the attention. Let’s be real here, my tiny, 63-HP Alto Works does NOT need a wing and it already has a hatchback spoiler. But stock is never enough.

March 27, 2020 /William Tjipto
SUZUKI, ALTO, ALTOWORKS, WORKS, HA11S, HA21S, JAPANESECARS, JDM, CAR, JAPAN, CARLIFE, READYSEATBELT, WING, AERO, SPOILER, スズキ, アルト, アルトワークス, ワークス, 軽自動車, 日本, 愛車, 自動車, 車, ウィング, スポイラー, エアロ, エアロパーツ
Cars, Japan, Ownership, Project Sachiel
Comment
DSC09152.JPG

[ Alto Works ] Japan Dry ABC Powder Fire Extinguisher, Part 2

March 09, 2020 by William Tjipto in Cars, Ownership, Project Sachiel, Japan

Now that we have our Japan Dry Chemical PAN-3AG fire extinguisher, how do we keep it in the car safely? It can’t roll around under the seats and can’t be secured with velcro or the like… at least safely. The last thing I need is a 3kg projectile inside the cabin if I get into an accident. Not to mention many race sanctioning bodies, at least in the US, require a securely mounted metal bracket with bolts and nuts.

The most typical mounting option is in the footwell in front of the driver or passenger seats, bolted to the floor or the seat mounts. As mentioned previously <l>, the fire extinguisher needs to be accessible when I am tightly buckled into my seat. I initially liked the idea of a footwell-mounted extinguisher, as it is quick and easy to access, but given that this is a tiny kei car, legroom is already at a premium.

On race cars, mounting to a roll cage, such as on a harness bar, is another common solution. One would only need to reach around and grab the extinguisher. Unfortunately, there is no harness bar and the other bars are far too inconveniently out of reach.

DSC09127.JPG

This leaves only the rear passenger footwell to mount an extinguisher and I think it’s still a pretty good location. I can easily reach back around with my left arm, flick open the metal band, and grab it should I need it. Most importantly, the rear seats cannot be currently used with my roll bar, so there will not be any rear passengers.

Mounting it will be another matter entirely. The transmission tunnel is rather slim, so it is not wide enough to accommodate both bolts drilled through. The second bolt will have to be mounted by an extended stainless metal plate.

DSC09141.JPG

This is my mockup shot. As you can see, only one bolt can be mounted directly. With the extra bracket, it seems fairly secure. The only issue is I had to ensure that the two bolts clear the rear parking brake wires. Since this is not an AWD car, there is no rear transmission shaft.

A simple two holes drilled through the tunnel, deburred, and painted, the mount is ready to go on. I cut a bit of the carpet to allow the screws and bracket to clear the dampening foam underneath. With some stainless screws and silicon to seal out the water, the fire extinguisher is mounted!

DSC09149.JPG

A simple and quick project, one well-worth the addition if the need ever arises!

March 09, 2020 /William Tjipto
SUZUKI, ALTO, ALTOWORKS, WORKS, HA11S, HA21S, JAPANESECARS, JDM, CAR, JAPAN, CARLIFE, READYSEATBELT, FIREEXTINGUISHER, FIRE, スズキ, アルト, アルトワークス, ワークス, 軽自動車, 日本, 愛車, 自動車, 車, 消火器, 火
Cars, Ownership, Project Sachiel, Japan
Comment
DSC09119.JPG

[ Alto Works ] Japan Dry ABC Powder Fire Extinguisher, Part 1

March 03, 2020 by William Tjipto in Cars, Japan, Ownership, Project Sachiel

Safety first… as long as it’s cheap enough. I’ll go into what I mean shortly.

My Alto Works project is a bit of a haphazard mix of used and new parts, put together by a guy who pretty much knows absolutely nothing about cars -- me. So let’s just say there is a fair potential for something catastrophic to occur, whether it be something as simple as a car having drivability issues to maybe, however small the chance is, a fire.

It is overly dramatic for me to say the car will catch fire, but I’m going to use this excuse to add yet one more thing to the car: a fire extinguisher. There is a reason race cars often require a fire extinguisher or a fire-suppression system to not only protect the driver, but keep damage in case of fire to a minimum. With a full race harness and a roll cage, the fire extinguisher will also need to be readily accessible.

As cars have a wide variety of materials, there are many potential sources of fire. The three major categories of fire that we are concerned with in a car are A, B, and C. Class A fires come from paper, plastic, wood, or textiles, as commonly found in automotive interiors. Class B fires are from grease or oil sources. Class C fires are electrical fires. A fire extinguisher installed in a car will need to protect and stop all these potentially dangerous fires.

2020-01-25 001.JPG

Doing a bit of research, I discovered an unbelievably wide range of suppressants used in extinguishers, each targeting specific fuel sources. Suffice to say we only really need to know about ABC dry powder and Halotron I (or formerly Halon) extinguishers for our ABC needs.

DSC09117.JPG

ABC dry chemical powder extinguishers are cost-effective and effective chemicals that unfortunately can be difficult to clean up and may cause long-term damage to electronics and other metal components. Halotron I, replacing the much less environmentally-friendly Halon, is a “clean-agent,” which means it extinguishes fires without leaving significant clean-up residue. This means it can safely be used on sensitive electronic components without causing corrosion.

I don’t have cheap or easy access to Hal Guard (or similar Halotron gas) extinguishers. While you can buy a typical small HG100 bottle in the states for around $165, in Japan it is much more at 27000¥... or roughly $250 USD. Sorry, I love my little Alto, but that is more than half the price I paid for the actual car.

Unfortunately, while there is potential for mess and damage, it is much better to have something that could save a life than not have an extinguisher at all. It was difficult to decide which brand to buy, but I eventually settled on purchasing an ABC dry chemical extinguisher made by Japan Dry Chemical. The PAN-3AG is a compact size designed for cars and includes a fairly secure metal mount for about 5000¥($47 USD). It is made in Japan by a major company. With the ABC rating, it is good for all typical car fires that may occur in my car.

DSC09124.JPG

The installation will come next time!

March 03, 2020 /William Tjipto
SUZUKI, ALTO, ALTOWORKS, WORKS, HA11S, HA21S, JAPANESECARS, JDM, CAR, JAPAN, CARLIFE, READYSEATBELT, FIREEXTINGUISHER, FIRE, スズキ, アルト, アルトワークス, ワークス, 軽自動車, 日本, 愛車, 自動車, 車, 消火器, 火
Cars, Japan, Ownership, Project Sachiel
Comment
DSC09657.JPG

[ Alto Works ] Front Chin Lip Spoiler, Part 2 (Front Bumper Modification, Part 3B)

February 11, 2020 by William Tjipto in Cars, Japan, Ownership, Project Sachiel
2020-01-19 002.JPG

After one coat of black paint to at least hide the white FRP backing, I set out to refinish the lip. Unfortunately, FRP is a material that requires a bit of care if you want good results and, most importantly, to be safe.

DSC09187.JPG

(This is one of the few times I have ever worked on FRP, so I don’t know much about what I’m doing. Please forgive my process if it is not up to par and feel free to comment below.)

Fiber-Reinforced Plastic, especially found on aftermarket automobile parts, is a plastic compound mixed with glass fibers to increase rigidity and durability. It is arguably lighter and stiffer structurally than than ABS parts, but the stiffness of FRP often results in cracks when a strong impact to the plastic is applied. The finished results are also very rough, requiring a lot of labor-intensive work for the end user or installer since the finish is so crude. But since these parts are so much cheaper and easier to make, most aftermarket parts are made of this material.

Worse yet, the biggest issue working with fiberglass is safety. Since glass fibers are so light, thin, and nearly microscopic, they often can be breathed in and cause irritation of the lungs. Even the slightest bit of loose fiberglass on the skin can cause irritation that lasts for days. Working with FRP necessitates proper breathing apparatus, eye protection, and skin protection.

IMG_2761.jpg

A few years ago, I installed a carbon fiber Ralliart lip onto my Evo which required some drilling and modification to fit properly. Thankfully, I was used to working with the minimum protection of eyewear and some light gloves, but at that time I was woefully unaware of the caution necessary with working on fibrous materials. This resulted in my arms having a nice itchy, stinging feeling for a few days afterwards. Hopefully I didn’t breathe in too much of the crap.

For this spoiler, I will not need to do significant work or modifications other than some light sanding and hole drilling for mounting, but I do have all the necessary protection. I picked up this 3M P100 Particulate Mask, fully-sealed AOSafety goggles, and 3M full suit awhile ago for use on exactly these type of projects. I first used the mask and goggles on my hood vent cuts, though I have yet to use the full suit.

DSC09189.JPG

For surface finishing, I was recommended this Soft99 Fine Filler off Amazon for 1432¥ ($13 USD). It comes with epoxy hardener to cure the putty to touch in about half an hour when mixed properly. It mixes easily and went on pretty smooth, like a creamy peanut butter spread. This made working with it much easier than I had expected.

DSC09192.JPG

Once the lip had plenty of time to cure (and the fact I didn’t have time til a week later to continue), I could start to sand down the whole lip.

DSC09203.JPG

Even though I don’t need it absolutely perfect, I did my best to make sure it would look good if anyone were to inspect it fairly closely. The putty was extremely easy to sand down and even the yellow color made it easy to see where I needed to continue to refinish.

DSC09208.JPG

Once it came time to get to mounting, I had a few decisions to make regarding where exactly to mount the lip. While I would like the flat backing to be flush up against the lower front bumper, there was a few issues. First of all, it would actually end up raising the forward angle of the lip a bit based on the taper. In addition, while you can’t actually see it, the rear backside of the bumper only has some areas where a bolt could potentially mount. Lastly, I wanted the lip to be as low as possible, since the oil cooler I installed a while back is actually lower by a few centimeters than the bumper. This means if I were to hit a concrete block, for example, it would scrape the lip first rather than the cooler.

DSC09204.JPG

I decided to use 7 M6 button head screws, spaced evenly along the backing of the lip. I think this actually looks pretty good. Note one screw has not been installed because drilling it could potentially damage one of the air conditioner hoses so it will wait until the bumper comes off during final install

I am seriously getting annoyed at all these rainy weekends. Weekend after weekend have almost all been rainy, leading up to Hagibis, Typhoon Number 19, hitting Japan on a three-day weekend in mid-October. Can I even get the lip painted before the winter sets in?

DSC09643.jpg

Finally, the drier fall has set in Japan and I found some good timing to put on the lip, along with a set of LED H4 bulbs to replace the older HIDs I had in it.

DSC09646.JPG

I wish I had more time to perfect the finish of the paint, but with the poor, colder weather of late, I thought this would be good enough for this season. Nonetheless, it still looks great from a few feet away!

DSC09648.JPG

The lip is small and subtle, but definitely adds a lot of character to the front of the car, making it look a bit more aggressive and somehow wider. I am actually quite happy with the placement of the lip and how it looks on the car.

I will admit that if I were to do it all over again, however, I would definitely put on a lip that is much wider and longer. Maybe that could be another project for the future!

February 11, 2020 /William Tjipto
JAPAN, JDM, SUZUKI, ALTO, ALTO WORKS, HA11S, CAR, KEI CAR, CAR LIFE, F6A, RHD, スズキ, アルト, アルトワークス, 自動車, 軽自動車, 日本, 車, AERO, エアロ, CHINSPOILER, SPOILER, LIP, リップスポイラー, フロントリップスポイラー, スポイラー
Cars, Japan, Ownership, Project Sachiel
2 Comments
DSC00219.JPG

[ Alto Works ] Front Chin Lip Spoiler, Part 1 (Front Bumper Modification, Part 3A)

February 05, 2020 by William Tjipto in Cars, Japan, Ownership, Project Sachiel

There is no shortage of aftermarket add-ons that supposedly enhance the visual appeal of a car. Body kits, stickers, covers, and accessories can transform a daily driver to a race car… or a ricer. My Alto Works came from an era when boxy, over-the-top aftermarket body kits were the norm so there are still plenty of weird, flamboyant aero parts available for the car. Most of it, unfortunately, doesn’t fit with the theme of the whole car… to me, at least.

DSC_3584.JPG

Front lip spoilers are one of those small little bits that can make a difference in the overall look. A simple lip can transform a boring car to something sporty by reducing ground clearance and adding a hint of aggressiveness. It’s like wearing a little extra accessory, be it a tie, a wristwatch, a necklace; subtle, but really adds to the atmosphere.

DSC_0066.JPG

Of course, there are pragmatic reasons for adding a front lip spoiler, too. As the name implies, it can also act as an air spoiler, increasing downforce and minimizing underbody air pressure. Larger front lips look very similar to wedges, forcing air over it, pushing the front of the car down for maximum grip.

DSC_0855.JPG

In addition to front lip spoilers, proper racing aero often employs other tricks to improve lap times. Those long flat boards that poke far past the bumper, often secured by additional tie rods, are called air splitters. They are designed to literally “split” the air above and below, cutting the lower air pressure, but the most effective ones are long and extremely low to the ground. While a simple front lip spoiler alone may not be effective as a true splitter, it can certainly help without making a car impractical as a daily driver. 

2016-02-14 043.JPG

Rather than go full-bore into a splitter and huge front lip, I’m sticking with something simpler and better looking for now. I always liked the classic look of a flat, broad lip, as found on retro-fantastic muscle cars and Datsuns of old. Essentially a thin wedge angled downwards and attached to the stock bumper, they were popular additions in a bygone era. Also referred to chin spoilers, in Japanese they often seem to be commonly differentiated from other lip spoilers.

DSC_3852.JPG

Ever since I bought my Miata years ago, I always wanted to get one of these chin spoilers for it, but they were a bit pricey with shipping from Japan. The only ones I’ve seen that are available now are from TRAP and they are gorgeous on a Roadster with other retro modifications.

DSC_0497.JPG

Unfortunately, there is only one company that seems to make a model-specific chin spoiler for the Alto Works, from Hello Special. It does seem to be bespoke, but it could also be a universal fit one that just happens to work well. Without closer inspection, I had to pass on the price, a cool 15400¥ ($140 USD) for a sliver of Fiber-Reinforced Plastic (FRP).

DSC09187.JPG

With a bit of searching, I eventually came across a chin spoiler online from Yahoo! Auctions for quite a reasonable price. They offered two models, one longer and wider than the other. The price the company offered for their “short” spoiler was significantly cheaper, so I couldn’t pass it up. I actually won their Yahoo! auction for at only 5000¥ ($45 USD) when they normally sell it for around 8000¥.

Given the low price and that the chin spoiler was made of FRP with a simple, black gel coat, I expected a very rough finish. It actually didn’t look too bad out of the box from a few feet away, but of course, there was a lot of pits, air pockets, and rough brush strokes on the outer surface when viewed up close. It might’ve been more or less fine with a simple coat of paint, but I wanted the car to look good.

February 05, 2020 /William Tjipto
JAPAN, JDM, SUZUKI, ALTO, ALTO WORKS, HA11S, CAR, KEI CAR, CAR LIFE, F6A, RHD, スズキ, アルト, アルトワークス, 自動車, 軽自動車, 日本, 車, AERO, エアロ, CHINSPOILER, SPOILER, LIP, リップスポイラー, フロントリップスポイラー, スポイラー
Cars, Japan, Ownership, Project Sachiel
Comment
  • Newer
  • Older

Powered by Squarespace